

It’s almost Valentine’s Day! And just like at Christmas, I love baking cut-out cookies to celebrate. Unlike at Christmas, however, I have time to spend decorating cookies. During December, my cookies are lucky if I throw some colored sugar on them.
Yet, as far as taste goes, I’m not wild about the traditional choices when it comes to cookie icing. Buttercream tastes fine but it smudges. Royal icing sure is pretty but it’s too sweet for my liking.
Enter: Candy Coating
While some folks call candy coating (or confectionery coating) “colored chocolate”, technically it isn’t chocolate because it doesn’t contain cocoa butter. Without cocoa butter, we don’t need to temper the chocolate. And that, honestly, is fine with me.
Using candy coating, you can create really beautiful cookies that are tasty and pretty! (And unlike buttercream, you don’t need to worry that the “icing” will smudge.)
What You’ll Need
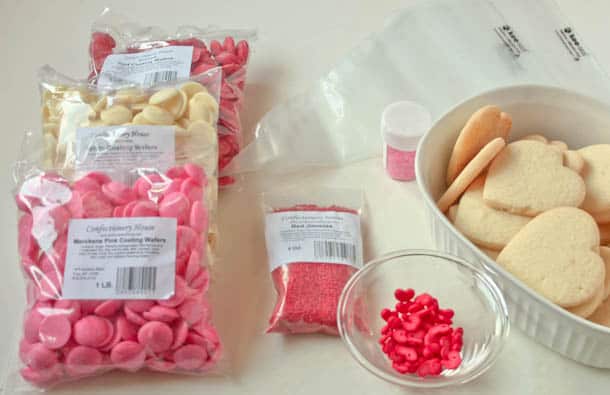
Baked and cooled cut-out cookies
Disposable decorator bags
Parchment paper
Candy Coating (I used Merckens hot pink, red, and white.)
Edible glitter (optional)
Jimmies (optional)
Icing decorations
The Dip

Want a really simple way to decorate the cookies? Simply melt your candy coating and dip your cookies into the melted coating. Of course, you can dip them fully but I think just a little candy coating looks better.
Here’s how to do it:
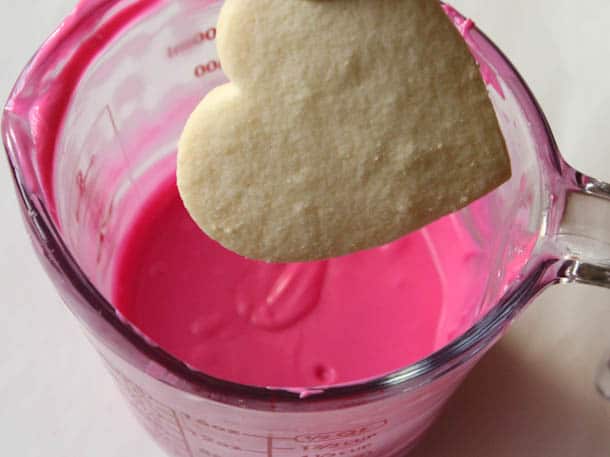
If it isn’t already, place candy coating into a measuring cup (make sure your hand fits easily into the cup).
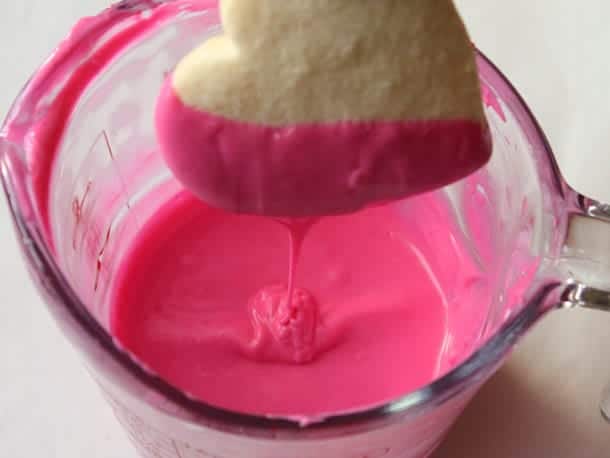
Dip the cookie as much or as little as you want. I tend to vary them. Some cookies I dip a lot, some just a little. Allow excess candy coating to drip off the cookie. If there’s a lot of coating on the cookie, give it a little shake over the measuring cup.
Place dipped cookies on parchment paper.
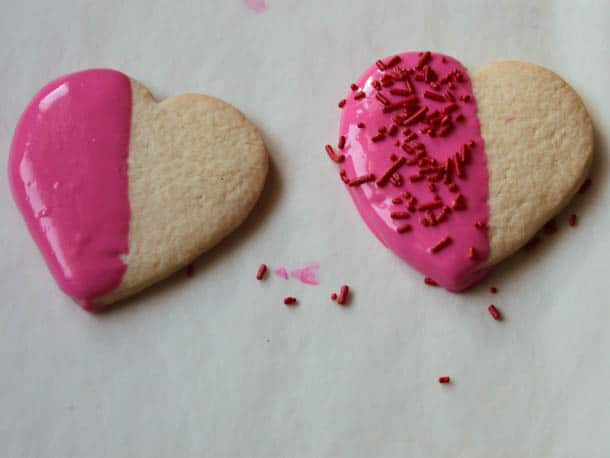
If you want, sprinkle a few jimmies or edible glitter onto the wet candy coating. If the coating hardens, the jimmies won’t stick. So do this right after you dip the cookies.
The Drizzle
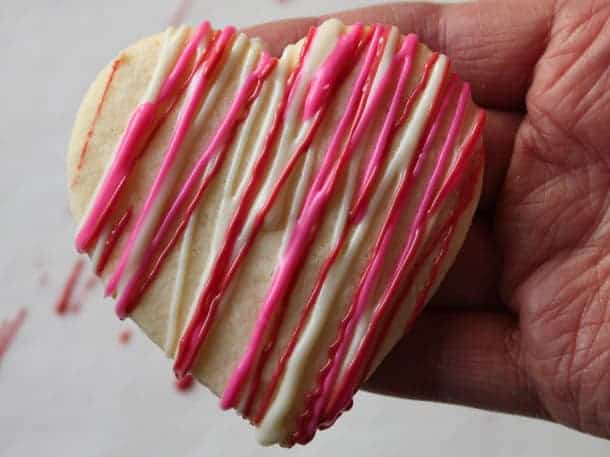
I really don’t have a favorite of the bunch but if I did, I think it would be “the drizzle.”
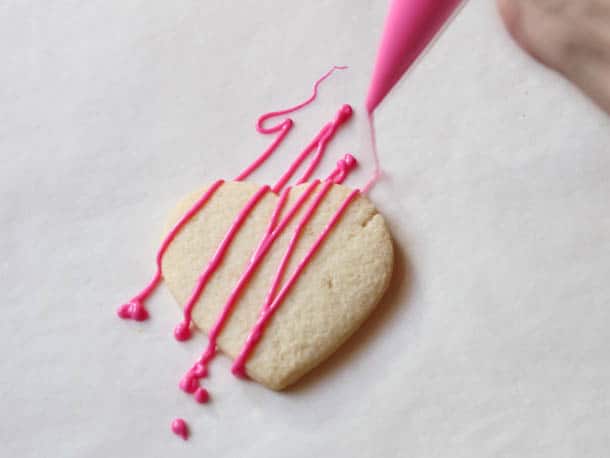
Place baked, cooled cookies on a piece of parchment paper. Fill a disposable decorator bag with melted candy coating. Snip the tip of the bagjust a little. Squeeze the bag. The candy coating should flow easily out of the bag but not pour out of the bag.
In a quick motion, drizzle the icing over the cookies.

One color is pretty. No matter the color. Even white looks great.
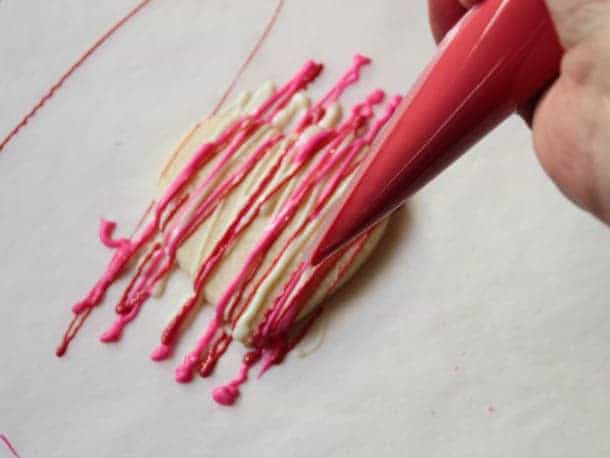
But why stop at one color? Drizzle as many colors as you like!

When you are done, allow candy coating to cool. This takes only a few minutes.
When you pick up the cookies, this might happen! The excess candy coating might cling to the cookies. Use a butter knife (or your finger) to gently knock the excess candy coating off the edge of the cookie.
Done!
The Polka Dot

Polka dots make me smile. And adorning a cookie with them is easy!

Place baked, cooled cookies on parchment paper. Fill disposable bag no more than half full with melted candy coating. Snip the tip of the bag just a little. Squeeze the bag. The candy coating should flow easily out of the bag but not pour out of the bag. Dot the top of the cookies with candy coating.

Like with The Drizzle, multiple colors are so pretty!
The Squiggle

Let me say this: There’s no wrong way to do The Squiggle. Put another way: You can’t mess up the squiggle!
Glad we got that out of the way! For some reason, folks worry that they can’t squiggle candy coating. You can! All squiggles are beautiful!

The blank canvas!
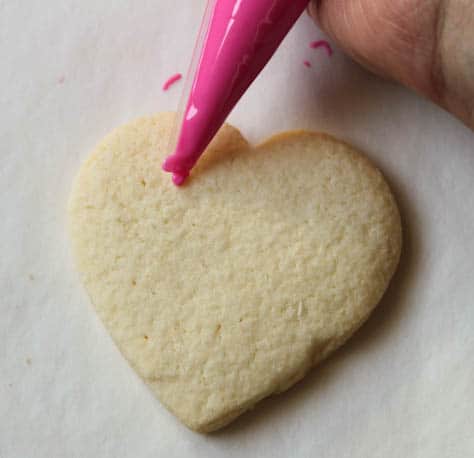
Place baked, cooled cookies on parchment paper. Fill disposable bag no more than half full with melted candy coating. Snip the tip of the bag just a little. Squeeze the bag. The candy coating should flow easily out of the bag but not pour out of the bag.
Start wherever you want.

Squiggle! See that little extra candy coating blob in the right corner of the heart? I squeezed the bag too hard. No big deal!
If desired, sprinkle the cookies with edible glitter while the candy coating is wet. (Glitter doesn’t stick to set candy coating.)
The Schmear

Almost as easy as “The Dip”, simply spread melted candy coating on your cut-out cookie.
Allow the candy coating to cool slightly before spreading on your cookies. If it’s too warm, it runs off. When it cools for a minute or so, you can spread it like frosting. (I use an icing spatula to do this. But a butter knife works too!)
Place iced cookies on a piece of parchment paper. Sprinkle with edible glitter and/or jimmies, if desired.
The Minimalist
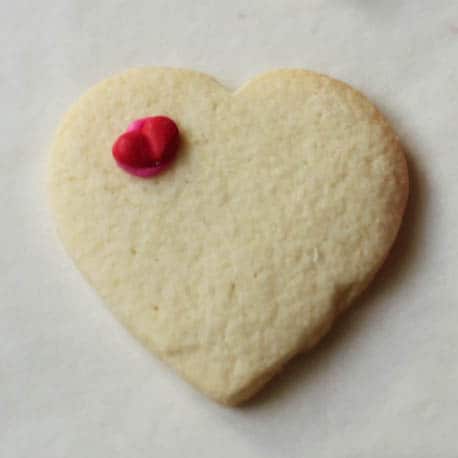
Don’t feel like dipping, schmearing, dotting, or squiggling? How about the minimalist approach?
Place baked, cooled cookies on a piece of parchment paper. Fill a disposable decorator bag with melted candy coating. Snip the tip of the bagjust a little. Squeeze the bag. The candy coating should easily out of the bag but not pour out of the bag.
Dot a little icing on the cookie. Press a premade icing decoration into the icing. Allow to dry. That’s it!Using the techniques above, you can make countless variations of adorable cookies. Here are just a few of the cookies I made!
Pink drizzle and red schmear with pink glitter.

Multi-colored polka dots and partial dip.
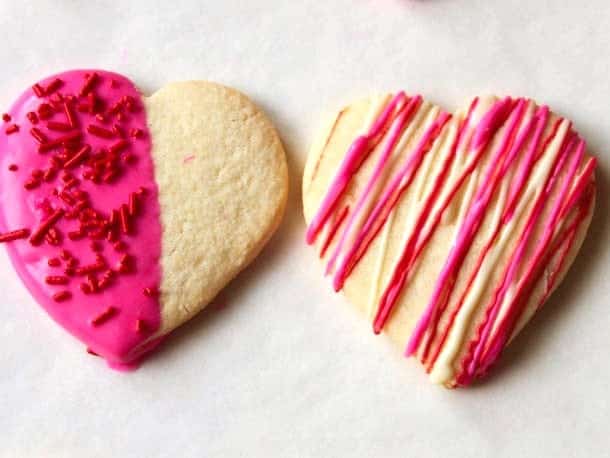 Dip with jimmies and multi-color drizzle.
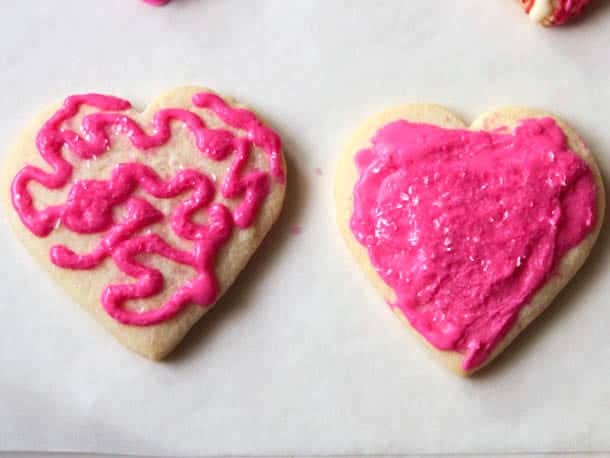
Pink squiggle with glitter and pink schmear with glitter.

White schmear with pink glitter and pink polka dots.

How to Melt Candy Coating
Ingredients
- 1 pound red, pink, or white confectionery coating
- 1- 2 teaspoons vegetable shortening, as needed
Instructions
-
Place half pound of candy coatings in a microwave-safe bowl (I recommend a glass 2-cup measure.) Heat the candy coatings for 30 seconds. Remove coatings from the microwave and stir. It might not look like it's melting at first. That's fine! Stirring removes "hot spots" and prevents your candy coatings from burning. Repeat, removing the candy coatings every 30 seconds from the microwave and stirring, until melted.
-
Some colors, like red, are thick when they melt. Add 1 or 2 teaspoons of solid vegetable shortening to the melted candy coating if it's too thick.

Leave a Reply