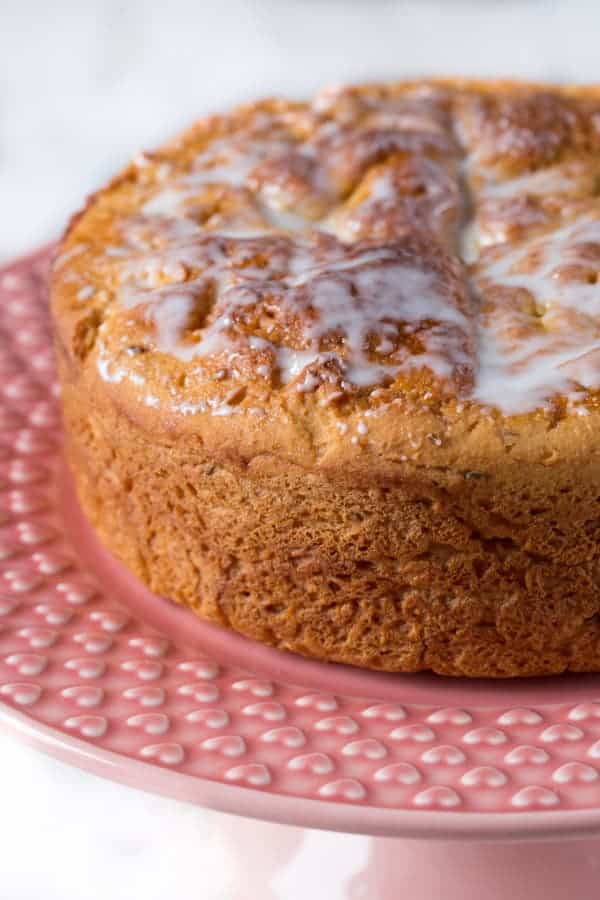
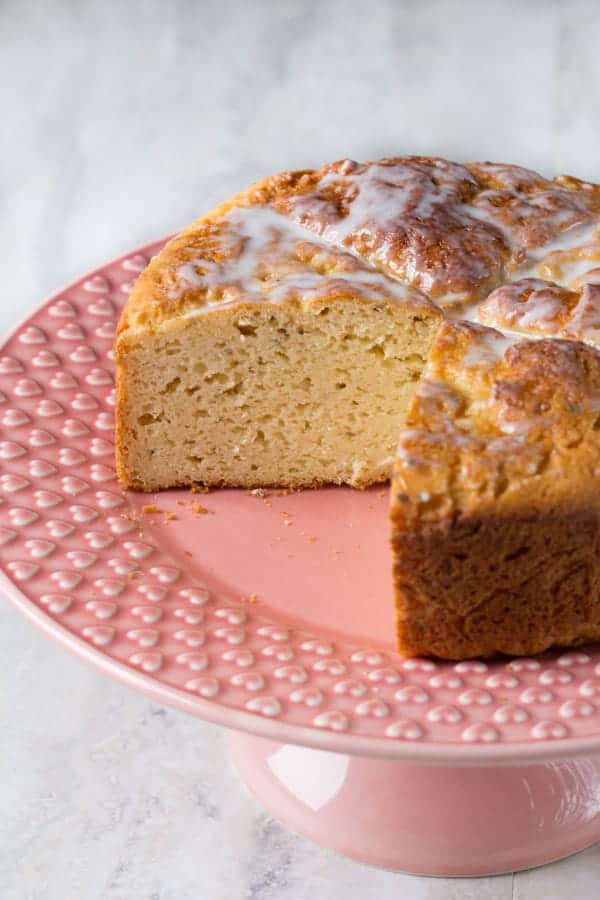
Gluten-Free Italian Easter Bread is rich and lightly sweet. Scented with anise seeds, this is a classic recipe for your Easter celebration.
A few months ago, a recipe request appeared in my inbox. That’s not unusual. What was unusual was that this recipe, for a classic Italian anise Easter bread, called for 12 cups of flour. This wasn’t just any recipe. It was a family heirloom.
Take a look:
2 dozen brown eggs, room temperature
3 cups sugar
21 teaspoons Crisco, melted and cooled
10 teaspoons anise seed, crushed between palms of hands to release flavor
1 shot whiskey
1 yeast, cake style, dissolved in 1/2 cup warm water. I used my hands to dissolve/crush the yeast, sprinkled it with sugar and let stand for 5 minutes to proof
12 cups Robin Hood flour, plus one cup more
Elana wrote that she’d attempted the recipe with gluten-free flour and that the taste was great but the texture was off. The loaf didn’t rise.
After glancing at the recipe, I could see why. Although the bread called for two dozen eggs, it contained no liquid. There wasn’t any water or milk in the recipe, even for wheat-based doughs, this is unusual.
I set out to both fix and convert the recipe. I must admit, I thought I had a bit of a leg up on this one. I’m Italian and this style of Easter bread often graced our table, along with ricotta cheesecake each year. But when I tried to remember the bread, my memory failed. I couldn’t remember for the life of me what the bread tasted like. Was it like brioche? Or was it more like challah? I couldn’t remember. I’m guessing that child-Elizabeth spent most of Easter eating candy, not chowing down on anise-scented bread.
Instead of relying on childhood taste memory, I leaned heavily into my baking knowledge. Here’s the thing: I know yeast bread. Not just gluten-free yeast bread, all yeast bread. While in culinary school, I adored learning about yeast-based breads. Those were my favorite classes. Cakes, candies, and pastry making were fine but yeast bread I loved. So much so, in fact, I spent time on Saturdays in a baking club. We cranked out dozens of loaves. These mornings were some of the happiest times I spent at school.
After years of baking gluten-free, I also know that gluten-free yeast recipes represent the hardest part of gluten-free baking. Are the results similar? In my opinion, no. They aren’t. I can eat a chocolate chip cookie and not know that it’s gluten-free. Same goes for cake or brownies. Give me a piece of gluten-free bread, even the best gluten-free bread ever and I still know that it’s not made with wheat. That doesn’t mean it’s bad. I just meant that it’s different.
Knowing that gluten-free yeast bread isn’t ever 100% on, provides an interesting challenge when attempting to convert a beloved holiday bread. I want to get it right. Or as close to right as gluten-free yeast bread allows.
The first thing I did was to honor the recipe. It’s a sweet, enriched dough, similar to a brioche or challah. This isn’t a lean recipe or a hearty whole grain bread. The next thing I did was honor the best way to make this bread gluten-free. My final result, I think, succeeds at both.
Converting Italian Easter Bread to Gluten-Free: What I Replaced and What I Added
The Flour
The original recipe called for 12 cups of Robin Hood Flour*. This flour, mostly sold in Canada, has a slightly higher protein content than traditional all-purpose wheat flour. It’s great for breads and pizza. To mimic this flour, I selected a variety of flours and starches that would provide good structure but, flavor-wise, fall into the background, allowing the eggs and anise to shine. This wasn’t an easy task. In fact, the flour blend I settled on, calls for four different flours and starches. Is that a lot? Yes. Is it worth it? Absolutely.
*The recipe used traditional Robin Hood wheat flour. The brand makes a gluten-free flour blend, which was not used in the original recipe.
The blend of rice flours (there’s three) and tapioca starch lend a soft, light texture to the bread. But without xanthan gum, the flour blend on it’s own wasn’t enough to give the bread the structure it needed. As with all my yeast bread recipes, I use as little xanthan gum as possible. I’m not a believer any type of set ratio for xanthan gum. No “one teaspoon per one cup of flour.” In some recipes, I don’t use xanthan gum at all. In others, like this one, I use the enough to give the bread structure but not so much that it gets gummy. I hate that weird, gummy texture that you find in some gluten-free breads.
The last thing I did was reduce the recipe to make one loaf of bread; the original recipe made four loaves. If you want to make multiple loaves, don’t multiply the recipe. Instead make as many individual recipes as you need loaves of bread. 12 cups of gluten-free flour, plus all the other ingredients, is too much for a home mixer, even a stand mixer like a KitchenAid, to handle. You’ll get much better results if you take the time to mix it multiple times.
Baking Powder
Here’s something I added that might surprise you: baking powder. This is a little trick I learned while developing my gluten-free sandwich bread recipe. Double acting baking powder, the most common style of baking powder sold in the United States, rises twice: first in the bowl when combined with a liquid and again when it hits the oven and gets hot.
Since gluten-free bread lacks the rubber band structure that gluten brings, the baking powder gives it a little help. Basically, it lifts the dough, giving the yeast room to do its thing.
What I Left Alone (for the most part)
The Yeast
The original recipe called for cake yeast. This is live, fresh yeast. For home bakers, it tends to be incredibly unreliable. I used active dry yeast, which, unlike fresh yeast, is really reliable. Just be sure to use a gluten-free active dry yeast.
The Eggs, Oil, Sugar, and Salt
For the most part, I left these ingredients alone. I swapped liquid vegetable oil for the melted Crisco because I think it gives the loaf a better texture. If you prefer melted shortening, go ahead and use it. I would not, however, use melted coconut oil. Not only will this oil affect the flavor of the finished loaf, it will affect the texture. Coconut oil is a hard fat and gives this loaf an almost tough bite.
The Flavors
Anise seed and whiskey bring flavor to this bread. During most of my test, I didn’t include the whiskey. Why? Because you don’t need it. If you have a bottle on hand, include it. But there’s no need to buy a bottle of whisky just to make this bread. Simply replace it with two teaspoons of vanilla extract.
As for the anise, it’s a flavor I really like. Not everyone shares that opinion. If you’re looking for an Italian Easter bread but don’t like anise, skip it. Replace the anise with a little vanilla or the zest of a lemon and orange.
How to Bake Italian Gluten-Free Easter Bread
After adjusting the ingredients, I set out to work on the method. The original recipe calls for an overnight rise and then the individual loaves are baked on a pan.
I tested the recipe with both the overnight rise and a traditional two hour rise. I found I liked the results from a shorter rise better. All the tested loaves rose higher than those made with dough that had been allowed to rise overnight in the refrigerator.
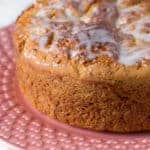
The biggest change I made, however, wasn’t replacing the overnight rise. It was how the loaves were baked. When gluten is present, the elastic dough holds itself together rather well. Gluten-free dough doesn’t. When I baked a loaf on a sheet pan, the loaf turned out rather flat. So I decided to force a bit of structure and bake the loaf in an 8-inch springform pan. Not only does the pan hold the loaf in a beautiful shape, it helps the edges brown, something that didn’t happen as well on the sheet pan.
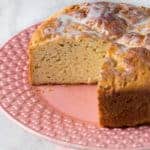
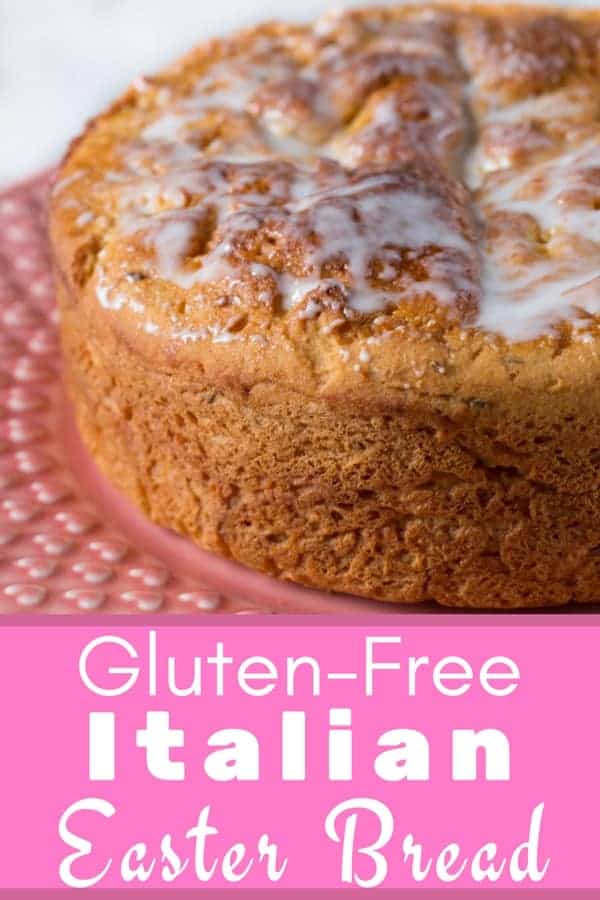
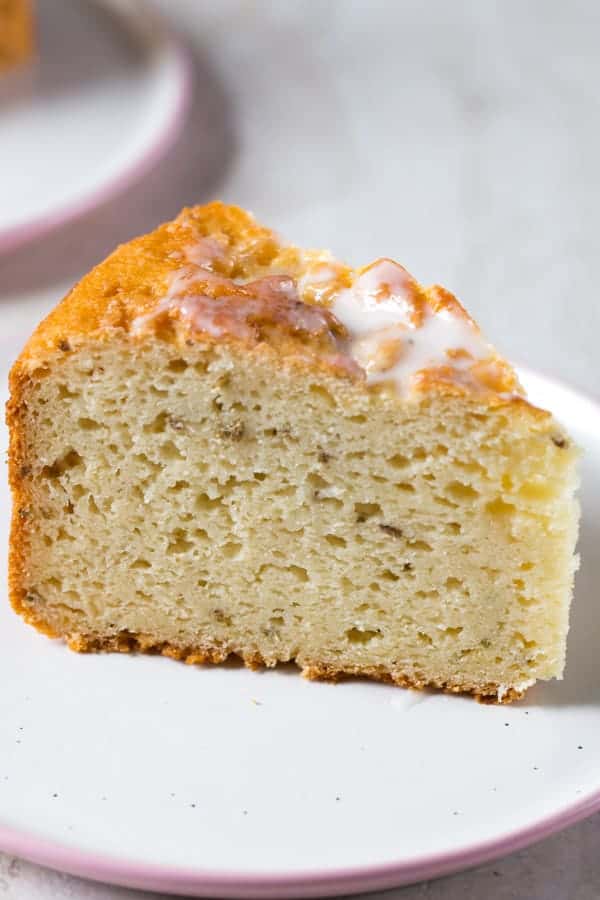
The rise and texture came out great. Did it look like a traditional Italian Easter bread? It did not. Instead, it looked more like an Irish soda bread. This is one area where adjusting expectations helps. The bread tastes great; it just looks different.
The original baking temperature called for a 250 degree F oven. Yikes! This is a really low temperature for yeast bread. For my recipe, I went with the more traditional 350 degrees F.
The finished loaf turned out beautifully. Dotted with anise seeds and rich with eggs, this loaf makes a welcome addition to an Easter table.
I did make one small change to the recipe. I added a simple glaze. To make this, combine powdered sugar with a little water or milk until thick. If you like a little lemon tang, add a squeeze of fresh lemon juice. Many Italian Easter bread recipes finish the loaf with a sprinkle of nonpareils. I did’t have any in the house. If I had, you know I would a added a generous sprinkle to this loaf.
Gluten-Free Italian Easter Bread
Classic Gluten-Free Italian Easter Bread is a rich, slightly sweet yeast bread.
Ingredients
- 1 tablespoons instant, active dry yeast (see note)
- 1 1/4 cups warm water, plus additional as needed
- 1 cup white rice flour (5 3/4 ounces; 165 grams)
- 1 cup brown rice flour (5 ounces; 145 grams)
- 1 cup sweet rice flour (5 ounces; 145 grams)
- 3/4 cup tapioca starch (3 /14 ounces; 90 grams)
- 1/2 cup granulated sugar (3 1/2 ounces; 100 grams)
- 1 tablespoon xanthan gum
- 1 tablespoon anise seeds, optional (see note)
- 2 teaspoons baking powder
- 1 teaspoon salt
- 5 large eggs, whisked
- 2 tablespoons vegetable oil
- 2 teaspoons whiskey, optional (see note)
Glaze
- 1/4 cup powdered sugar
- 2 teaspoons water, plus more as needed
- nonpareils, optional
Instructions
-
Whisk together the yeast and warm water in a small bowl. Allow to stand for five minutes.
-
Combine rice flours, tapioca starch, sugar, xanthan gum, anise seed, baking powder, and salt in the bowl of a stand mixer. Whisk to combine. Fit the mixer with the flat paddle attachment.
-
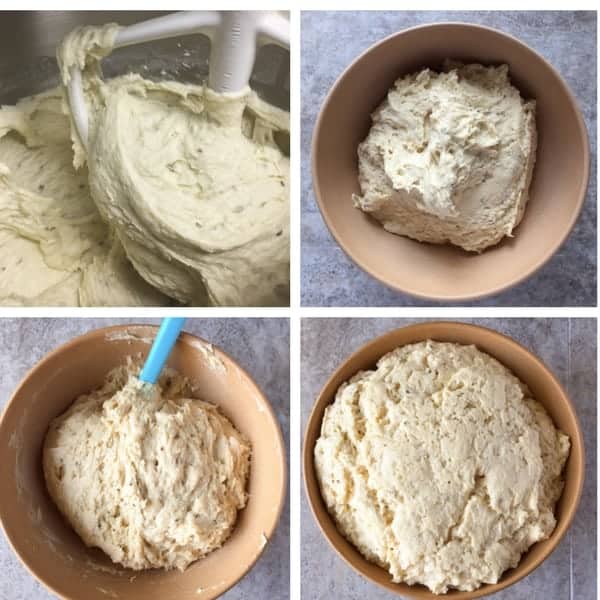
Add the yeast mixture, eggs, vegetable oil, and whiskey. Mix until a thick batter forms. It should not form a dough ball. Think of it as thick cake batter. If the dough looks dry, add 1/4 cup more water.
-
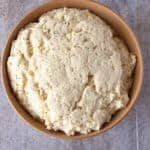
Grease a medium bowl. Place the dough into the bowl. Cover with a greased piece of plastic wrap and a dry kitchen towel.
-
Allow to rise until doubled in size, about one hour.
-
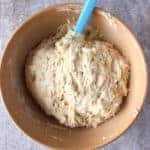
Stir the dough with a spatula to deflate.
-
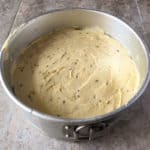
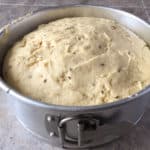
Lightly grease the bottom and sides of an 8-inch springform pan. Place a piece of parchment paper on the bottom of the pan. Spread the dough evenly into the pan. Cover the pan with greased plastic wrap. Allow the dough to rise until doubled in size.
-
Preheat oven to 350 degrees. Remove the plastic wrap from the pan. Bake bread until the internal temperature reaches 205 degrees. If the top browns before the center of the bread reaches 205 degrees F. cover the pan lightly with a piece of foil. Remove the pan from the oven. Allow the bread to cool in the pan for five minutes before removing it from the pan and placing it on a wire rack to cool completely.
-
Make the Glaze: Combine the powdered sugar and water. Stir until smooth. If glaze seems too thick, add additional water to thin. Spread over cake. Sprinkle with nonpareils if desired.
Recipe Notes
Recipe Note: Anise and Whiskey
The original recipe calls for anise seeds and whiskey. If you don't like the flavor of anise, replace it with the zest of one lemon and one orange.
If you don't want to use whiskey, replace it with two teaspoons vanilla extract.


Katya says
The text says to add tapioca starch but the ingredient list does not include tapioca starch. Can you tell me if that is part of the recipe, and if so, how much tapioca starch is needed. Thank you!
Elizabeth says
So sorry about that! It’s 3/4 cup. I’ve updated the recipe to reflect the tapioca starch needed.
Jeannine says
Can you use anise oil? Also, you said you don’t recommend coconut oil what about avocado oil? Where did you purchase gluten free dry active yeast?
Elizabeth says
Yes to anise oil!
As for the yeast, I purchased it through my local grocery store.
Avocado oil will work great!