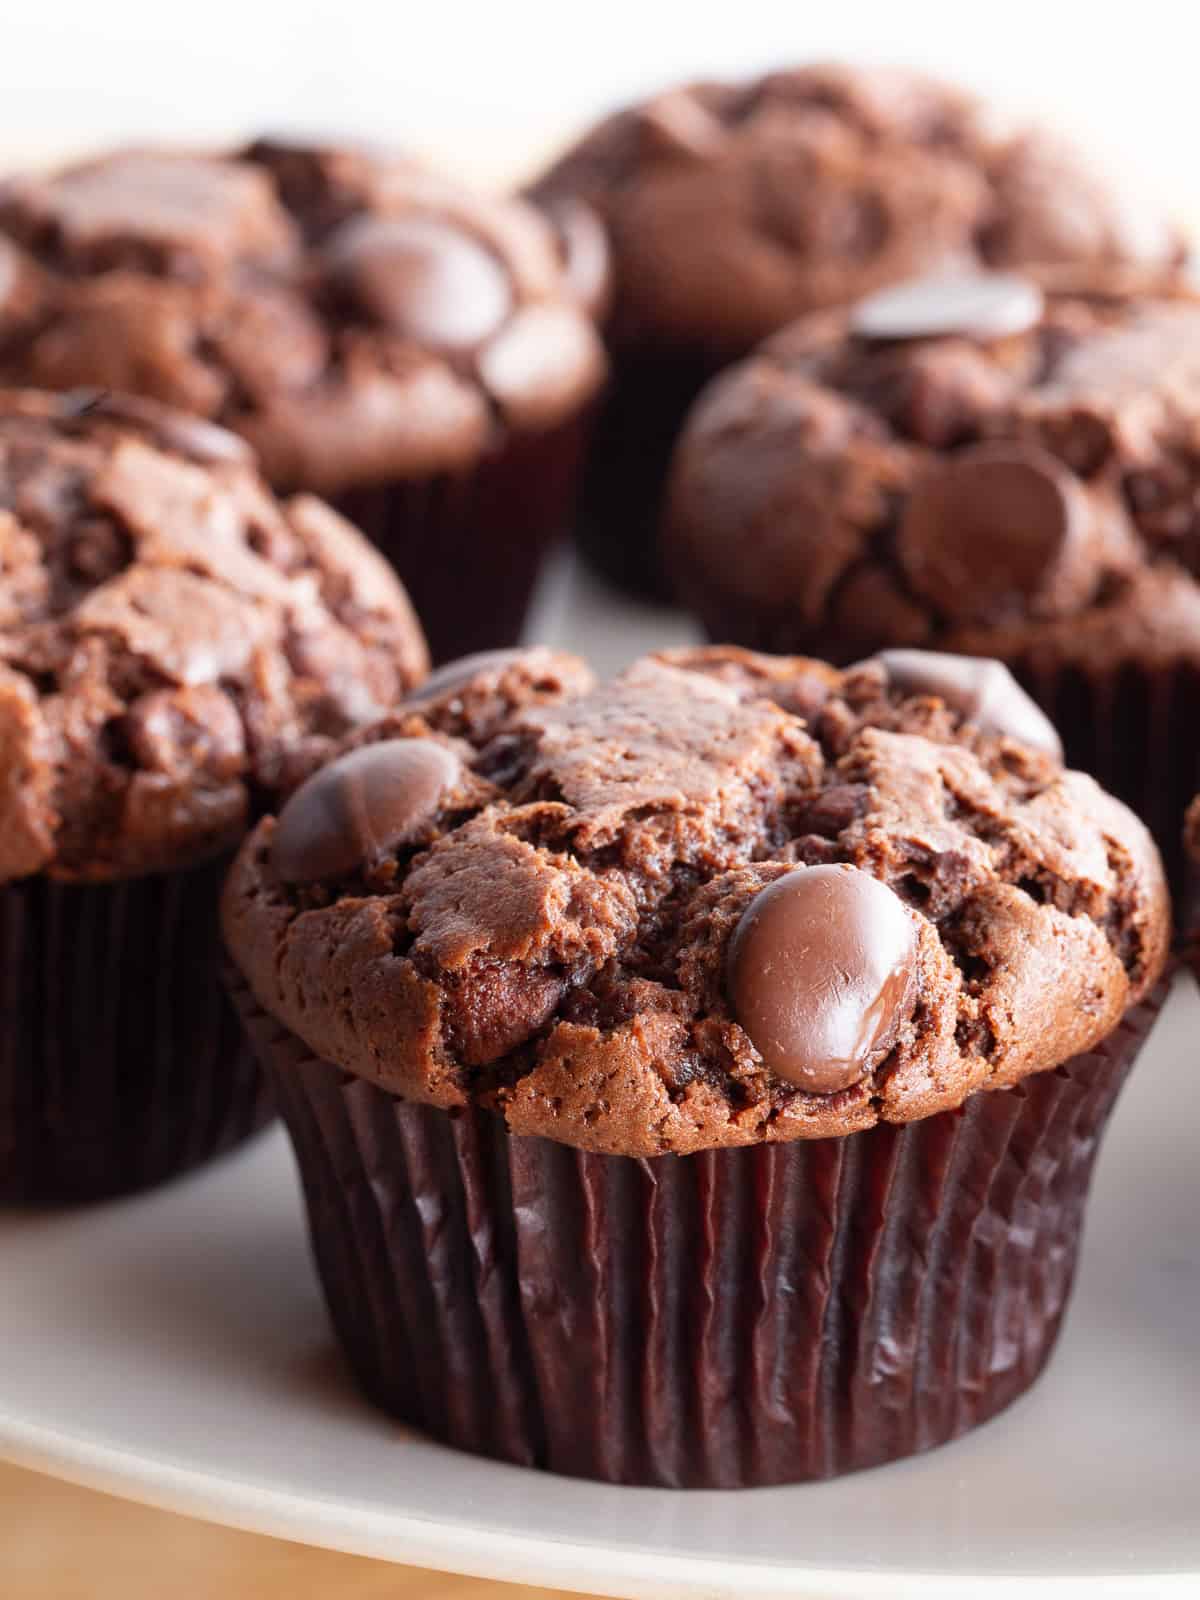
These gluten-free chocolate muffins have just the right amount of sweetness and chocolate. They’re dense without being heavy. And the best part? The simple recipe only takes a few minutes to make. For an added chocolate boost, I stir in some dark chocolate chips right before baking.

In my opinion, a good muffin must set itself apart from a cupcake. It can’t be too sweet or cakey. I want a muffin that’s equally at home at breakfast or after dinner when I’m craving “something a little sweet.”
These gluten-free chocolate muffins meet all those requirements and more. Thanks to their rich flavor, they’re irresistible and always taste like an extra special treat.
Ingredients

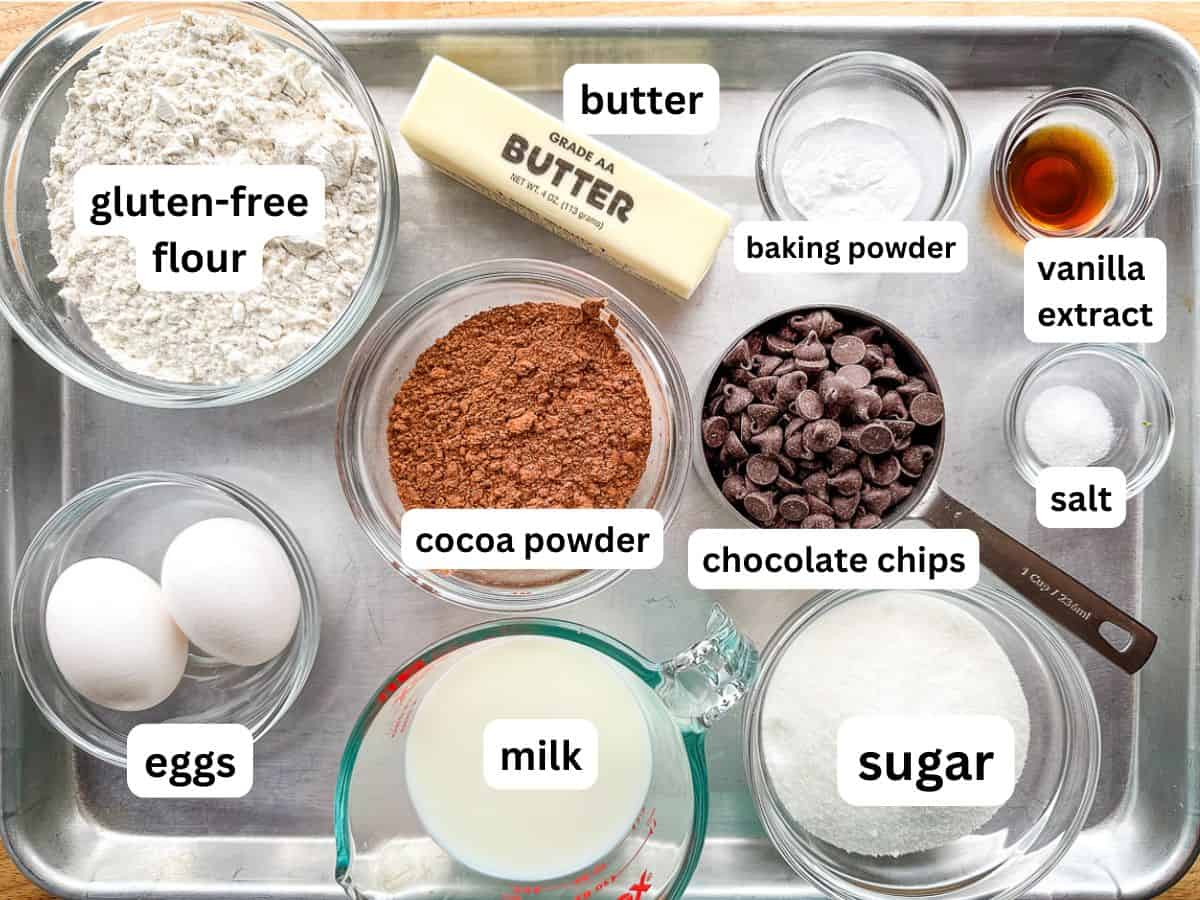
Here’s what you need to make a batch of these muffins. If you want to make them dairy-free, follow the substitutions listed.
- Gluten-Free Flour. I tested the recipe with Bob’s Red Mill 1:1 Gluten-Free Baking Flour. Other gluten-free flour blends might change the texture. Coconut or almond flour won’t work in this recipe.
- Sugar. Granulated sugar adds the perfect sweetness.
- Cocoa Powder. You can use either natural or Dutch process cocoa in this recipe.
- Butter. For a dairy-free version, use either dairy-free butter or oil.
- Eggs. Two eggs give the muffins flavor, structure, and keep the muffins moist.
- Milk. Brings the batter together. Use traditional or dairy-free. Full fat coconut milk won’t work because it’s so rich.
- Chocolate Chips. A cup of chocolate chips are optional but I never skip them!
- Vanilla extract. Adds flavor.
- Baking Powder. Makes the muffins rise.
- Salt. Enhances all the flavors.
How to Make Gluten-Free Chocolate Muffins

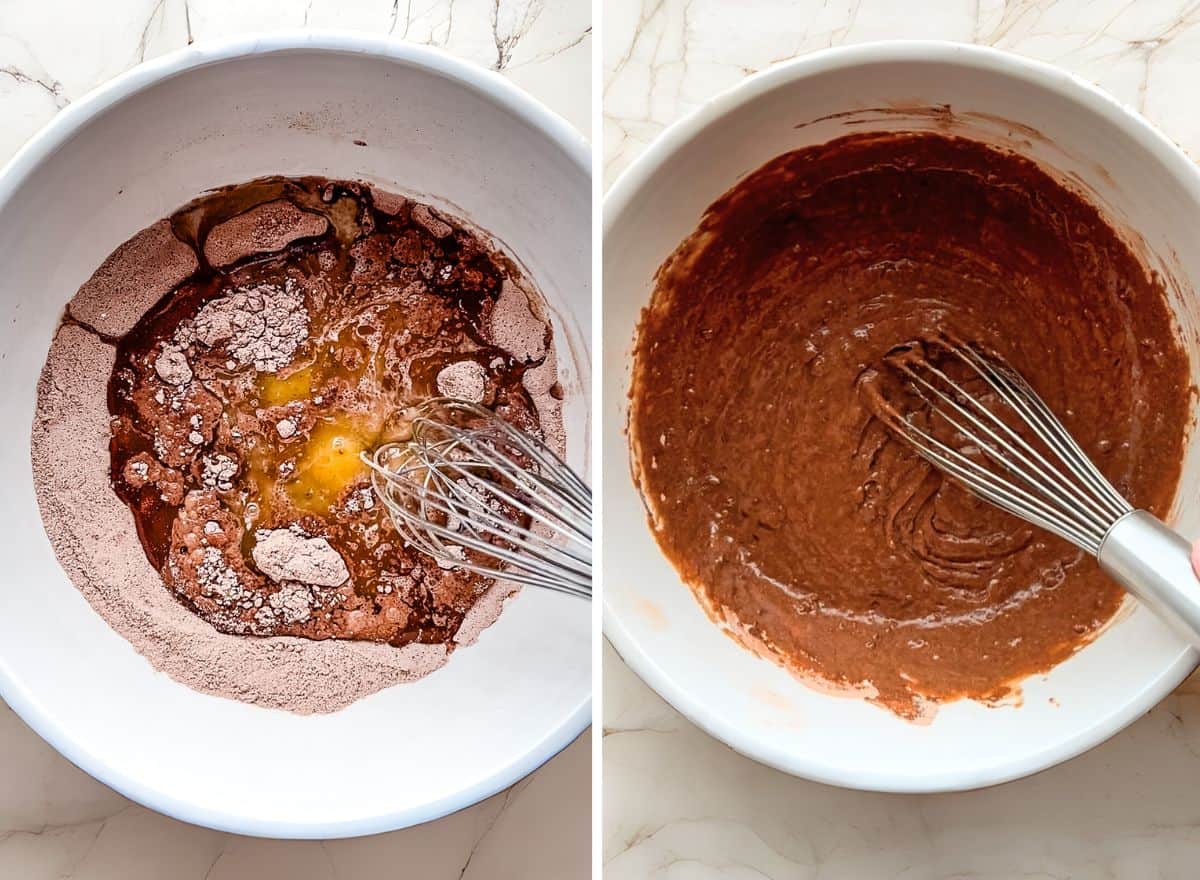
Mix together the dry ingredients in a large bowl. Then add the melted butter, eggs, milk, and vanilla extract. Stir until a thick batter forms. If you’re adding chocolate chips, stir them in after you’ve mixed the batter.

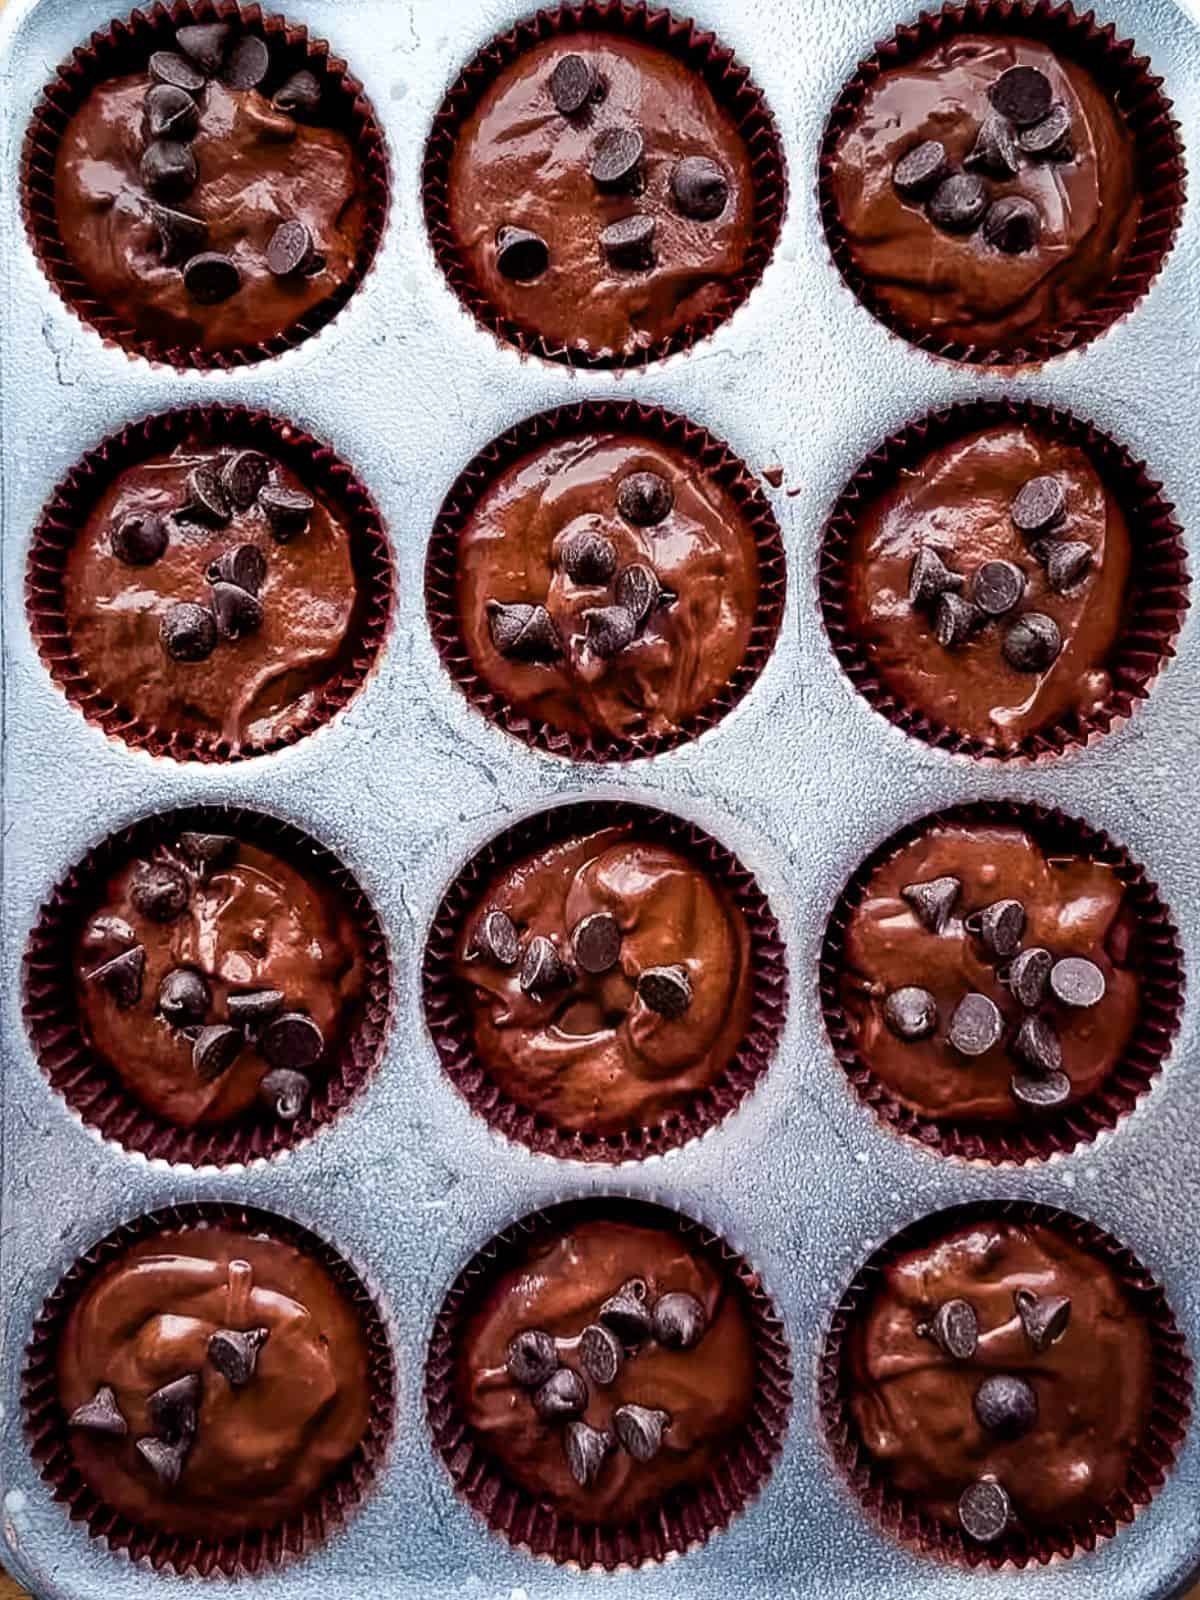
Lightly grease a muffin pan with gluten-free cooking spray. Line it with paper liners. Spoon the batter into the pan. You want to fill each up about ⅔ full. I like to sprinkle some extra chocolate chips on top of the batter. This is batter but adds a nice extra chocolate flavor?
Baker’s Tip: Let the Batter Rest Before Baking
If you’ve got time, chill the batter for about 30 minutes. This helps the gluten-free flour absorb liquids and makes for a tender crumb with a nice rise.
Whether you chill the batter or not, you want to bake the cupcakes until a toothpick inserted into the center comes out clean. That’s how you’ll know they’re done.
It’s fine if a few moist crumbs stick to the toothpick. You don’t want to see any wet batter. If there’s batter when you test them, bake for a few more minutes.

Gluten-Free Chocolate Muffins
Ingredients
- 1 ½ cups gluten-free flour, see note (6 ¾ ounces; 195 grams)
- ¾ cup granulated sugar (5 ¼ ounces; 150 grams)
- ½ cup cocoa powder (1 ½ ounces; 50 grams)
- 1 ½ teaspoons baking powder
- ½ teaspoon salt
- 2 large eggs
- ¾ cup milk, traditional or dairy-free (6 ounces; 170 grams)
- ½ cup melted butter or oil (4 ounces; 113 grams)
- 1 cup chocolate chips, traditional or dairy-free (6 ounces; 170 grams)
Instructions
-
Preheat the oven to 350℉. Line 12 standard muffin cups with paper liners. Lightly grease the top of the pan to keep the muffins from sticking.
-
In a large bowl, whisk together the gluten-free flour, sugar, cocoa powder, baking powder, and salt. Add the eggs, milk, and melted butter. Mix until a thick batter forms. Stir in chocolate chips.
-
Optional: Chill the batter for 30 minutes. This gives the muffin a more tender texture.
-
Fill muffin cups ⅔ full. Sprinkle chocolate chips on top of each muffin.
-
Bake until muffins are set and a cake tester inserted into the center comes out clean, about 25 minutes.
-
Cool the muffins in the pan for about 10 minutes. Then remove and let them cool completely.
-
Store muffins covered on the counter for up to three days or freeze cooled muffins for up to three months.
Recipe Notes
Gluten-free Flour: This recipe was tested with Bob’s Red Mill 1:1 Gluten-Free Baking Flour. Using a different flour might change the texture.


Abigale says
Delicious! I made them for my family and they came out tasting great! I baked them for 20 minutes instead of 25, but they were still kind of dry. I’d recommend doing 18 minutes unless you prefer dry muffins. Other than that, they were great. Will definitely be making these again.
Tom says
Really great recipe! Nice dense and moist muffins that freeze well. Definitely recommend baking for 20 instead mins and probing with a toothpick to test. Used vegetable oil and almond milk and they turned out excellent. Bob’s GF 1 to 1 is a miracle for baking.
Janelle says
In the recipe instructions, you forgot to mention the sugar – me being in a rush almost forgot to do it too – oops… Are you able to edit it in, as I’m probably gonna bookmark it if they turn out great and I’m always in a rush and/or distracted with 2 little kids 🙂
Elizabeth says
Sorry about that typo! It’s been updated. If you refresh the page, it should display correctly. Thanks for pointing this out so kindly.