Note: I received a review (free) copy of “Not Your Mama’s Canning Book” from Page Street Publishing. I was not paid nor asked to write a review. All opinions are my own.
Number of canning jars I own: several dozen (and some are in pretty colors, too!).
Years I’ve owned canning jars: at least five.
What I used the jars for
- pen holder
- drinking glass (my mother hates this, I know.)
- storage container
- candy jar
- candle holder
- homemade lotion container
What I didn’t use the jars for
- canning
I know. I know. I KNOW. Let me explain.
For years, I’ve wanted to learn how to can homemade jams, pickles, and other good things. But I couldn’t bring myself to actually do it.
Why the resistance? Food safety.
Eons ago, while at culinary school, I learned terrible things about home canned foods. During our required month-long food safety class I read reports of bad home canning practices. It scared me! I walked out of that class thinking that anyone who canned their own food just might be…trying to kill their family.
Obviously, what I didn’t learn were safe canning practices. This was during the late 1990s. I didn’t know anyone who canned their own food. Since the instructor of our class talked about canning like it was an arcane practice that was juuuuuust about to go out of fashion, I didn’t give it much thought.
And then, along with the food blogging boom, it seemed like everyone was canning. Honestly, at first, I thought they were nuts.
Until I didn’t.
The recipes they made looked incredible. Pickles! Salsas! Jams! Canning suddenly piqued my interest.
Here’s the thing: it’s tough to take up a hobby that you once believed would kill your family. I know, weird, right? Who’d a thunk it.
So I bought jars. I took a class. I read canning books and I could recite the ins and outs of canning safety. Still, I couldn’t bring myself to actually can anything.
Until this year.
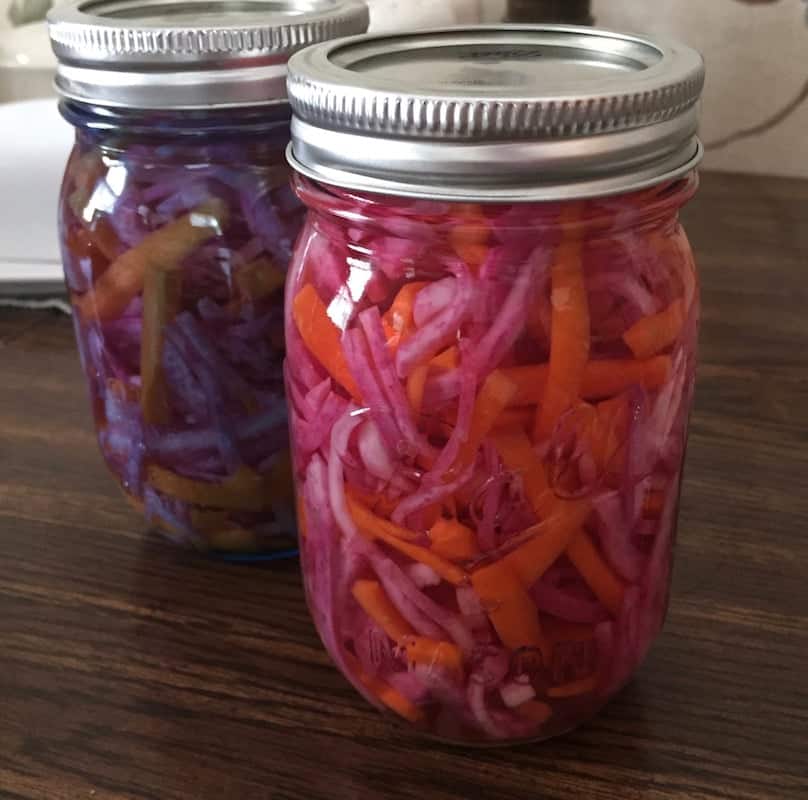
During a visit with my friend Carrie, she opened her refrigerator and showed me a jar of pickled red onions. She that the her daughter loves the things, so Carrie started making her own. Hmmm…that sounded good. Each year, I’d make refrigerator pickles. Pickled onions were something I could easily do. No water bath processing required!
During that same visit, Carrie gave me a bag full of purple daikon radishes. At first, I wasn’t sure what to do with them. Then I decided to make a batch of homemade Do Chua, the carrots and radishes that go on a banh-mi sandwiches. Again, it was refrigerator pickling. And I loved it.
There was only one problem. I had too much stuff. Two jars of red onions and three jars of Do Chua. If only there was a way to store these things without putting them in the refrigerator! 😉 (Yes, I know is usually a quick pickled item. I just made too much. But you get my point.)
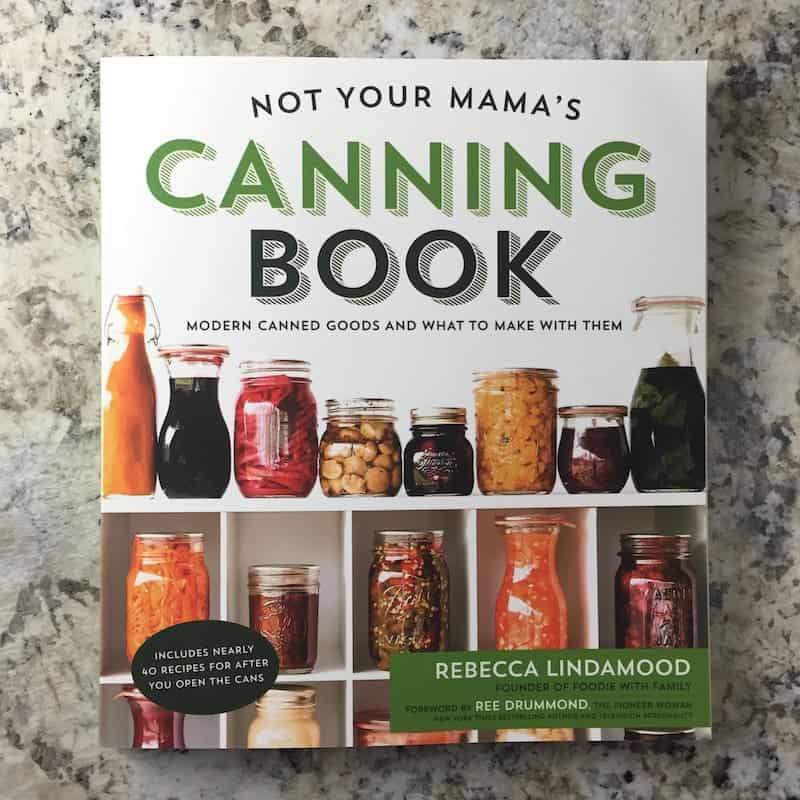
Thankfully Rebecca Lindamood’s Not Your Mama’s Canning Book (affiliate link) magically showed up in my mailbox. (Her publisher kindly sent me a review copy.)
I sat down, ate lunch, and flipped through the pages. It’s not a stretch to say that within minutes, I knew I wanted to make almost all of the recipes.
Rebecca, who writes the popular Foodie with Family blog, wrote a thoroughly modern canning book. You won’t find any recipes for dill pickles or strawberry jam in this book. That’s a good thing. Lots, and I mean LOTS, of other authors have already covered the basics. And they’ve covered them well.
Not Your Mama’s Canning Book blazes a new path. With recipes for Korean Barbecue Sauce, “Instant Hummus-in-a-Jar”, and Peach Habanero Rum Preserves, this book reflects the way many of us eat today. It also reflects the way most people approach home food preservation. Unlike our forebearers, we don’t have to put up the summer bounty to survive the harsh winter. We have the privilege of preserving food for fun.
Armed with Rebecca’s book and her thorough instructions, I finally mustered up enough courage to head into the kitchen to water bath can. Fear whispered in my ear that this was a terrible idea. I thanked Fear for trying to protect me and then I handed him an imaginary juice box and asked him to take a seat. It was time to can. And Fear was not welcome in my kitchen.
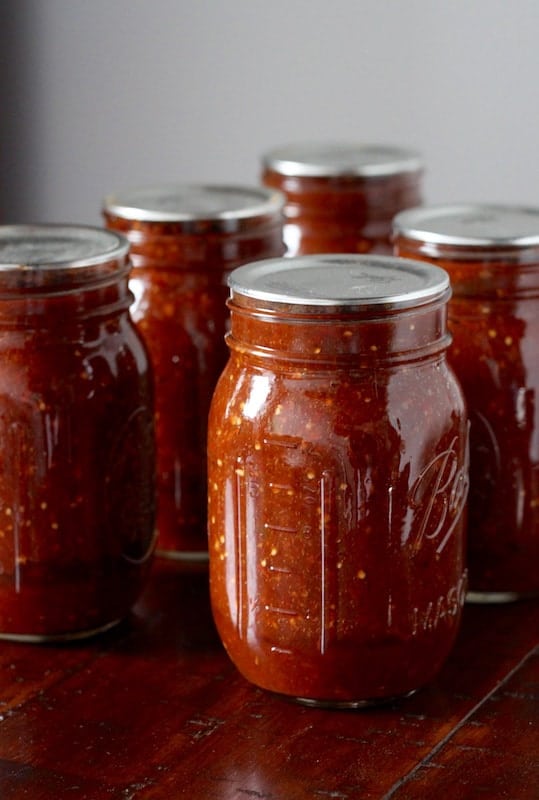
I decided to make Rebecca’s Smoky Roasted Salsa since I love Frontera’s Chipotle Salsa. This recipe sounded similar; so I thought I’d give it a try.
Now if I was an awesome food blogger, I’d have a million photos of this process to show you. However, 1. I’m not. 2. I’m new to water bath canning. So I put all my attention on the process and not the photos.
I wouldn’t call the recipe difficult but it did contain a few steps. This was one of those recipe where you put on your favorite music and hang out in the kitchen for a bit.
The recipe starts with dried chipotle peppers.(affiliate link) These were a wee bit tough for me to find. I ended up getting them at Whole Foods. The recipe also calls for either dried guajillo or cascabel chile peppers. These I couldn’t find in my area. Since I love hot food, I decided to use all chipotle peppers.
A note on this: You really shouldn’t futz with canning recipes because you can throw off the pH. For example, you’d never want to reduce the amount of acid (vinegar, lemon juice, etc.) called for in a recipe or increase the amount of onions. Swapping one dried pepper for another is fine. If you have questions about making changes to a home canned recipe, contact the author or if you can’t do that, reach out to your local cooperative extension. They can help you.
In addition to the dried chiles, you broil some tomatoes, tomatillos, onions, and garlic. Everything is pureed and then boiled for about 15 minutes to thicken.
As the salsa burbled away on the stove, I snuck a spoonful.
Holy moly.
The salsa tasted bright and flavorful and really spicy, which I loved. It took everything in me not to ladle out a small bowlful and eat it warm with tortilla chips. Somehow I resisted.
Next up, it was time to (gulp) fill and process the jars. Working slowly, I followed the steps that Rebecca provides in the book’s thorough introduction. Since I’m also a visual learner, I also watched Sherri Brooks Vinton’s helpful video on waterbath canning.
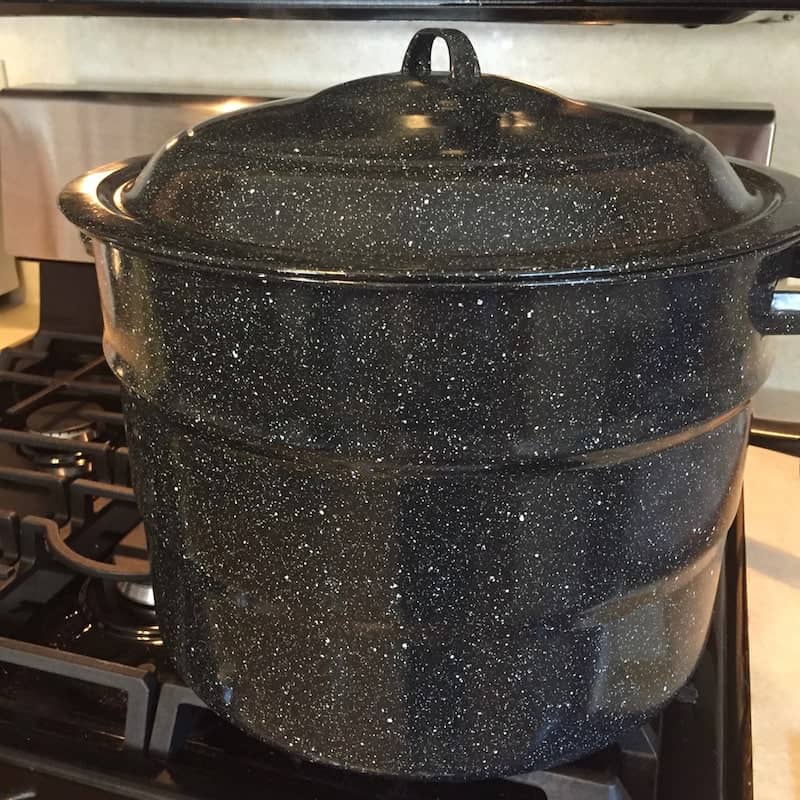
Once the jars were filled, into the canner they went. I set my timer for 15 minutes and waited. I actually stood there and read a book while the jars processed.
When the time was up, I carefully removed the jars from the pot and set them on the counter. Within minutes, a beautiful sound rang out: pinging. All the jars had sealed. I let them cool, without moving them, for 24 hours. Then I put one in the fridge (if you think I was waiting to eat a jar, you don’t know me.) and the rest on my pantry shelf.
We ate the salsa the next day. Honestly, it’s one of the best salsas I’ve ever eaten. Smoky, spicy, and just the right balance of flavors. As I spooned a chip with salsa into my mouth, I told Greg that I wanted to try this salsa in pulled pork recipe. It was then that I noticed that Rebecca provided a recipe for pulled pork that uses, you guessed it, this salsa.
In fact, she dedicated the entire Part Two section of the book to using the recipes you’ve preserved in Part One. How great is that? From start to finish, she’s got you covered. And if you’re like me and are nervous about canning, Rebecca even included a chapter entitled, “Step Away From the Canner” where she teaches you how to make “herb bombs”, peppermint extract, and more.
As for me, I’m actually stepping towards the canner. In fact, I just signed up for a pressure canning class. YES! I can’t wait to tell you about it!
Until next time!
-E.
Spicy Chipotle Salsa
Ingredients
- 12 dried chipotle chile peppers, stems removed
- 12 dried guajillo or cascabel) chile peppers, stems removed
- 2 cups boiling water
- 2 pounds tomatillos; husks removed and washed
- 2 pounds plum tomatoes; cored and washed
- 1 large onion; peeled and quartered
- 1 head garlic broken into individual cloves (don't peel the garlic but remove any excess papery skin)
- 1 cup apple cider vinegar
- 2 teaspoons granulated sugar
- 1 1/2 teaspoons table salt (do NOT replace with Kosher salt)
Equipment
- 6 glass pint canning jars, lids, and bands
- water bath canner or deep pot
- large sauce pan
- blender
Instructions
-
Prepare your jars for canning and set up your water bath. For more information on this, visit FoodInJars.com
-
Place a large pot on the stove. You'll use this for cooking the salsa.
-
Set up your blender or food processor.
-
Wipe the dried peppers with a damp paper towel. This removes any dust that might be clinging to the surface.
-
Place the half the dried chiles in a large dry skillet. Cook over medium heat about 30 seconds per side. You want the chiles to be aromatic and pliable. Repeat with remaining chiles.
-
Carefully place the warm chiles in medium glass or stainless steel bowl. Cover with two cups boiling water. If your chiles are floating out of the water, place a small plate onto the chiles to weigh them down. Soak until softened, about 20 minutes.
-
While the chiles soak, place the tomatillos, tomatoes, onion, and garlic onto a rimmed baking sheet. Broil until the tomatoes and tomatillos are softened. They should look blistered and blackened in a few places. This takes about 15 minutes. However time will vary depending on your broiler.
-
Remove the pan from the oven. Set the garlic aside. Place the onion into the waiting blender.
-
Invert a rimmed baking sheet over the tomatoes and tomatillos. If you don't have a second baking sheet around, place the tomatoes and tomatillos in a large bowl and cover the bowl with plastic wrap. You want the plastic wrap stretched across the bowl, not laid on the hot tomatoes.
-
While you wait for the tomatoes to cool, transfer the soaked chiles and hot water to the blender. Puree the chiles and onions until smooth. Pour the mixture into the waiting pot.
-
Peel the cooled garlic and tomatoes. The skins should slip easily off both the garlic and the tomatoes. It's okay if some of the skin sticks.
-
Puree the roasted tomatillos, tomatoes, and garlic in the blender. Work in batches if you have a small blender. The texture is up to you. I think this recipe works best as a smooth, almost sauce-like salsa. Pour the tomato puree, vinegar, sugar, and salt into the pot along with the chile-onion mixture. Stir to combine. Bring to a boil over medium heat, stirring constantly to prevent the salsa from scorching. Once it reaches a boil, reduce the heat and boil gently, stirring frequently, until the salsa thickens. You want it to be about the consistency of a thin ketchup. This takes about about 15 minutes.
-
Ladle hot salsa into hot jars leaving 1/2 inch headspace. Using a chopstick or other non-metal tool, remove air bubbles and remeasure headspace. If needed, ladle more salsa into the jar. Wipe rim with a damp paper towel. Center metal lid on the jar. Secure the lid with a metal band. Twist on only to "finger tip tight." Do not over tighten.
-
Using canning tongs, lower the jars into the water bath canner. The water should cover the jars by 2-inches. Process for 15 minutes, adjusting for altitude as needed. When the time is up, carefully remove the jars and place on a towel-covered counter. Allow to cool undisturbed for 24 hours.
-
After 24 hours, check that jars have sealed. The lid should not flex up and down when center is pressed. If any jars did not seal, store those jars in the refrigerator and eat within one week.
-
Remove the metal bands, wipe down the jars, and label. Store the salsa in your pantry, out of direct sunlight.


Leave a Reply