The best gluten-free scones are light, slightly sweet, and made with a few simple ingredients. The method for making them is similar to gluten-free biscuits. You start by whisking the dry ingredients together, add some cold butter, and then stir in buttermilk or cream, and an egg. (If you’re dairy-free, you’ll find substitutions for dairy included.) Then simply pat the dough into a round and let it chill before baking.
That last step might catch your attention. Chilling the dough gives the gluten-free flour time to hydrate. This means your scones won’t spread and bake up light and delicious. While you might be tempted to skip this step, don’t. Soon you’ll be enjoying perfect gluten-free scones with your cup of coffee or tea!
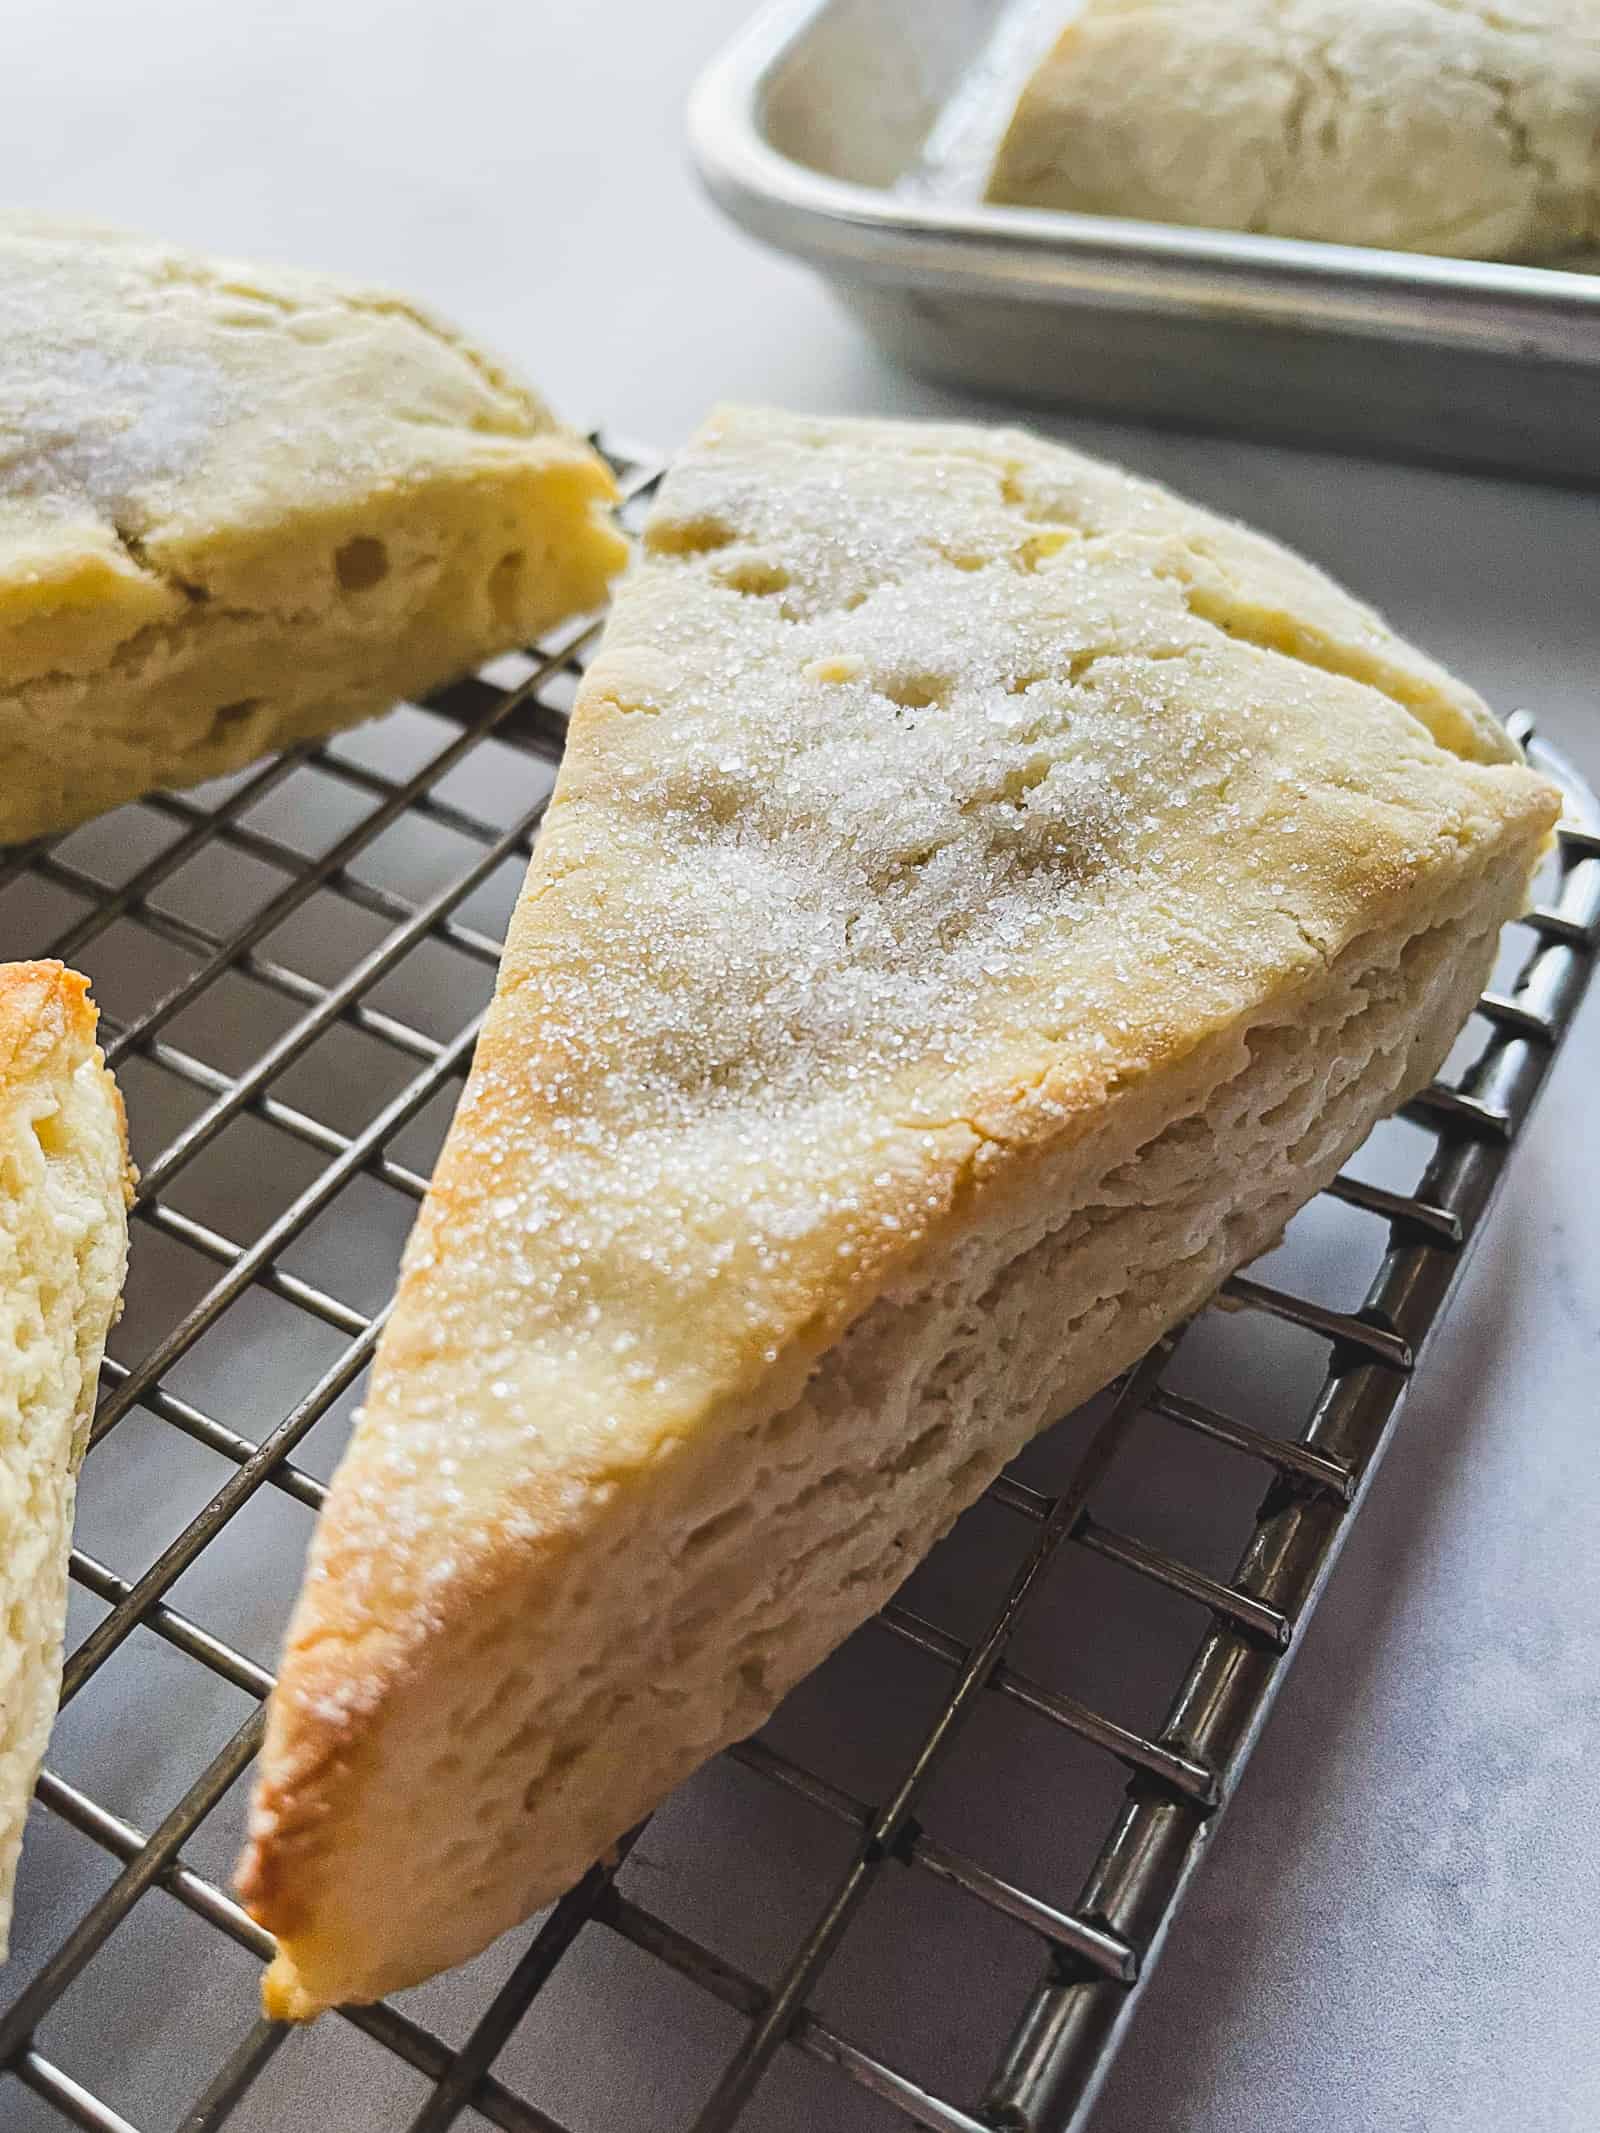
What you need to know about making gluten-free scones.
- Use a gluten-free flour blend that contains xanthan gum to give the scones a light and tender texture.
- Cold butter or a dairy-free spread helps the scones to rise.
- You can mix the butter into the flour by hand or with a food processor. But stir in the liquid by hand. This ensures the right amount of liquid is added.
- Chilling the dough is an important step. It allows the gluten-free flour to absorb the liquid.
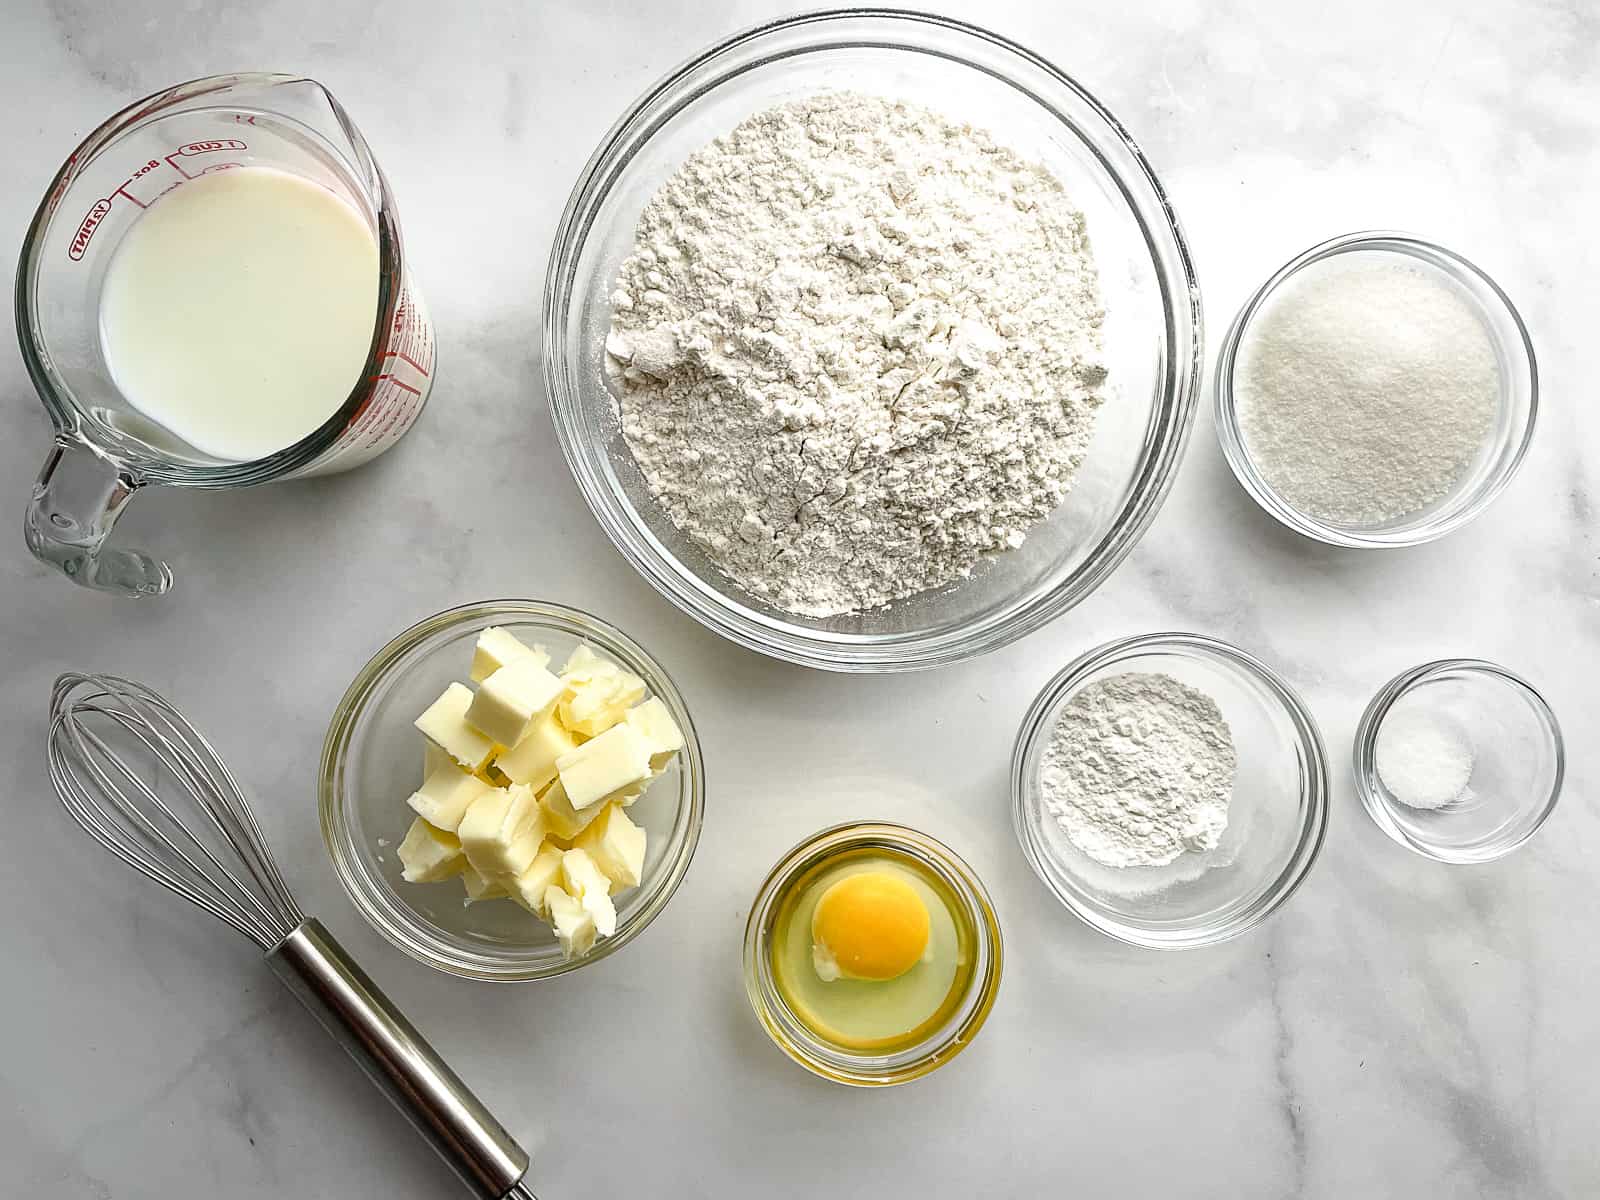
Ingredients and Dairy-Free Options.
- Gluten-Free Baking Flour. Use a gluten-free baking flour that contains xanthan gum. Xanthan gum prevents the scones from spreading. If your flour doesn’t contain xathan gum, whisk a half teaspoon of xanthan gum into your flour. Then follow the recipe as written.
- Granulated Sugar. These scones are mildly sweet. If you like a sweet, dessert-like scone, increase the sugar to a half-cup. If you want something that’s more savory, reduce the sugar to 2 tablespoons. Not only does the sugar add sweetness, or cit also helps the scones to brown. If you reduce or omit the sugar, the scones won’t be as dark.
- Baking Powder. Scones are in the “quick bread” family. This means their rise comes from baking powder and not yeast. Always use fresh baking powder. (There should be an expiration date on the jar.) If you’re unsure if your baking powder is fresh, test it. Combine 1/2 cup of hot water with 1 teaspoon of baking powder. You want it to bubble and foam vigorously. If there are only a few–or no!–bubbles, you need a new jar.
- Salt. A little bit of salt makes a big difference. It enhances the flavor of the scones. Without it, gluten-free scones taste flat. Table salt is best for baking. It blends easily into the dough. If you only keep flaky salt in the house, use double the amount of salt called for in the recipe. The reason for this is that flaky salt takes up more space than table salt.
- Butter. The key to excellent scones is to use cold butter. If your kitchen is warm, measure your butter first, before you even turn on the oven. Cut the butter into small pieces and return it to the refrigerator. Then turn on your oven and measure the remaining ingredients.
Dairy-Free Options: Replace the butter with an equal amount of dairy-free baking spread or use coconut oil. If you use coconut oil, it should be cold but not brittle. - Buttermilk or Cream. This recipe can be made with either buttermilk or cream. So which should you use? It depends on what you want. Scones made with buttermilk have a tangy flavor. Scones made with cream are rich and don’t stale as quickly.
Dairy-Free Option: Use full-fat coconut milk. Whisk the coconut milk until smooth before measuring it. - Egg. One egg helps the scones hold their shape and gives them a nice flavor.
Egg-Free Option: If you want an egg-free scone, use an additional 1/4 cup of either buttermilk or cream. Egg-free and gluten-free scones tend to spread a little more than scones made with an egg.
How to Make Perfect Gluten-Free Scones.
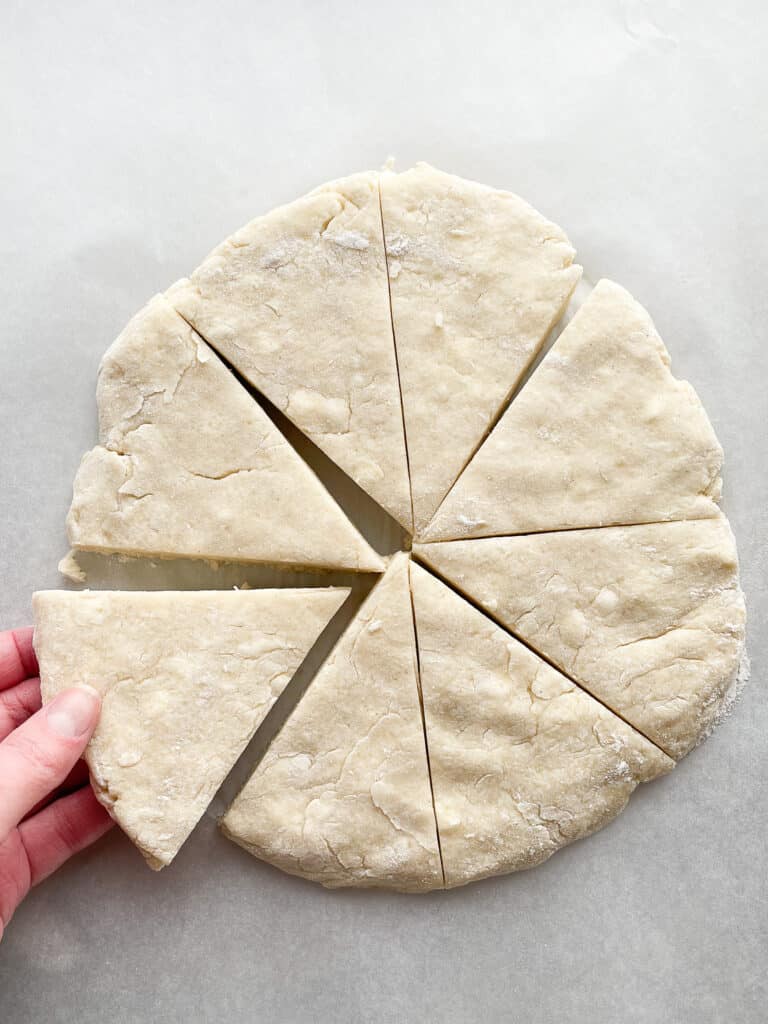
Let’s talk about how to make gluten-free scones step-by-step. Making them isn’t hard but it does take a little practice. If you follow these tips, you’ll make perfect scones in no time.
Make the Dough.
Whisk the dry ingredients.
It’s important to mix the gluten-free flour together with the baking powder, sugar, and salt. This step helps evenly distribute the baking powder, ensuring that your scones bake up light and tender.
To do this, either mix the ingredients together in a large bowl or use a food processor. If you use a food processor, run the processor for about 20 seconds.
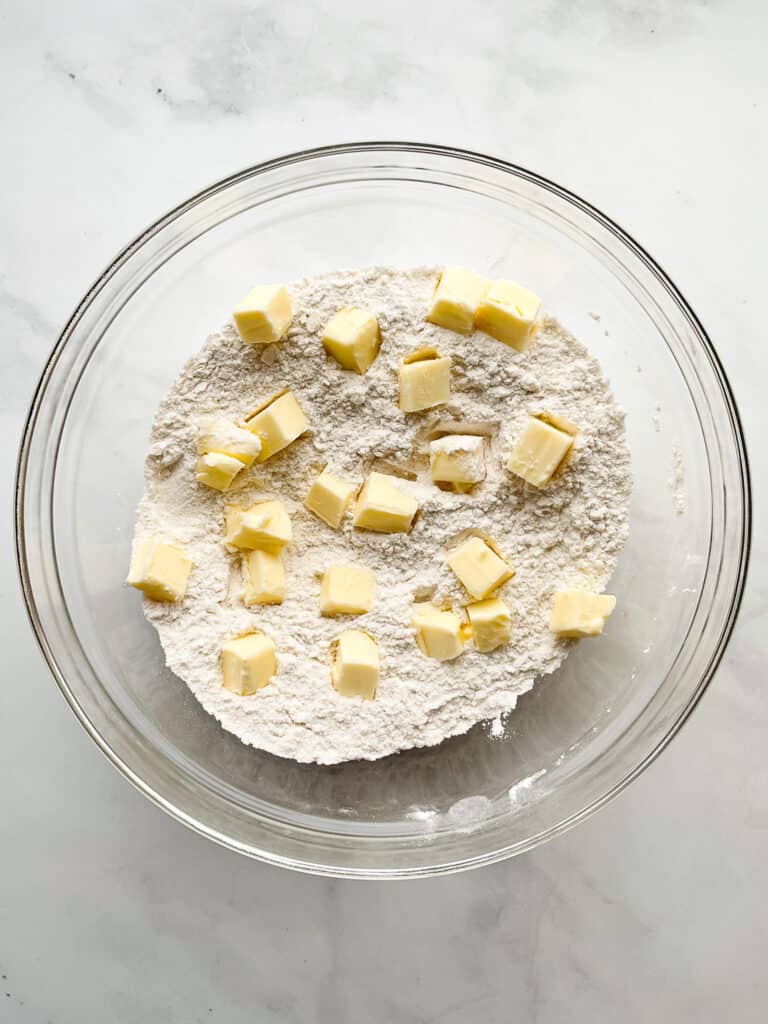
Add Cold Butter.
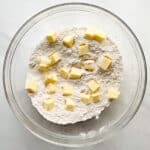
Cold butter is the key to making great gluten-free scones. If the butter is soft before adding it to the flour, it makes for heavy, dense scones. To avoid this, cut the butter into small pieces. If you have warm hands, work the butter into the flour with a pastry cutter. If your hands are cold, rub the butter into the flour with a snapping motion of your fingers. Stop mixing when the flour looks coarse. You should see small pieces of butter throughout the flour. If you grab a small handful of dough and give it a squeeze, the flour should hold together.
If you’d rather use a food processor, add the butter and pulse the processor a few times to cut in the butter. It’s easy to overmix the butter when using a food processor. Stop a few times, remove the lid, and check the mixture. It’s done when little pieces of butter are sprinkled throughout the flour.
Mix Until a Dough Forms.
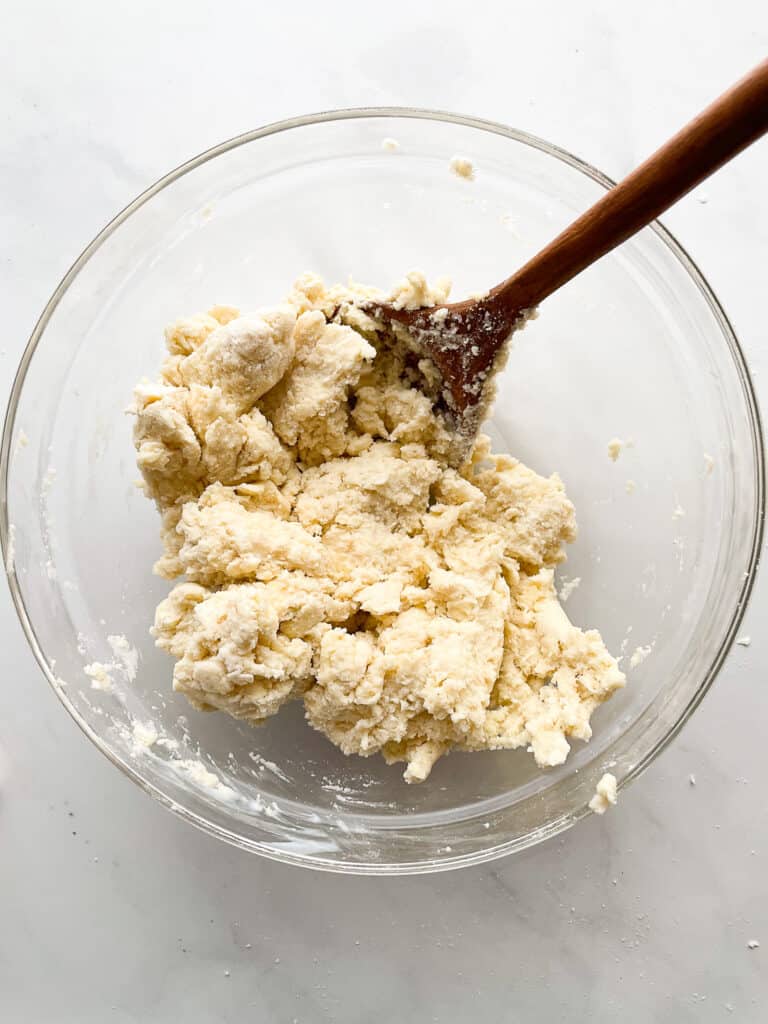
Stir in the buttermilk (or cream) and the egg. If you added the butter with a food processor, transfer the mixture to a mixing bowl. It’s best to add the liquid by hand. It’s easy to overmix gluten-free scone dough in a food processor.
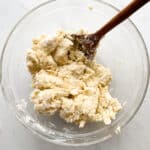
Stir until a dough forms. Check the bottom of the bowl for dry flour. If you see any, mix a few seconds longer. If it remains, the dough might need additional liquid.
To test the consistency of the dough, pick up a piece. Gently press it in your hand. If it easily holds together, it’s all set. If the dough falls apart or you see lots of white spots of flour, it needs more liquid. Add a tablespoon of additional buttermilk until the dough easily holds together but isn’t wet or tacky.
Shape.
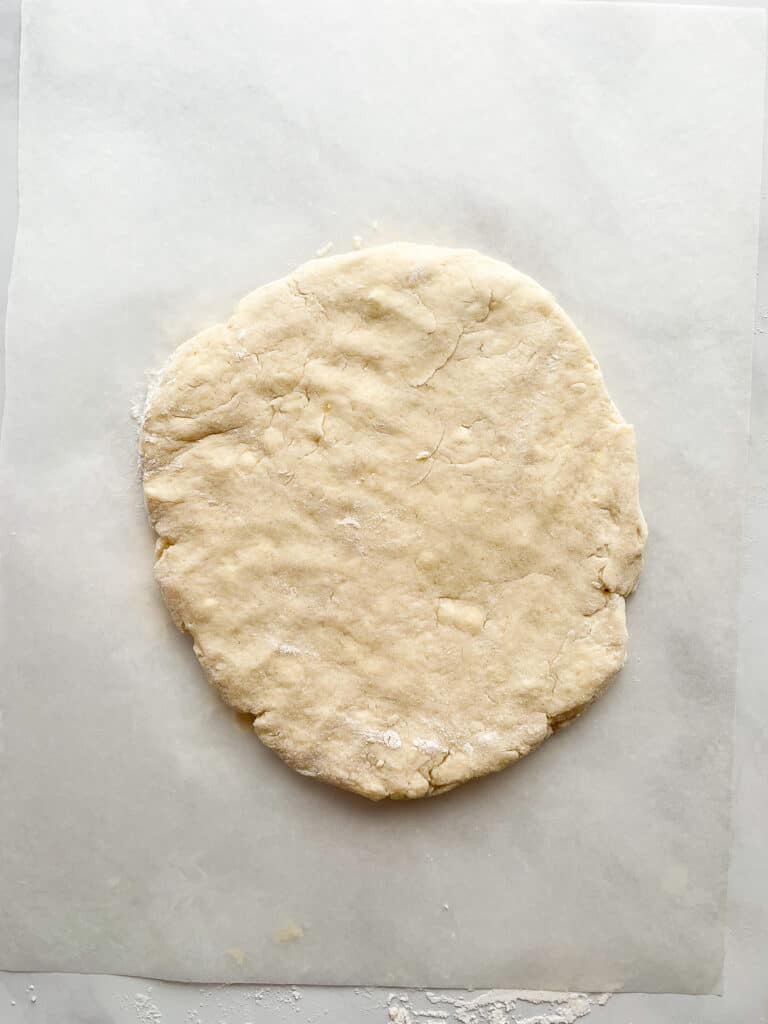
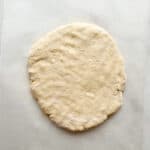
Lightly dust your counter with gluten-free flour. Knead the dough once or twice so that it holds together. Place the dough onto a parchment-lined baking sheet. Then, pat it into an 8 to 9-inch round. Cover the dough with plastic wrap or a dry towel.
Why not use a rolling pin?
Good question! Rolling out gluten-free scone dough works the butter further into the dough. The more the butter mixes with the flour, the heavier the scones. Patting the dough into a round with your hands keeps the scones light.
Chill.
Chill the dough for 30 minutes. This gives the gluten-free flour time to absorb the buttermilk and egg. This prevents the scones from spreading as they bake and also reduces grittiness.
Bake the Gluten-Free Scones.
Preheat the Oven.
It’s important that scones are baked in a hot oven. After the dough chills for 30 minutes turn on the oven. Once it reaches temperature, I let it run for another five minutes. This ensures the inside of the oven is evenly heated.
Cut into Pieces.
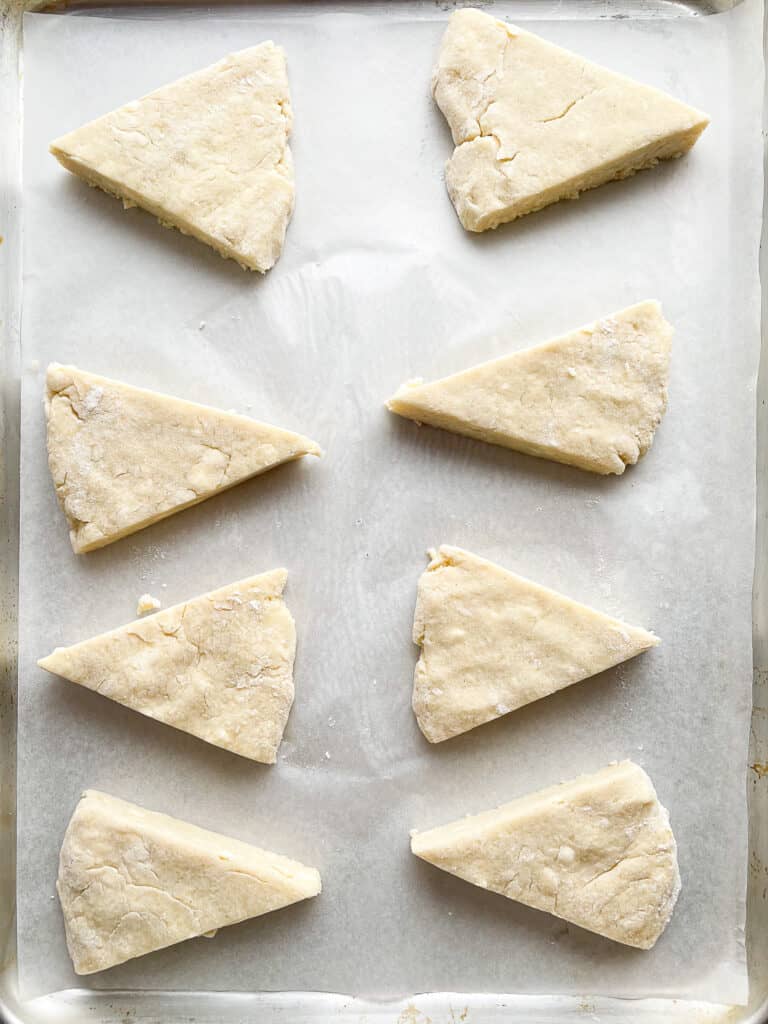
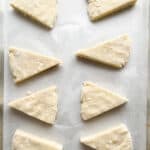
For triangle scones: remove the dough from the refrigerator and cut it into eight pieces, like you’d cut a pie.
For round scones: cut the dough with a small round cookie cutter. Don’t twist the cutter. Doing that seals the edges and the scones won’t rise as high.
Separate the Scones.
Place the scones a few inches apart on the baking sheet. They shouldn’t spread but if they do, spacing them before baking prevents them from sticking.
Sprinkle with Sugar (Optional).
Before baking, sprinkle a little sugar on top of each scone. This is optional. You can use table sugar or, for more texture and a little sparkle, coarse sugar.
Bake Until Brown.
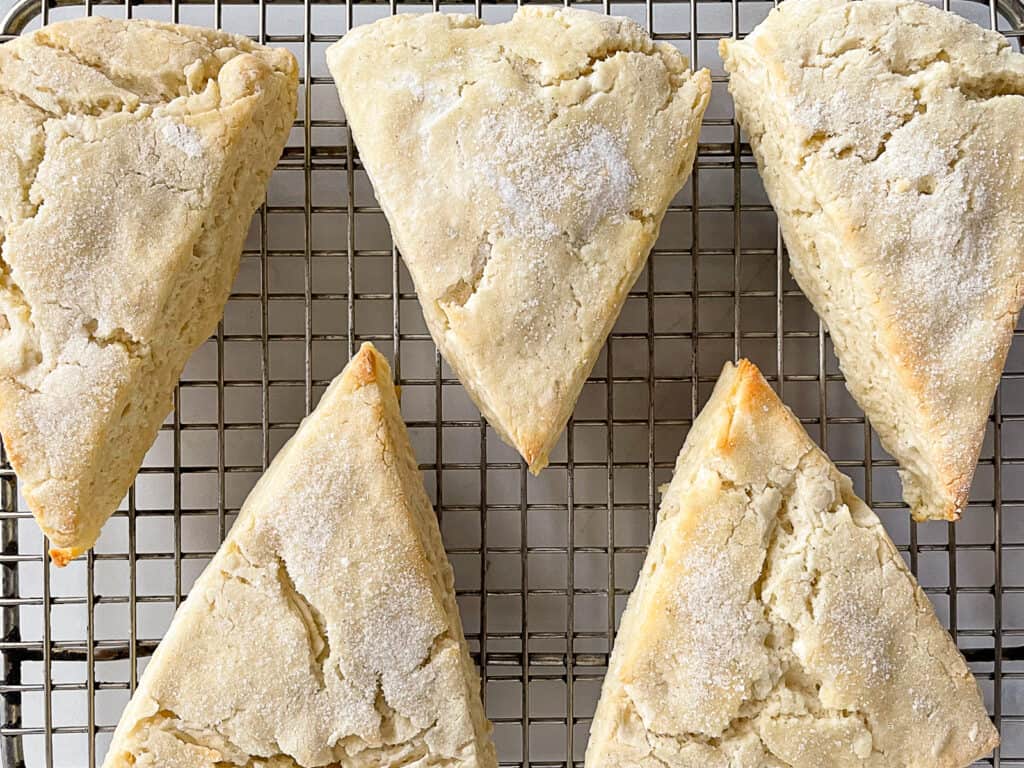
Gluten-free scones take about 20 minutes to bake. Like many gluten-free baked goods, they remain fairly pale. To check for doneness, use a small spatula, lift the scone slightly off the baking sheet, and check the underside. It should look evenly brown. If it’s light, return the pan to the oven for a few minutes.
Variations.
Think of this recipe as a master gluten-free scone recipe. You can adapt it to many different flavors.
- Blueberry Scones. Stir 1 cup of fresh blueberries into the dough.
- Lemon Scones. Reduce the buttermilk by 2 tablespoons. Add 2 teaspoons of fresh lemon zest and two tablespoons of fresh lemon juice.
- Chocolate Chip Scones. Add 1 cup of dark or milk chocolate chips. Top scones with a sprinkle of coarse sugar.
How to Store Gluten-Free Scones.
Freshly baked gluten-free scones only last about 1 to 2 days when stored at room temperature. To store scones at room temperature: cover with foil or plastic wrap or place in a plastic bag or sealed container.
If you don’t think you’ll enjoy all the scones within two days, it’s best to freeze them. Let the scones cool completely. Then place them into a freezer bag or container. They keep for up to three months in the freezer. When you’re ready to enjoy a scone, remove it from the freezer and let thaw.
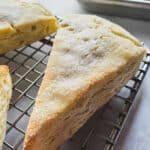
Gluten-Free Scones
Ingredients
- 2 cups gluten-free flour (10 ounces; 283 grams)
- ⅓ cup granulated sugar 2 ⅓ ounces; 65 grams
- 1 tablespoon baking powder
- ½ teaspoon salt
- 6 tablespoons cold butter cut into small pieces (3 ounces; 85 grams)
- ¾ cup buttermilk or heavy cream, plus more as needed (6 ounces; 170 grams)
- 1 large egg (2 ounces; 56 grams out of shell)
Instructions
-
To mix the dough by hand: Combine the gluten-free flour, sugar, baking powder, and salt in a large bowl. Whisk to combine.
Add the butter and stir to coat it with the gluten-free flour mixture. Quickly cut in the butter with a pastry cutter or your fingers. Look for the mixture to look coarse with small and large pieces of butter throughout the flour. Proceed to step three.
-
Food processor directions: Place the gluten-free flour, sugar, baking powder, and salt in the bowl of a food processor. Pulse food processor, about 20 seconds each, to combine.
Remove the lid and add the butter. Pulse the food processor, about five times, to incorporate the butter into the gluten-free flour.
-
Add the buttermilk and egg. Stir until the dough comes together. If dry flour remains in the bowl, add a tablespoon more buttermilk. If the dough is very wet and sticky, add an additional tablespoon of gluten-free flour.
-
Dust your counter with gluten-free flour. Turn the dough out onto the counter and knead it until almost smooth.
-
Line a baking sheet with parchment paper. Place the dough in the center of the pan. Pat it into an 8-inch round. Cover the dough with plastic wrap or a dry towel. Chill for 30 minutes.
-
Preheat oven to 375°F. Remove the pan from the refrigerator and remove the plastic wrap. Cut the dough into 8 triangles. Gently separate the scones. (For round scones, see the variations in the notes below.) Sprinkle with sugar. (optional.)
-
Bake scones until the bottoms are lightly brown, about 20 minutes. Let the scones cool on the pan for about 5 minutes and then transfer to a wire rack to cool completely.
-
Store the scones wrapped at room temperature for up to two days.To freeze: allow scones to cool. Place them into a freezer bag or container. Freeze up to three months. Thaw the scones in the refrigerator.
Recipe Notes
Dairy-Free Variations.
Butter. Replace the butter with an equal amount of dairy-free baking spread or coconut oil. If using coconut oil, you want it firm but not brittle.
Buttermilk or cream. Replace the buttermilk with full-fat coconut milk. Whisk the coconut milk until smooth before using.
Egg-Free Variation.
Replace the egg with a ¼ cup of additional buttermilk, cream, or coconut milk.
Flavor Variations.
Blueberry Scones. Stir 1 cup of fresh blueberries into the dough.
Lemon Scones. Add the zest of one large lemon.
Chocolate chip scones. Add 1 dark or milk chocolate chips. Top scones with a sprinkle of coarse sugar.
How to Make Round Scones.
Pat the dough into an 8-inch square. Cut the dough with a small round cookie cutter. Don’t twist the cutter. Doing this seals the edges and the scones won’t rise as high. You can gently knead the remaining and cut into rounds. Bake time depends on the size of the cutter you use. A 3-inch scone takes about 15 minutes to bake.



Samantha says
I cannot believe how fluffy and perfect these turned out! Kept their shape perfectly and they puffed up an extra 50% while in the oven. So impressed.
paul beaudette says
I just. made this recipe w/blueberries. It was dry so I added 1T at a time then chilled the entire flat disc. Now when I cut them into pieces they CRUMBLED a lot. Can someone explain how to remedy this?
They do taste fine in the end but break apart thanks.
Elizabeth says
Scones are a little dry but should not crumble like you describe. Let’s see if we can get to the bottom of this! What brand of flour did you use?