This gluten-free onion ring recipe makes homemade rings that are light, crispy, and so flavorful. They’re perfect as a side dish or as a snack. And thanks to the gluten-free flour, the batter only takes a few minutes to make.
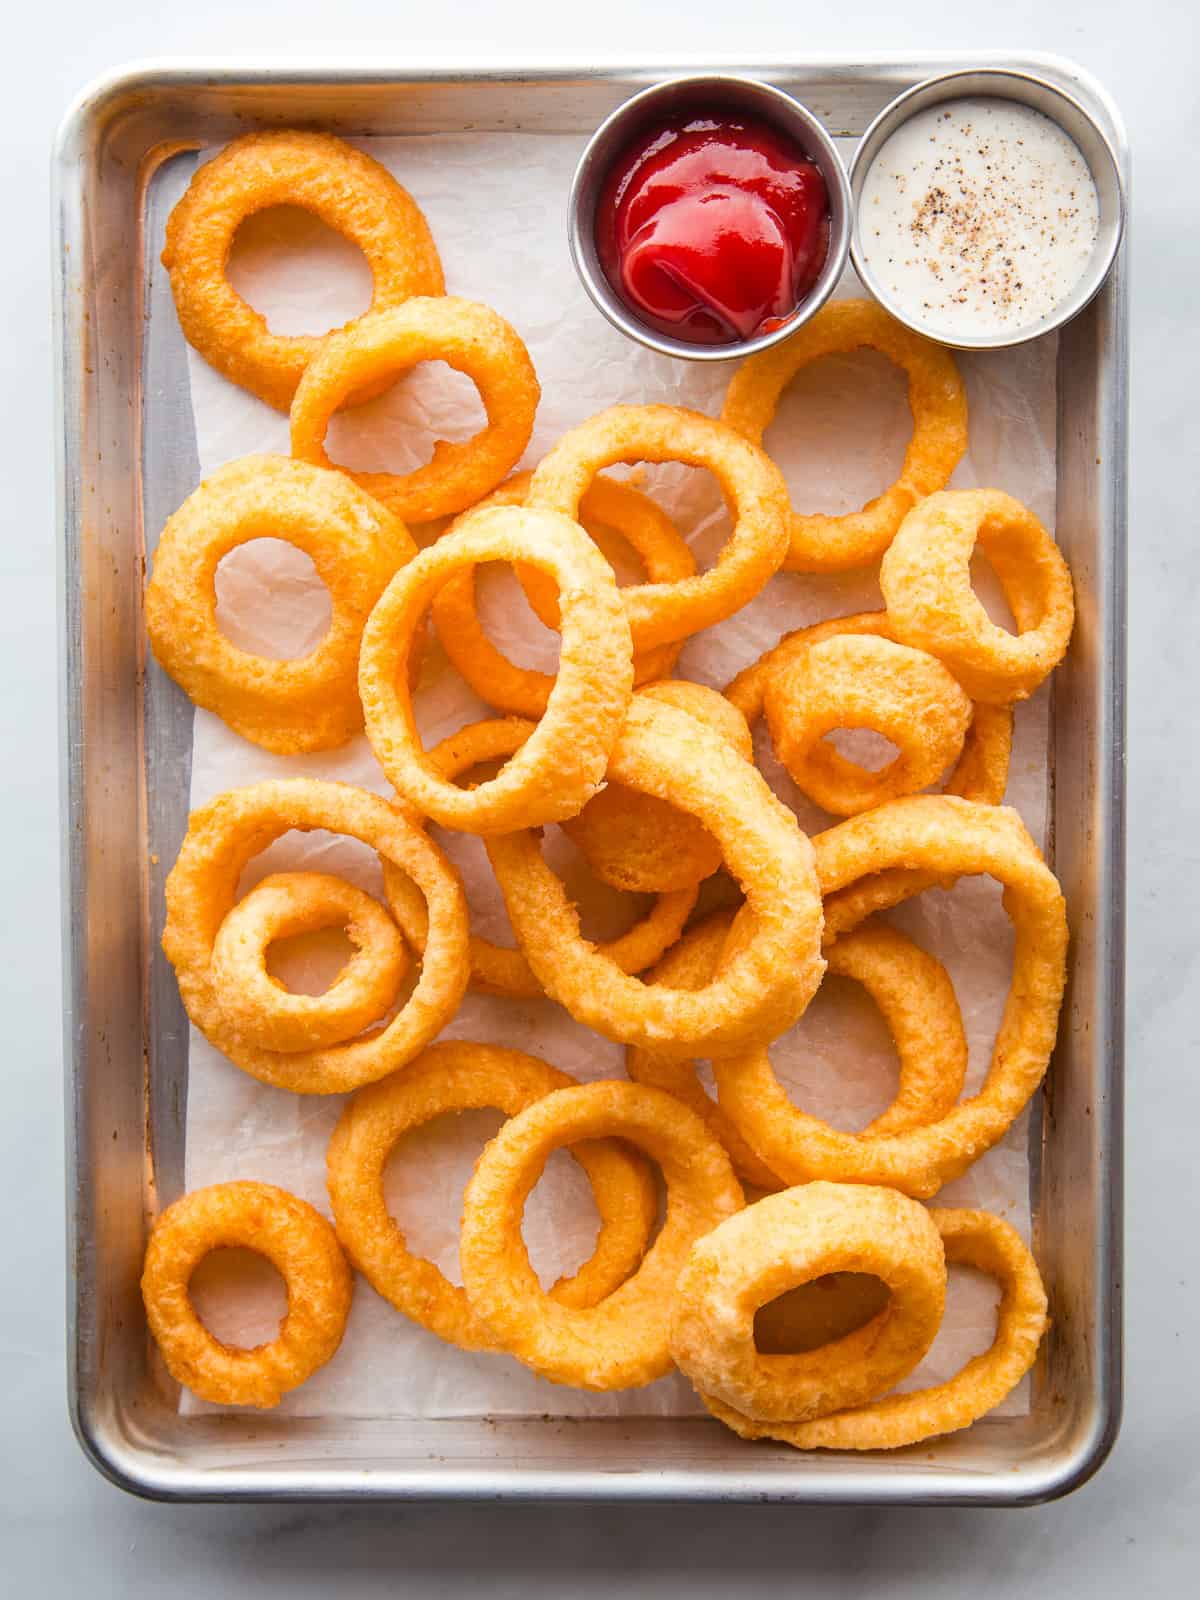
There’s nothing quite like a crunchy, freshly fried onion ring. Like homemade gluten-free mozzarella sticks, these are a fried treat that’s worth making at home. They’re great served as an appetizer, snack, or alongside your favorite burger or gluten-free fish fry.
What you need to make gluten-free onion rings.
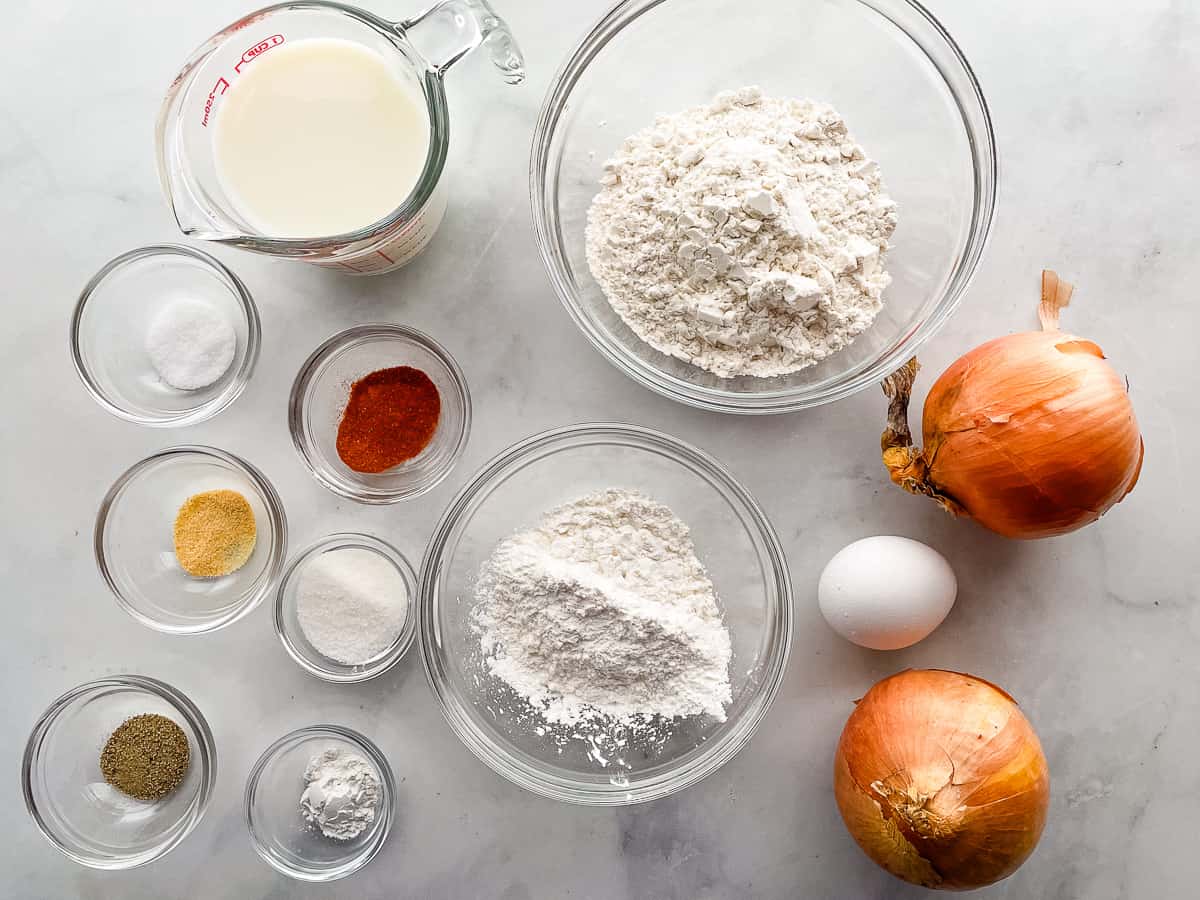
For the full list of ingredients and amounts, please see recipe below.
- Onions. These can be made with yellow onions or with sweet onions, like Vidalias or Walla Walla onion. Sweet onions tend to be larger and make for nice, big onion rings.
- Gluten-Free Flour. I like Bob’s Red Mill 1:1 Gluten-Free Flour Blend. It makes for a light coating. Using a different flour blend might give you different results.
- Cornstarch. Dusting the onion rings with cornstarch helps the batter to stick and keeps the rings from being greasy.
- Milk and Egg. The combination of milk and an egg makes an onion ring batter that browns nicely. For a dairy-free and egg-free batter, replace the milk and egg with seltzer or gluten-free beer.
- Seasonings. Garlic powder, black pepper, and paprika add flavor to the batter.
- Baking Powder. Helps lighten the batter.
- Sugar. Adding a tablespoon of sugar is optional. It helps the batter to brown and brings out the sweetness of the onions–without making the rings taste sugary sweet.
- Salt. Enhances all the other flavors. Before serving, you can also sprinkle on additional salt.
- Oil for frying. You’ll need to fill a Dutch oven about 1-inch full with oil.
How to Make Gluten-Free Onion Rings.
It’s a little bit of a process to make homemade onion rings. Here are the steps—along with some tips to ensure your onion rings come out perfect every time.
Step One: Cut the Onions.
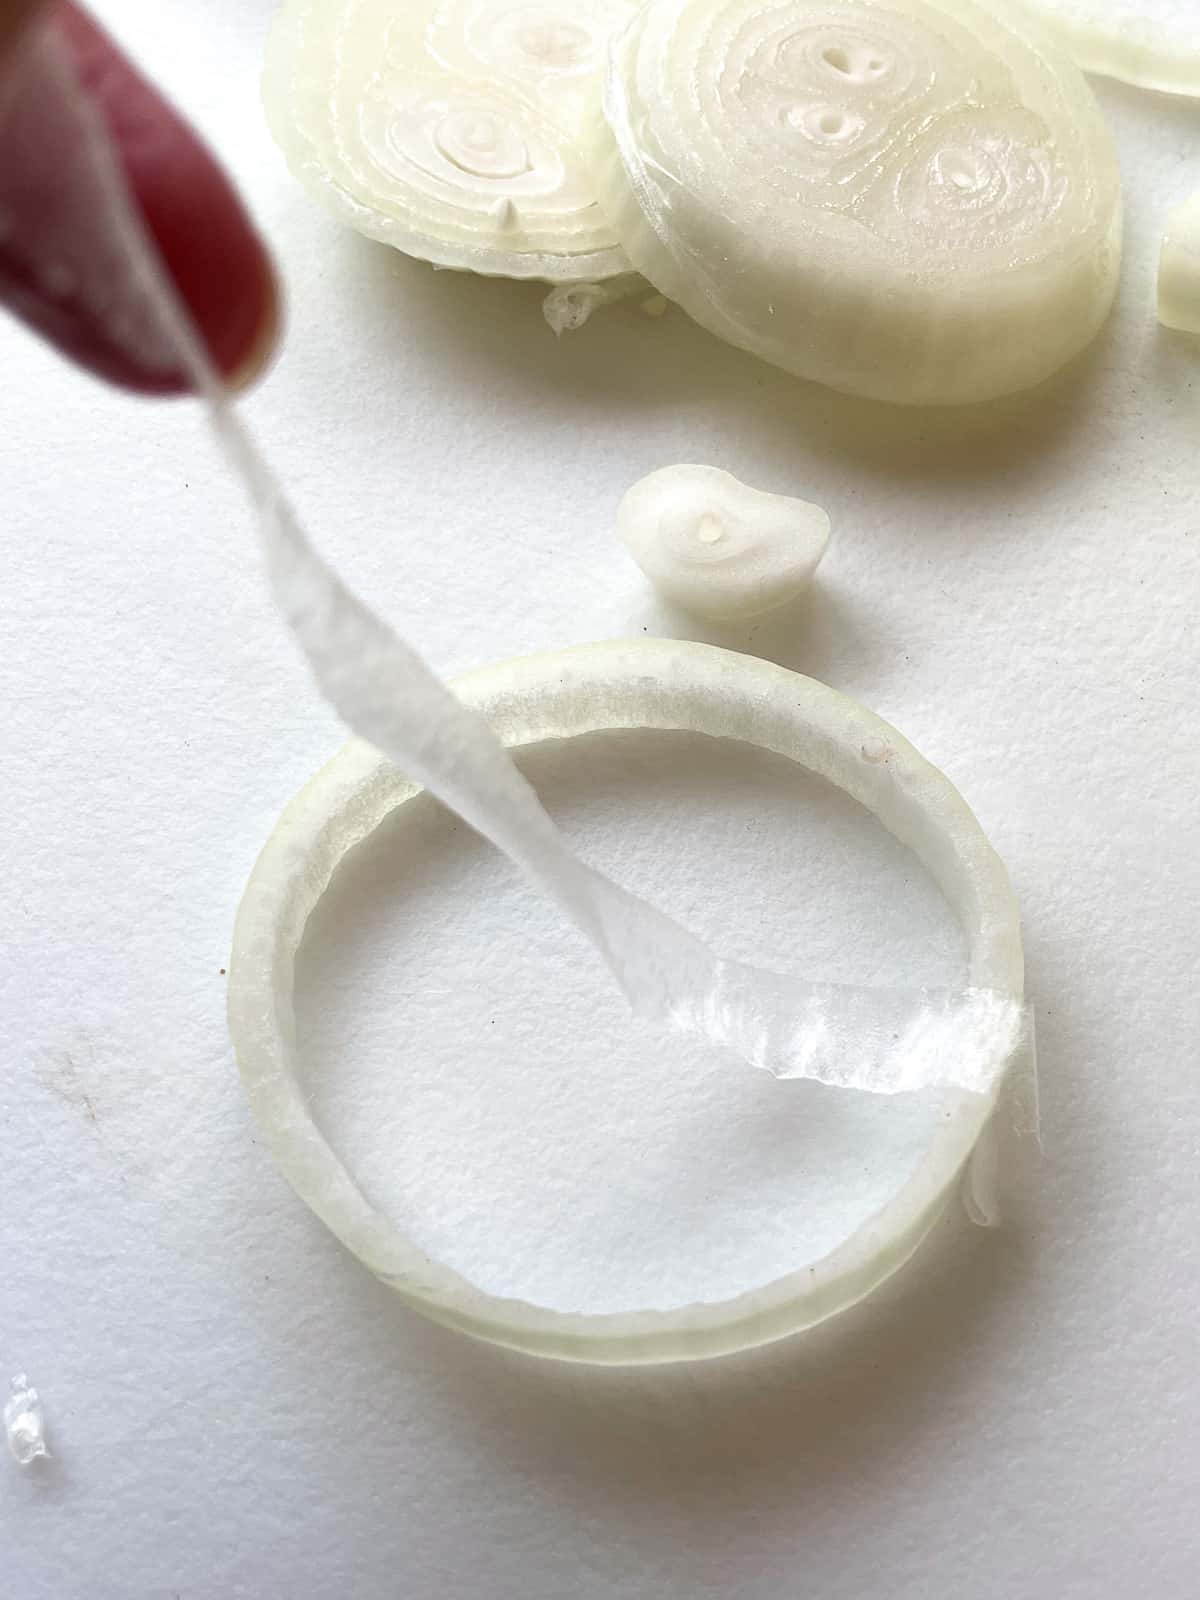
First cut the ends of your onion and remove the papery skin. Then slice the onions into about ½ inch-thick slices.
Separate the onion slices into rings by pushing out the layers. At this point, you might notice a thin layer clinging to each onion. If it’s hanging off the onion ring, remove it. This membrane can make it hard for the batter to stick to the slices and it can burn during frying.
Step Two: Make the Batter.
Mix the gluten-free batter together until it’s smooth. For a thick coating on your onion rings, use the amount of milk called for in the recipe. If you prefer a thin coating, add a little additional milk. The thinner the onion ring batter, the lighter the coating.
After mixing, let the batter sit for at least 15 minutes. This gives it time to thicken. This is a good time to set up for frying. Fill your Dutch oven with oil. Line a baking sheet with paper towels, and place the cornstarch on a plate.
Step Three: Heat Your Oil.
Fill a Dutch oven or deep fryer with about an inch of oil. You don’t want your pot more than ⅓ full. If you’re using a deep fryer, fill it as directed by the manufacturer.
Heat the oil to 375°F. It’s important to use a thermometer for this step. You don’t want to overheat the oil.
Step Four: Coat the Onion Rings.
When the oil is at the right temperature, it’s time to coat and fry the rings.
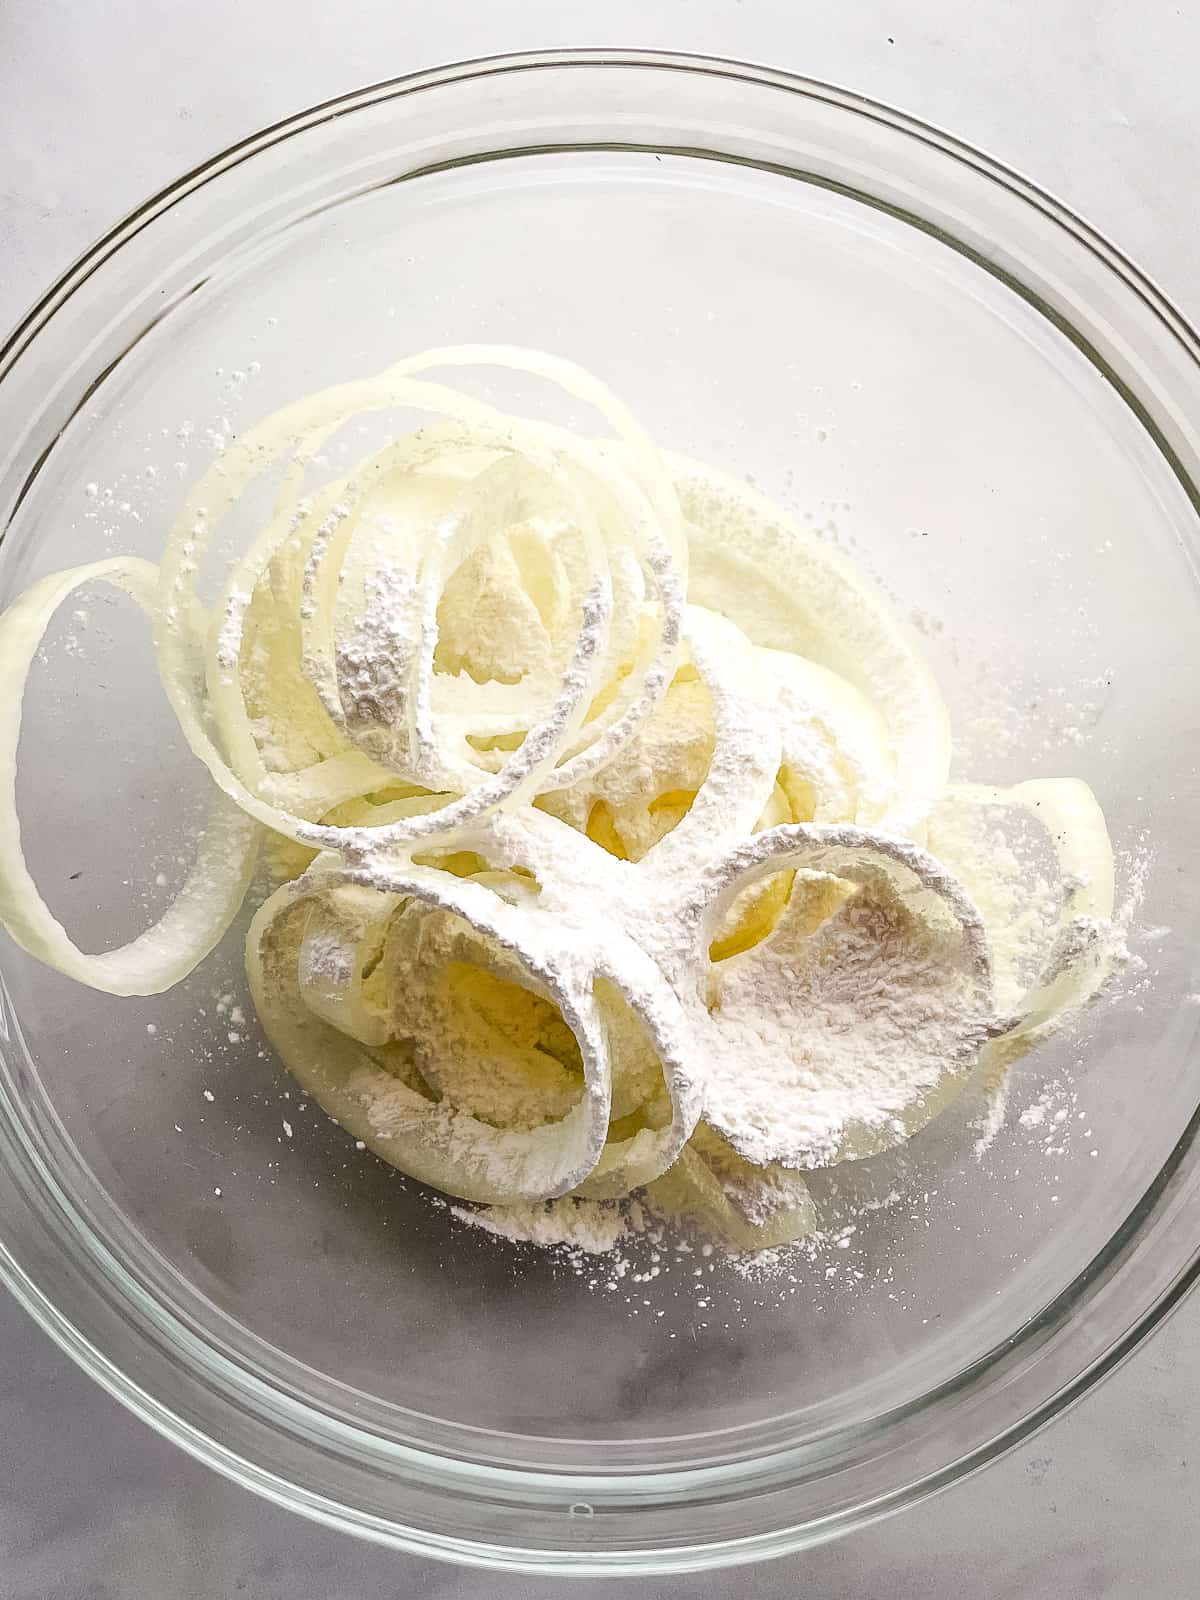
First, coat the onion slices in corn starch. You can do a few rings at a time. Or you can coat them all at the same time. It’s up to you.
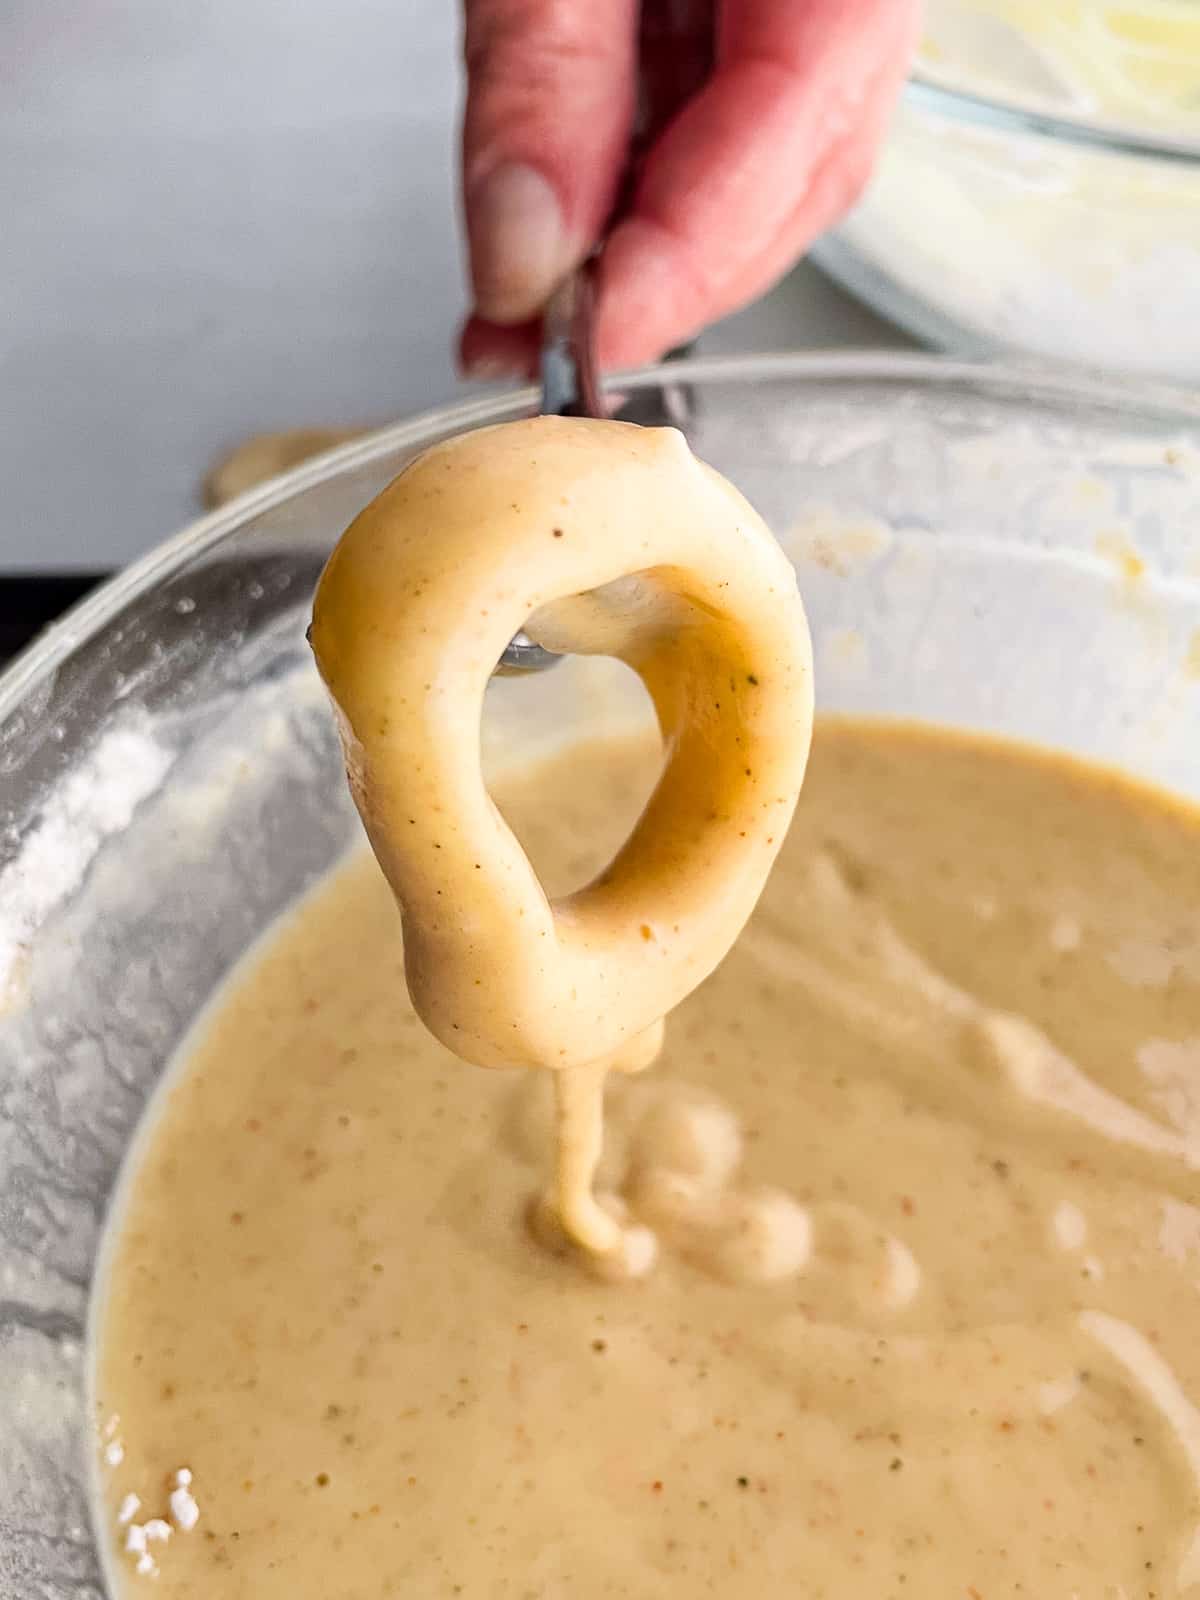
Then, one at a time, dip each ring through the batter. I like to use a fork for this step. Let any excess batter drip off the onion slice.
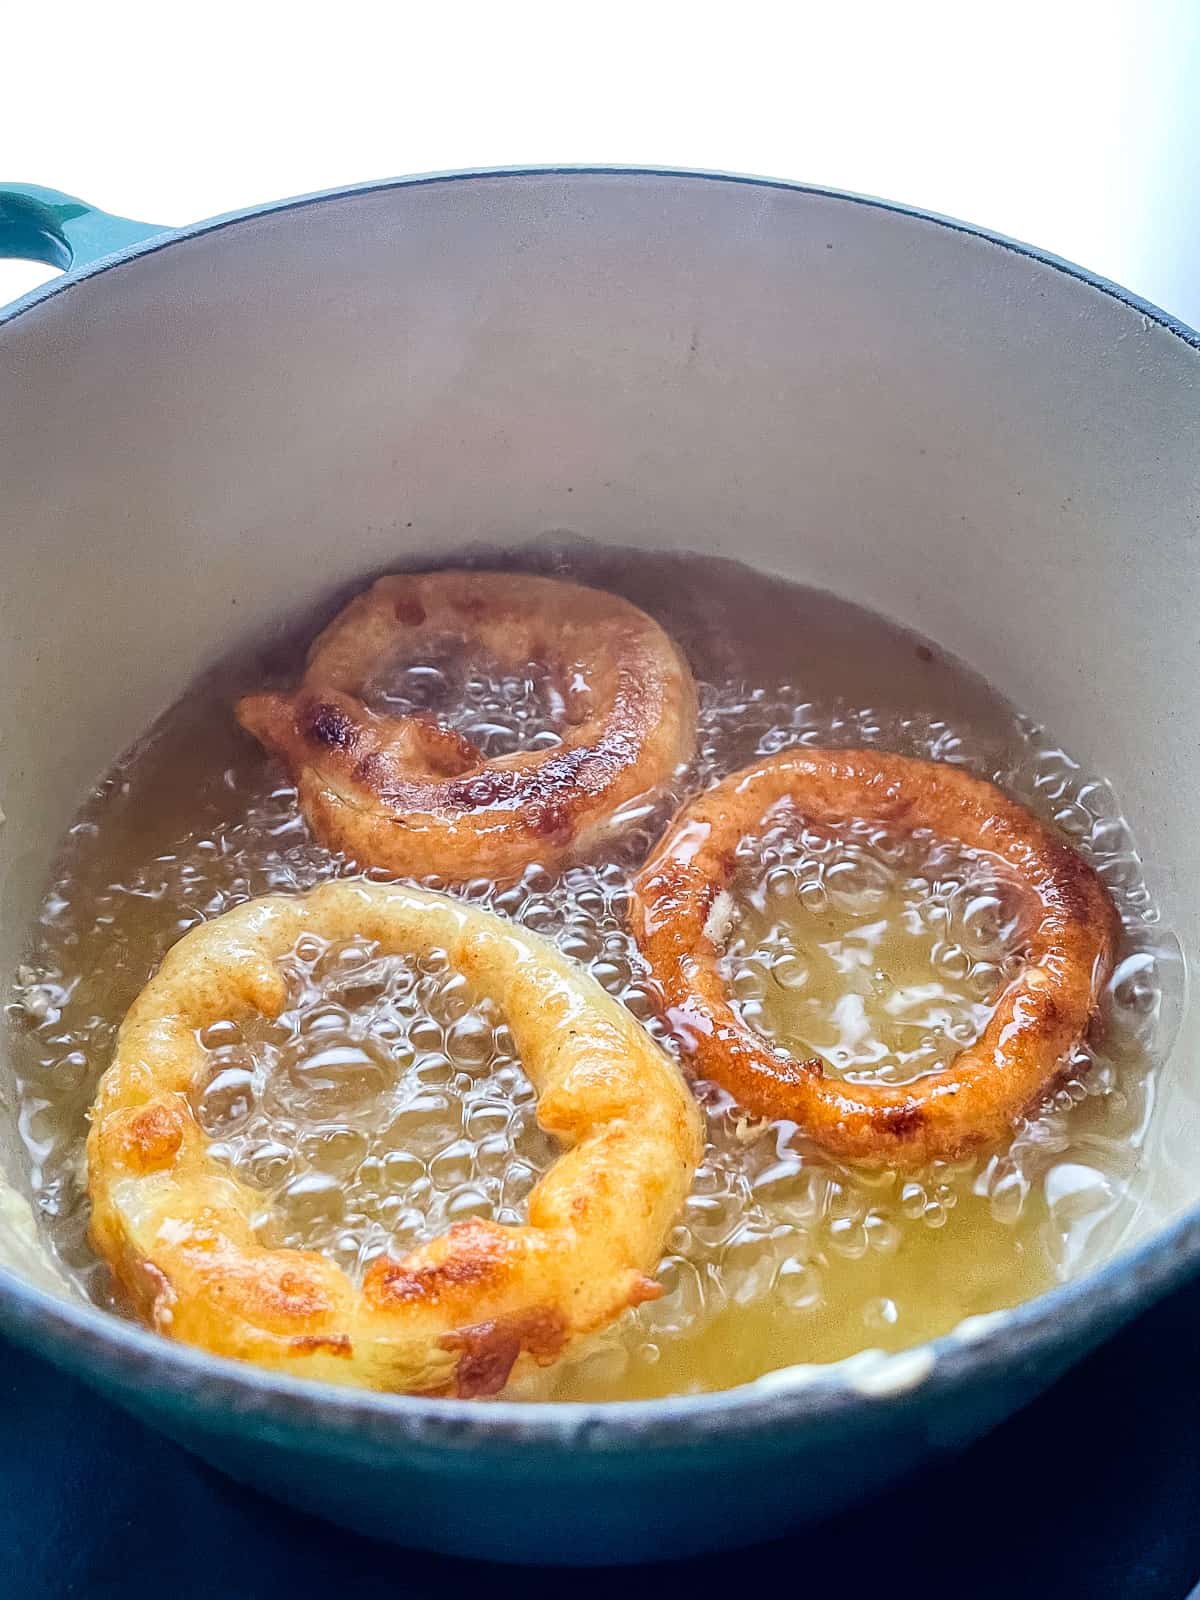
After coating the ring with the batter, carefully place it into the hot oil. The oil will bubble quickly when you do this.
Fry for about a minute or so, then carefully turn the rings and fry until they’re golden brown. It only takes about three minutes total. You can fry as many onion rings as your pot will hold. For me, this is about three to four large rings at a time. You don’t want to crowd the pot of oil or the rings will stick together.
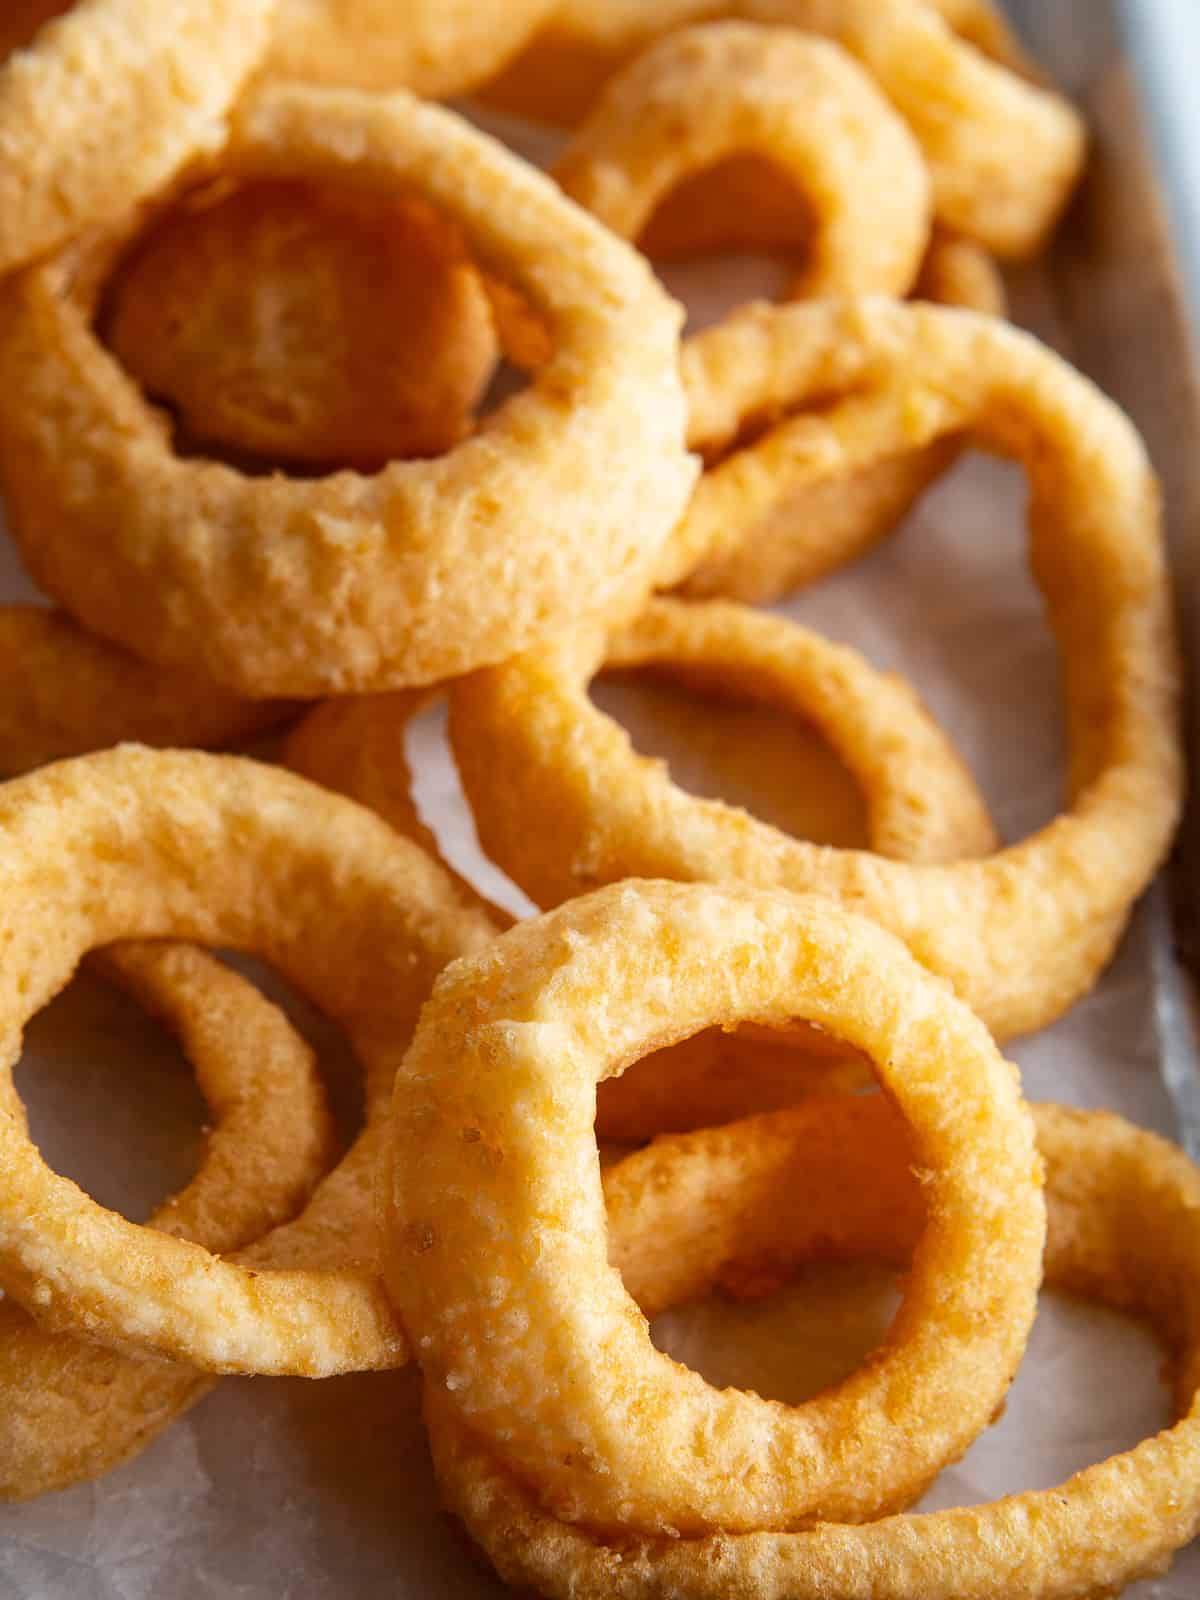
Remove the rings from the hot oil and place on a paper towel-lined baking sheet. Repeat with the remaining rings and batter.
Gluten-Free Onion Ring Tips.
- Batter Thickness. Aim for batter that’s about the thickness of pancake batter. If it’s too thick, add additional milk, one tablespoon at a time.
- The Best Oil for Frying. Fry the rings in canola or vegetable oil.
- Control the Oil Temperature. Be sure to monitor the oil temperature. You want the oil at 375 degrees F, no hotter.
- Work in Batches. It’s best to batter and fry a few onion rings at a time. If you batter the rings and place them on a plate, the batter can run off.
- Season with Salt Immediately. You want to season the onion rings As soon as you remove the onions from the hot oil.

Gluten-Free Onion Ring Recipe
Ingredients
For the Onion Ring Batter
- 1 cup Bob’s Red Mill 1-to-1 Gluten-Free Baking Flour (5 ounces; 142 grams)
- 1 tablespoon granulated sugar, optional, see note
- 1 teaspoon baking powder
- 1 teaspoon paprika
- ½ teaspoon garlic powder
- ½ teaspoon salt
- ½ tsp ground black pepper
- ¾ cup milk, plus more as needed (6 ounces; 170 grams)
- 1 large egg
For Frying
- Canola Oil
For the Coating
- ½ cup cornstarch (2 ounces; 56 grams)
- 2 medium yellow onions or 1 large sweet, vidalia or Walla Walla onion, cut into 1/2 inch rings
- salt, for seasoning
Instructions
-
Make the Batter. Whisk together gluten-free flour, granulated sugar, baking powder, paprika, garlic powder, salt, and black pepper. Add milk and egg. Mix until a batter forms. It should be as thick as pancake batter. If it’s too thick, add more milk, one tablespoon at a time. (For a thin onion ring coating, add 1/4 cup additional milk).
-
Heat the Oil. In a large pot or Dutch oven over medium-high heat, heat about one inch of oil to 375°F. Don't fill your pot more than ⅓ full.
-
Line a large plate or baking sheet with paper towels. This is where you will set the onion rings after you fry them.
-
Coat and Fry the Rings: Place the cornstarch onto a plate or in a bowl. Coat the onion rings in cornstarch. Then dip the rings, one at a time, into the batter. Allow most of the batter to drip off the onion slice.
-
Immediately after coating, carefully place the onion ring into the hot oil. Batter and fry about three or four rings at time.
Fry for 2 to 3 minutes or until golden brown. Turn the rings over once so they brown on each side.
-
Remove the rings from the hot oil with a metal strainer or tongs. Place them onto the paper towel lined baking sheet. Sprinkle with salt.
-
Repeat until the onions are done. Be sure to monitor the oil temperature throughout the frying process.
-
To Keep the onion rings warm: Place them into a 200℉ on a baking sheet while you fry the rest of the rings.
Recipe Notes
Gluten-Free Baking Flour: This recipe was tested with Bob’s Red Mill 1:1 Gluten-Free Baking Flour. Using a different flour might change the rings.
Sugar: The sugar is optional. It adds a nice sweetness to the rings and helps the batter to brown.
Dairy-Free Variation: Replace the milk with an equal amount of gluten-free beer or unflavored seltzer water.
Egg-Free Variation: Replace the egg with a ¼ cup gluten-free beer or unflavored seltzer water.
Dairy and Egg-Free Variation. Use 1 cup gluten-free beer or unflavored seltzer water.


Leave a Reply