
For a long time, a doughnut pan sat on my shelf gathering dust. Maybe I used it once, I don’t know. But I do know why I hesitated to use the pan: I thought baked doughnuts were simply doughnut-shaped muffins. And when I want a doughnut, I want a fried affair, not a masquerading muffin.
Then an enticing chocolate glazed doughnut recipe from “Buns in My Oven” appeared in my Facebook feed. I clicked on it. My mouth watered. I wanted that doughnut. Then I noticed the recipe made baked, not fried, doughnuts. My mouth and my mind were in opposition. Was it finally time to take the baked doughnut plunge? Yes, yes it was.
The recipe called for all-purpose flour. So it needed a gluten-free makeover to fit my diet. Since I’m baking more with whole grain flours and less with rice, I replaced the all-purpose flour with oat flour and potato starch. Why oat flour? Well, even though the cake doughnuts I bought in my pre-gluten-free days were probably made from white flour, they have a grain-like sweetness in my memory, and I wanted to chase that flavor.
The batter came together quickly. You simply whisk the dry ingredients together and add an egg, milk, and sour cream—no electric mixer required. At first, the batter seemed a little thin. I wondered what would happen if I let it sit on the counter for five minutes. Would it thicken? It did! The batter didn’t become really thick, but the flour seemed to hydrate a little, adding some body. Even after standing for five minutes, this still isn’t batter you could fry—it’s too thin. But it’s perfect for baking.

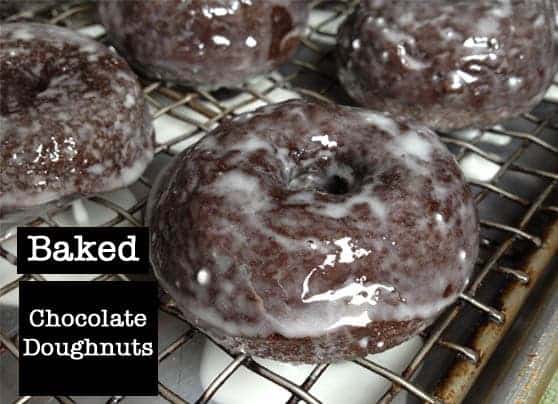
Gluten-Free Baked Chocolate Doughnuts
Ingredients
For the Doughnuts
- 3/4 cup gluten-free oat flour (2 1/2 ounces; 70 grams)
- 1/2 cup granulated sugar (3 1/2 ounces; 100 grams)
- 1/4 cup potato starch or tapioca starch (1 ounce; 28 grams)
- 1/4 cup cocoa powder (3/4 ounce; 22 grams)
- 1/2 teaspoon baking soda
- 1/4 teaspoon xanthan gum
- 1/2 teaspoon vanilla extract
- 1 large egg (about 1 3/4 ounces; 50 grams out of shell)
- 6 tablespoons sour cream (3 ounces; 85 grams)
- 1/4 cup milk (2 ounces; 56 grams)
- 1/4 cup vegetable oil (1 3/4 ounces; 50 grams)
- nonstick cooking spray
For the Glaze
- 1 1/2 cups powdered sugar (6 ounces; 170 grams)
- 6 tablespoons whole milk (3 ounces; 85 grams)
- 1 teaspoon vanilla extract
- 1/2 teaspoon lemon extract, optional
Instructions
-
Preheat oven to 375°F. Whisk together oat flour, granulated sugar, potato starch, cocoa powder, baking soda, and xanthan gum in a medium bowl. Add egg, sour cream, milk, and vegetable oil. Whisk until batter is smooth. Allow batter to stand for five minutes. Lightly coat pan with nonstick cooking spray. Fill cavities about halfway with batter.
-
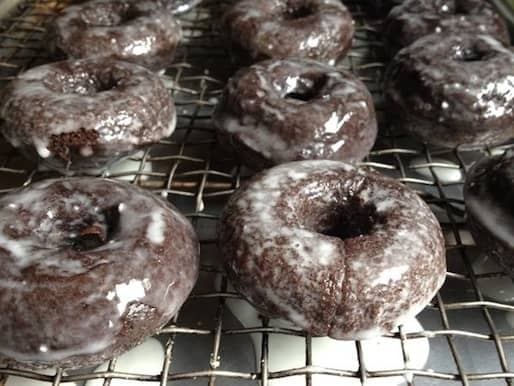
Bake until doughnuts spring back to the touch, about ten minutes. Turn doughnuts out onto a wire rack to cool. Repeat with remaining batter. Allow doughnuts to cool completely. Place a wire rack into a parchment-lined baking pan. Whisk together powdered sugar, milk, vanilla, and lemon extract in small bowl. Dip doughnuts, one at a time, into glaze. Shake off excess glaze. Place dipped doughnuts onto wire rack. Store doughnuts covered at room temperature for up to three days
Jan Mueller says
Do you have any idea about how many calories are in each doughnut? Thanks, Jan
Elizabeth says
Hi Jan! Some of my readers use this site to calculate the calories in each recipe. http://www.caloriecount.com/cc/recipe_analysis.php
I hope this helps!
Andrea says
Delicious!
Michelle says
What could I substitute for the sour cream? I’m allergic to dairy and soy too.
Elizabeth says
I’d use a dairy-free/soy-free yogurt.
Sarah says
Sounds delicious! Do you think a powdered sweetener like Swerve could be substituted for the sugar?
Elizabeth says
I’m not sure. I’ve never baked with Swerve.
Gwen says
I’ve baked with Stevia and had very good results.
Theresa Davila says
These look amazing! Both my boys can’t tolerate Oats do you have any recommendations I can use?
Elizabeth says
I’m actually working on an oat-free recipe! It will be posted later this week or early next week.