These jam thumbprint cookies are irresistible. They’re light and buttery with an almost melt-in-your-mouth texture. Before baking, press a small indentation into the center of each dough ball and fill it with your favorite jam. Bake the cookies until the edges are light brown and the jam is shiny. Remember to let these cool before eating. The jam is really hot right out of the oven!
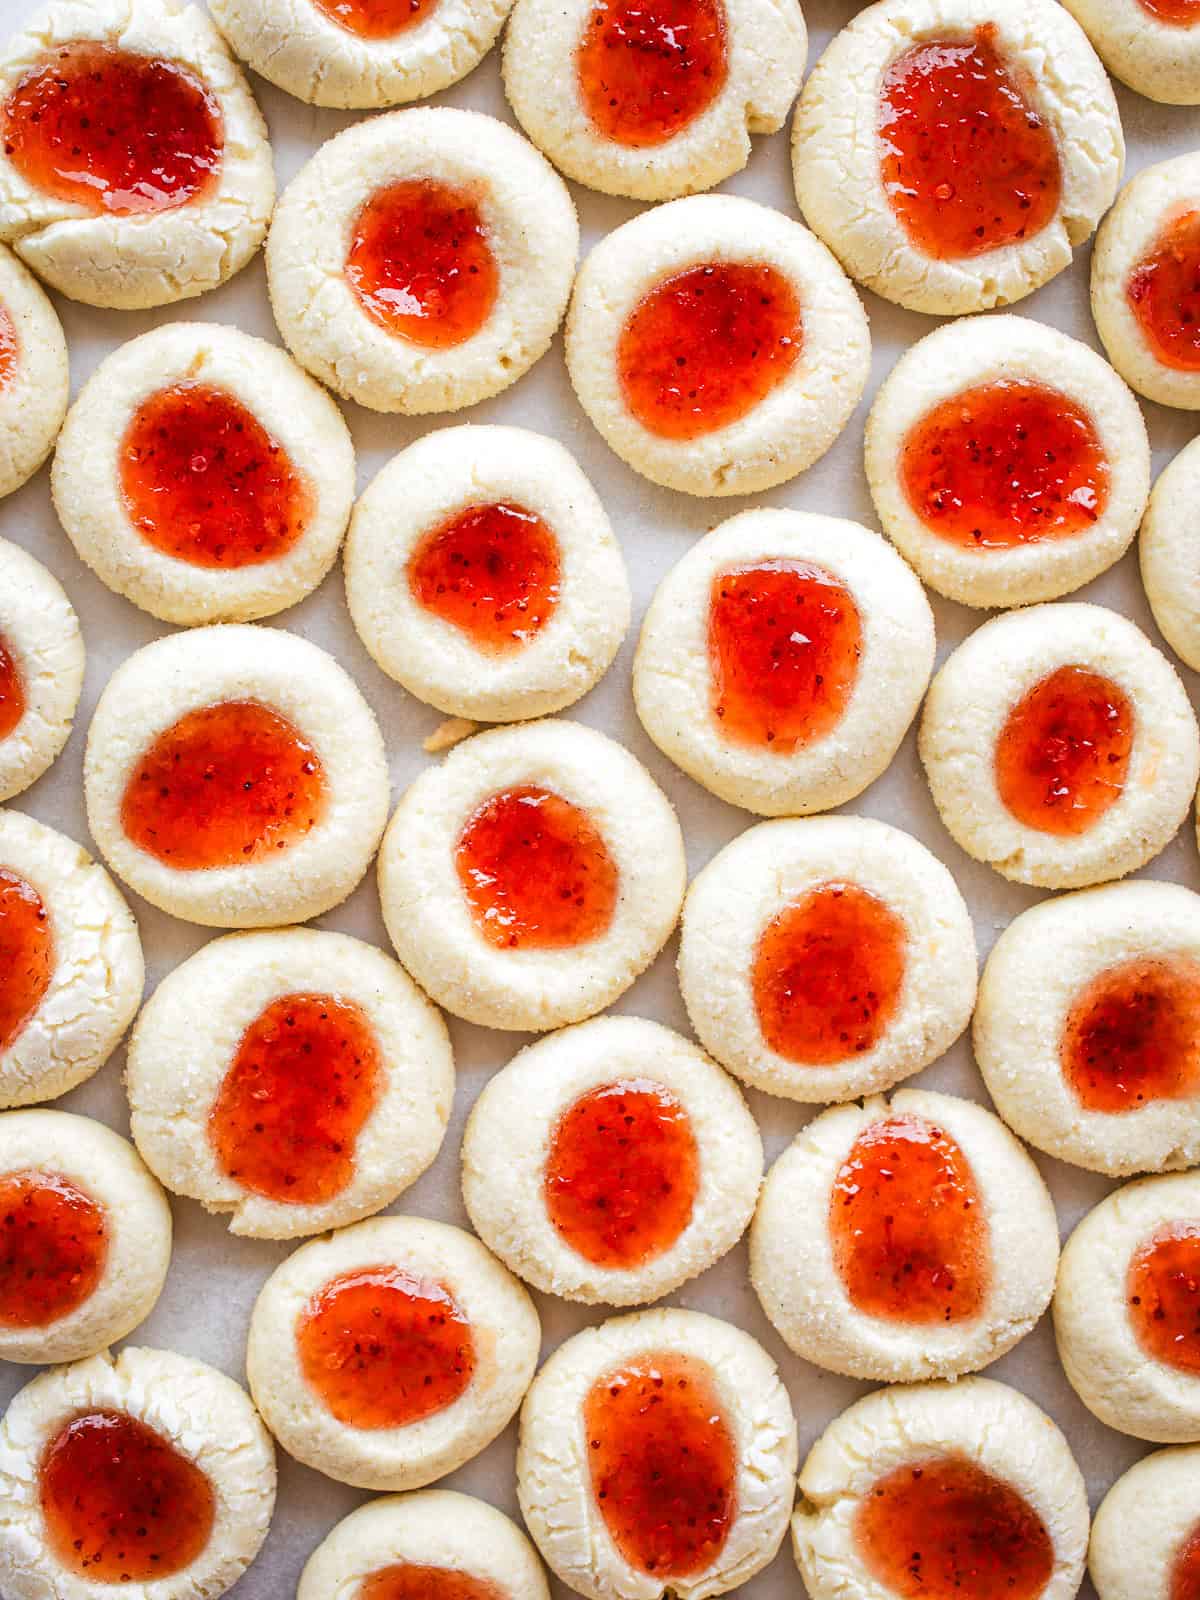
Jam thumbprints are one of my favorite cookies. There’s just something about the combination of the buttery cookie and the jam topping. Not only are they tasty, they’re so fun to make. I usually fill them with strawberry or raspberry jam but any jam works. Use whatever you love.
If you love buttery cookies, consider making a batch of gluten-free shortbread to go along with these. They make a nice pair if you make cookie tins to give as gifts.
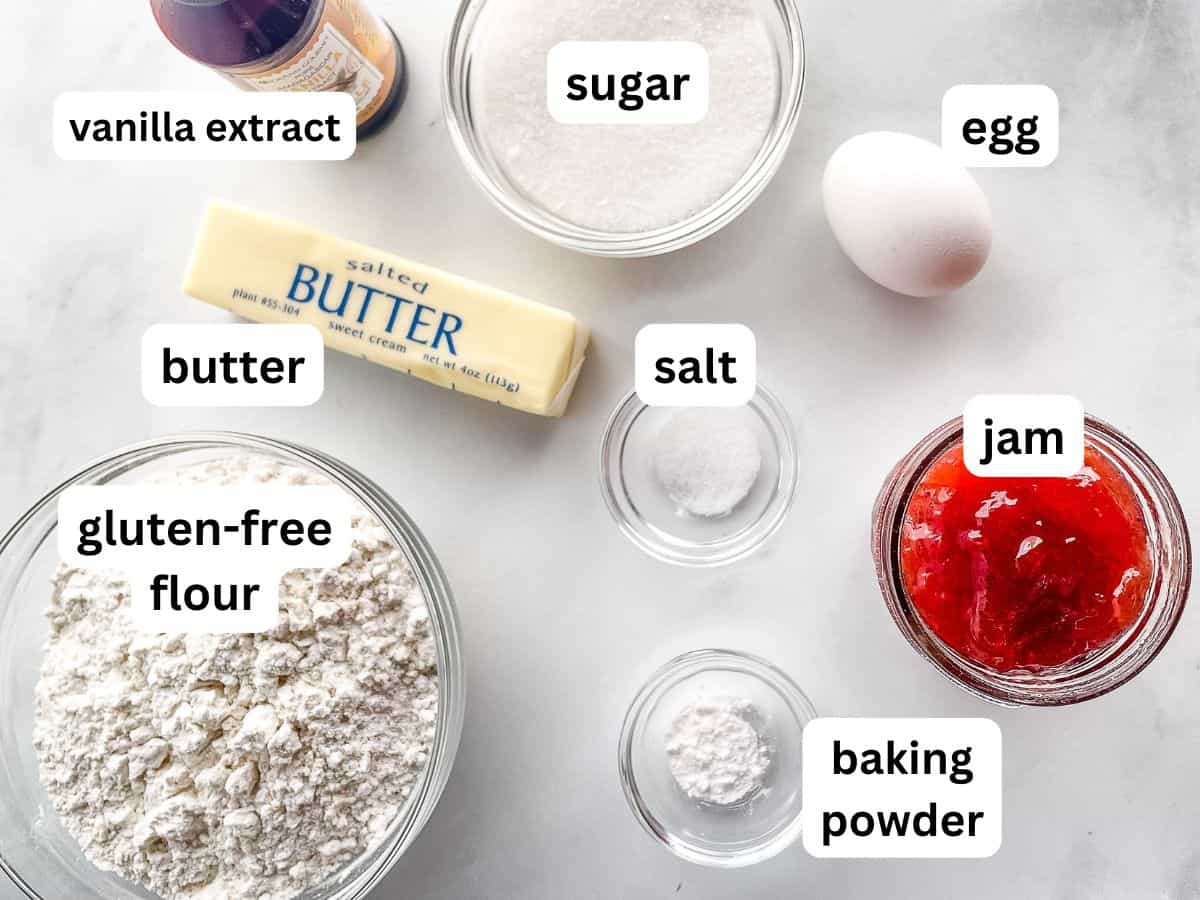
Simple Ingredients. Tasty Cookies.
- Gluten-Free Flour. Use a gluten-free flour blend that contains xanthan gum. It helps the cookies hold their shape. If your blend doesn’t contain xanthan, whisk a ¼ teaspoon into it before making the dough.
- Butter. Softened butter is critical to making the dough. Both salted and unsalted butter work in this recipe. I prefer salted butter because I think it gives the cookies a richer flavor. If you’re using a dairy-free butter replacement, make sure it’s suitable for baking. Avoid using oil. It makes for greasy cookies.
- Granulated Sugar. Adds sweetness.
- Salt. Enhances the other flavors.
- Baking Powder. A tiny amount of baking powder gives the cookies a delicate texture.
- Egg. One large egg brings the dough together.
- Jam. You can use your favorite jelly, jam, or preserves. They all work and they’re all tasty.
- Vanilla or Almond Extract. Adds flavor. You can use either vanilla or almond extract. If you have both on hand, use them. The blend adds a really nice flavor.
How to Make Gluten-Free Jam Thumbprint Cookies
There are four simple steps to making these cookies: prepare the dough, roll them into balls, fill them with jam, and bake.
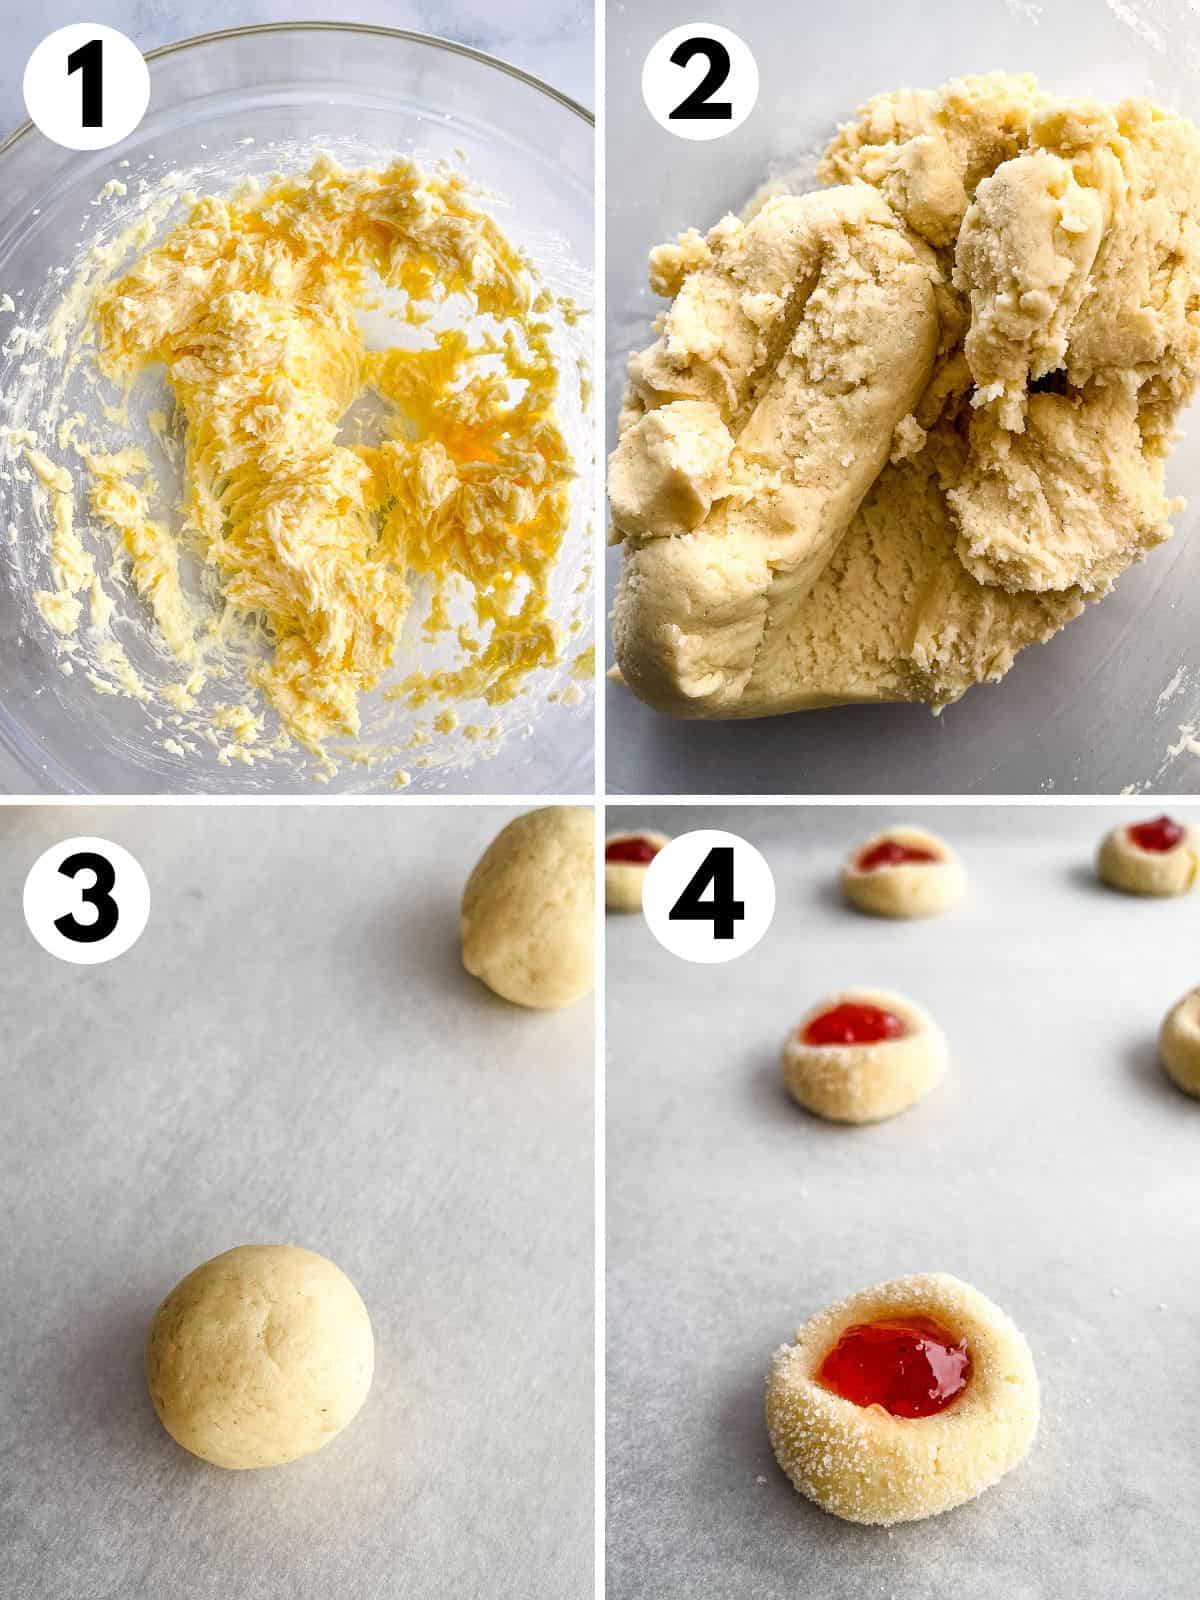
- Cream together the butter and sugar in a large bowl. Add the egg and vanilla. Mix until creamy and thick.
- Add the whisked gluten-free ingredients. Mix until a dough forms.
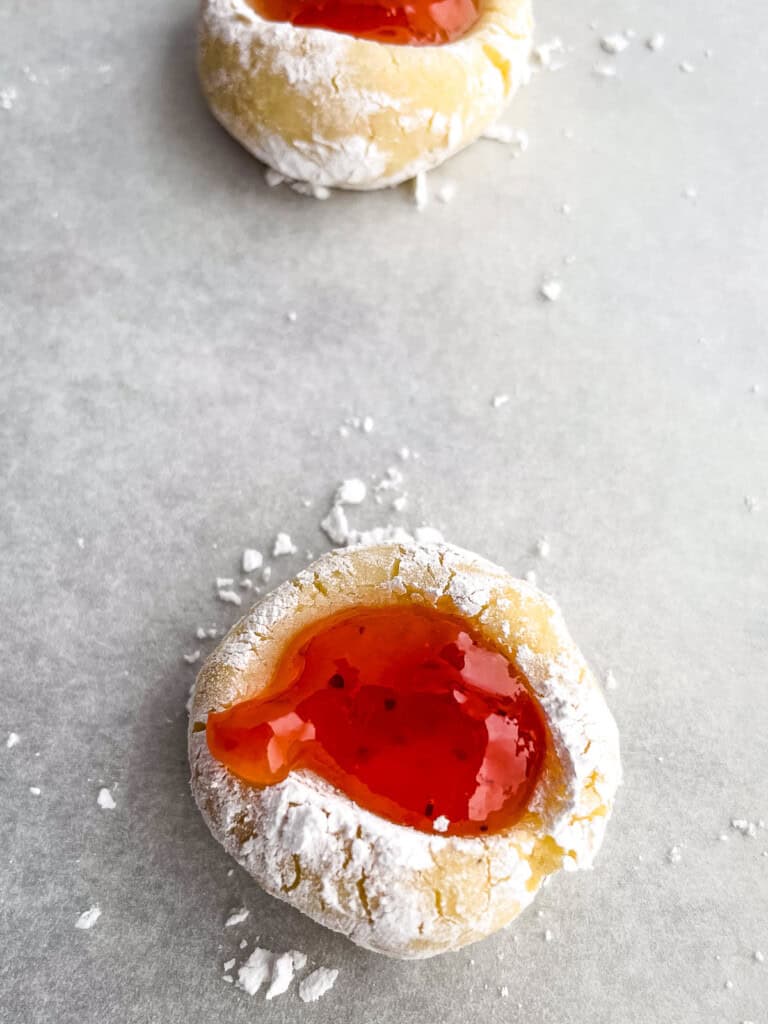
- Roll the dough into balls. I like to roll these in powdered or granulated sugar. It’s totally optional but adds a nice flavor and appearance.
- Press a small indentation into each cookie. Spoon in your favorite jam.
- Bake. A pan of these cookies takes 12 to 15 minutes to bake. You want the edges to have a light pale golden color.
Note: Wait before enjoying these cookies! The jam is very hot right out of the oven.
Two Baking Tips for Making the Perfect Jam Thumbprints
- Chill the Dough. Pop the dough into the fridge for about 10 minutes before rolling it into balls. This gives the dough time to firm up a bit. If your kitchen is very warm, chill the dough for longer.
- Don’t use too much jam. If you use too much, the jam runs all over the cookies as they bake. Use about a ¼ teaspoon per cookie. That’s it.
Storage Tips
These cookies keep at room temperature for up to five days when stored in an airtight container. Don’t place warm cookies into a container or they’ll steam and fall apart.
To freeze: These cookies freeze beautifully. Once they’re fully cooled, place them into a freezer container. I like to layer them with a piece of parchment between each layer. They keep for up to two months in the freezer.

Gluten-Free Thumbprint Cookies
Ingredients
- 1 ¾ cups gluten-free flour, see note (8 ounces; 226 grams)
- ½ teaspoon salt
- ¼ teaspoon baking powder
- ½ cup butter, softened (4 ounces; 113 grams)
- ½ cup granulated sugar (3 ½ ounces; 100 grams)
- 1 large egg (about 2 ounces; 56 grams out of shell)
- ½ teaspoon vanilla or almond extract, see note
- ¼ cup jam, any flavor (3 ounces; 85 grams)
Instructions
-
Preheat oven to 350℉. Line a baking sheet with parchment paper and set aside.
-
Whisk together gluten-free flour, salt, and baking powder in a small bowl.
-
In a large bowl, mix butter and granulated sugar together until thick and creamy. Stop the mixer and scrape the sides and bottom of the bowl.
-
Add the egg and vanilla extract. Mix until light. Stop the mixer and scrape down the sides and bottom of the bowl. Run mixer for about 10 seconds to incorporate wherever you’ve scraped from the sides.
-
Add the dry ingredients. Mix until a dough forms. Chill the dough for ten minutes.
-
Scoop the dough, about one tablespoon each, and roll into balls. Place cookies, about two inches apart, on the prepared baking pan.
-
Using your finger or the back of a half (½) teaspoon measuring spoon, press an indentation into each cookie. If the cookie dough cracks, gently press it back together.
-
Spoon about ¼ teaspoon of jam into each indentation.
-
Bake cookies for 12-15 minutes or until cookies are firm and the edges are light golden brown.
-
Let the cookies cool on the pan for three minutes. Then transfer cookies to a wire rack to cool completely. Repeat with remaining dough.
-
Store cookies in an airtight container for up to five days or freeze once cooled for up to two months.
Recipe Notes
Gluten-Free Flour: This recipe was developed with Bob’s Red Mill 1:1 Gluten-Free Baking Flour. For the best results, use a gluten-free flour blend that contains xanthan or guar gum. If yours doesn’t, whisk ¼ teaspoon into the flour before using. This recipe has not been tested with nut or grain-free flour.
Dairy-Free Variation: Replace the butter with a dairy-free butter that’s labeled for baking. Coconut oil is not recommended as it can make the cookies heavy and greasy.
Vanilla and Almond Extract. If you have almond extract in the house, use a blend of vanilla and almond extract. It makes for extra tasty cookies. Use 1 ½ teaspoons vanilla extract and ½ teaspoon almond extract.


Sherry Matson says
I doubled the recipe, and that worked fine – except I used about 1/2 cup less flour, which really worked well! Last year I followed the recipe exactly and found it really crumbly. With less flour, the dough is wonderfully pliable. The half teaspoon for forming the depression is perfect! Thanks!
Andrea says
I made these this year and they were good, not great, so I’d increase the vanilla to 1 tsp rather than 1/2 next time I make them as they were rather bland even with the jam. Thank you for the recipe! I will make them again.