
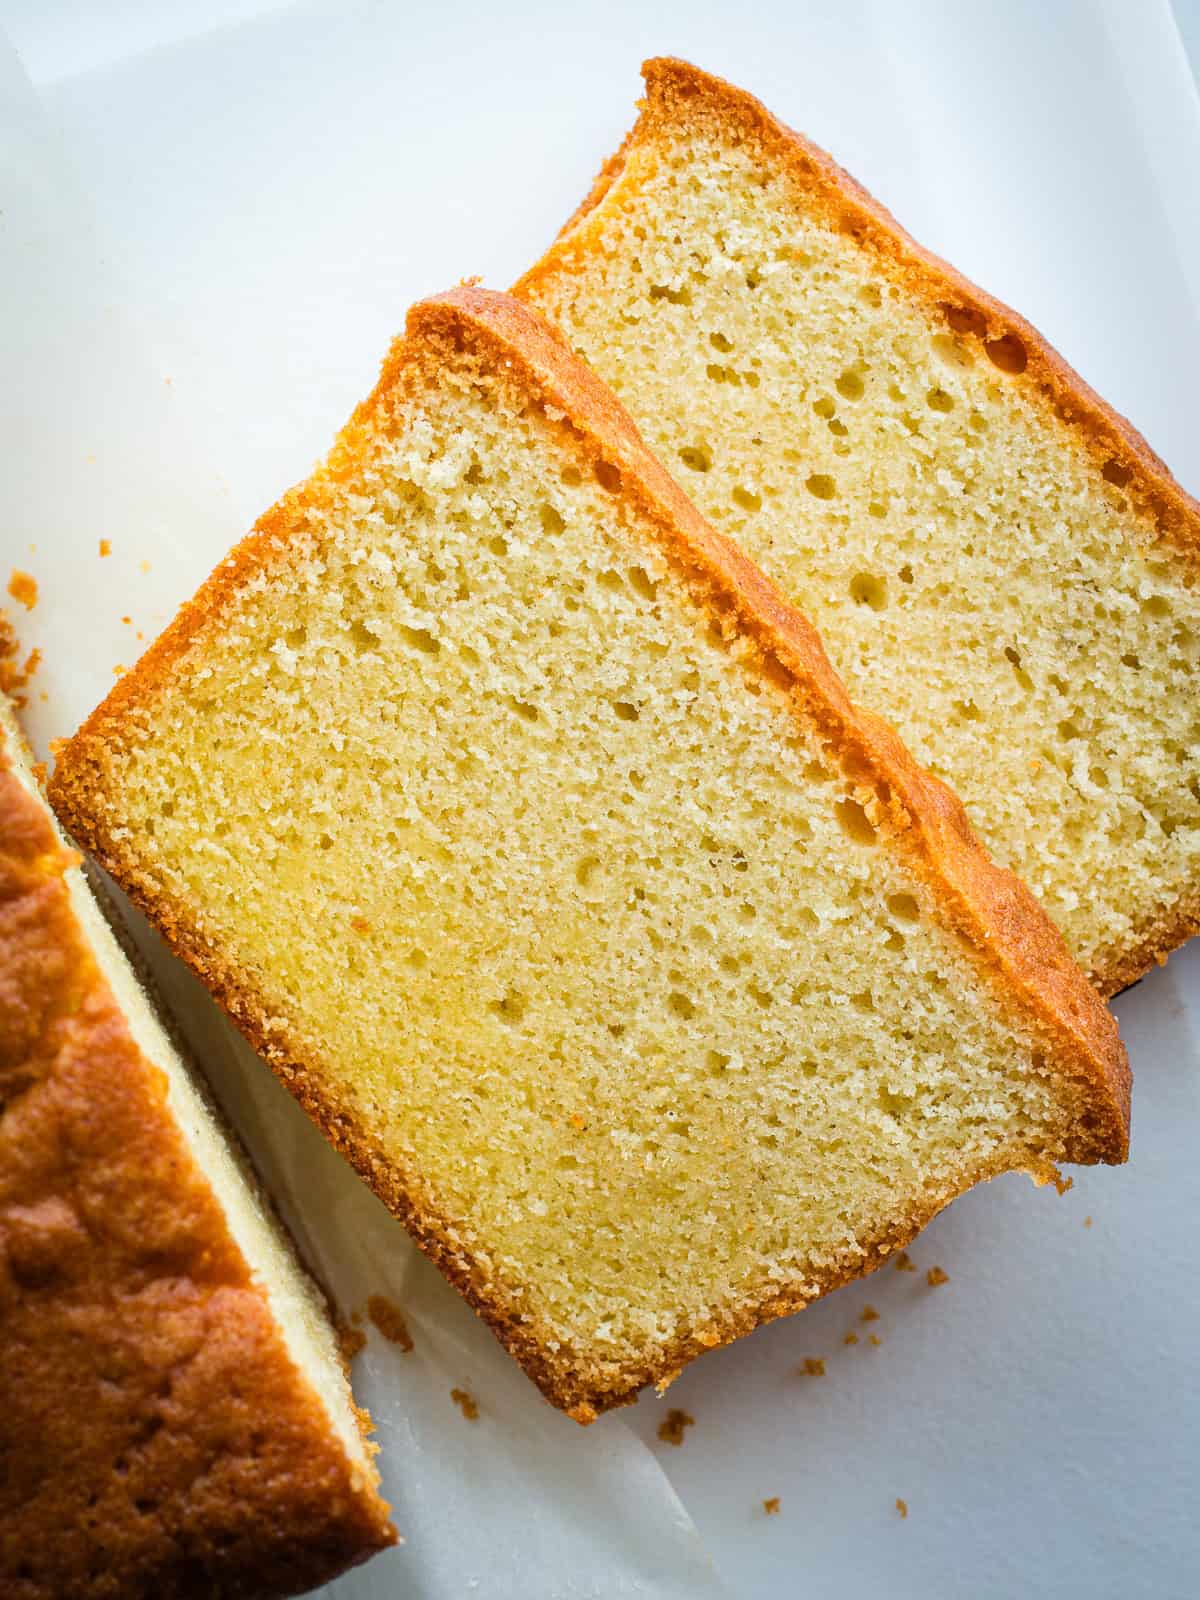
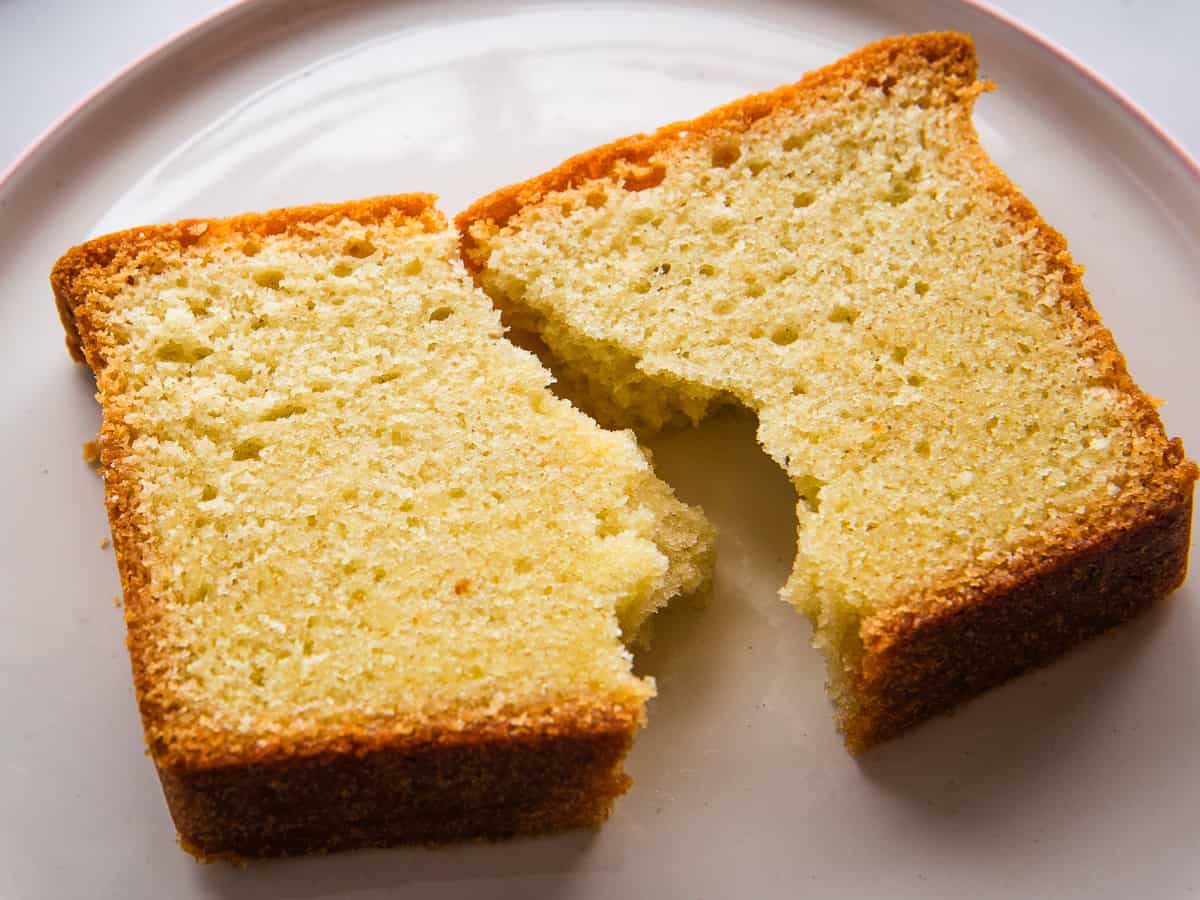
This pound cake is buttery, dense, and tender. It’s made with gluten-free flour, butter, sugar, eggs, and just a little baking powder to lighten it. The combination makes for an elegant and velvety cake. Serve it plain or with whipped cream and fresh berries.
Did you know that the original pound cake recipes called for a pound of butter, a pound of sugar, a pound of eggs, and a pound of flour. That’s where it gets the name pound cake. I love this! As you can imagine, those cakes were really dense.
This recipe is inspired by the traditional pound cakes but in a nod to today’s tastes, it contains a little baking powder to slightly lighten the crumb.
Key Ingredients
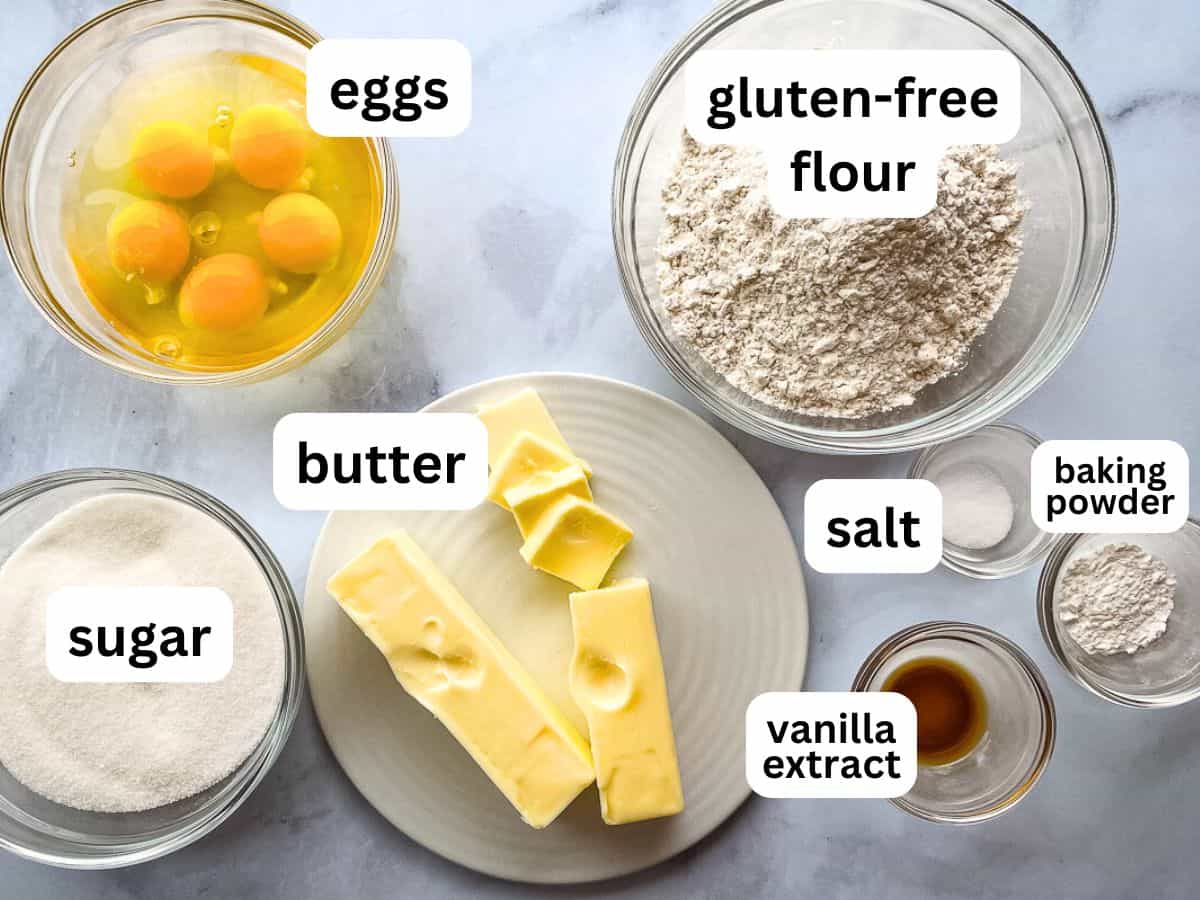
Here are the ingredients you need to make this recipe. As with all gluten-free baking, changing the ingredients can affect the final texture of the cake. The following ingredients work best for this pound cake.
- Butter. The flavor and texture of a great pound cake come from butter. Both salted and unsalted work in this recipe.
- Sugar. Granulated (table) sugar sweetens the cake.
- Eggs. The eggs provide structure, richness, and help the cake to rise. For the best texture, use room temperature, not cold eggs.
- Gluten-Free Flour. I tested the recipe with Bob’s Red Mill 1:1 Gluten-Free Baking Flour. Use a gluten-free flour that contains xanthan gum. If your blend doesn’t include it, whisk a half teaspoon into the flour before using.
- Baking Powder. A little baking powder helps lighten the cake slightly.
- Vanilla Extract. (optional) It surprises people that vanilla is an optional ingredient. As much as I love vanilla, I find that a pound cake doesn’t need it. The butter flavor tastes center stage. If you’d like to use it, add up to two teaspoons to the batter.
- Salt. Enhances all the other flavors.
How to Make a Perfect Gluten-Free Pound Cake.
The key ingredient in this gluten-free pound cake is time. The time you spend mixing the batter truly matters. Don’t rush the process, and you’ll be rewarded with a perfect pound cake every time.
Baker’s Note: Soften the Butter Before You Begin
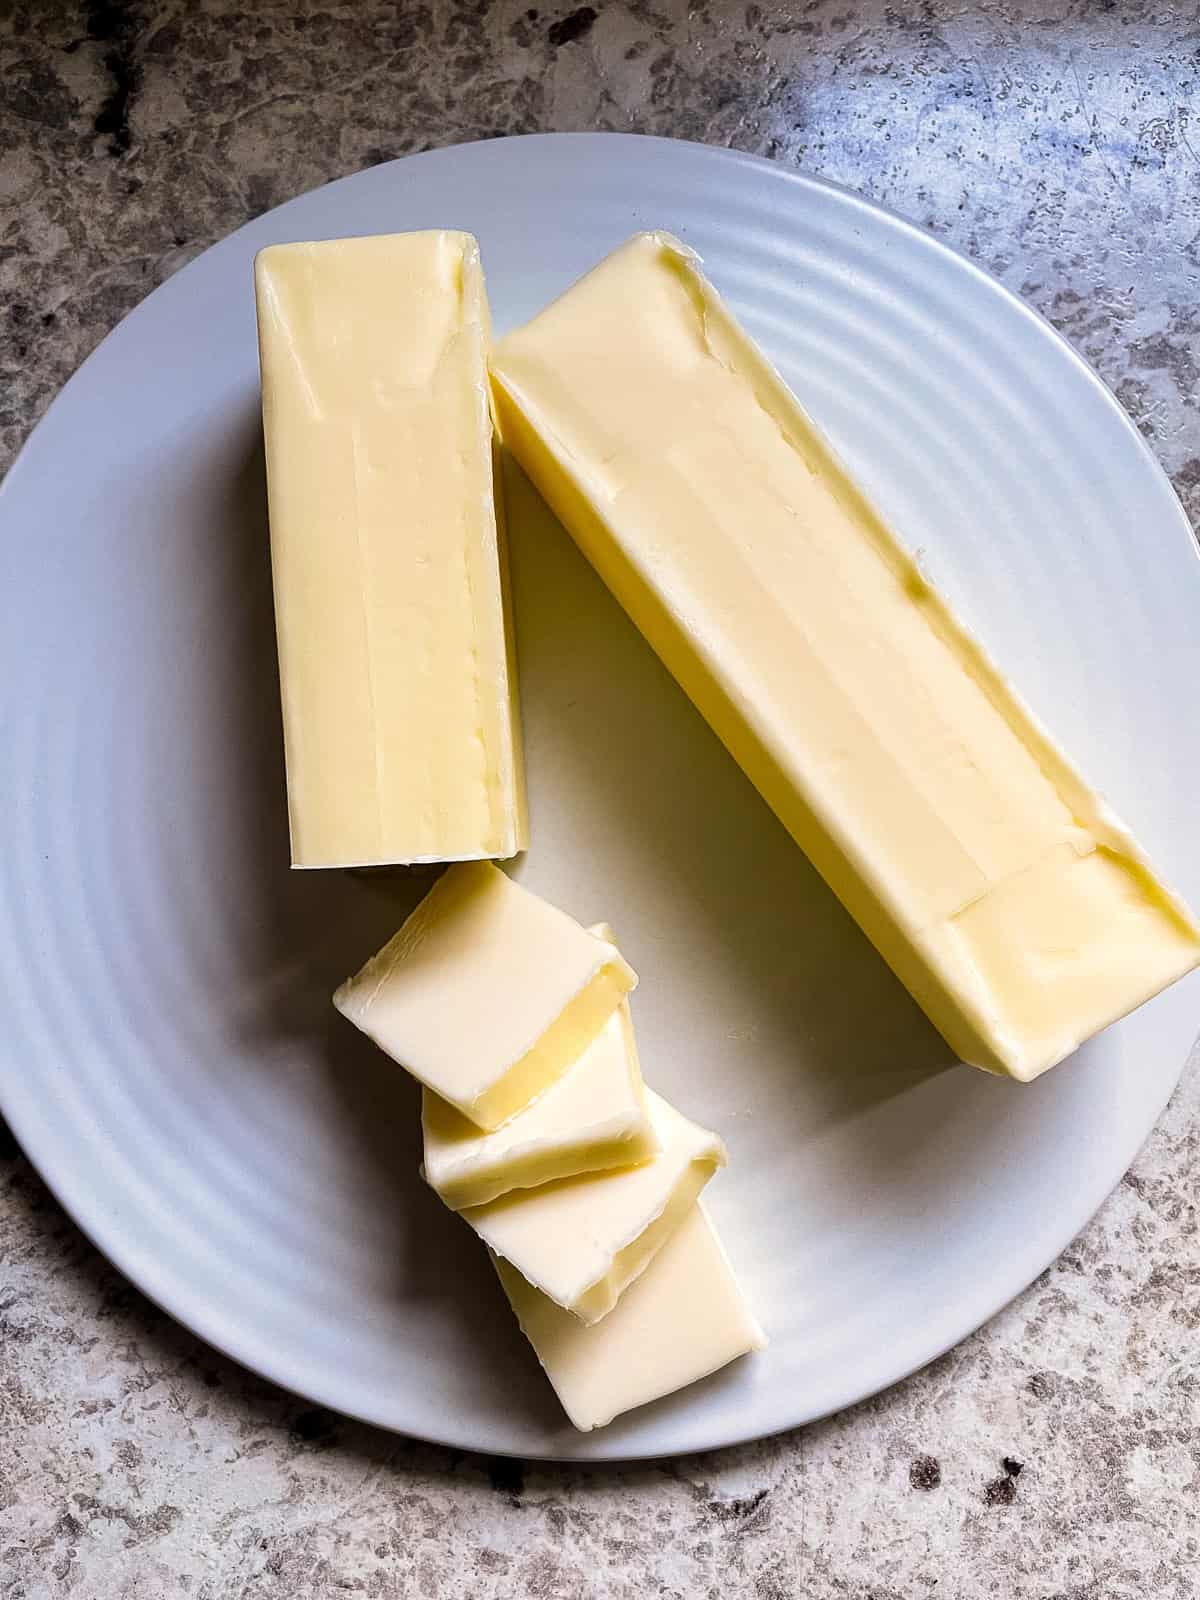
Butter temperature matters when making pound cake. If the butter is too cold, the cake comes out dense and heavy. If it’s too warm, the cake feels greasy.
The best butter temperature for pound cake is between 65°F and 68°F (18°C and 20°C.) At this temperature, the butter fluffs up nicely. And that’s what we’re aiming for: fluffy butter.
To soften the butter, remove it from the refrigerator about an hour before you’re ready to bake.
Make the Batter.
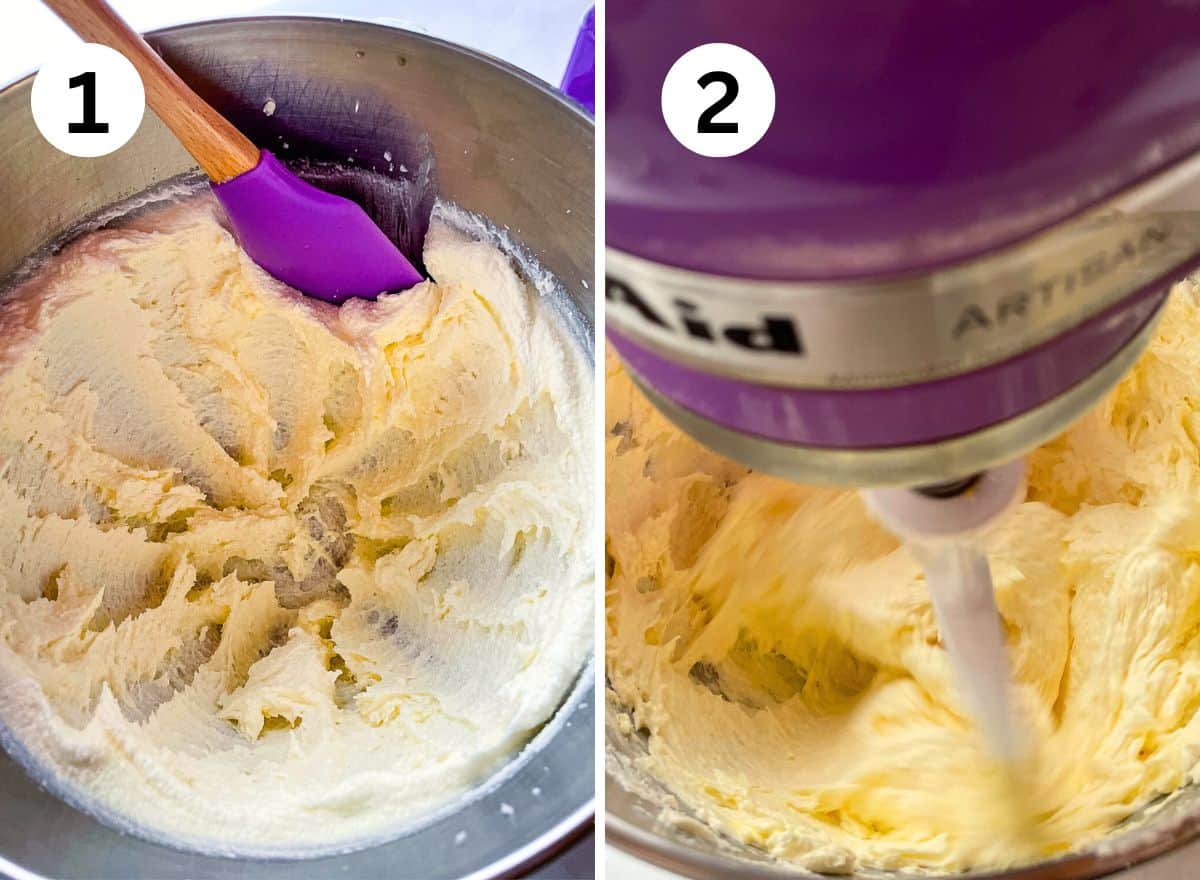
- Place the softened butter and sugar into a large mixing bowl. Mix on medium speed until it’s thick. It will look almost like grainy cake frosting.
- Add the eggs one at a time. After you add the third egg, stop the mixer. Scrape down the bowl and add a tablespoon of gluten-free flour. The tablespoon of flour keeps the butter and eggs from separating. It’s an important step. Don’t skip it. Finally, add the remaining eggs and mix until the mixture looks very light and white
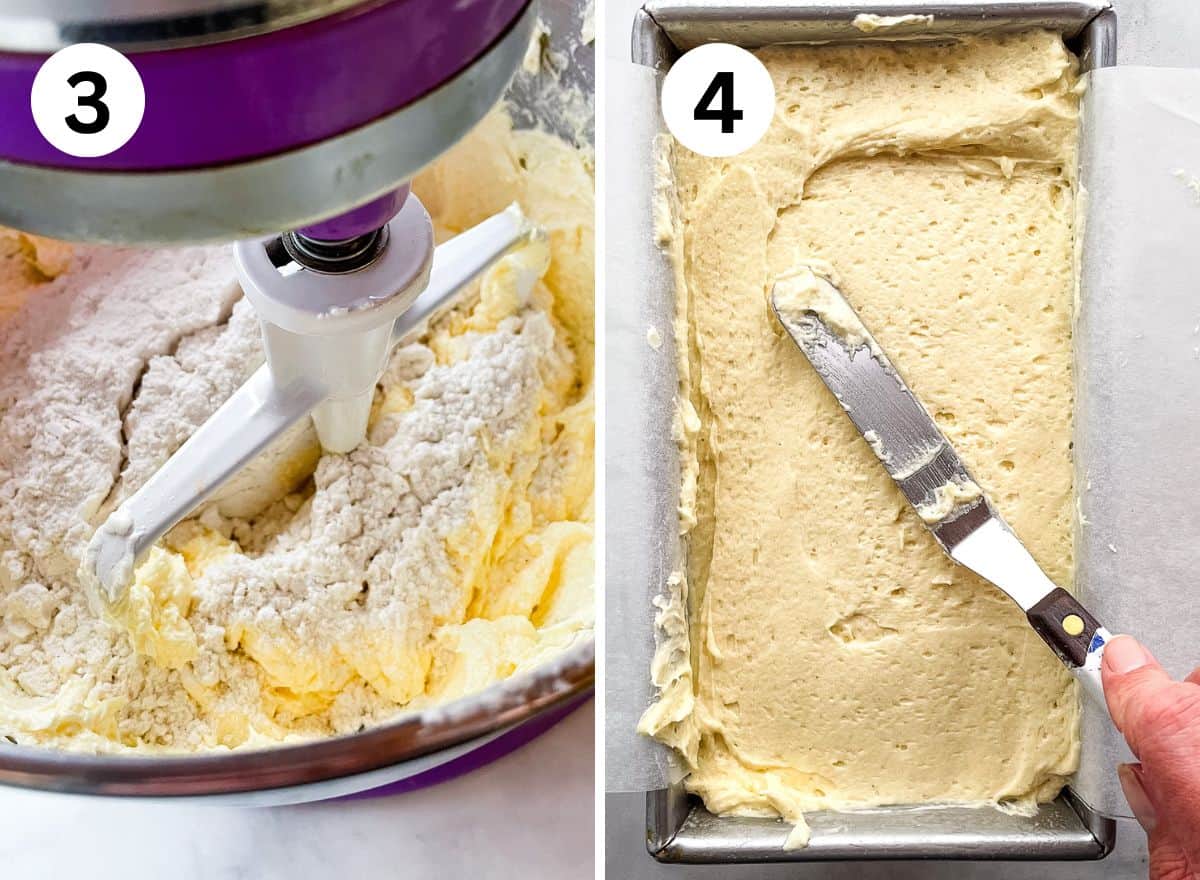
- Add the gluten-free flour mixture to the butter. Blend on low speed until the batter looks thick and creamy. This only takes about 30 seconds. One last time, scrape the mixing bowl. Blend the batter for another few seconds to incorporate anything that was on the side of the bowl.
- Spread the batter evenly into a greased and parchment-lined 9×5-inch loaf pan.
Bake until Brown.
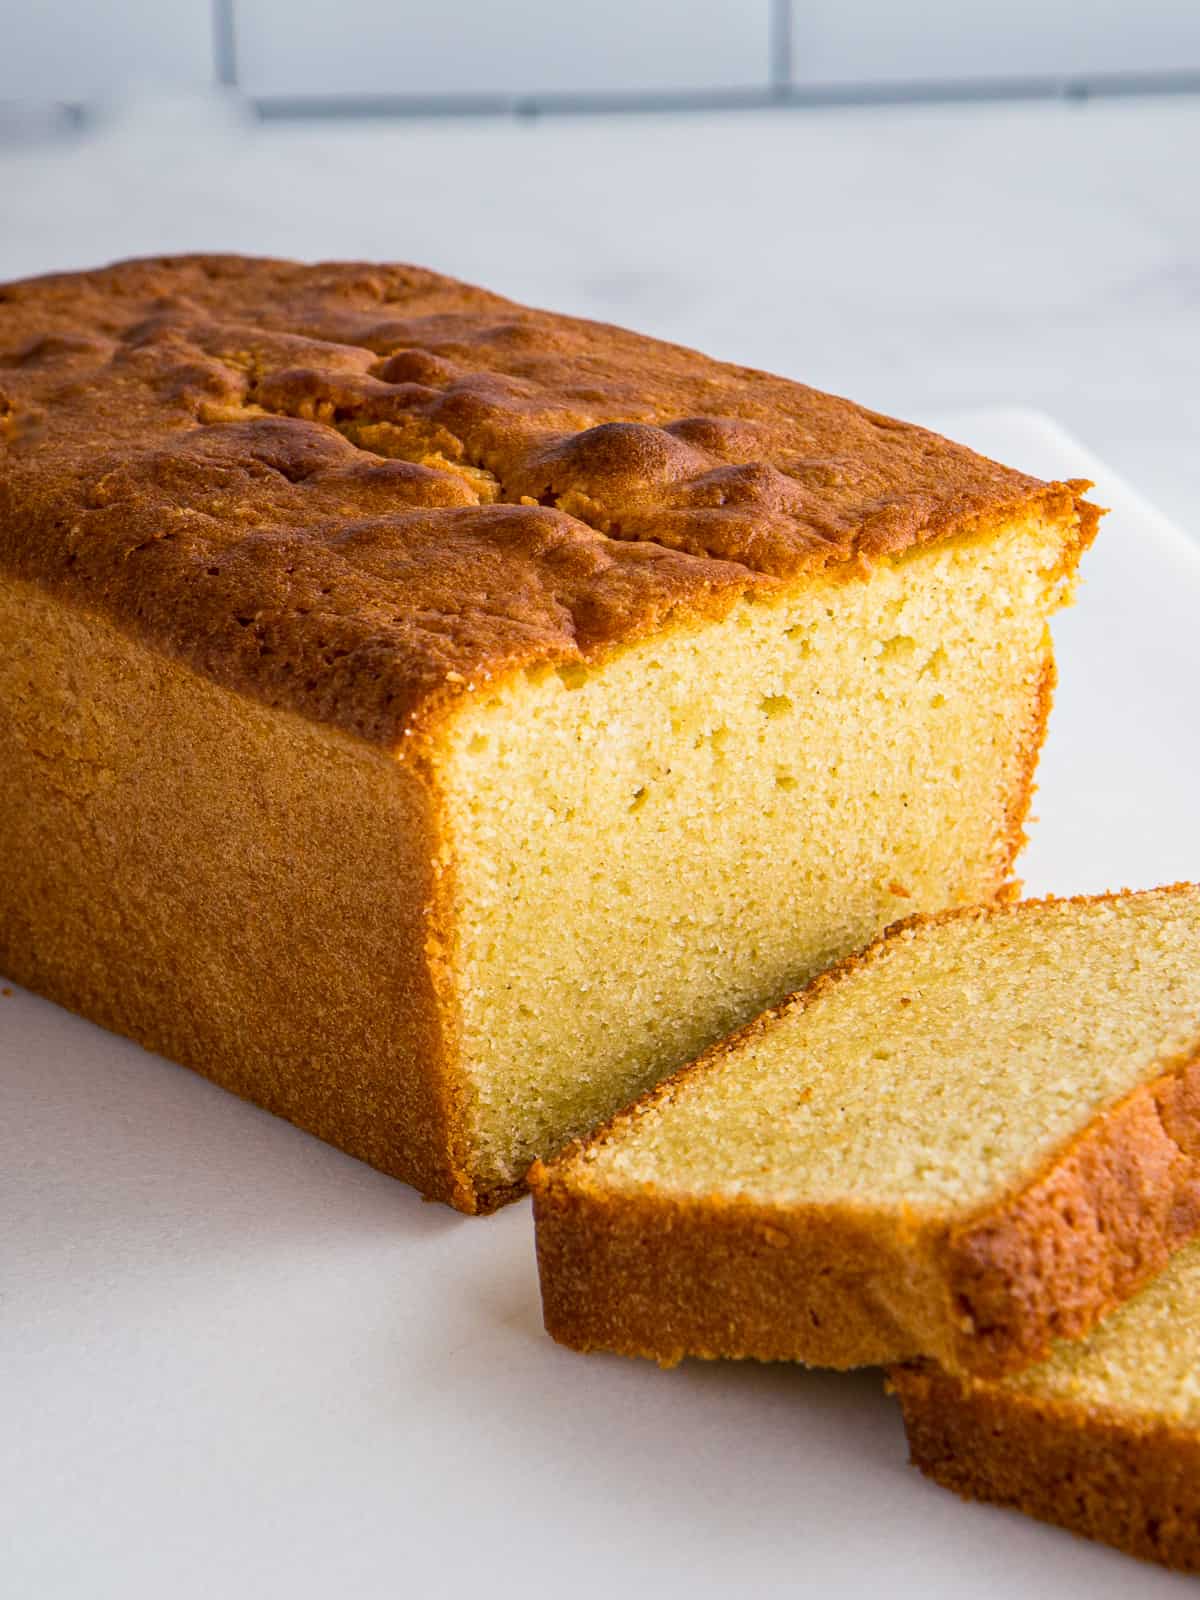
A gluten-free pound cake takes a little over an hour to bake. Bake until the loaf is a deep brown. A cake tester inserted into the center should come out clean.
If you notice the cake starts to get too dark before the center is done, cover it lightly with a piece of foil. Return the pan to the oven to finish baking. The foil prevents the top of the loaf from burning.
Storing Leftovers
Gluten-free pound cakes are great “keepers”. Thanks to the amount of butter and sugar in the cake, they stay fresh for days. It’s important to cover the cake or the cut surface can dry out.
How to Freeze and Thaw a Gluten-Free Pound Cake
Gluten-Free pound cakes freeze beautifully. Here’s what to do.
- Let the cake cool completely. If you freeze a warm gluten-free pound cake, it can get gummy when frozen.
- Wrap tightly. To keep the cake from drying out, wrap it tightly. A layer of plastic wrap and foil is best.
- When ready to enjoy, remove the pound cake from the freezer. Let it thaw at room temperature. Don’t rush defrosting by placing the cake in an oven. This can dry out the cake.
Note: First published December 2023. Updated March 2025 to include new step-by-step photos and information.
Gluten-Free Pound Cake
This gluten-free pound cake is dense and buttery. Made with gluten-free flour, butter, sugar, eggs, and just a little baking powder to lighten it.
Ingredients
- 1 ½ cups gluten-free flour, see note 1 (8 ounces; 226 grams)
- 1 teaspoon baking powder
- ½ teaspoon salt
- 1 cup softened butter, about 65°F degrees, see note 2 (8 ounces; 226 grams)
- 1 cup plus 2 tablespoons granulated sugar (8 ounces; 226 grams)
- 5 large eggs, at room temperature (about 9 ounces; 255 grams out of shell)
- 1 teaspoon vanilla extract, optional see note 3
Instructions
-
Preheat your oven to 350°F. Lightly grease a 9 x 5-inch loaf pan with nonstick cooking spray or brush with solid shortening and lightly dust with gluten-free flour. Optional: after greasing line the pan with a piece of parchment paper.
-
Whisk the gluten-free flour, baking powder, and salt in a small bowl. Set aside.
-
Mix the soft butter and sugar on medium-high speed until very light, about three minutes. Scrape down the bottom and sides of the bowl to remove the layer of thick butter. Mix for another minute or so to incorporate the thick butter that was clinging to the bowl.
-
Add three eggs, one at a time. It's important to let each egg mix into the butter before adding the next. Don't rush this step.
After the third egg mixes into the batter, stop the mixer. Scrape the bowl and add one tablespoon of the gluten-free flour mix. Turn the mixer to low to blend in the flour.
Add the remaining two eggs, one at a time.
-
After the last egg is added, stop the mixer. Scrape the bottom and sides of the bowl. If you’re using vanilla extract, add it now. Turn the mixer to medium-low. Mix until light and fluffy, about two minutes.
-
Stop the mixer. Add the gluten-free flour blend. Mix on low speed until the flour is incorporated. Then increase the speed to medium and blend until a batter forms.
-
Spread batter evenly into the prepared pan. Fill the pan about ⅔ full.
If your pan is small, set aside about ⅓ cup of batter. You can use the remaining batter to make a cupcake or two.
-
Bake until golden brown, about 60 minutes. A cake tester inserted into the center of the cake should come out clean.
If the top of the cake is getting too brown before the center is baked, place a piece of foil over the pan and finish baking.
-
Let the cake cool in the pan for 10 minutes. Carefully remove the cake from the pan and place it on a wire rack to cool.
-
Store tightly wrapped on the counter for up to four days. Or freeze for up to three months.
Recipe Notes
Note 1: Gluten-Free Flour. Use a gluten-free flour blend that contains xanthan gum. If your blend doesn’t contain xanthan gum, whisk in ½ teaspoon along with the salt and baking powder.
This recipe was tested with Bob’s Red Mill 1:1 Gluten-Free Flour. Due to the variations in gluten-free flour blends, some blends work better than others.
Note 2: Butter. It’s important to use softened butter. You want the temperature of the butter around 65°F. If the butter is too cold, it won’t get fluffy and the cake will be dense. If the butter is too soft (when it looks greasy or has melted spots), the cake will turn out dense and greasy.
Note 3: Vanilla Extract. The vanilla extract is optional use up to two teaspoons.
Mixing and Baking Notes.
If the butter and sugar mixture looks curdled at any point during mixing, add one tablespoon of the gluten-free flour mixture.
Fill the pan about ⅔ full. If the pan is too full, it can overflow during baking and cause a mess.
Carol says
This is the best gluten free pound cake I have ever made. So many of my other pound cake recipes have been gummy, but not this one. It was just like pound cake should be: buttery, full of flavor, and just the right texture. I followed the directions exactly. I didn’t have Bob’s 1 to 1 mix, but I made a copycat recipe of it. Fantastic recipe! I’m making another pound cake this weekend to freeze and mail to my son for his birthday. Thank you.
Lexie says
This really is a great pound cake — gluten-free or otherwise. I’ve made it several times now and it doesn’t disappoint. You can’t tell it’s gluten-free. The texture is amazing.
terry says
Great recipe follow the instructions and it will turn out perfect