
This gluten-free gingerbread cookie recipe makes perfect Christmas cookies. They’re flavored with just enough ginger and molasses to make every bite tasty. And the dough is easy to work with. Cut it into your favorite shapes, bake, and enjoy.
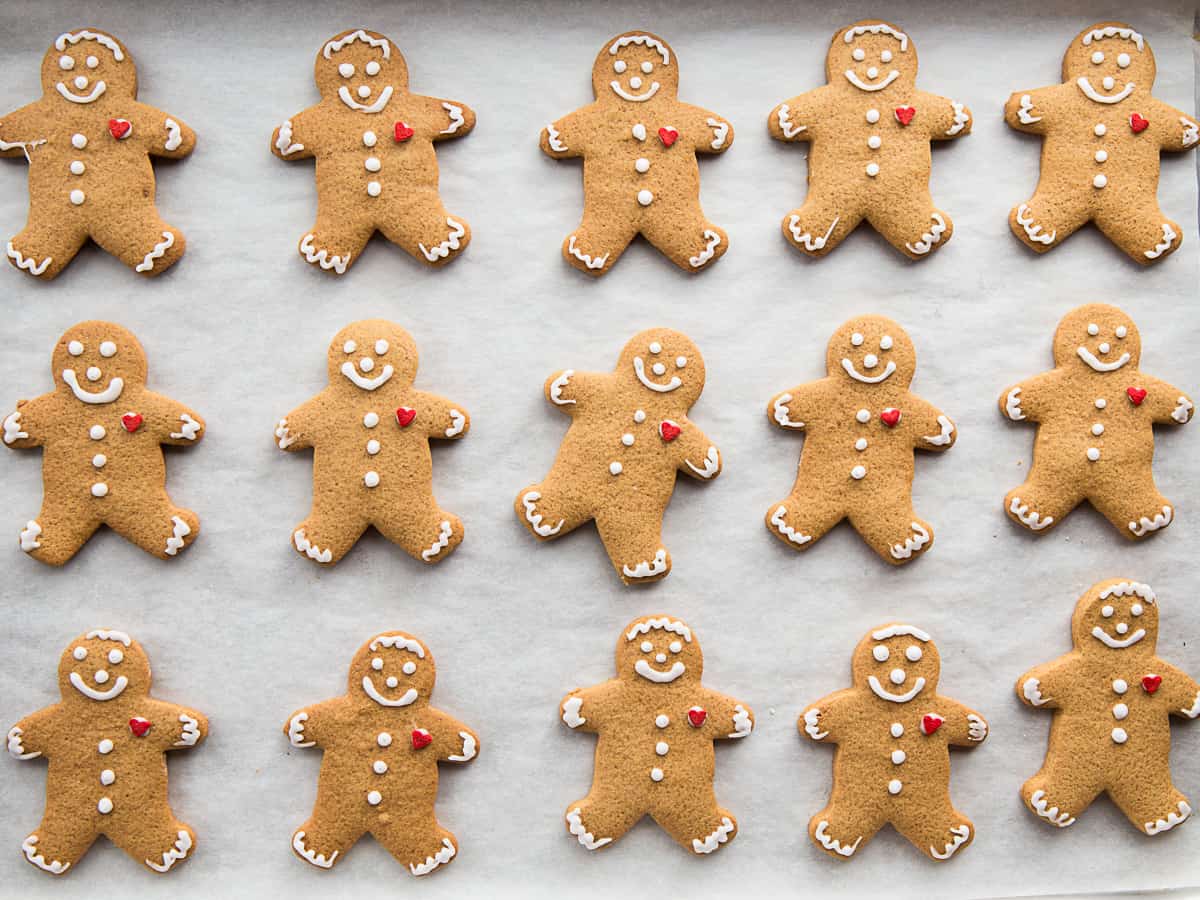
Gingerbread cookies are a holiday classic for a reason. Not only are they cute, they’re really tasty. This recipe makes cookies that are soft and spicy. And using a gluten-free flour blend means it’s easy to make the dough in just a few minutes.
Remember: this dough must be chilled before baking. I recommend mixing it up at least a few hours—or a day before—you want to make cookies.
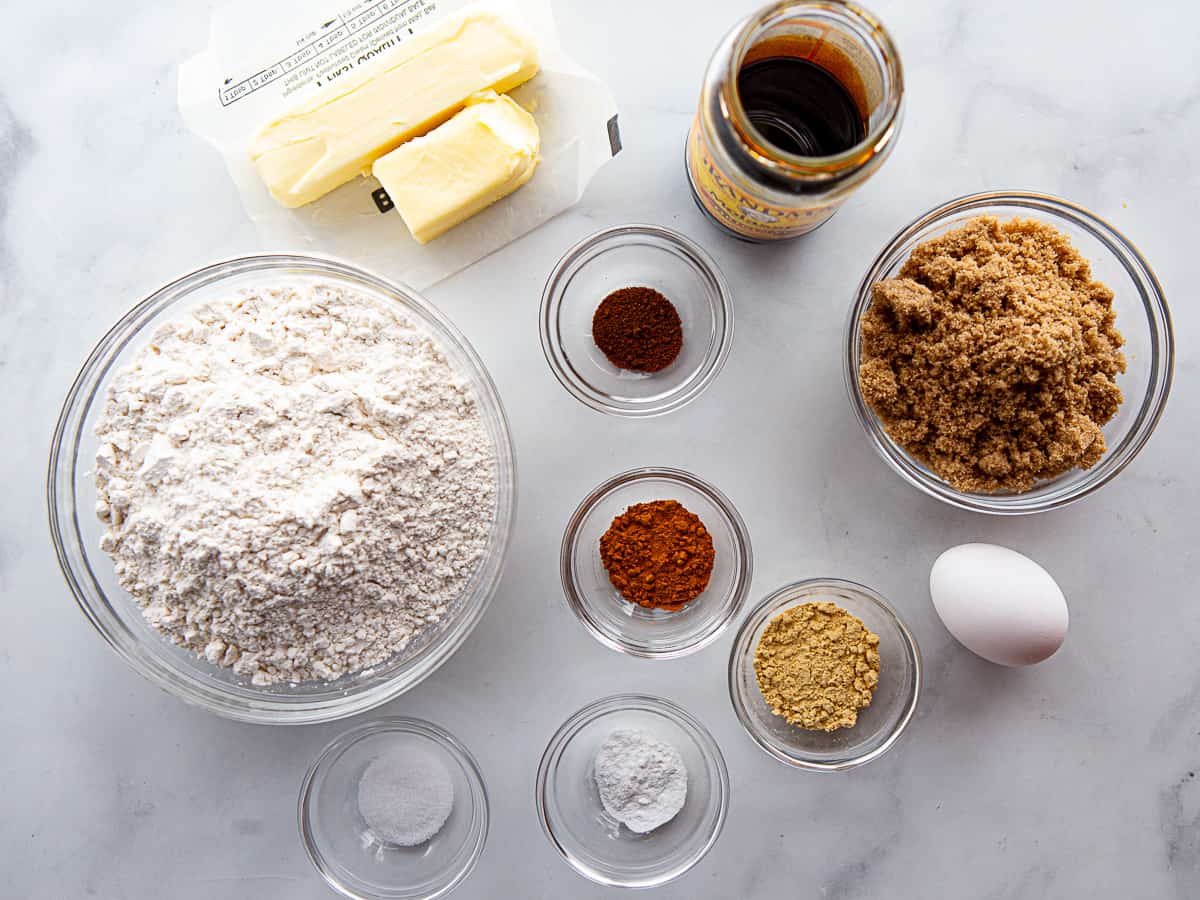
What You Need to Make the Best Gluten-Free Gingerbread Cookies: Ingredients.
- All-Purpose Gluten-Free Flour. A gluten-free all-purpose flour makes these cookies easy to make. The recipe was tested with Bob’s Red Mill 1:1 Gluten-Free Baking Flour. If your gluten-free flour doesn’t include xanthan gum, whisk a half teaspoon into the flour blend before adding the other ingredients.
- Spices: Ginger, Cinnamon, and Cloves. You can’t make a gingerbread cookie without ginger! A full tablespoon of ground ginger gives these cookies that classic spicy flavor. Ground cinnamon and a little ground cloves combine to round out the flavor. If you don’t keep cloves in the house, it’s fine to skip it. No need to buy a jar for only 1/4 teaspoon.
- Molasses. In addition to ginger, molasses gives gingerbread cookies their classic flavor. Use baking or robust molasses. Blackstrap molasses are not the same as baking molasses and can’t be used in this recipe.
- Butter. Adds tenderness and a delicious flavor. For dairy-free cookies, replace the butter with an equal amount of a dairy-free butter spread. Use softened (room temperature) butter when making these cookies.
- Brown Sugar. Dark brown sugar is recommended for the lovely molasses flavor it brings to the cookies. If you don’t have it on hand, you can use light brown sugar. Gingerbread cookies made with light brown sugar bake up a little lighter in color than those made with dark brown sugar.
- Egg. One egg holds the dough together.
- Baking Powder. A half teaspoon of baking powder helps to lighten these cookies. Too much baking powder would cause the cookies to puff and lose their shape during baking.
- Salt. A half teaspoon of salt enhances the flavor of these cookies. Use table salt, not flaky or Kosher salt.
How to Make Gluten-Free Gingerbread Cookies. Step-by-Step.
If you’ve ever made a roll-out cookie dough, like gluten-free sugar cookies, these steps will look familiar to you. Remember, the dough needs to chill for at least two hours before baking.
Make and Chill the Dough.
- Mix the gluten-free flour, cinnamon, ginger, baking powder, cloves, and salt in a small mixing bowl.
- Set that bowl aside. In a large bowl, mix together the butter and brown sugar until it’s thick and creamy.
- Add the egg and molasses. Mix until combined.At this step, scrape the sides of the bowl.
- Stir in the flour and mix until a dough forms. The dough should feel stiff but a little sticky and soft. That’s normal.
- Pat the dough into a disk. Divide it in half and wrap each half in plastic wrap. If it feels sticky, dust it with a little gluten-free flour so it doesn’t stick to your hands. Chill the dough for at least two hours. If you can, make it the night before you plan to make the cookies.
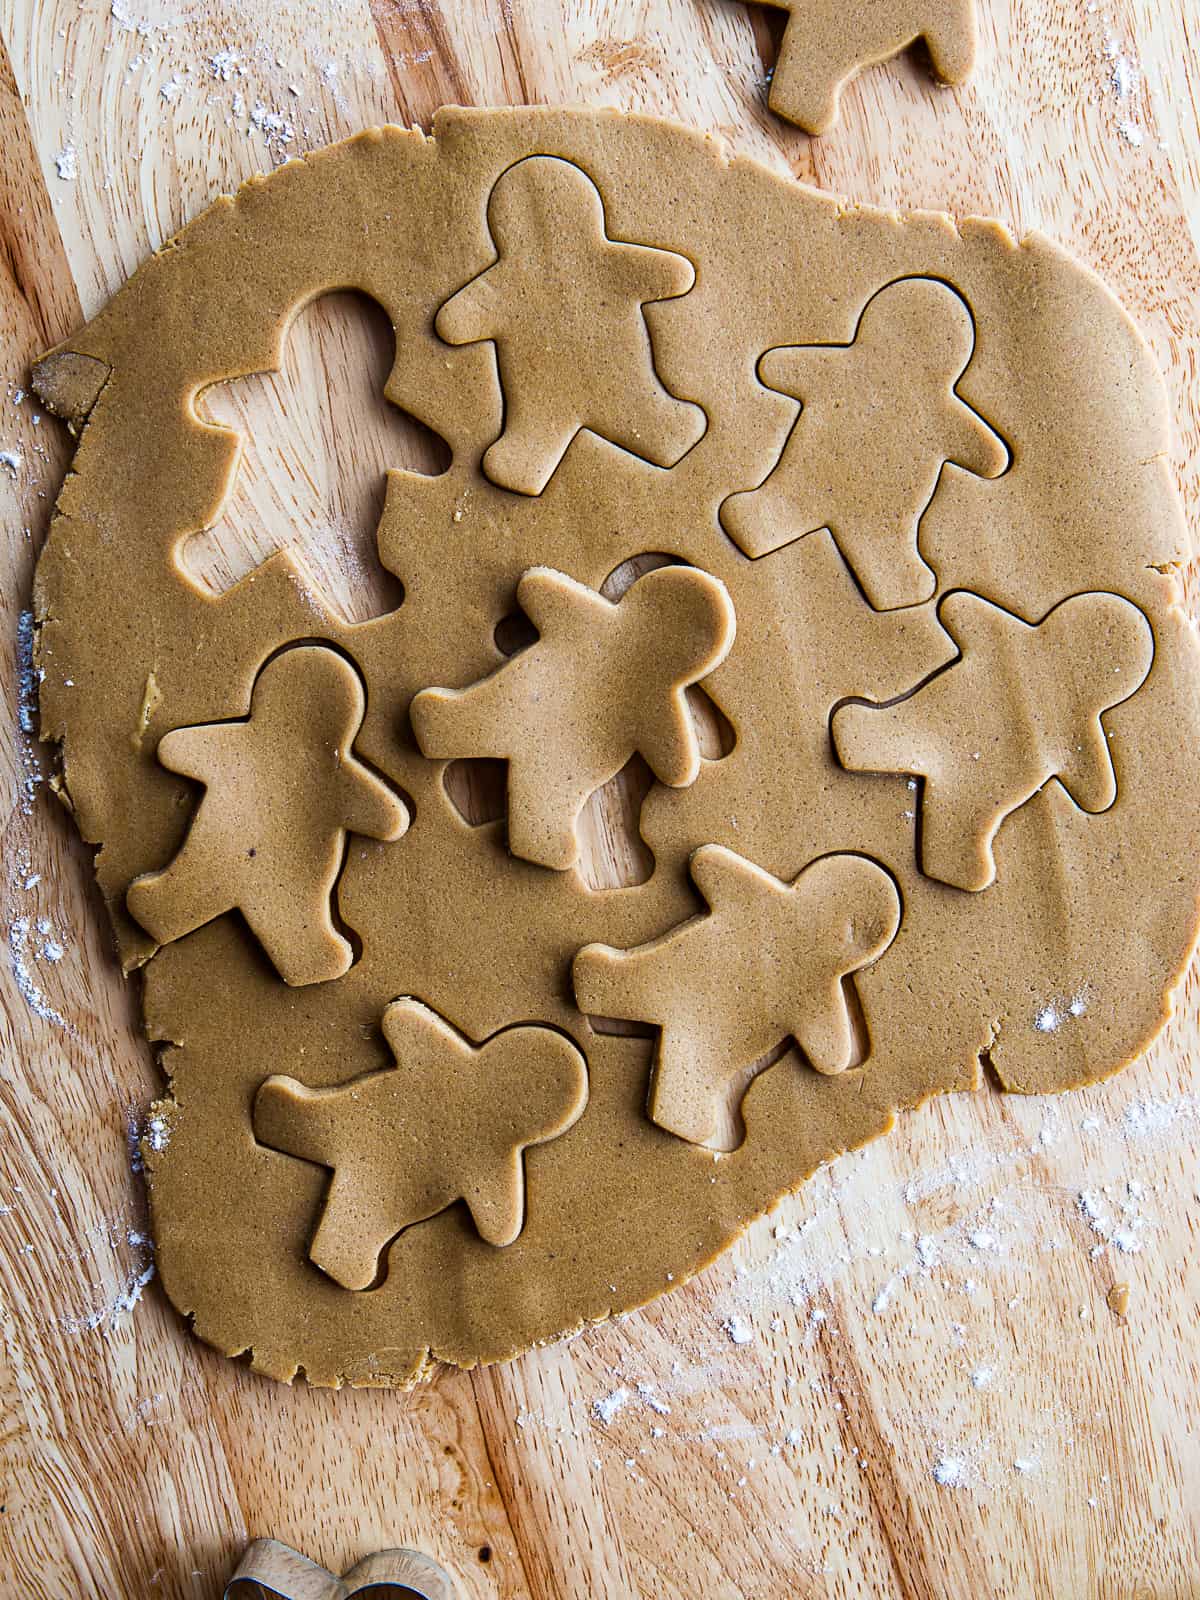
Roll and Cut into Shapes.
This is the fun part! You get to roll out the dough and cut it into your favorite shapes.
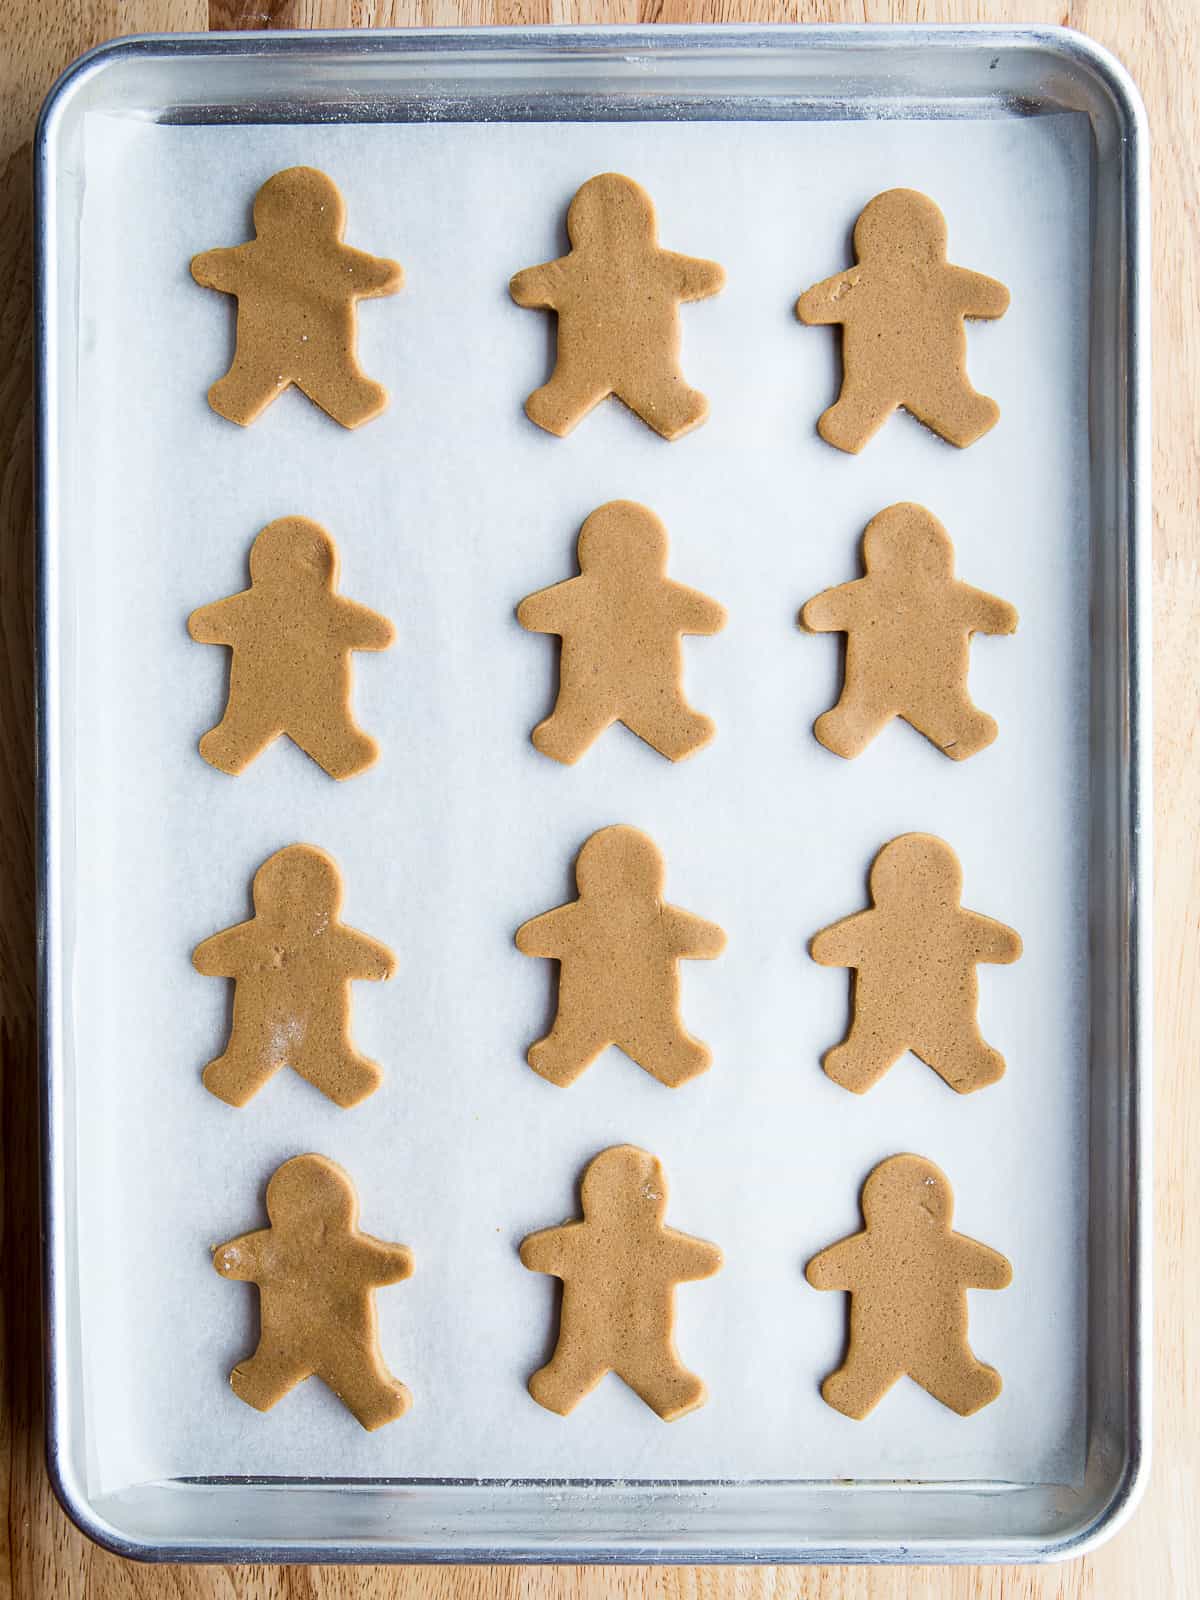
After the dough is chilled, preheat your oven and line two baking sheets with parchment paper.
While the oven heats, roll out the dough to about 1/4-inch thickness. As you roll the dough, move it around on the counter to prevent it from sticking. If it cracks when you first roll it out, it’s too cold. Cover it and let it sit at room temperature for about 15 minutes and then re-roll.
Dip your cookie cutter into gluten-free flour. Cut out the cookies and transfer them to the parchment-lined baking sheet, about an inch apart.
Press the remaining dough back into a ball. Roll it out and repeat.
If you want to add colored sugar to the cookies, sprinkle it on after you place the cookies on the baking sheet.
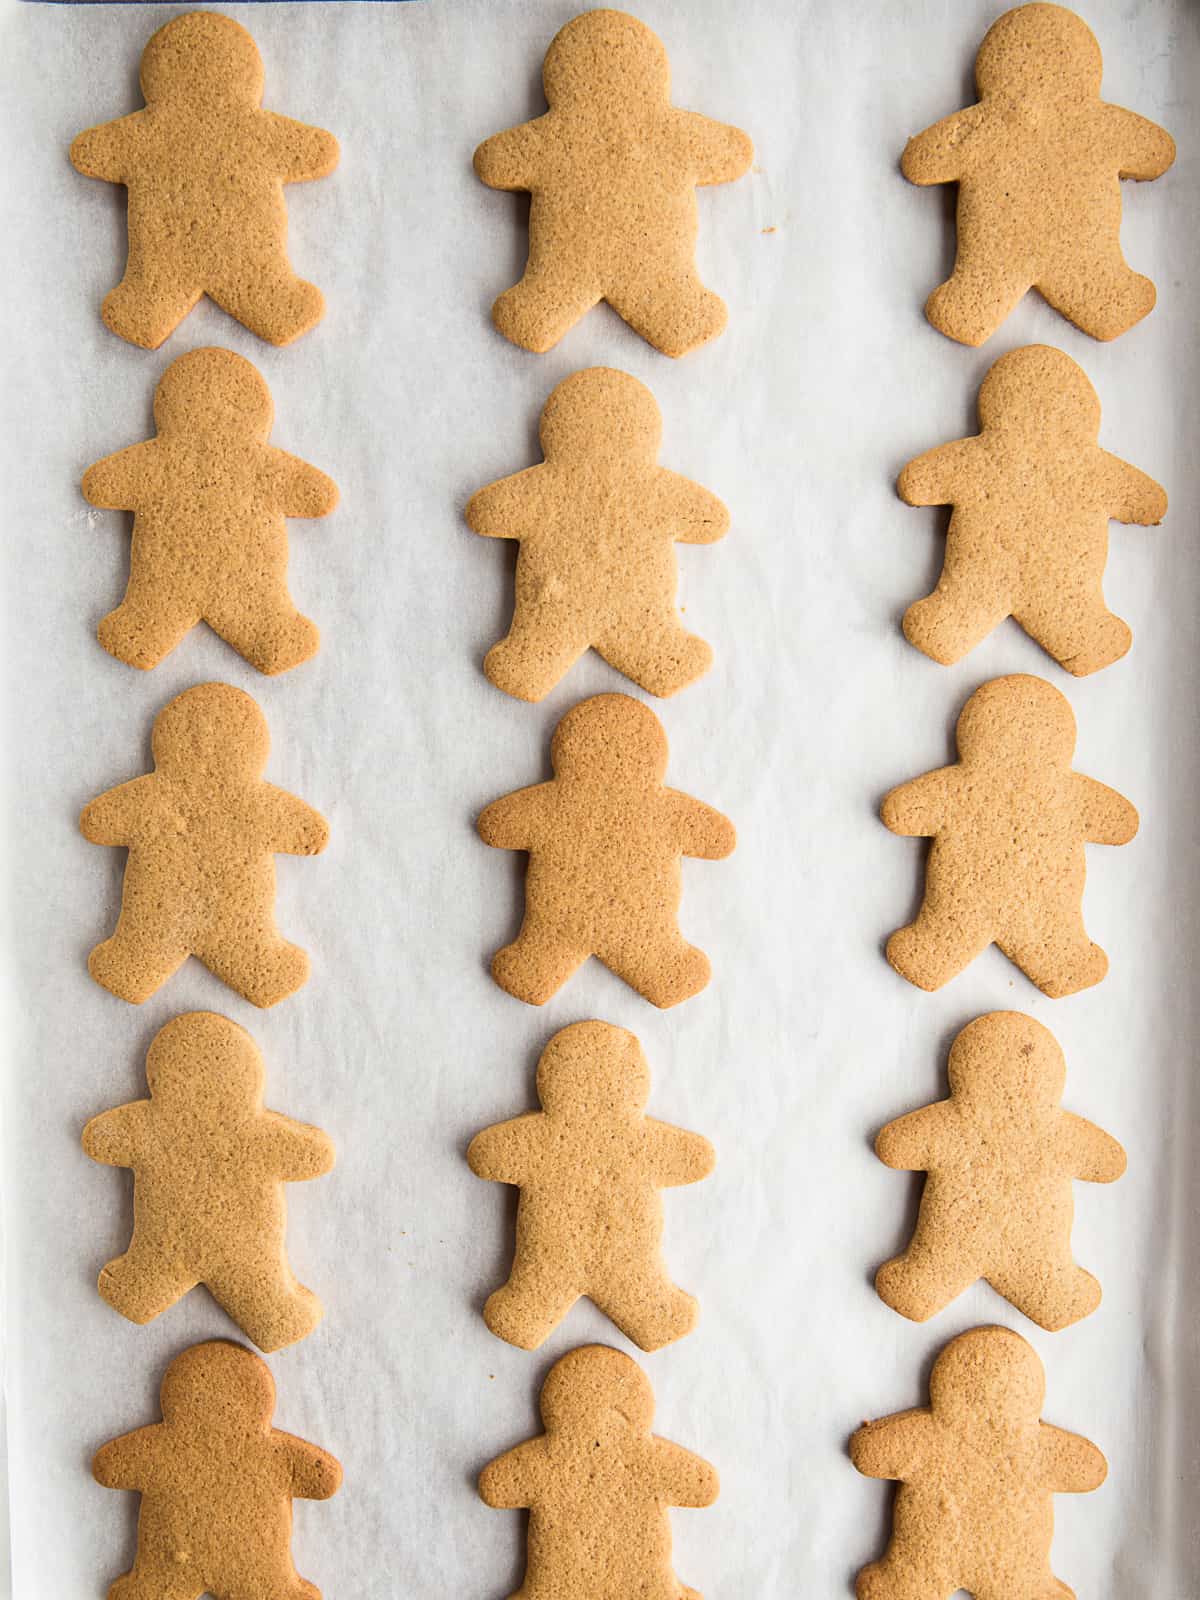
Bake the Cookies.
Since these are brown cookies, it can be difficult to tell when they’re done. Look for them to appear dry. If they seem shiny, bake for another few minutes.
You want to let the cookies cool on the pan for about five minutes before transferring them to a cooling rack. They’re soft and delicate when they first come out of the oven. If you let them cool on the pan, they set up and won’t break when moved.
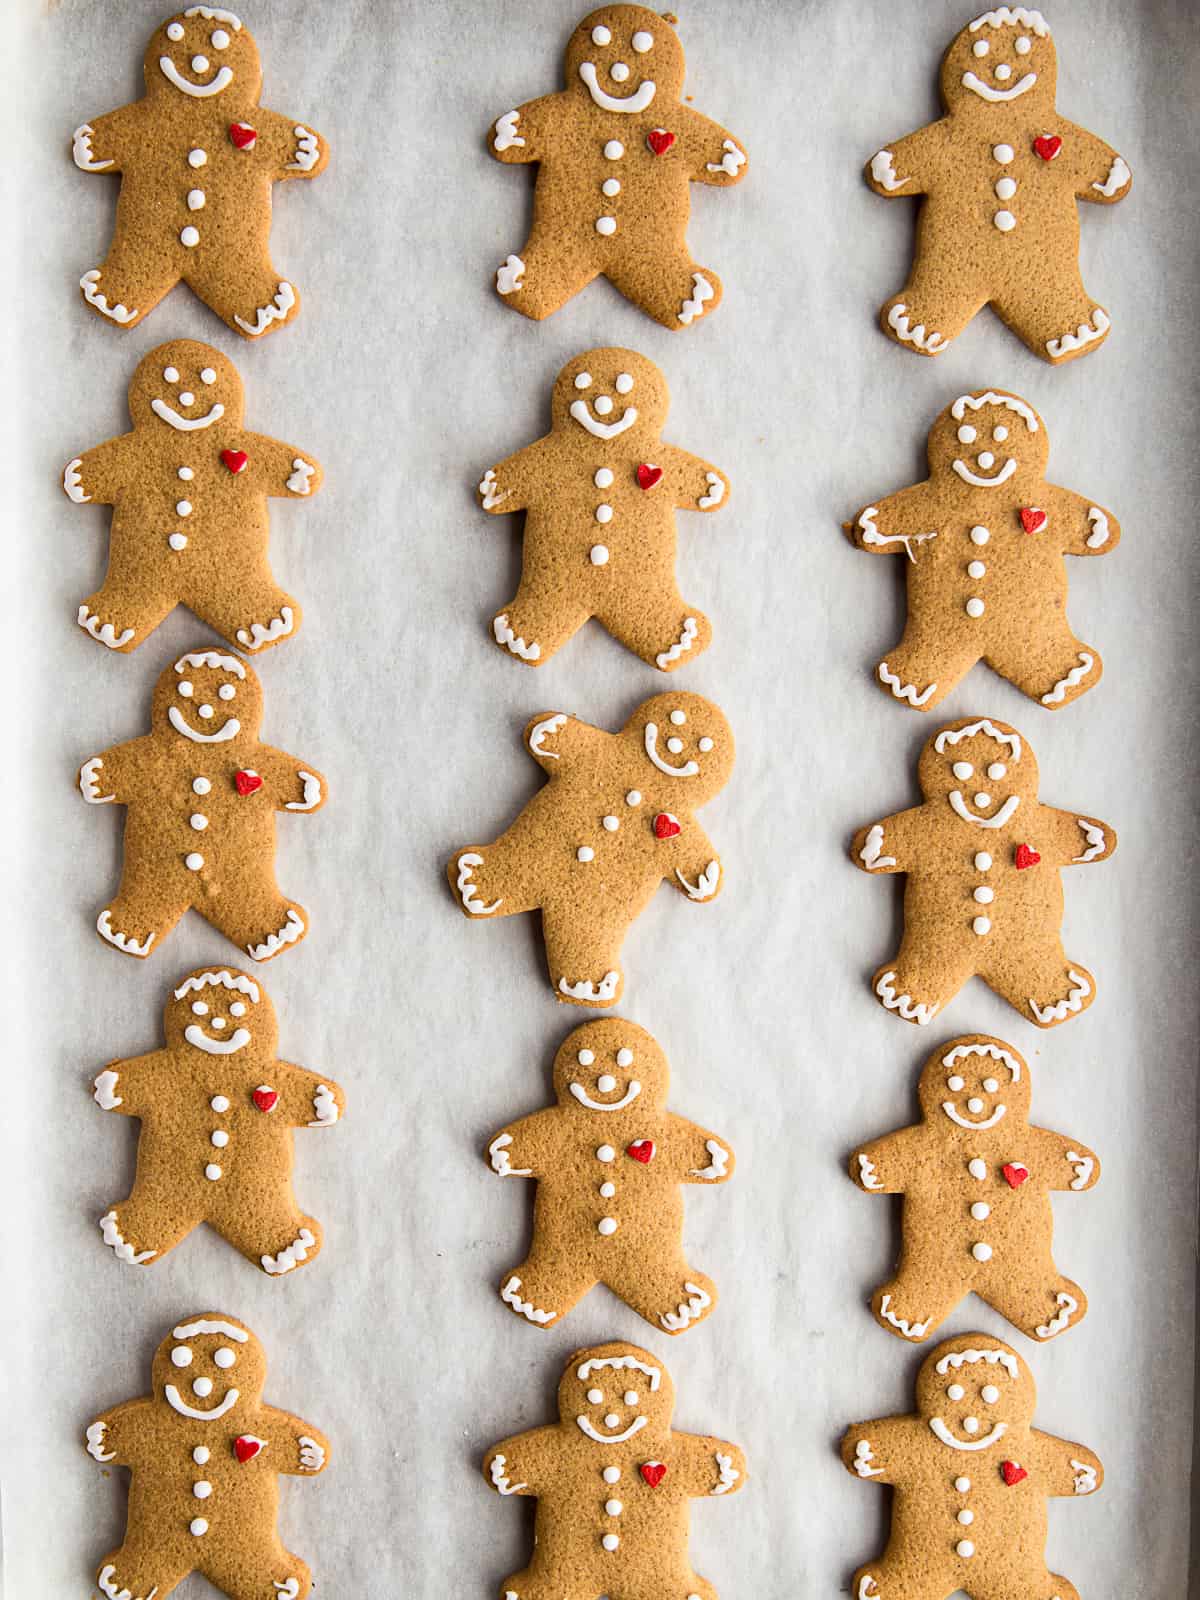
Decorate (optional).
If you want to decorate your gingerbread cookies, use the easy icing recipe included with the recipe. This icing sets up hard, making it perfect for piping on faces that don’t smear. If you prefer a soft and creamy frosting, use my recipe for gluten-free buttercream.
How to Store Gluten-Free Gingerbread Cookies.
Let the cookies cool completely before you place them into a storage container. If they’re warm when you put them away, they’ll steam in the container and get soft.
You can store gluten-free gingerbread cookies in a container with a lid at room temperature for up to one week.
To Freeze: Allow the cookies to cool. Layer in a freezer container, with parchment or waxed paper between the layers, and freeze for up to three months.
To Thaw: Allow the cookies to thaw at room temperature.
Easy Gluten-Free Gingerbread Cookies
Easy gluten-free gingerbread cookie recipe. These sweet and spicy cookies are perfect for Christmas.
Ingredients
Gluten-free Gingerbread Cookie Dough
- 3 cups gluten-free baking flour, see note (15 ounces; 425 grams)
- 1 tablespoon ground ginger
- 1 teaspoon ground cinnamon
- ½ teaspoon baking powder
- ½ teaspoon salt
- ¼ teaspoon ground clove
- 12 tablespoons butter, softened (1 ½ sticks) (6 ounces; 170 grams)
- ¾ cup packed dark brown sugar (5 ½ ounces; 155 grams)
- 1 large egg (about 2 ounces; 50 grams out of shell)
- 4 tablespoons molasses (3 ounces; 85 grams)
Cookie Icing
- 2 cups powdered sugar (8 ounces; 226 grams)
- 4 ½ teaspoons meringue powder
- 4-5 tablespoons water
Instructions
For the Gluten-Free Gingerbread Cookie Dough
-
Whisk together gluten-free flour, ground ginger, ground cinnamon, baking powder, salt, and ground clove. Set aside.
-
Cream together butter and dark brown sugar until a thick paste forms, about 30 seconds. Add egg and molasses. Blend until combined. Stop mixer and scrape down the bottom and sides of the bowl. Run mixer for a few seconds after scraping the bowl. Add the dry ingredients. Blend until a dough forms.
-
Lightly dust your countertop with gluten-free flour. Turn dough out onto counter and pat into a round. Wrap tightly with plastic wrap. Chill for two hours or overnight.
-
Preheat oven to 350°F. Line one or two baking sheets with parchment paper and set aside. Remove dough from the refrigerator and allow to stand for about 15 minutes. This allows the dough to soften a little, making it easier to roll.
Divide dough in half and roll out to about ¼-inch thickness on a generously rice floured countertop. Cut into shapes.
-
Place cookies on a parchment-lined baking sheet. Bake until edges are golden-brown and aromatic, about 12 minutes. Repeat with remaining dough. Be sure to allow the baking sheet to cool between batches to prevent the cookies from spreading.
-
Cool cookies on a wire rack. Decorate as desired. Store cookies in a covered container for up to one week.
For the Cookie Icing
-
Whisk together confectioners’ sugar and meringue powder in a large bowl. Add 4 tablespoons of water.
Mix on high speed until thick, about three minutes. If icing is too thick, add a teaspoon of additional water until it’s the right consistency.
-
This icing will form a crust. Transfer it to a piping bag right after you make it. Decorate cooled cooled cookies as desired.
Icing recipe can be doubled.
Recipe Notes
Ingredient Notes.
Recipe was tested with Bob’s Red Mill 1:1 Gluten-Free Baking Flour. If your flour blend doesn’t contain xanthan gum, whisk 1/2 teaspoon into the flour blend before using.
Judy Trask says
I love this recipe…very easy…making a gingerbread house with it…I’ll let you know how it turns out
Beth says
Is this dough good for making a ginger bread house?
Elizabeth says
Yes! It does spread a smidgen. If you want to avoid that, leave out the leavener.
Michelle says
I’m looking forward to trying this out! I love the idea of being able to roll out gluten-free dough without using parchment paper.
I just wanted to mention that some of the notes and FAQs above the recipe seem to contradict the recipe, particularly light vs brown sugar. It doesn’t look like anything critical. I appreciate all the great recipes!
LinLee says
Wow, thank you! My first time making gluten free cookies, your recipe was fantastic, even my husband liked them and he normally does not like gingerbread. My taste-buds prefer more cinnamon but that’s an easy adjustment. The cookies baked up wonderfully and the texture was great. Thank you again and Merry Christmas!
Carrie says
This recipe is terrible. The cookies were grainy and the dough fell cracked and fell apart.
Elizabeth says
It sounds like something went wrong. The dough should be very soft because of the egg and molasses. What type of gluten-free flour did you use?
Deb says
Can these be rolled into balls instead of using cookie cutters?
Elizabeth says
I’d use this recipe for gluten-free molasses cookies instead.
K Meyer says
I didn’t have baking molasses, so I ended up using 1 tablespoon of regular molasses and 1 tablespoon of maple syrup. The taste turned out well! My husband loved these, he’s my toughest gluten free critic.
Thank you for this delicious recipe.
Dianna Seagiver says
I used Bob’s Red Mill 1:1 baking flour which has Xantham gum, and the cookies were very dry. Tasty but dry. I also added about 1/2 teaspoon extra ginger and cinnamon. Should I use more butter, if so, how much?
Elizabeth says
They don’t need more butter. What size cookies did you make? Dry makes me think they might have baked for a minute or so too long.
Melissa says
Love this recipe! Makes a nice soft biscuit. Easy to make. I live in a hot climate in Australia so I have freeze it for a few minutes after each time I cut out and roll otherwise it’s too soft. Absolutely delicious and the kids love it.