
This gluten-free cornbread stuffing recipe is perfect for Thanksgiving. It’s filled with flavor from the cornbread, celery, onions, and herbs. It’s great as a side dish and makes tasty leftovers too.
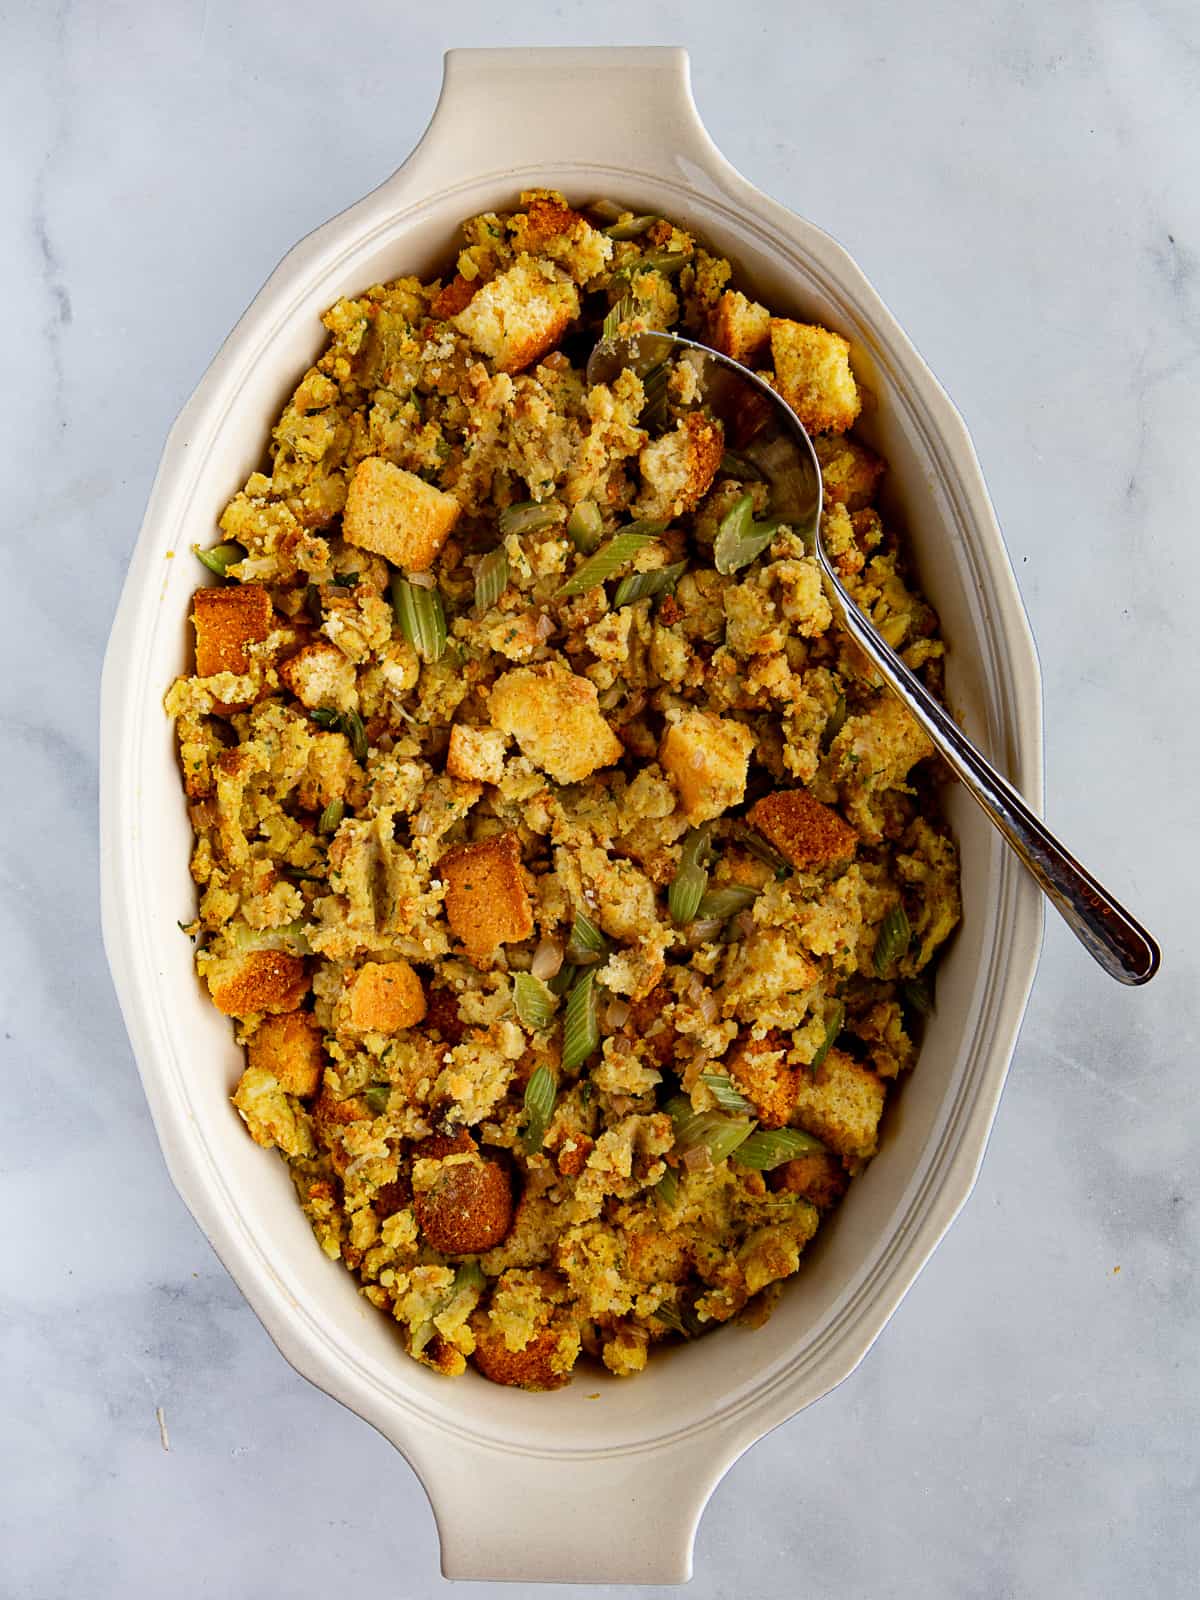
Stuffing is one of the stars of the Thanksgiving table. Like my classic gluten-free stuffing, this cornbread stuffing is packed with the flavors of the holiday: sausage, sage, onions, and celery. The best part? It’s easy to make.
Ingredients.
Here’s what you need to make this stuffing.
- Gluten-Free Cornbread. The best cornbread to use for cornbread stuffing is whatever gluten-free cornbread you enjoy eating. For this recipe, you can use the cornbread recipe included or use your favorite mix. You need about 8 cups of cubed cornbread. One 8 or 9-inch pan of cornbread is enough.
- Onions, Celery, and Garlic. Cook these until tender before adding to the stuffing mixture.
- Broth. Chicken, turkey, or vegetable broth all work when making stuffing. I like to use a low sodium stock. This way you can adjust the amount of salt in the stuffing to taste. As with all ingredients, remember to check the label to ensure the chicken broth is gluten-free
- Sage. A generous amount of sage is what gives stuffing its characteristic flavor. Use fresh or dried.
Cook’s Tip: Should I use fresh or dried sage?
Some folks insist on using fresh herbs for stuffing, but I’m not one of them. Since I only make stuffing in the winter, sometimes I don’t have access to fresh sage. This means I usually reach for dried sage. When using any dried herb, make sure it’s not past its prime. Test your dried herbs by rubbing them between your fingers; they should give off a distinct aroma. If they don’t pass the sniff test, it’s time to buy new ones.
If you can find fresh sage, chop it finely before adding to the stuffing. Large pieces of herbs can be too strong if you get a mouthful in a bit of stuffing.
Optional Ingredients.
Make this stuffing your own by adding your favorite ingredients. Here are some suggestions.
- Sausage. For a sausage and cornbread stuffing, cook Italian or breakfast sausage before you cook the onions and celery. I like to use up to one pound of sausage.
- Eggs. If you like stuffing with a bread pudding-like texture, add two eggs to the mixture before cooking.
- Dried Fruit. Add cranberries, raisins, or chopped dried apricots
How to Make Gluten-Free Cornbread Stuffing.
Here’s how to put this together from start to finish.
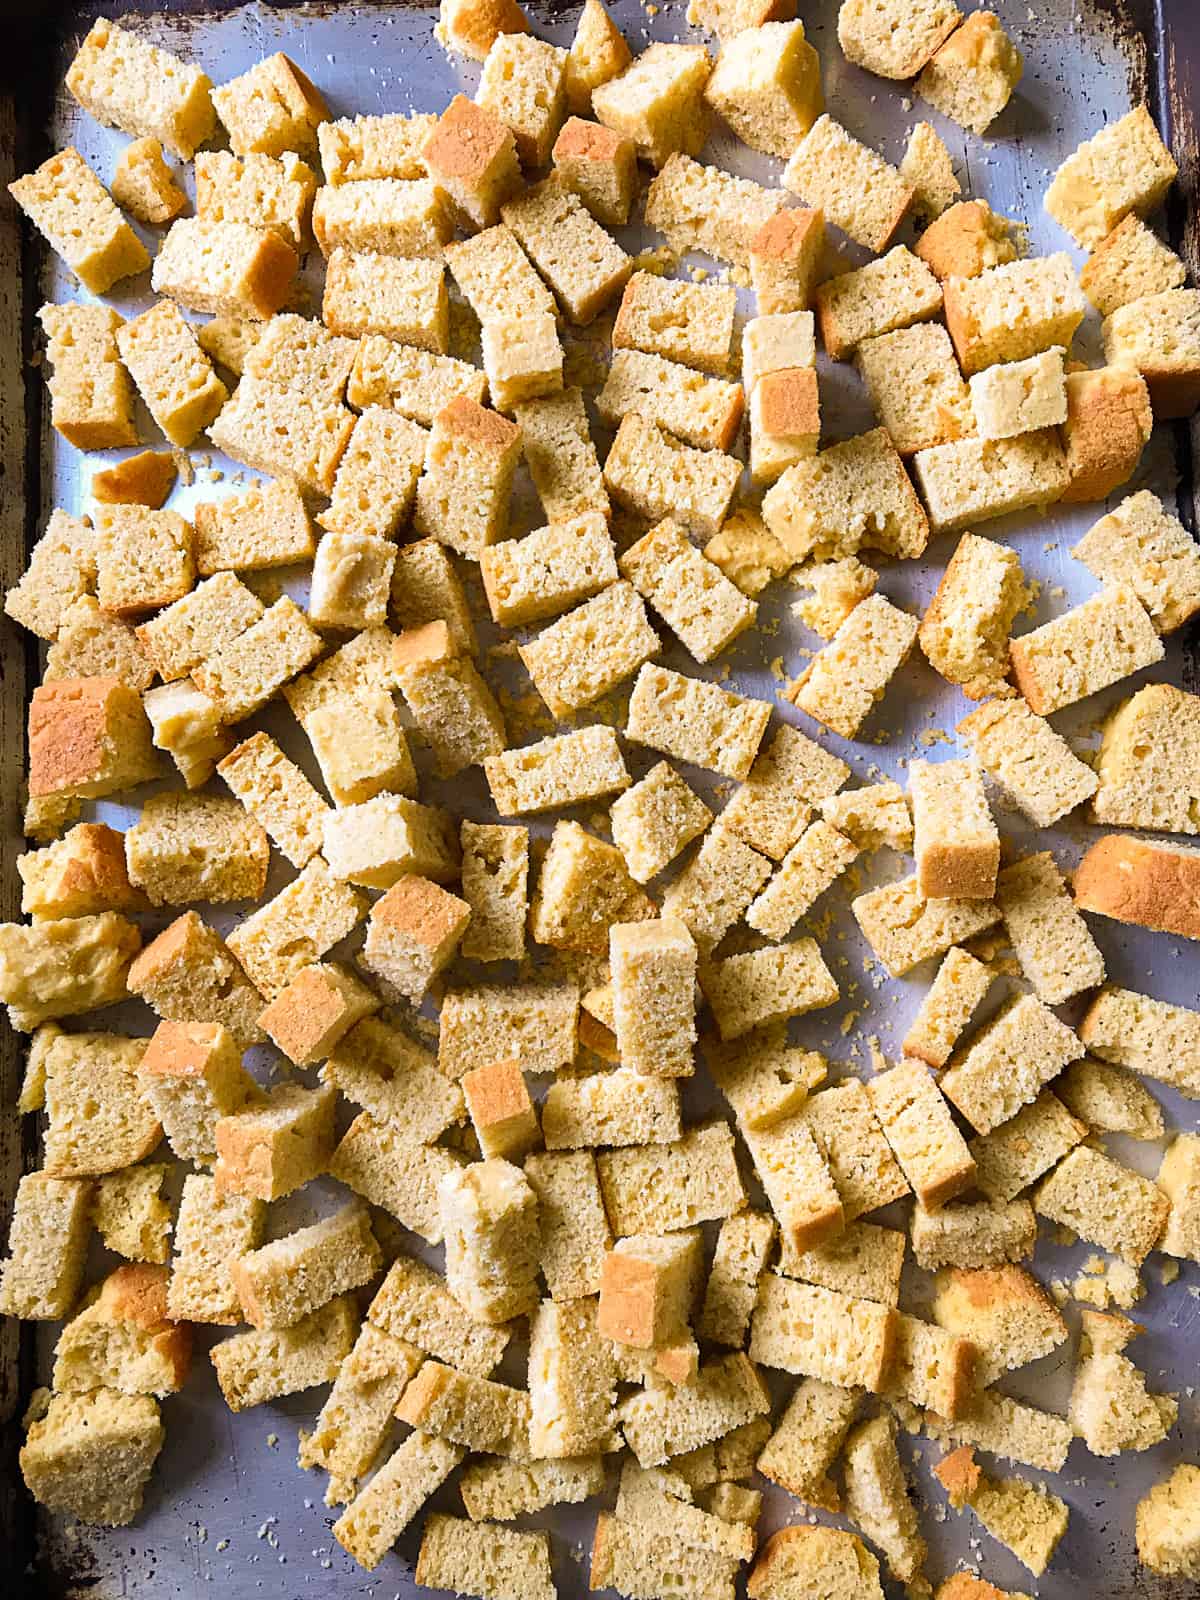
- Prepare the cornbread. Make the cornbread and let it cool. Once it’s cool, cut it into large cubes and toast until it’s a light golden brown. Toasting it adds a nice flavor and prevents the stuffing from having a mushy texture.
- Cook the sausage. (optional). If you’re including sausage in your stuffing, cook and crumble it. If it’s in a casing, remove it from the casing before cooking.
- Cook the vegetables. Cook the celery and onions in either a tablespoon of the remaining sausage fat or olive oil. Don’t rush this step. You want the celery and onions soft and tender, not crunchy. This takes about 5 minutes.
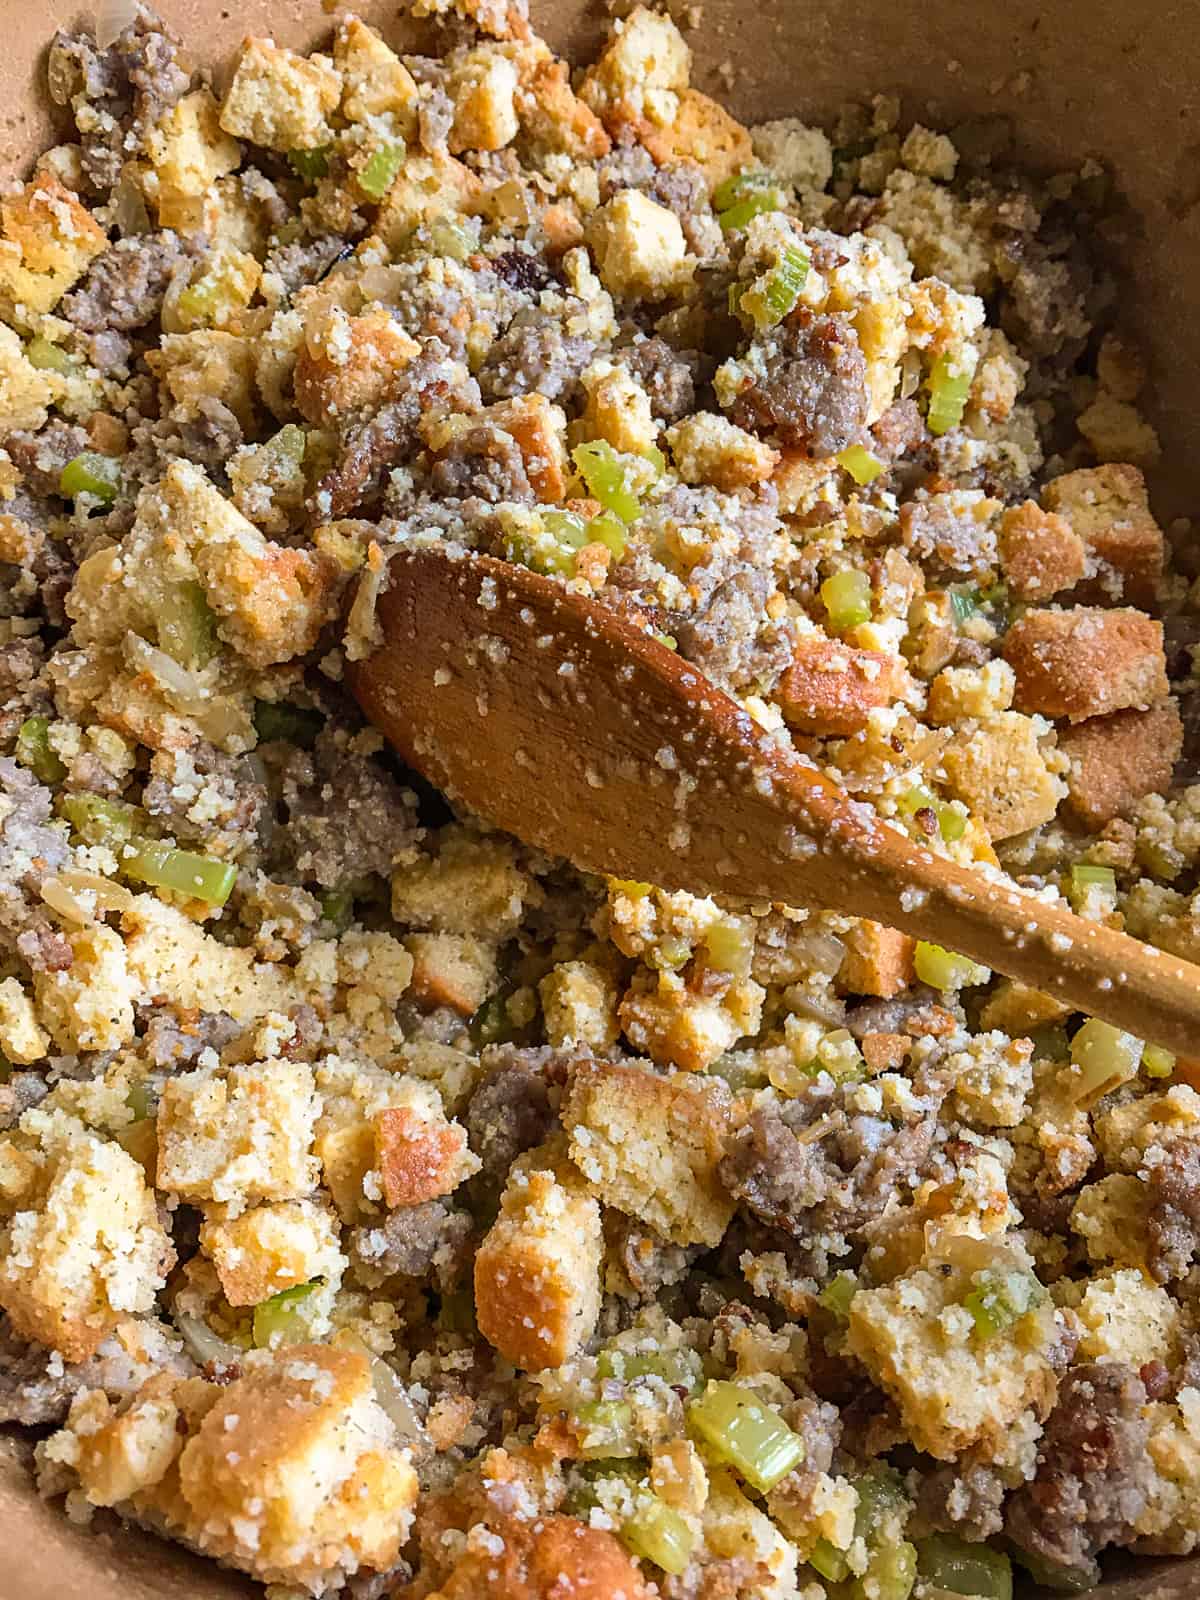
- Stir it all Together. You’re going to need a large mixing bowl to stir the stuffing together. If you don’t have one, a large pasta pot (as long as it’s not too deep) works in a pinch.
Gently stir together the cornbread, cooked vegetables, sausage (if using) and herbs. Add the broth slowly, about one cup at a time. You want the cornbread to be damp, not soggy.
- Adjust the seasonings Give the stuffing a taste. If it seems dry, add a little more broth. If it needs salt or more herbs, add them now.
- Add the eggs (optional). If you’re adding eggs, whisk them together and gently stir them in. Remember, don’t taste the stuffing after you’ve added the raw eggs.
- Bake until hot. Spoon the stuffing into a buttered 9×13-inch pan or 3-quart casserole dish. Place a few pieces of butter over the top of the stuffing. Cover with foil and bake until hot. This takes about 30 minutes. If you like your stuffing with a brown and crispy top, remove the foil during the last 10 minutes of baking.
Make Ahead Tips.
Thanksgiving day is busy! Here’s how to make your life easier by making the stuffing ahead of time.
1. You can make the cornbread in advance.
Prepare the cornbread up to three days ahead. After baking, cut it into cubes, and toast. Once it’s cool, place it into a zipper bag or airtight container. Store at room temperature until you’re ready to use. Don’t place warm cornbread into the bag. It can steam and get moldy.
2. You can prepare the stuffing the day before.
You can make this stuffing the day before serving. Prepare it up until the point of baking but don’t bake it. Instead of baking, cover it with plastic wrap and refrigerate. When you’re ready to bake, remove the plastic wrap and bake as directed
3. You can freeze the stuffing.
If you need to make it a more than a day or so in advance, freeze it.
- To freeze unbaked stuffing. Make the stuffing but don’t bake it. Place the stuffing in a freezer-safe dish. Tightly wrap it with plastic wrap and aluminum foil. Double wrapping it prevents freezer burn. When you’re ready to bake, remove the stuffing from the freezer the night before and place it in the refrigerator to thaw. Before baking, remove the plastic wrap. Cover it with foil and bake in a 350°F oven until hot.
- To freeze baked stuffing. After baking, allow the stuffing to cool completely. Place it in a freezer-safe container. Cover tightly with plastic wrap and aluminum foil. When you’re ready to serve it, place in the refrigerator for 24 hours to thaw. Before baking, remove the plastic wrap. Cover it with foil and bake in a 325°F oven until hot.
Storing and Reheating.
Keep the leftover thanksgiving in a container with a lid in the refrigerator for up to three days.
When you’re ready to serve, cover the stuffing with foil and place the stuffing in a preheated 350℉ oven. If the stuffing seems dry, add a splash (about a ¼ cup) of broth. Heat until warm, about 20 minutes.
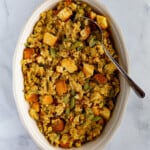
Gluten-Free Cornbread Stuffing
Ingredients
For the Cornbread*
- 1 ½ cups gluten-free cornmeal (8 ounces; 226 grams)
- ½ cup gluten-free flour, see note (2 ½ ounces; 70 grams)
- 2 tablespoons granulated sugar see note (1 ounce; 28 grams)
- 2 teaspoons baking powder
- ½ teaspoon salt
- ¾ cup milk (6 ounces; 170 grams)
- 2 large eggs (about 4 ounces out of shell; 114 grams)
- ⅓ cup vegetable oil (2 ⅓ ounces; 66 grams)
For the Gluten-Free Cornbread Stuffing
- 2 teaspoons olive oil
- 3 stalks celery, finely diced
- 1 medium onion, finely diced
- 2 cloves garlic, minced
- 2 teaspoons dried sage or 3 tablespoons chopped fresh sage leaves
- ¼ teaspoon salt, plus more to taste
- 3 cups no-salt-added or low-sodium broth (chicken, turkey, beef, or vegetable)
Optional Ingredients
- 1 pound cooked and crumbled sausage, see note
- 2 large eggs, whisked
- ½ cup dried fruit (cranberries, raisins, or chopped dried apricots)
Instructions
For the Cornbread
-
Heat oven. Preheat the oven to 425°F. Grease an 8-inch square cake pan with gluten-free cooking spray.
-
Whisk together cornmeal, gluten-free flour, sugar, baking powder, and salt in a large bowl. Add the milk, eggs, and oil. Whisk until combined. Batter will be thick. If it's too thick to spread, add two tablespoons of additional milk.
-
Spread batter into pan. Bake until golden brown, about 20 minutes. A cake tester inserted into the center of the cornbread should come out clean. Let the cornbread cool, about an hour or overnight.
-
Preheat oven to 350℉. Cut the cooled cornbread into cubes, about 1-inch. Spread cubes onto a large ungreased baking sheet. Gently turn cubes and toast until cubes are golden-brown and aromatic, about 20 minutes. Halfway through, turn the cubes so they toast evenly on all sides.
For the Stuffing
-
Preheat oven to 350℉. Grease a 9×13-inch baking dish. Set aside.
-
Place the olive oil in a large skillet and heat over medium-high heat until oil shimmers but doesn’t smoke. Cook the celery until tender, about five minutes, stirring frequently. Add the onions. Cook until tender and fragrant, about five minutes. Add the garlic, sage and salt. Stir to combine. Cook for an additional minute.
-
Combine the cooled, toasted cornbread and cooked vegetables in a large mixing bowl. If using sausage and/or dried fruit, add them now. Gently stir everything together.
-
Add the chicken broth, one cup at a time, and stir gently. The cornbread will break up as you stir. When stuffing is damp, not soggy, stop adding broth. Taste. Add more salt if needed. If using eggs, stir them in after you’ve adjusted the stuffing for salt.
-
Spoon the stuffing into the prepared baking dish. Cover the pan with foil.
-
Bake until hot and steaming, about 30 minutes. Carefully remove the foil. Return the pan to the oven. Cook until the top browns, about 10. Serve hot.
-
Store stuffing covered in the refrigerator for up to three days.
Recipe Notes
*Cornbread Notes
- Gluten-Free Cornbread Mix Option: If you prefer to use a mix, prepare the mix as directed. Once cool, toast as directed in step four. You need about 8 cups of cubed cornbread for the recipe.
- Gluten-free flour. Use your favorite gluten-free flour blend. I tested the recipe with Bob’s Red Mill 1:1 gluten-free baking flour.
- Prepare it in advance: The cornbread can be prepared up to four days in advance. Allow it to cool completely after toasting. Then transfer to a zip-top bag or container with a lid.
*Stuffing Notes
- Sausage: Use Italian sausage or breakfast sausage. To cook it, remove the sausage from the casing and cook in a hot pan with one teaspoon of olive oil. Remove the cooked sausage from the pan and set aside. Carefully drain the excess oil from the pan, leaving about 2 teaspoons of oil in the pan. Cook the celery, onions, and garlic in the pan.
Leave a Reply