Easy gluten-free rhubarb tart made with a sorghum crust and a simple filling that celebrates the sweet-tart flavor of rhubarb.
Gluten-Free Rhubarb Tart OR Sometimes Life is Sour, Then Sweet
Rhubarb and I got off to a rocky start. One day, as my mother began to make a strawberry rhubarb pie, I snuck a slice of rhubarb from her prep bowl. My ten-year-old self expected fruity sweetness, not the puckery sourness that greeted me. Until then, the only other culinary betrayal of this magnitude I’d experienced was the time I grabbed a piece of unsweetened chocolate from the cabinet. In both cases, I could not understand why in the world someone would bake with such awful-tasting ingredients.
Now, of course, I know better. And each spring I look forward to the arrival of rhubarb at the market.
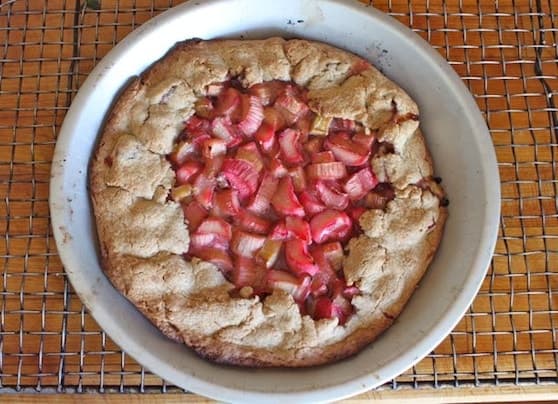
This year, instead of a double-crust pie, I made a rhubarb galette. My first few attempts had one serious problem: they leaked. A lot. Gluten-free crust is delicate and rhubarb lets go of a lot of water as it bakes. Try as I might, I could not prevent my galette from leaving juice all over the baking pan. While the galette itself tasted fine, the juice that leaked out onto the pan burnt during baking.
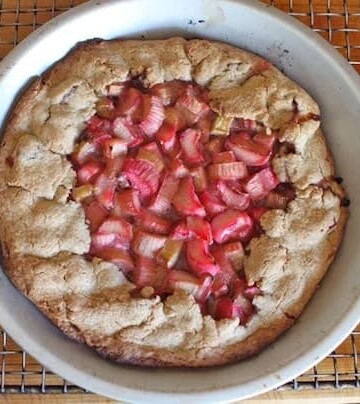
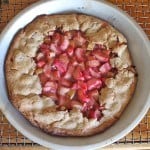
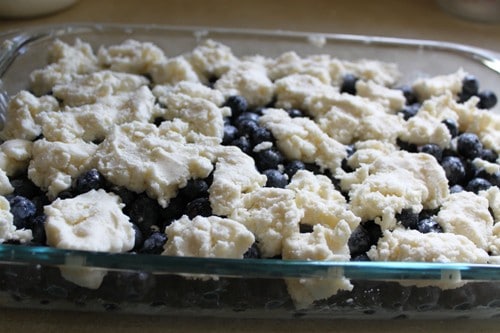
How can you hold onto all that juicy filling? Bake the galette in a pie pan instead! Moving the galette to a pan transformed it into a rustic, open-faced pie, but that was fine with me. The juices from the filling no longer leaked out of the pie. Here are some tips to make this preparation even easier:
- Lightly grease your pie pan. While the crust won’t stick, some juices from the pie seep out during baking. Those sugary juices are sticky. A little mist of cooking spray prevents the pie from sticking to the pan.
- Roll out the crust on a large piece of parchment paper. Then transfer the crust to the pan by inverting the pie pan and placing it over the center of the rolled-out dough. Slide your hand under the parchment (between your counter and the parchment) and flip the dough and pan in one quick motion. Gently peel the parchment away from the crust.
- Bake until the juices boil. Corn starch thickens this filling. It needs to reach a boil to achieve its thickening properties. If the juices don’t boil, the filling won’t thicken.
Gluten-Free Rhubarb Tart
Ingredients
For the Crust
- 1 cup sorghum flour (4 ounces; 113 grams)
- 1/2 cup sweet rice flour (2 ounces; 56 grams)
- 1/4 cup tapioca starch (1 ounce; 28 grams)
- 2 tablespoons granulated sugar (1 ounce; 28 grams)
- 3/4 teaspoon salt
- 1 stick unsalted butter, chilled and cut into six pieces (4 ounces; 113 grams)
- 1 large egg (about 1 3/4 ounces; 50 grams)
- 2 tablespoons cold water, divided (1 ounce; 28 grams)
For the Filling
- 1/2 cup granulated sugar (3 1/2 ounces; 100 grams)
- 2 tablespoons cornstarch (1/2 ounce; 14 grams)
- 3 cup sliced rhubarb (about 14 ounces; 396 grams)
- 1 tablespoon lemon juice (1/2 ounce; 14 grams)
Instructions
-
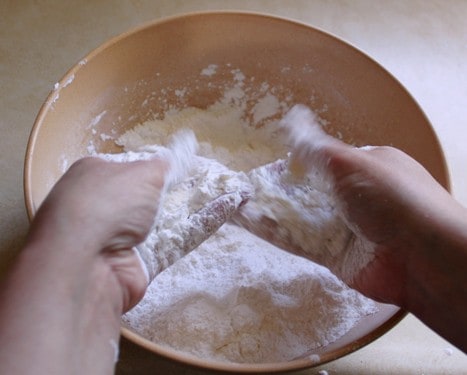
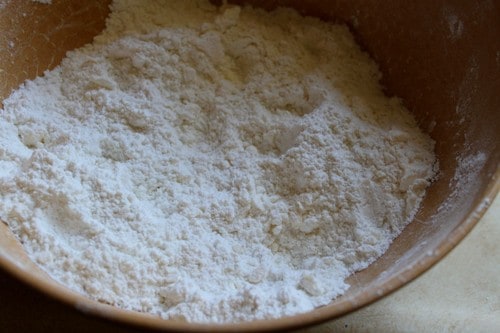
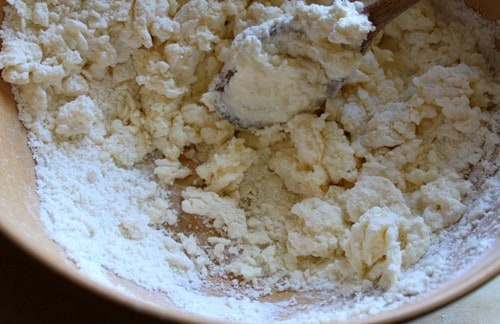
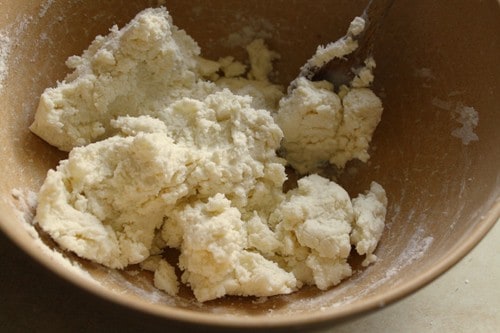
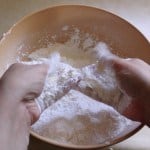
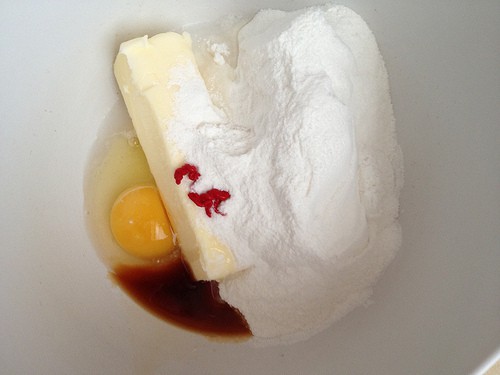
Prepare the Crust: In bowl of food processor, combine sorghum flour, sweet rice flour, tapioca starch, granulated sugar and salt. Pulse to combine. Add butter. Pulse to combine until no large pieces of butter remain and mixture resembles coarse breadcrumbs, about 8 to 10 one-second pulses. Add egg. Pulse to combine. Add one tablespoon water. Pulse until dough forms. If dough is dry, add remaining tablespoon water.
-
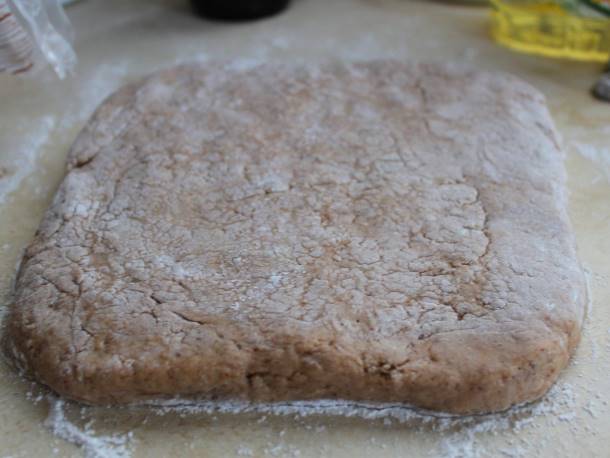
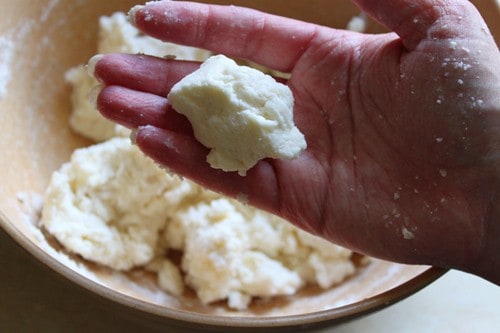
Turn dough out onto lightly white rice floured counter. Pat into a 4-inch round and wrap tightly in plastic wrap. Chill at least two hours or up to overnight.
-
Prepare the Filling: Adjust oven rack to middle position and preheat oven to 425°F. Lightly grease 10-inch pie plate and set aside. Remove dough from refrigerator. Allow it to sit on the counter for 10 minutes. Meanwhile, in large bowl, rub together the cornstarch and granulated sugar. Add rhubarb and lemon juice. Stir to combine.
-
Put It All Together: Place dough onto an 16 1/2- by 12 1/2-inch piece of parchment. Generously white rice flour top of dough. Roll dough into an approximate 14-inch circle. Invert 10-inch pie plate onto center of dough. Slide your hand (between counter and parchment paper) under the parchment paper. In one swift motion, flip dough into pan. Dough will overhang pan. Carefully peel parchment away from dough.
-
Pile filling into the center of the pan. Fold dough edges onto filling. Bake until crust is golden brown and filling bubbles, about 30 minutes. Remove and allow pie to cool in pan.


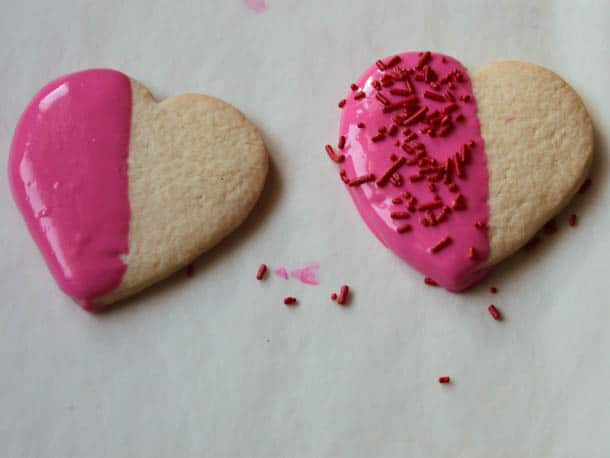


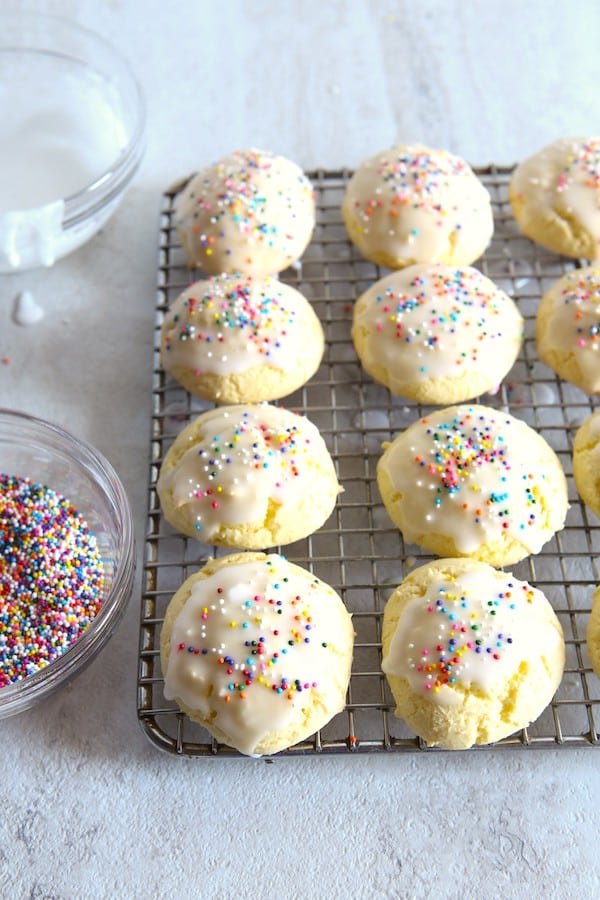
 Dip with jimmies and multi-color drizzle.