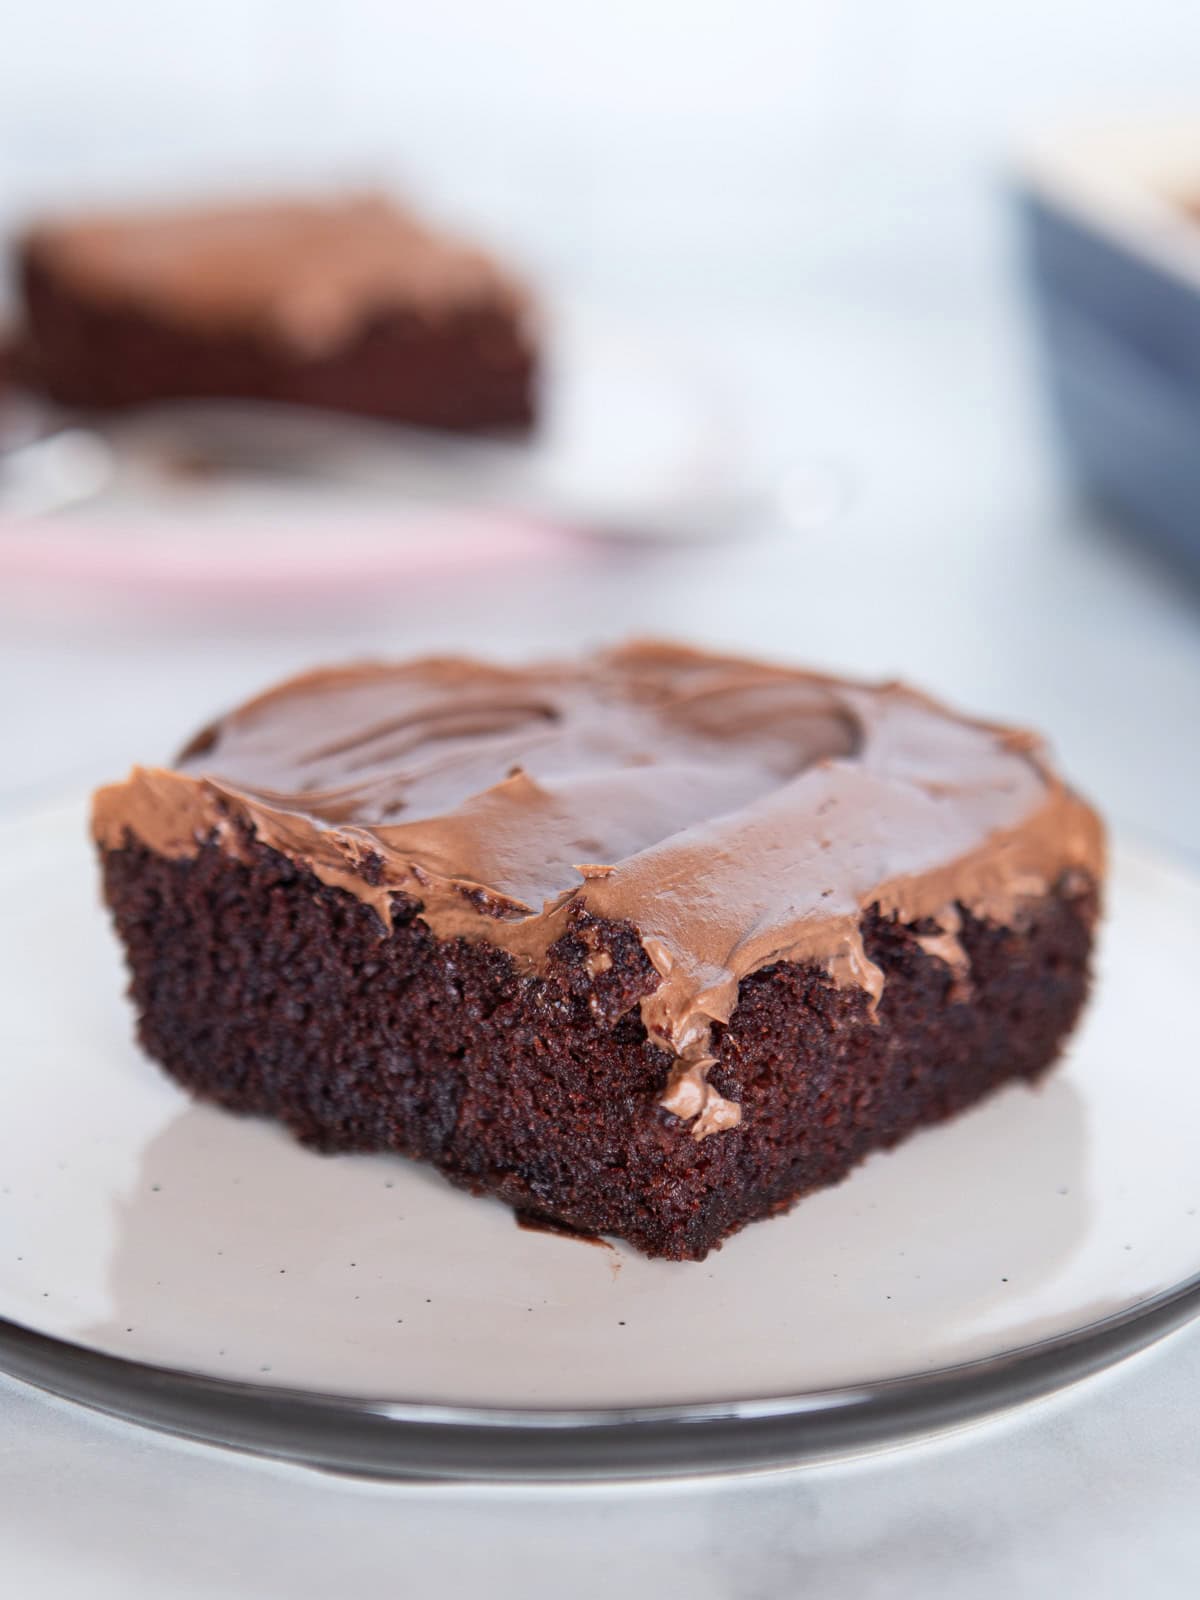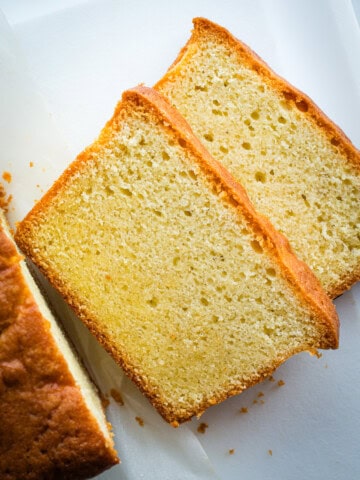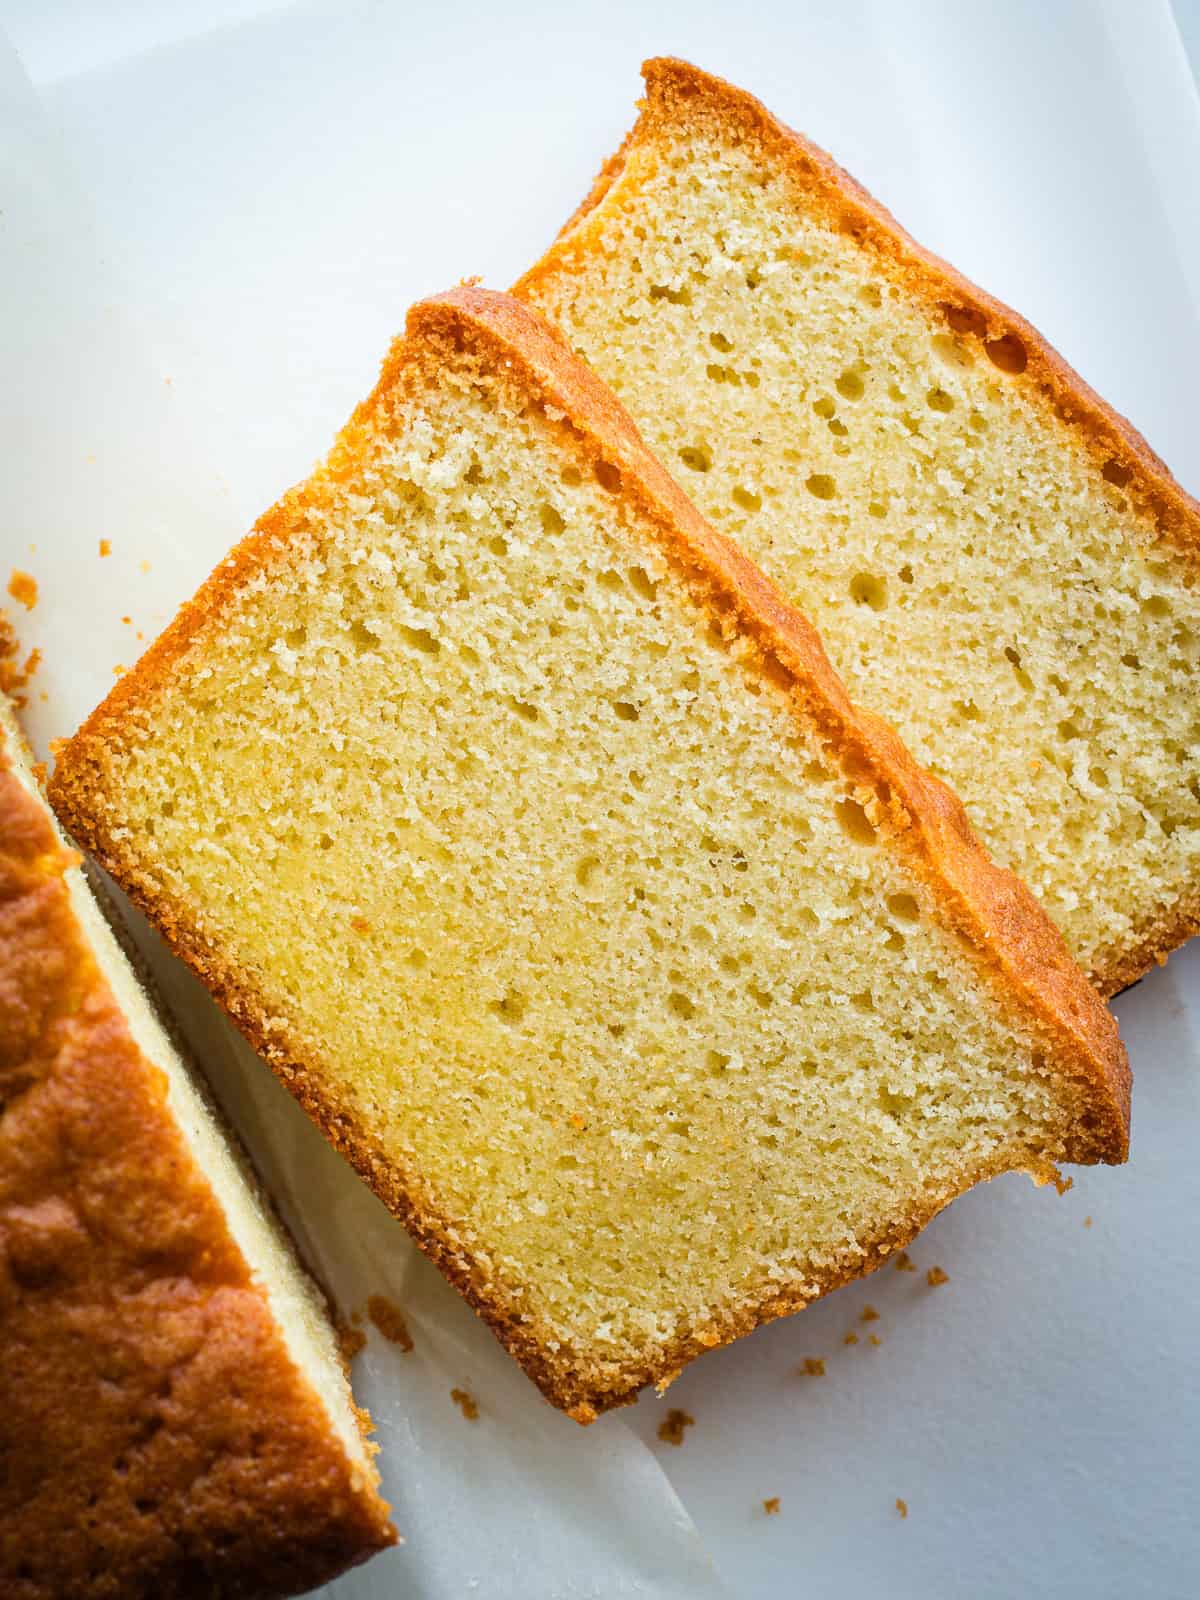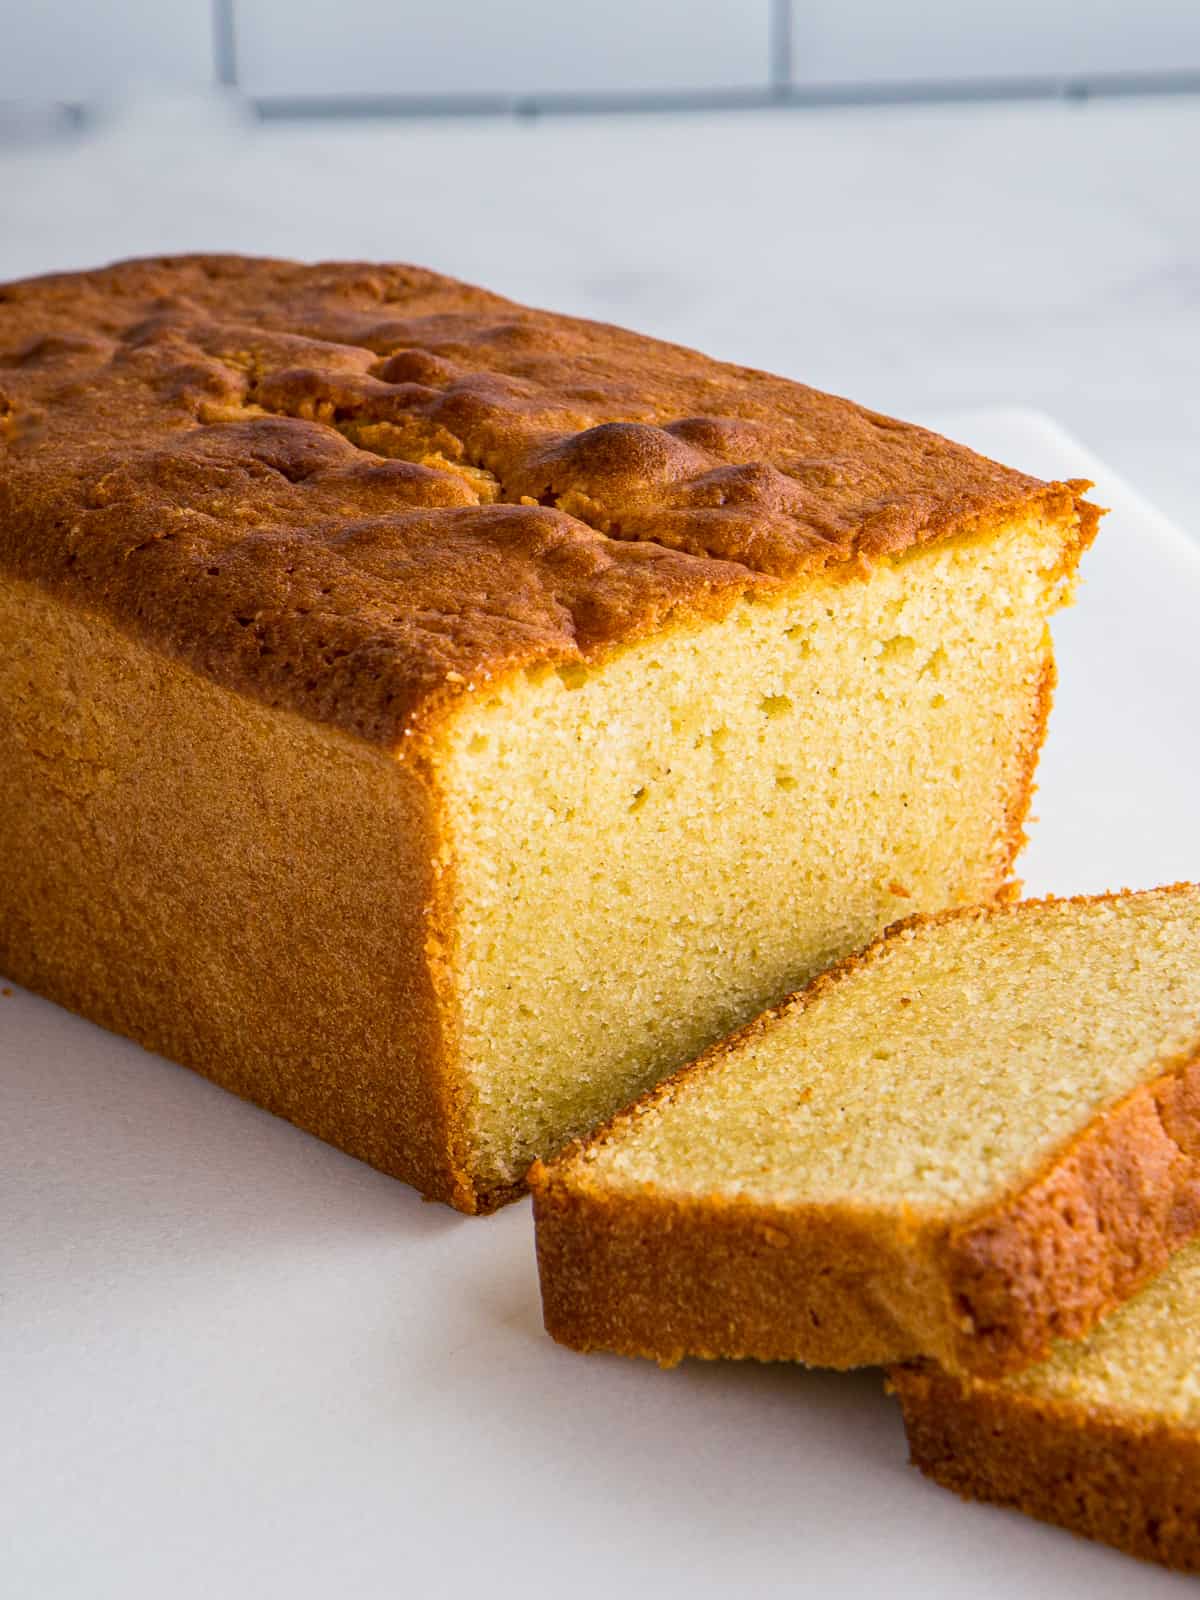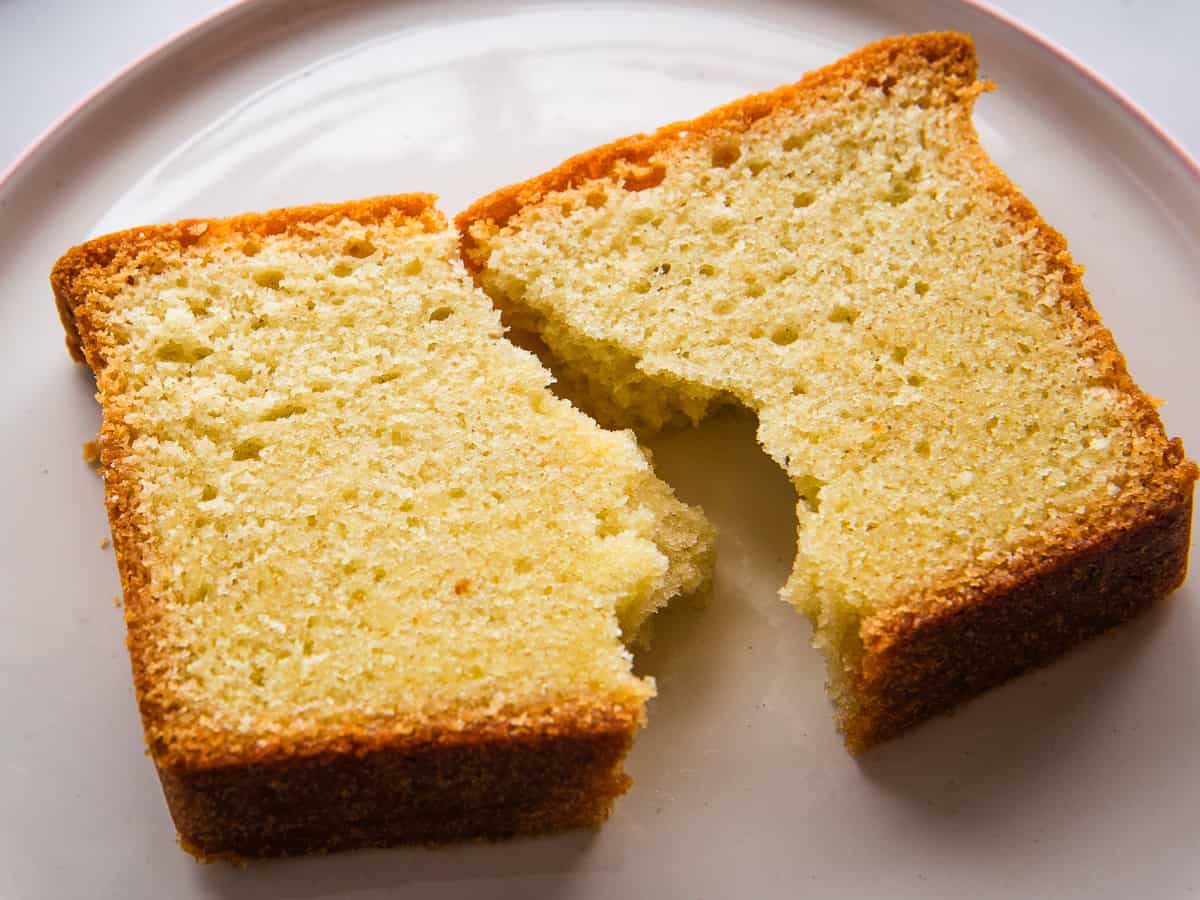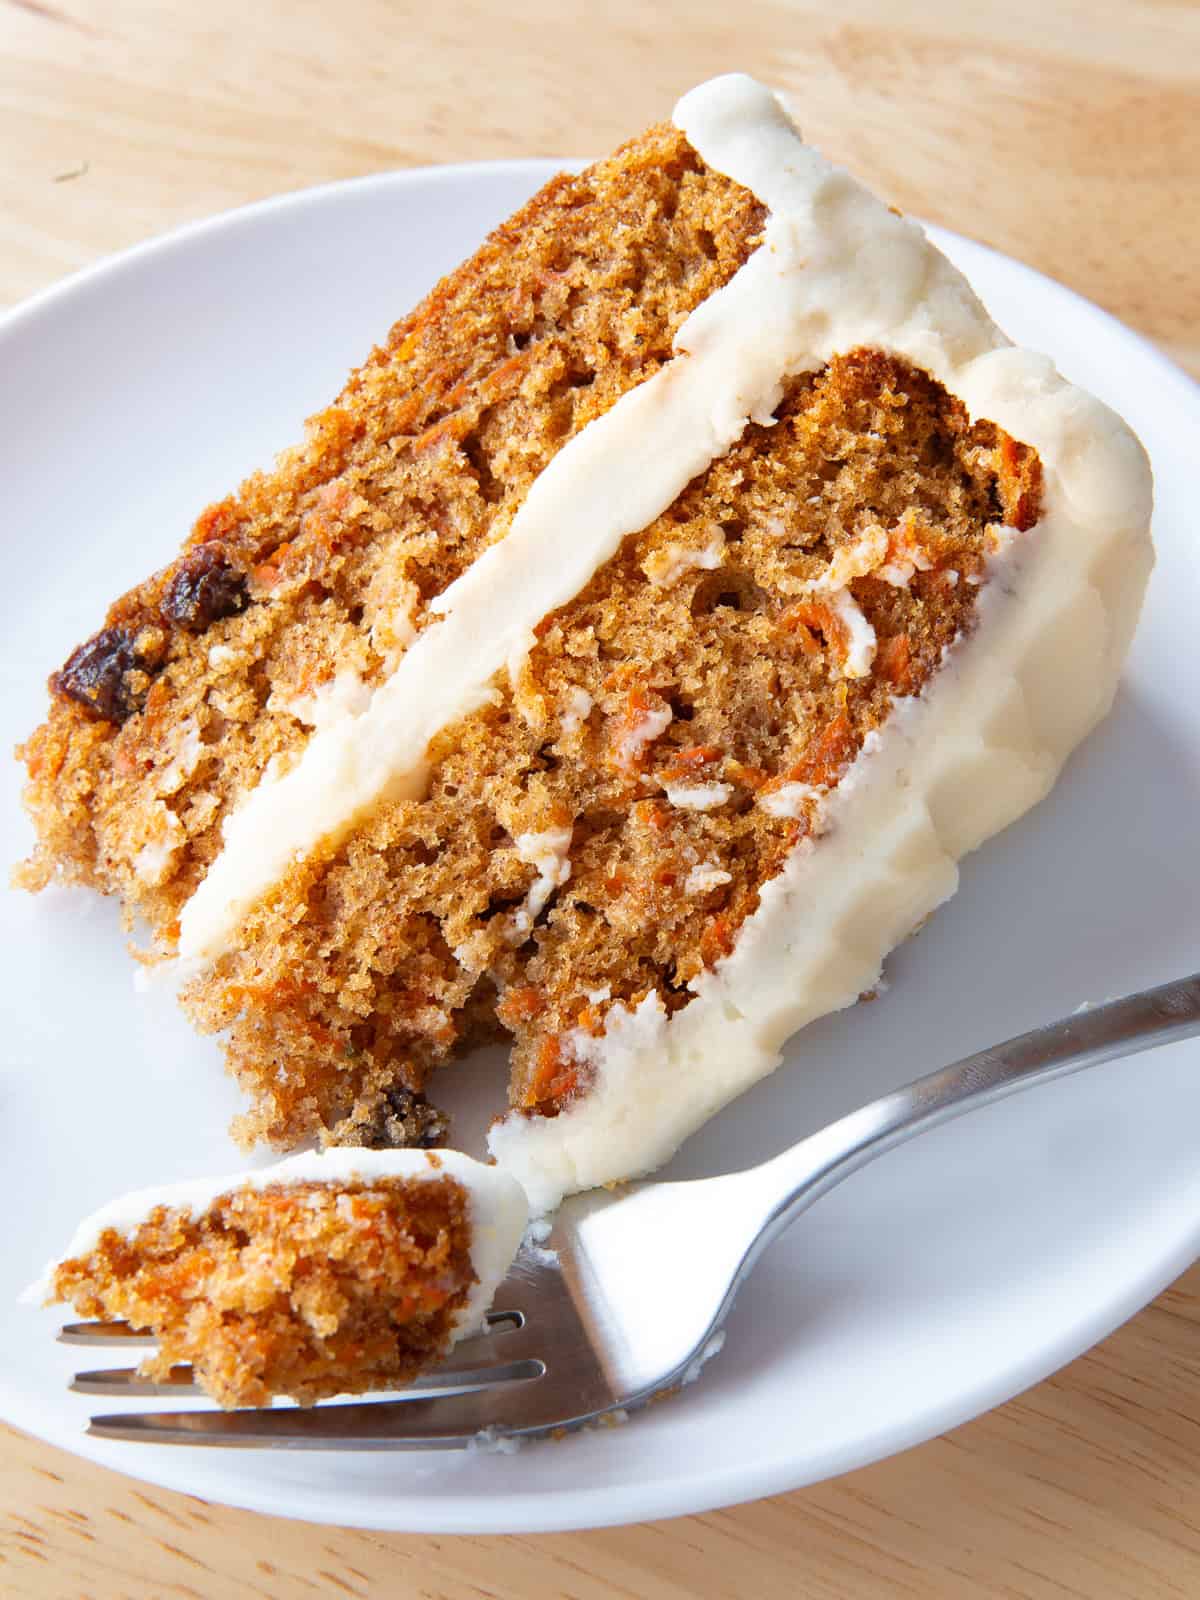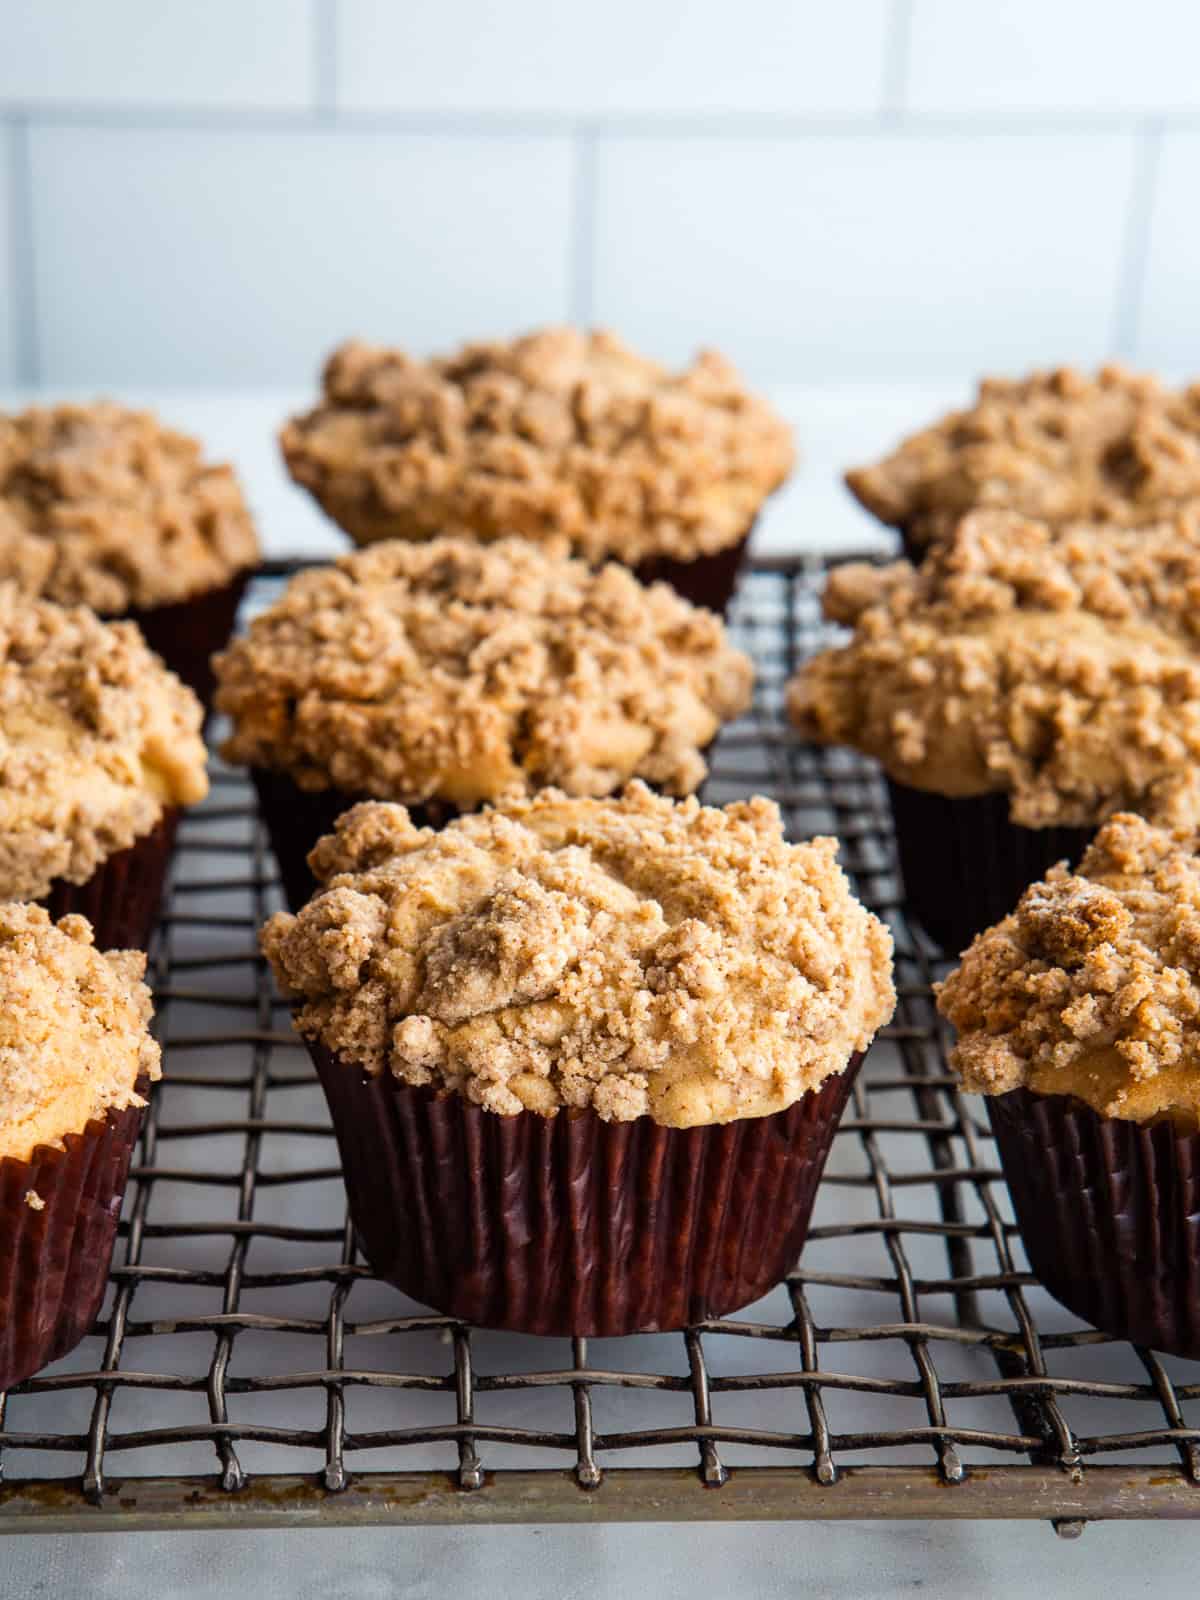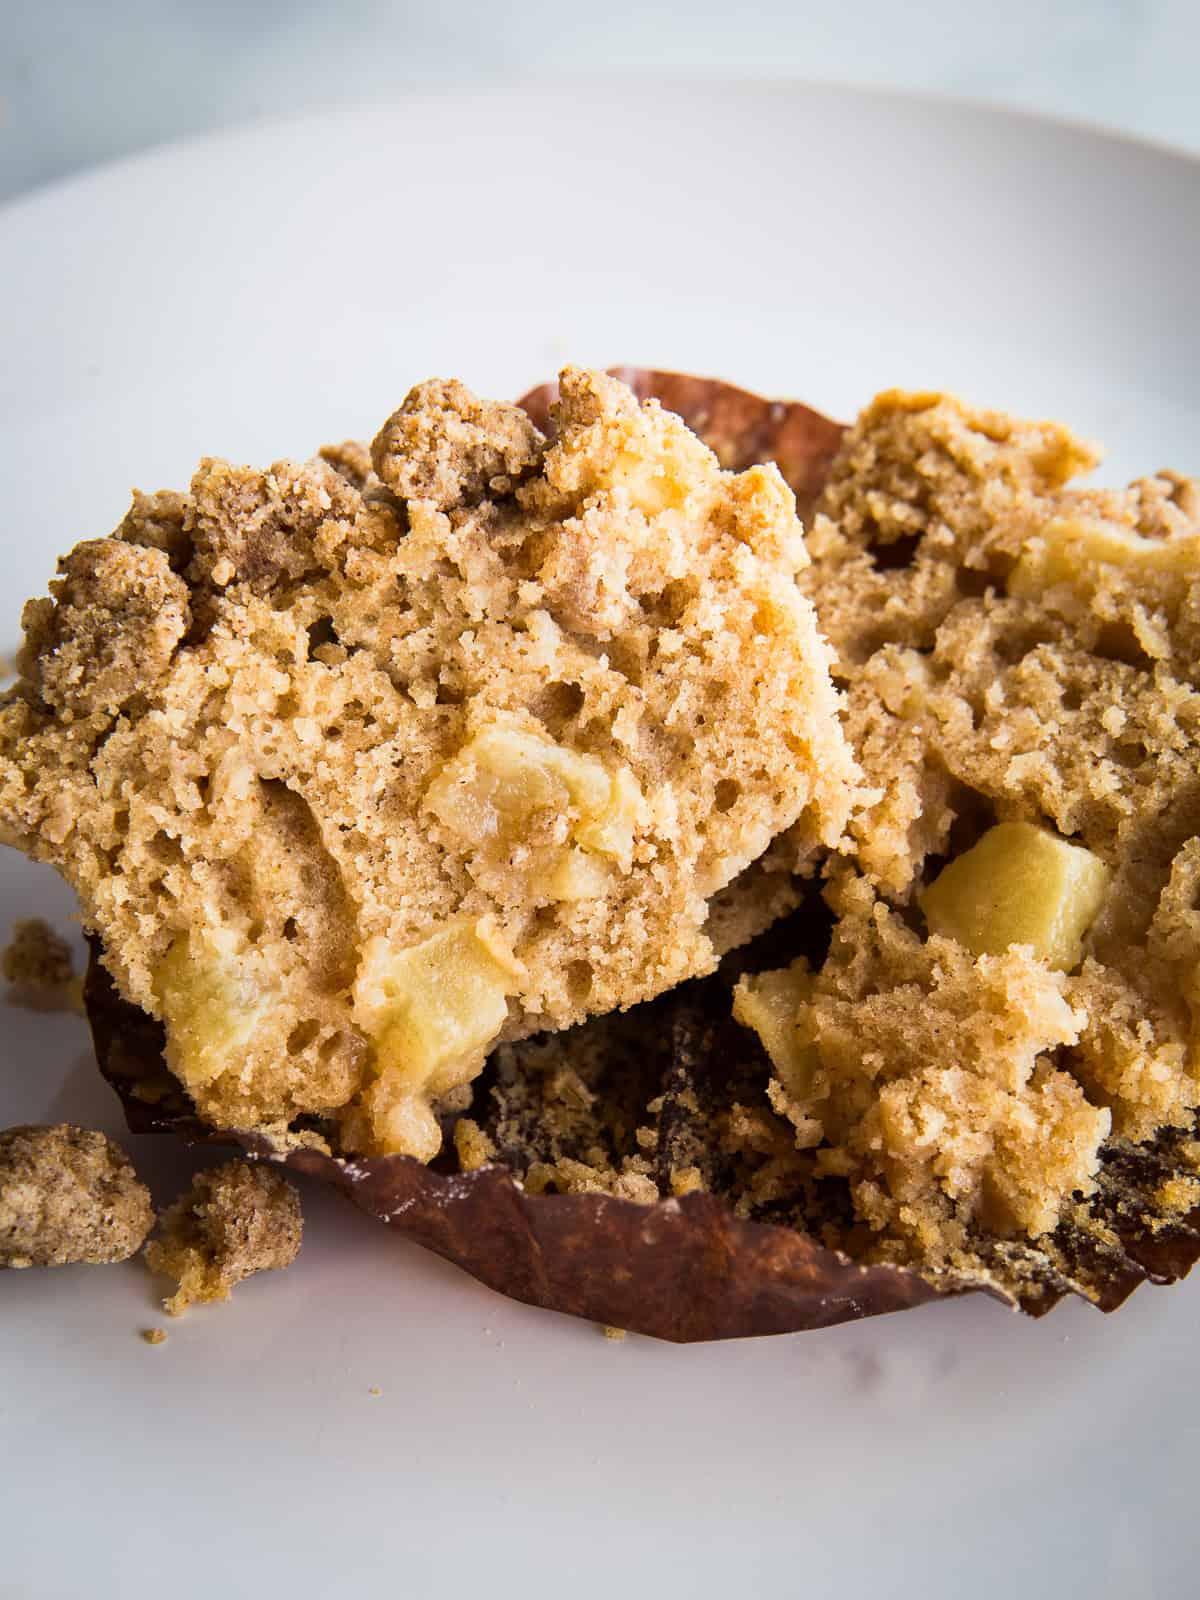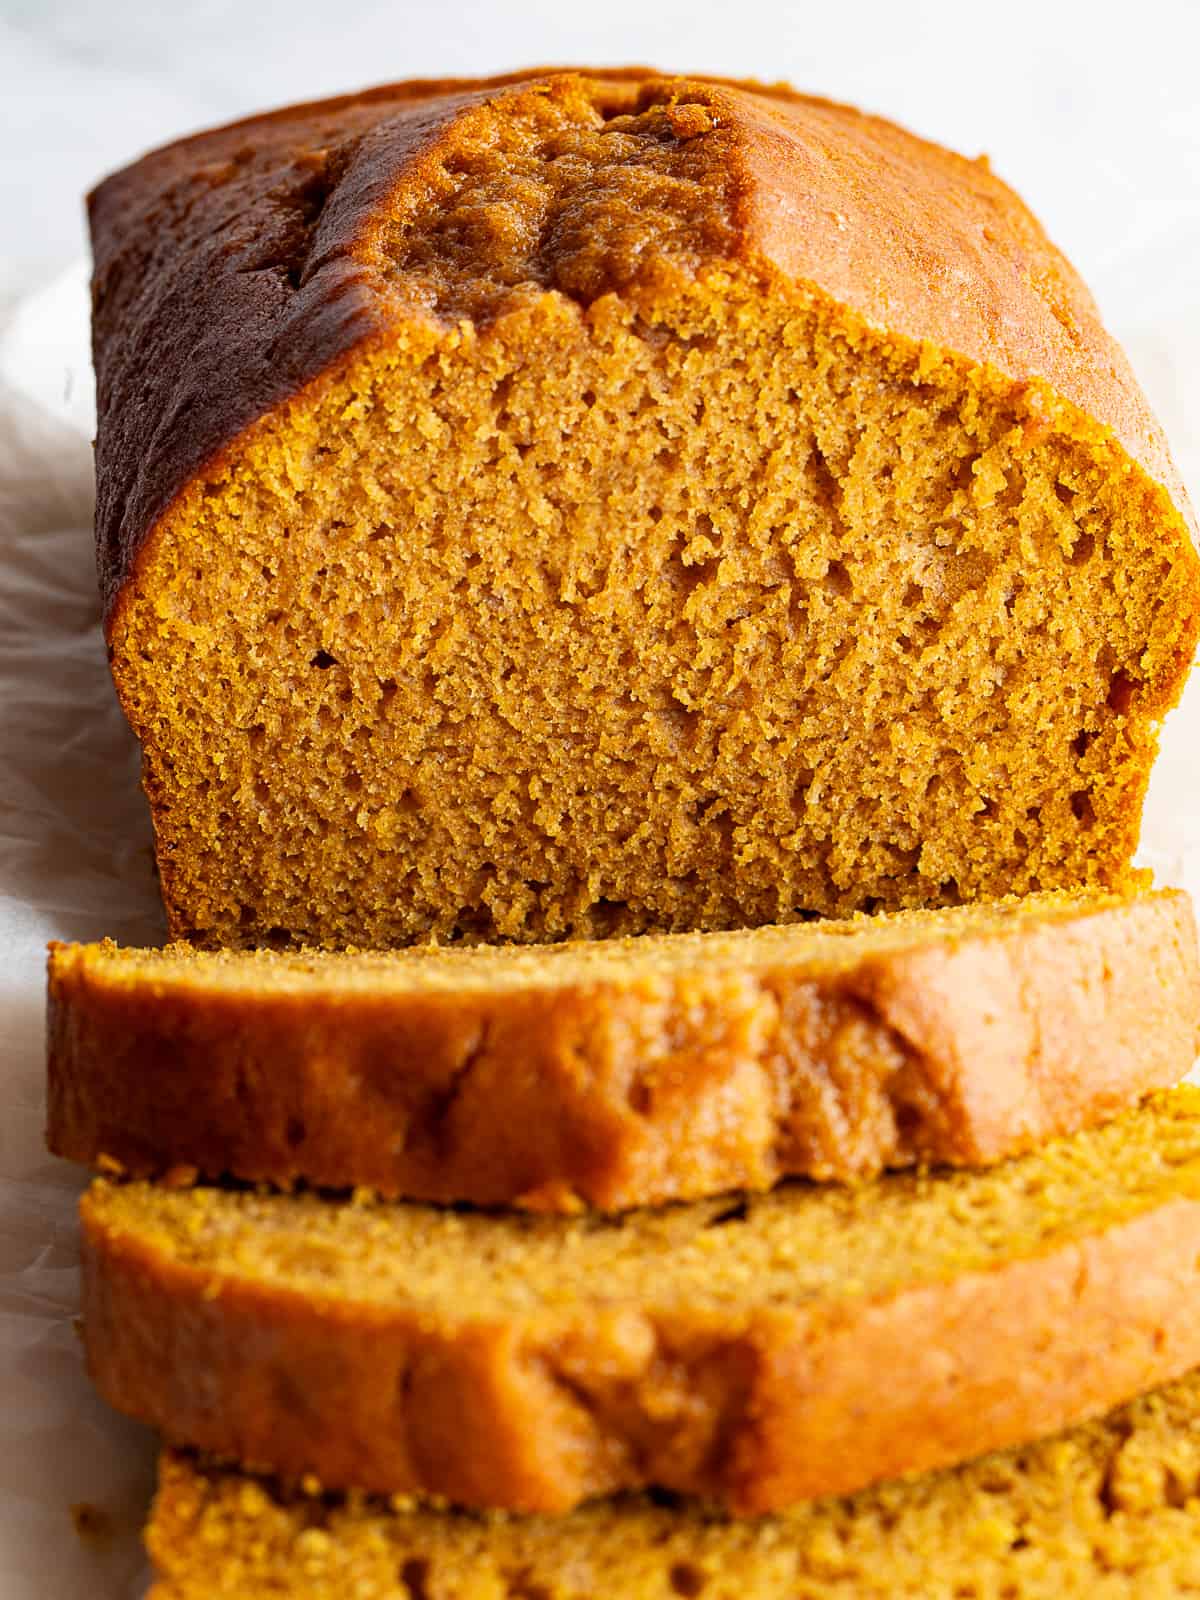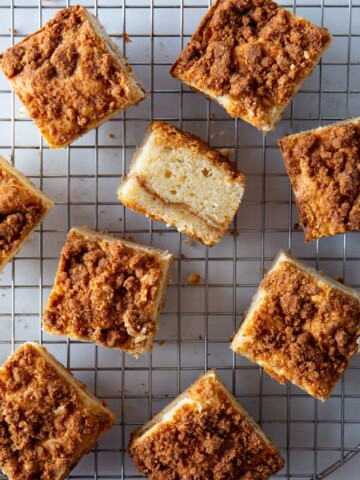
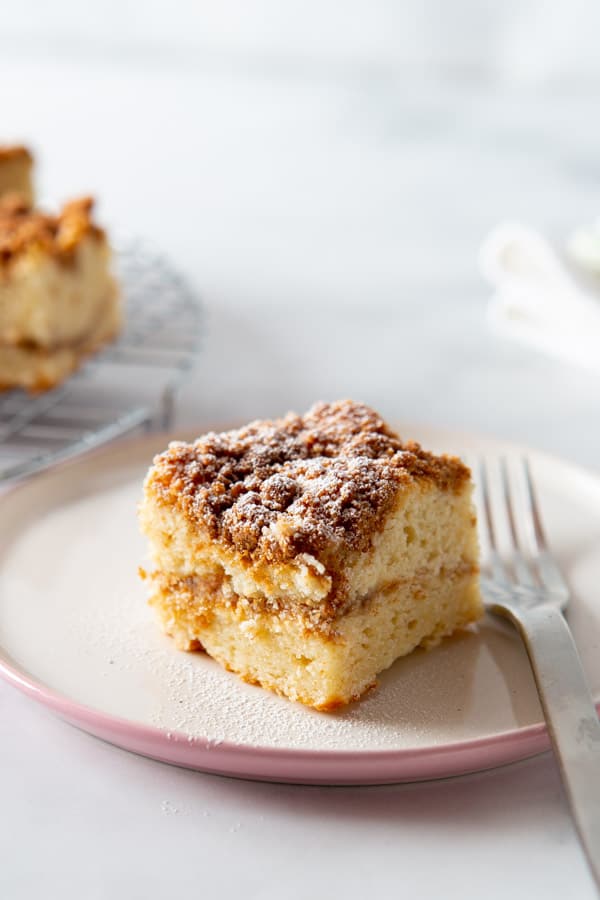
This gluten-free crumb coffee cake features a buttery cinnamon streusel that doubles as both the filling and the crumb topping. The cake is moist and tender thanks to a generous amount of sour cream.
This recipe is an updated take on the sour cream coffee cake from my first cookbook, Easy Gluten-Free Baking.
Since there are now great gluten-free flour blends available at the market, there’s no need to mix individual flours for this recipe. (That said, if you LOVE that recipe and I know lots of you do, go ahead and make it as written!)
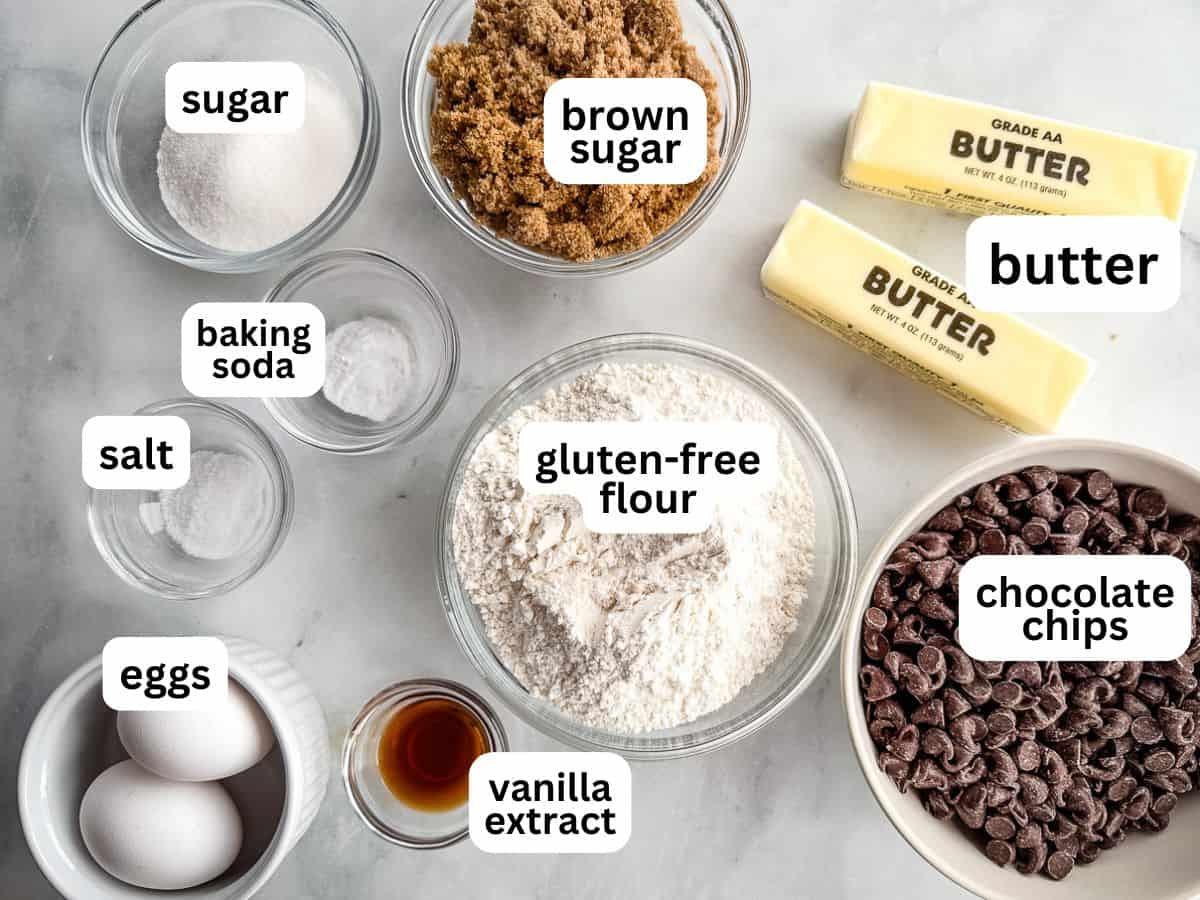
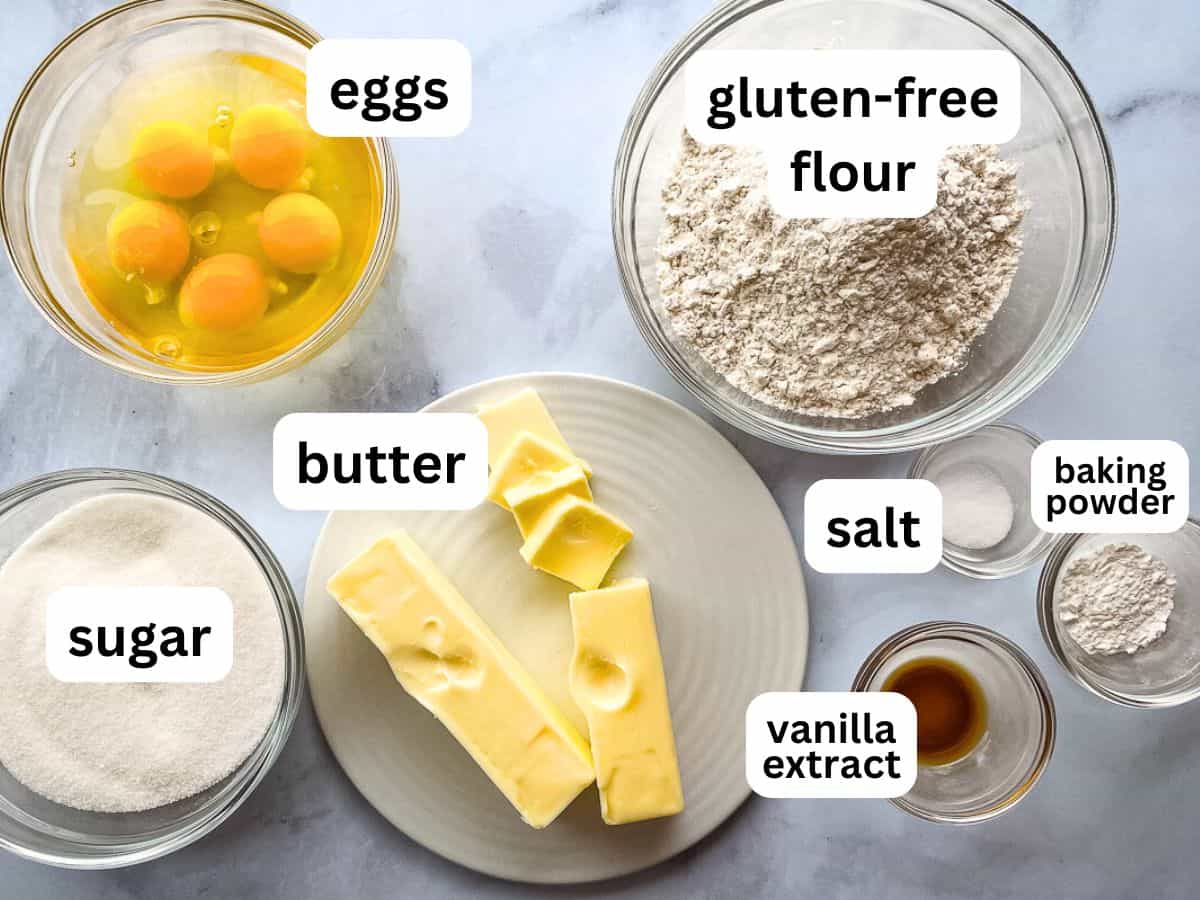
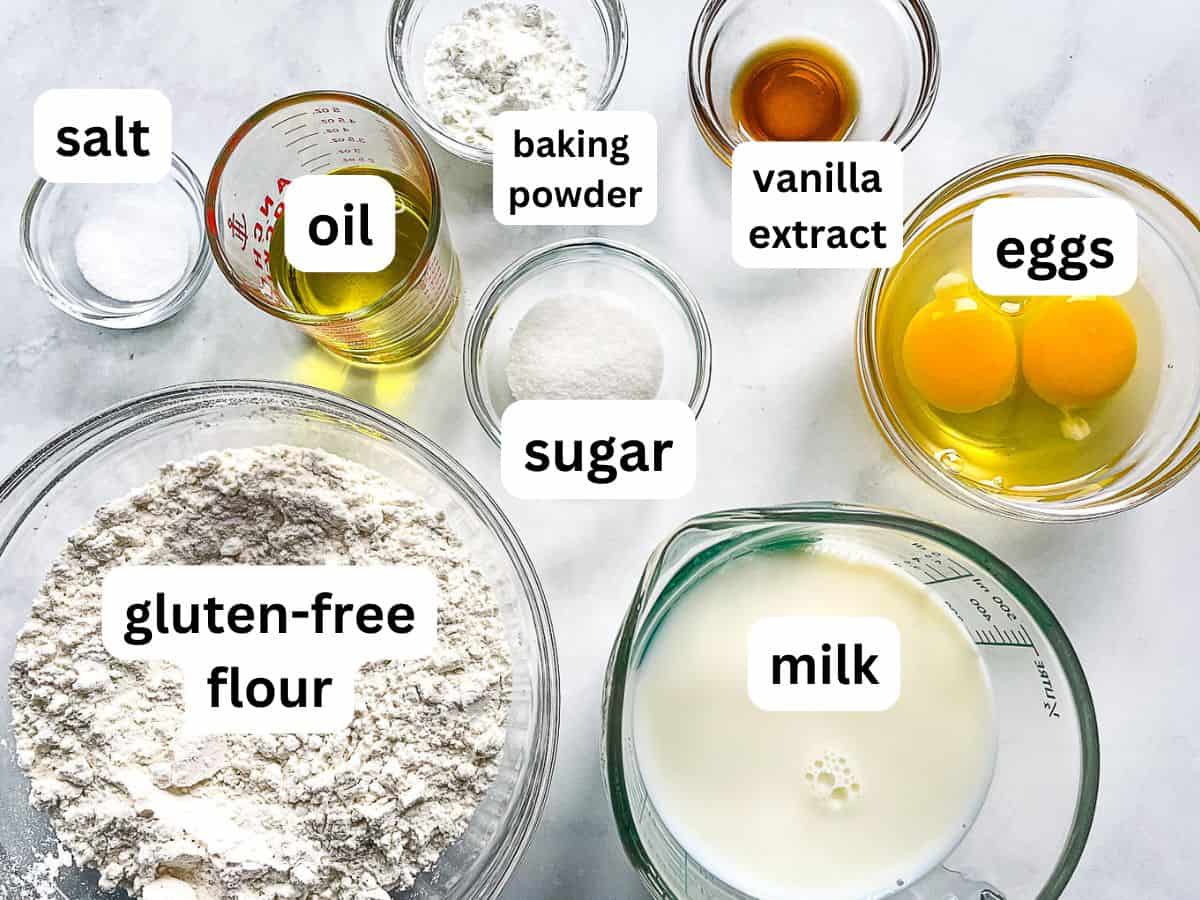
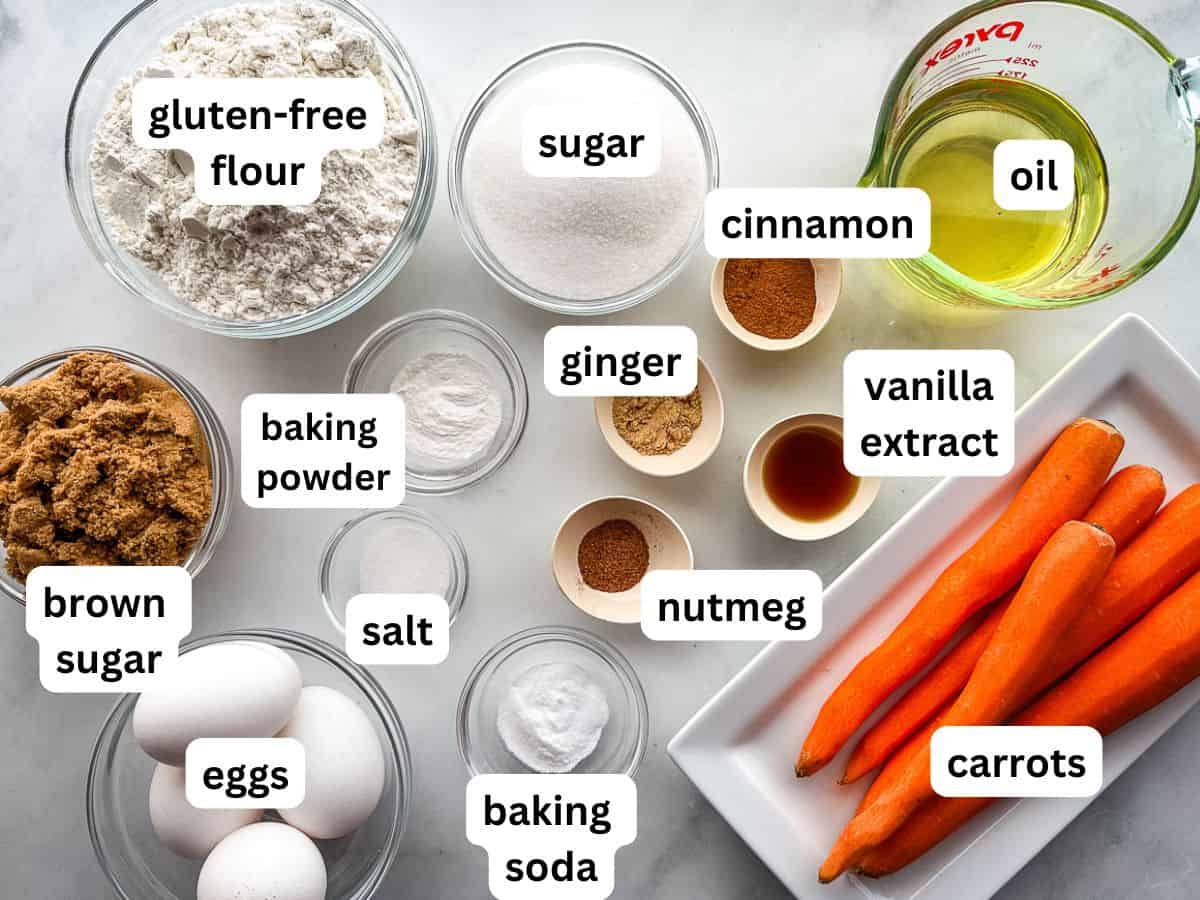
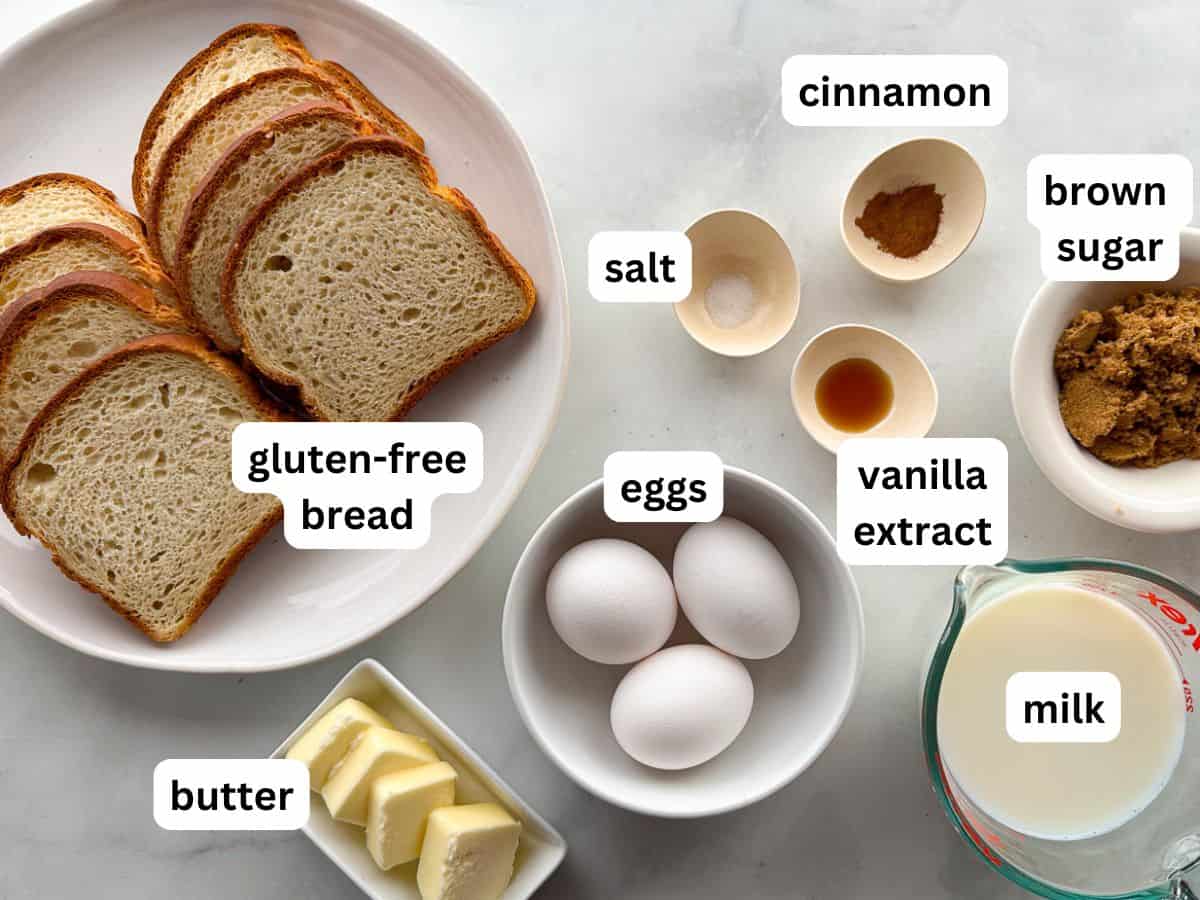
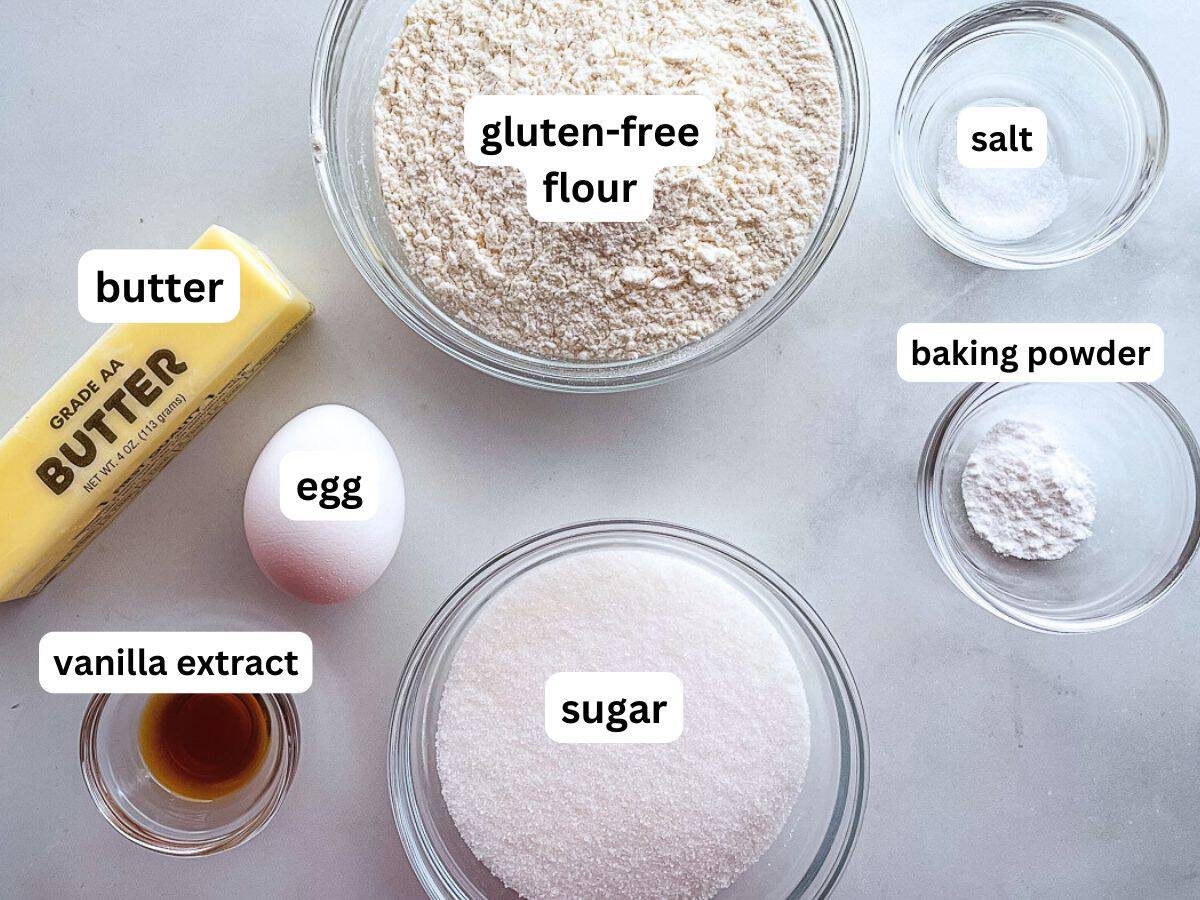
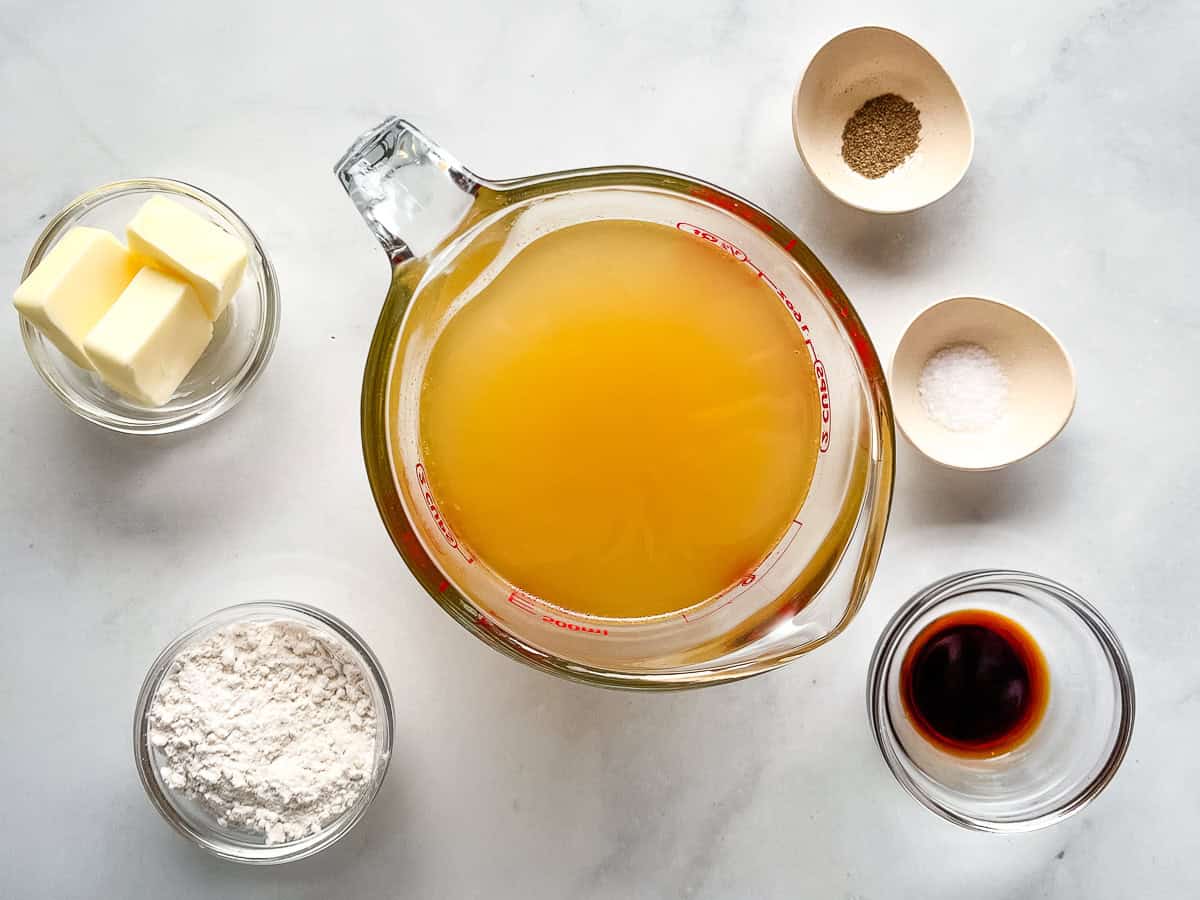
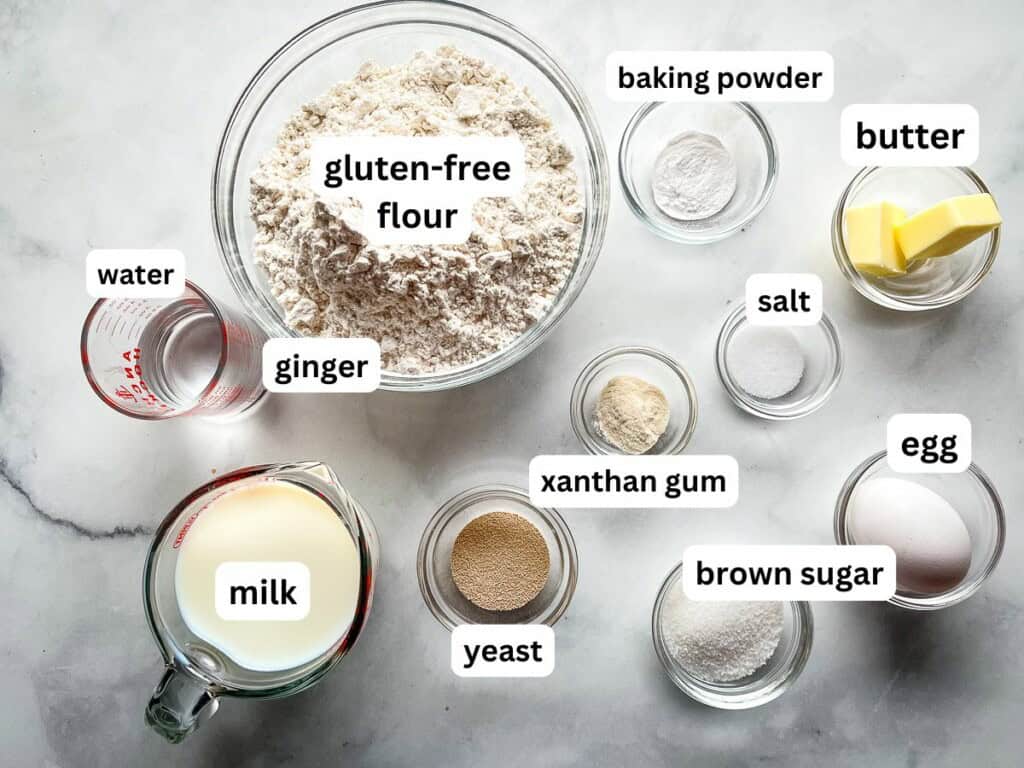
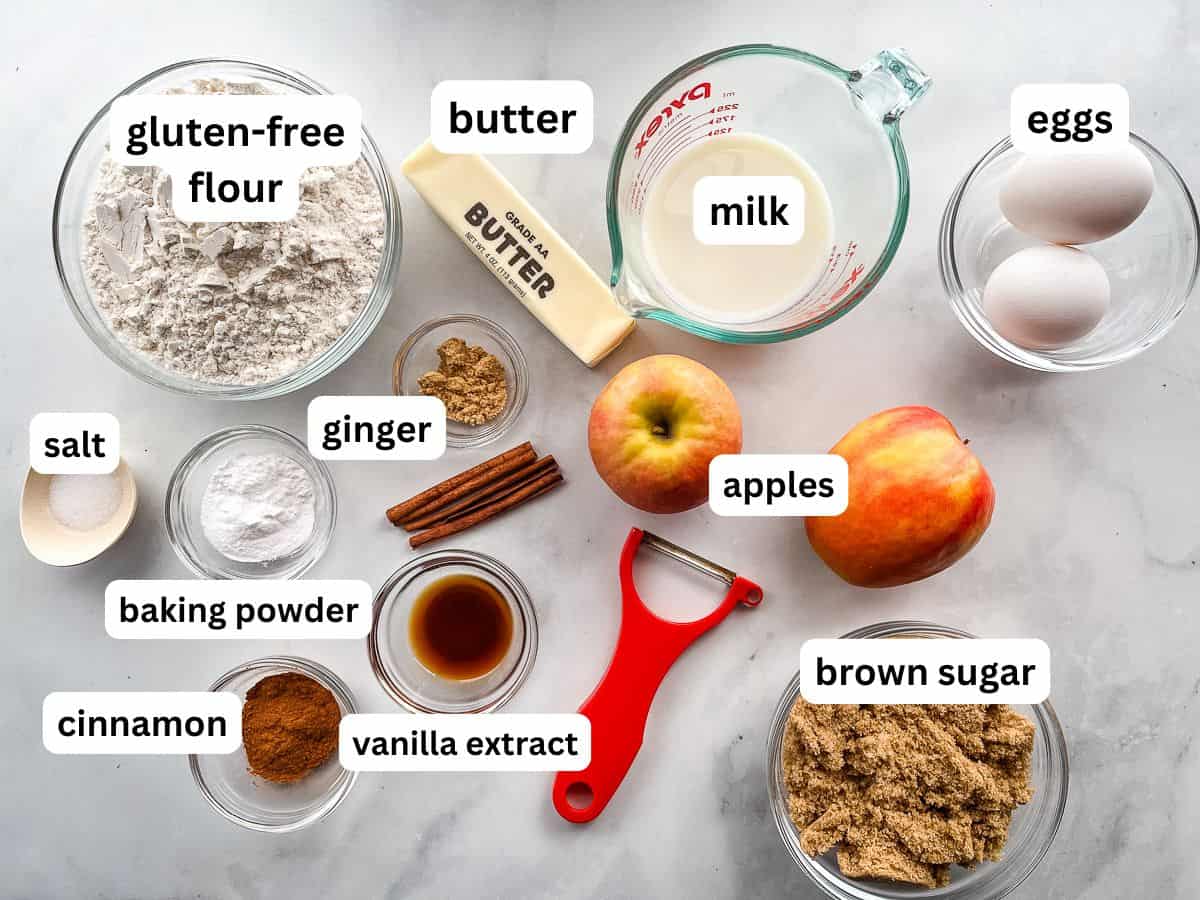
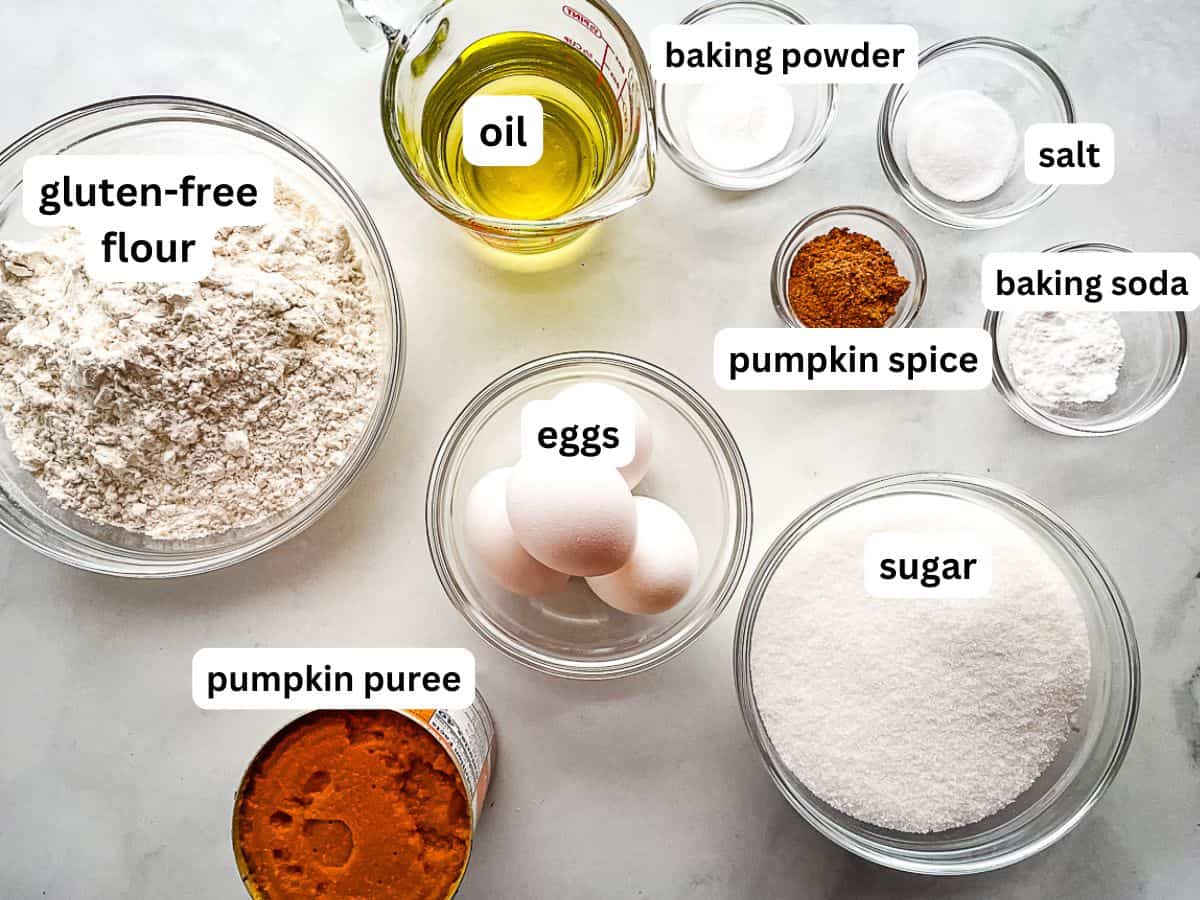
The Ingredients
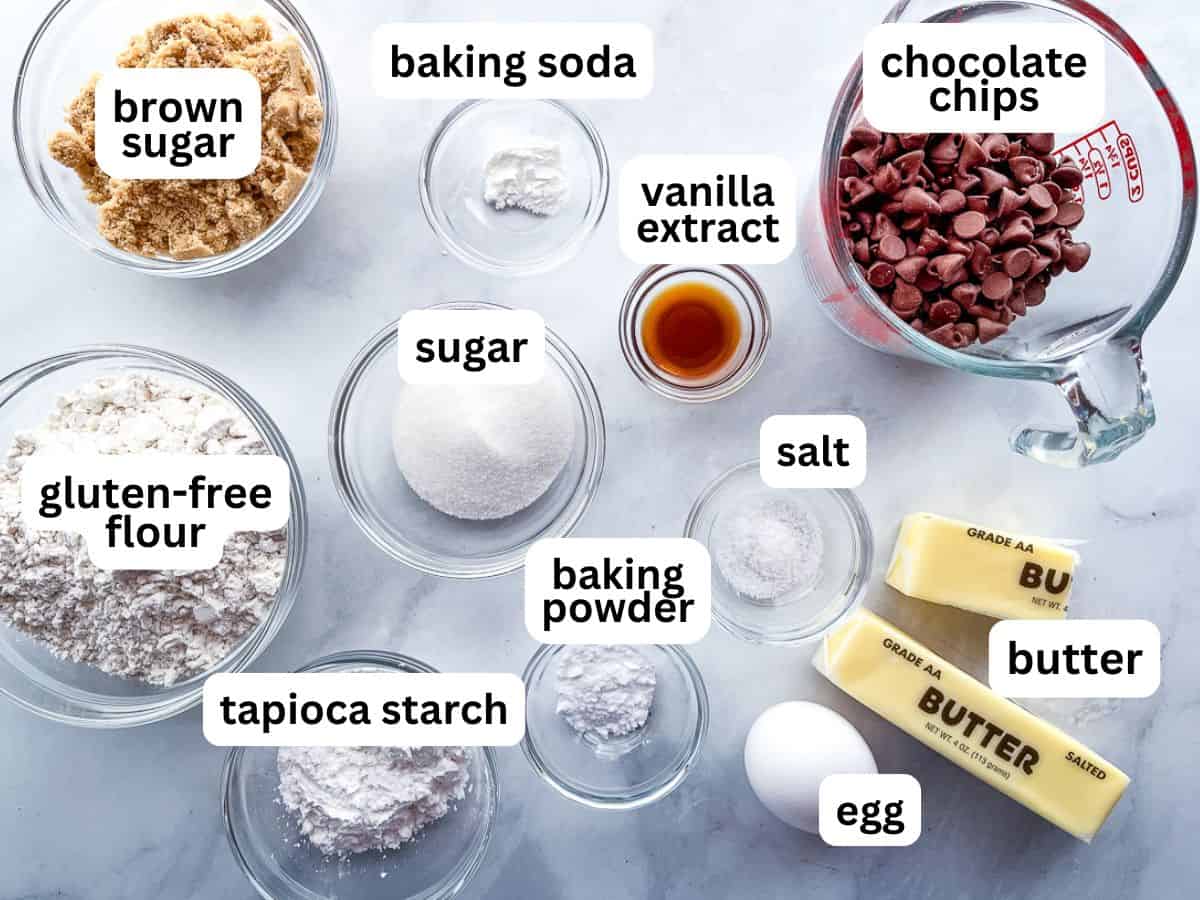
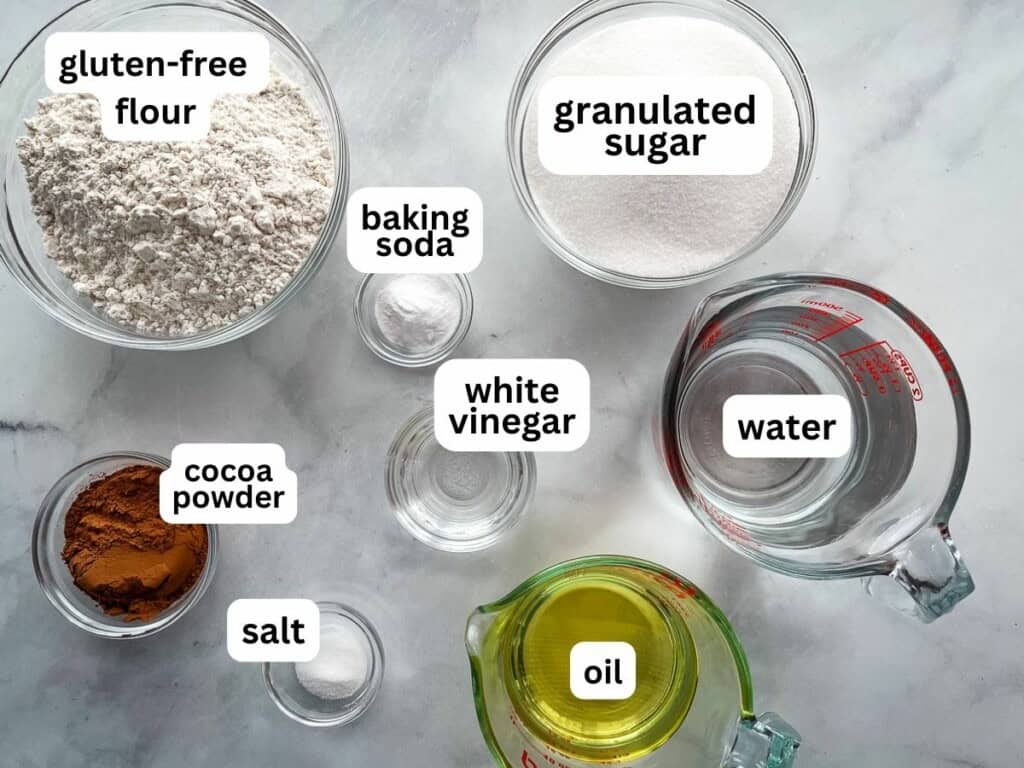
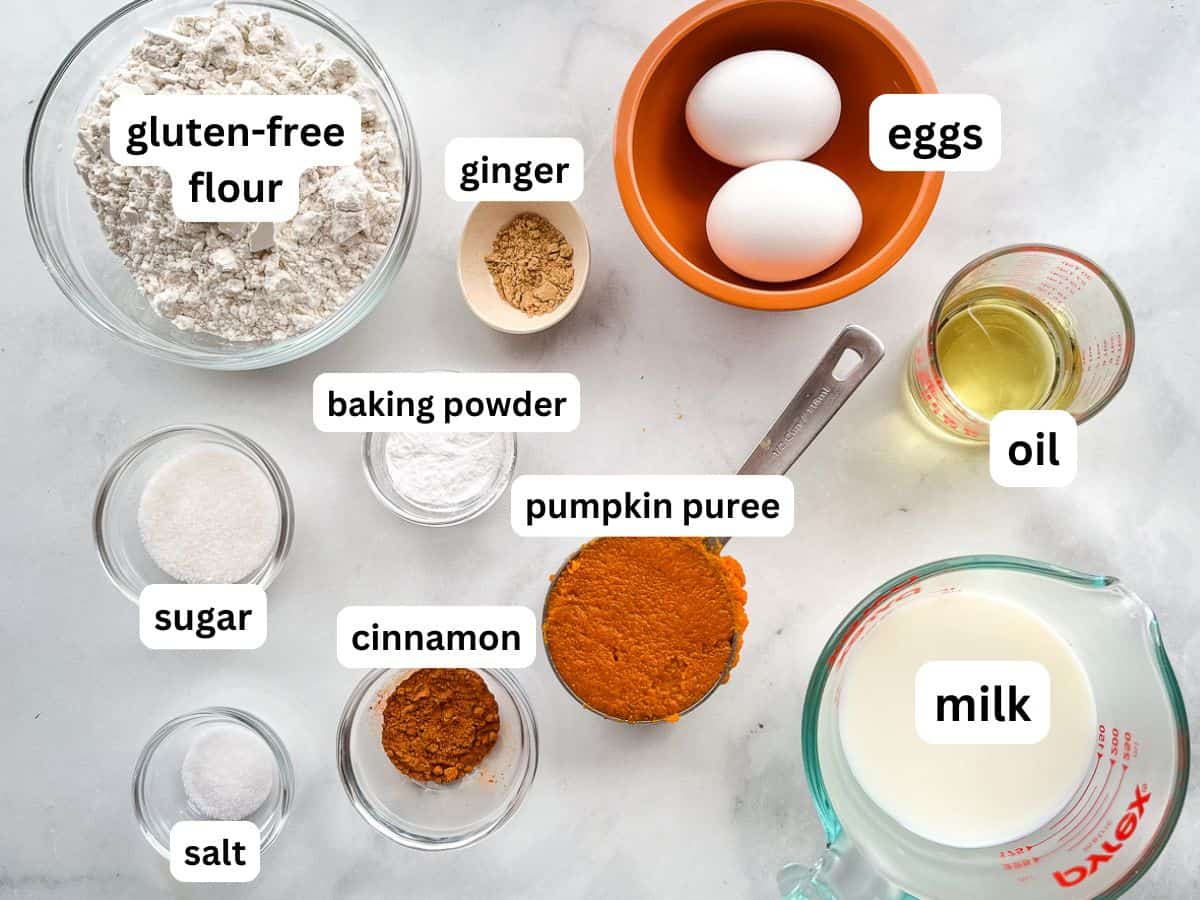
- Gluten-Free Baking Flour: For this recipe, I use my go-to flour blend: Bob’s Red Mill 1:1 Gluten-Free Baking Flour. If you use a different flour blend in this recipe, the results might be different. (For the best results, be sure to use a blend that includes xanthan or guar gum.)
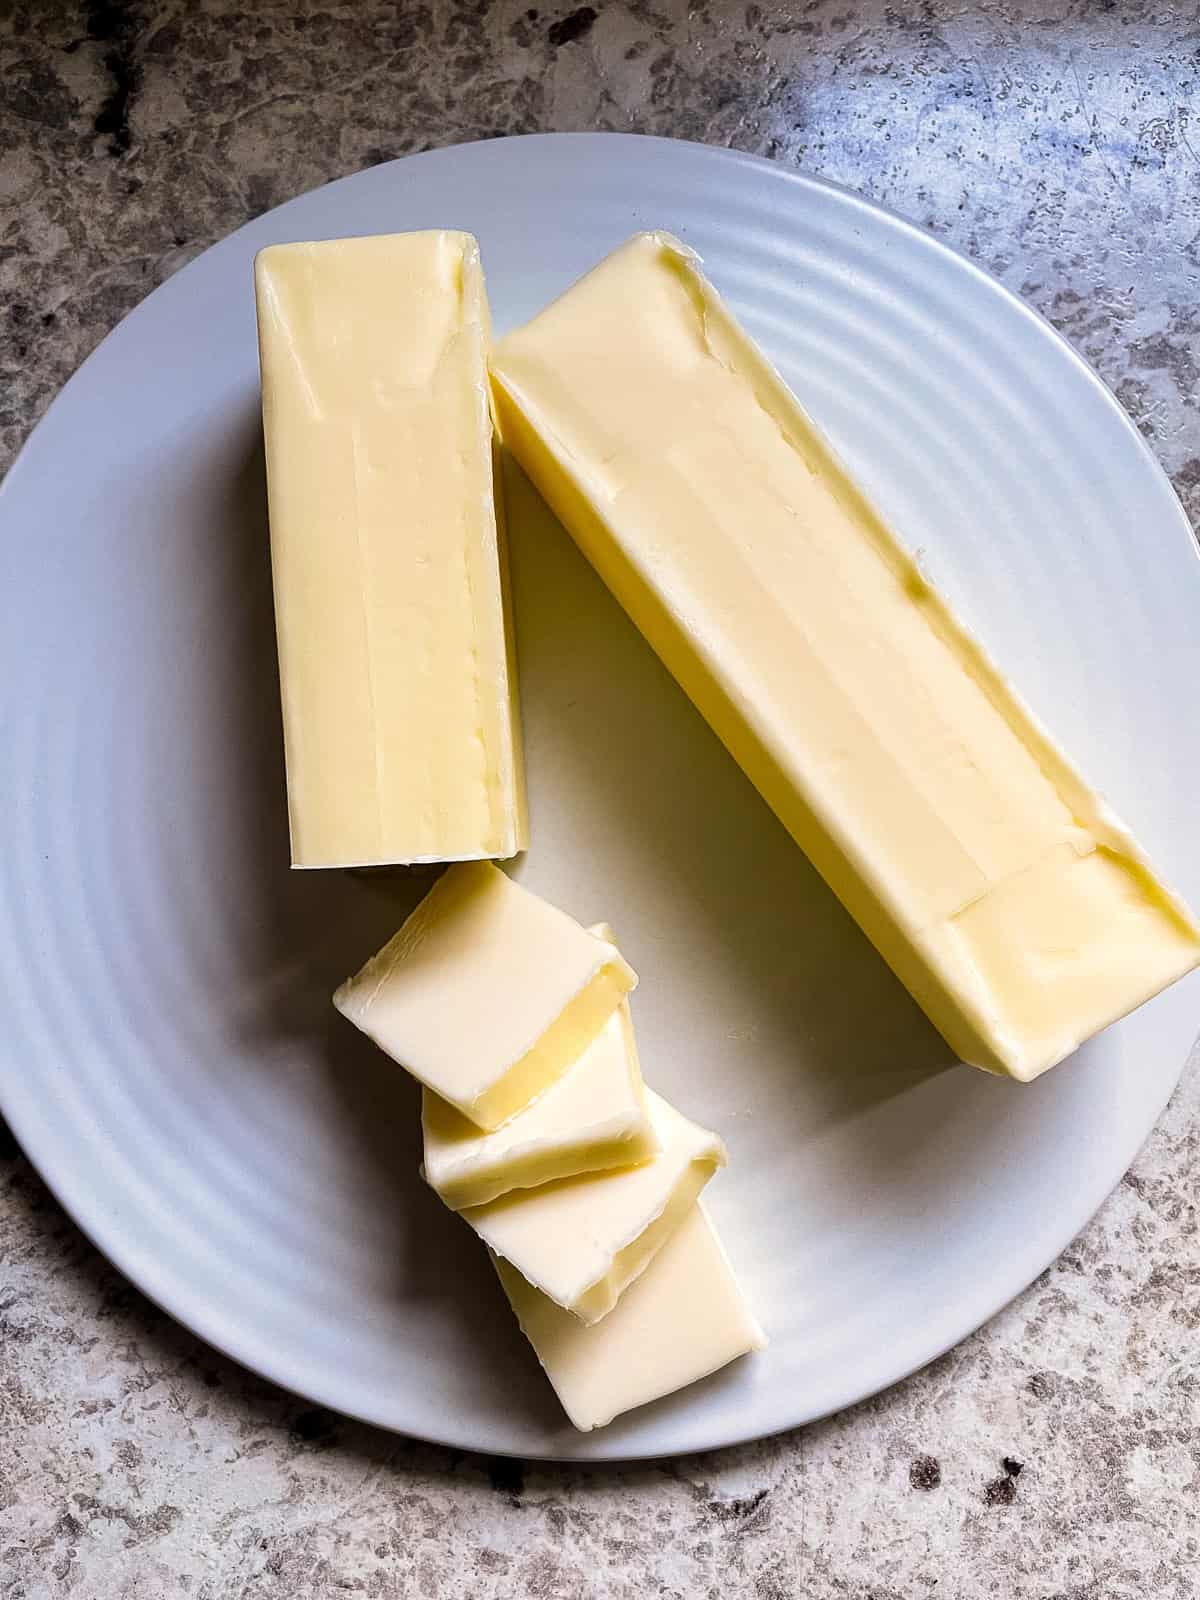
- Butter: You need cold butter for the topping and softened butter for the cake.
- Sour Cream: Sour cream makes this cake light and moist. For the best flavor and texture, use full-fat sour cream. (If you’re dairy-free, try a plant-based sour cream.)
- Eggs: Two eggs are needed to make this cake. I haven’t tested this recipe with an egg replacer. So I can’t say if it will work without eggs.
- Cinnamon: Ground cinnamon flavors the filling and topping. You can also use pumpkin spice in the fall.
- Sugars: You need two types of sugar to make this coffee cake. Granulated sugar for the cake batter and brown sugar for the filling/topping.
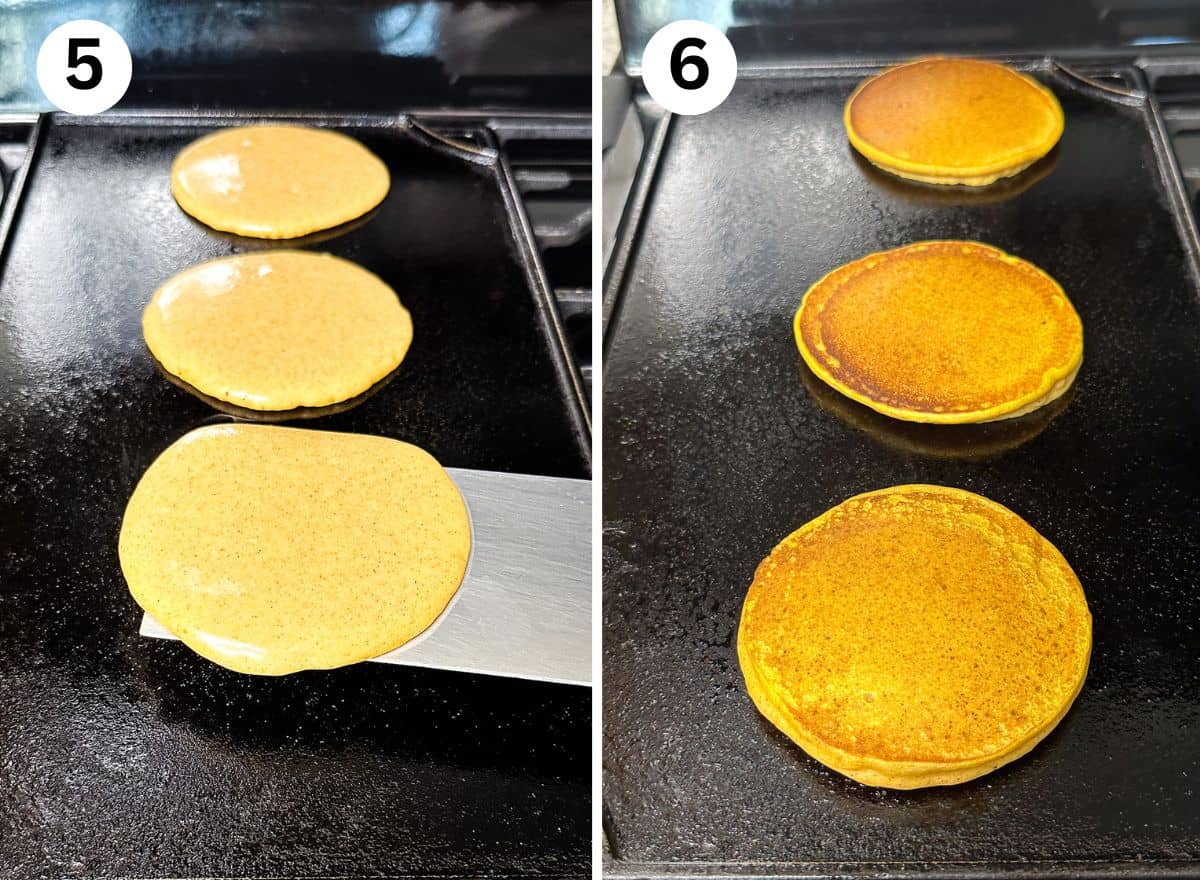
How to Make Gluten-Free Coffee Cake
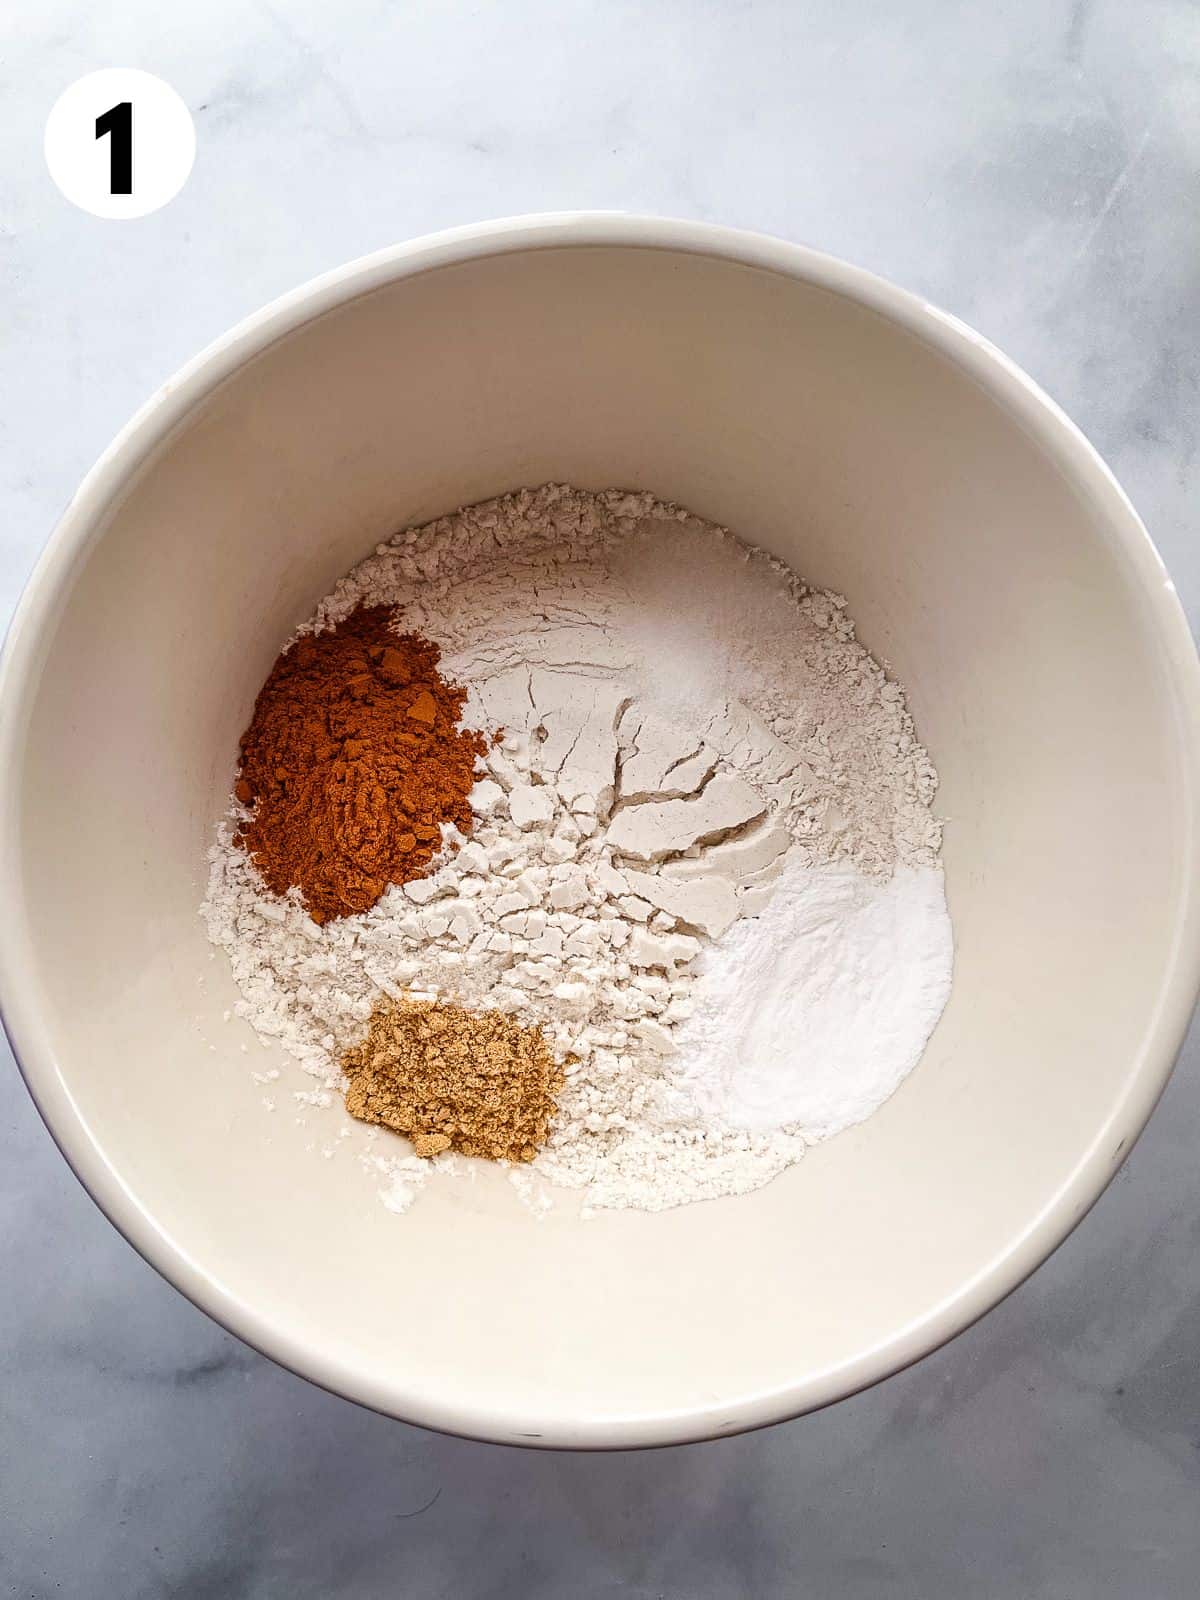
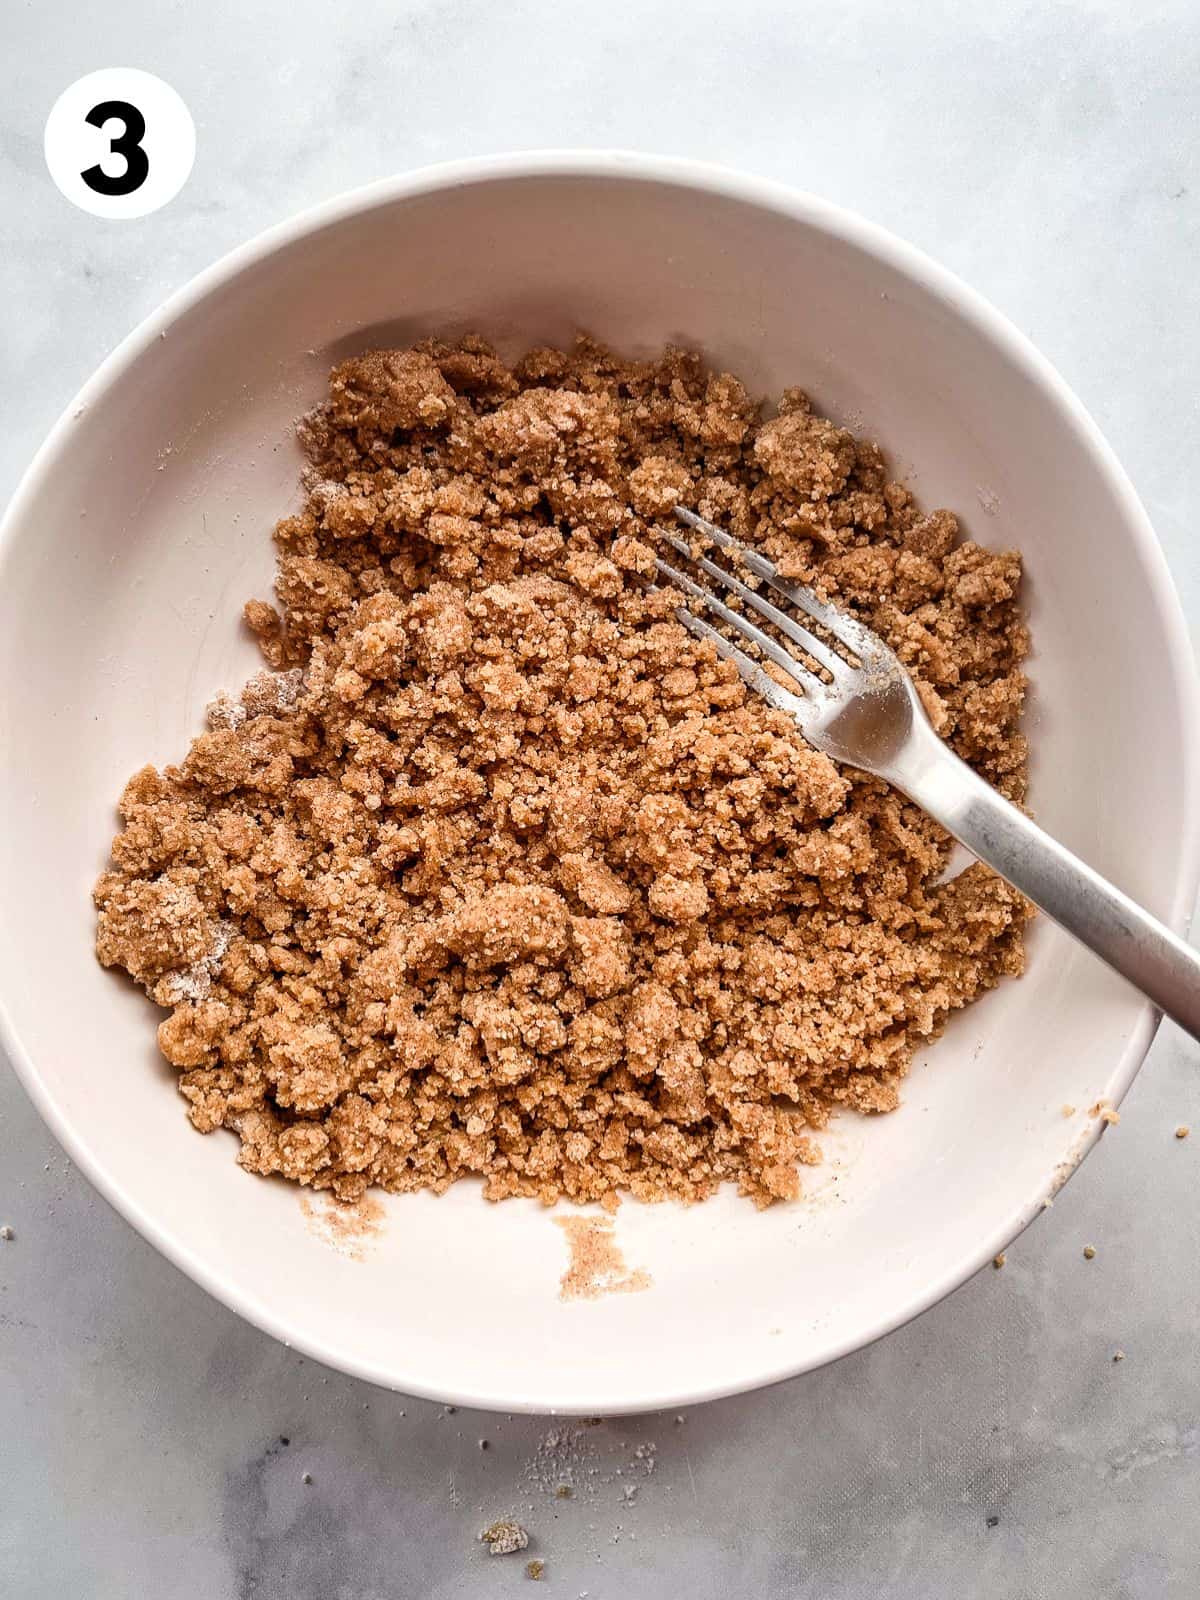
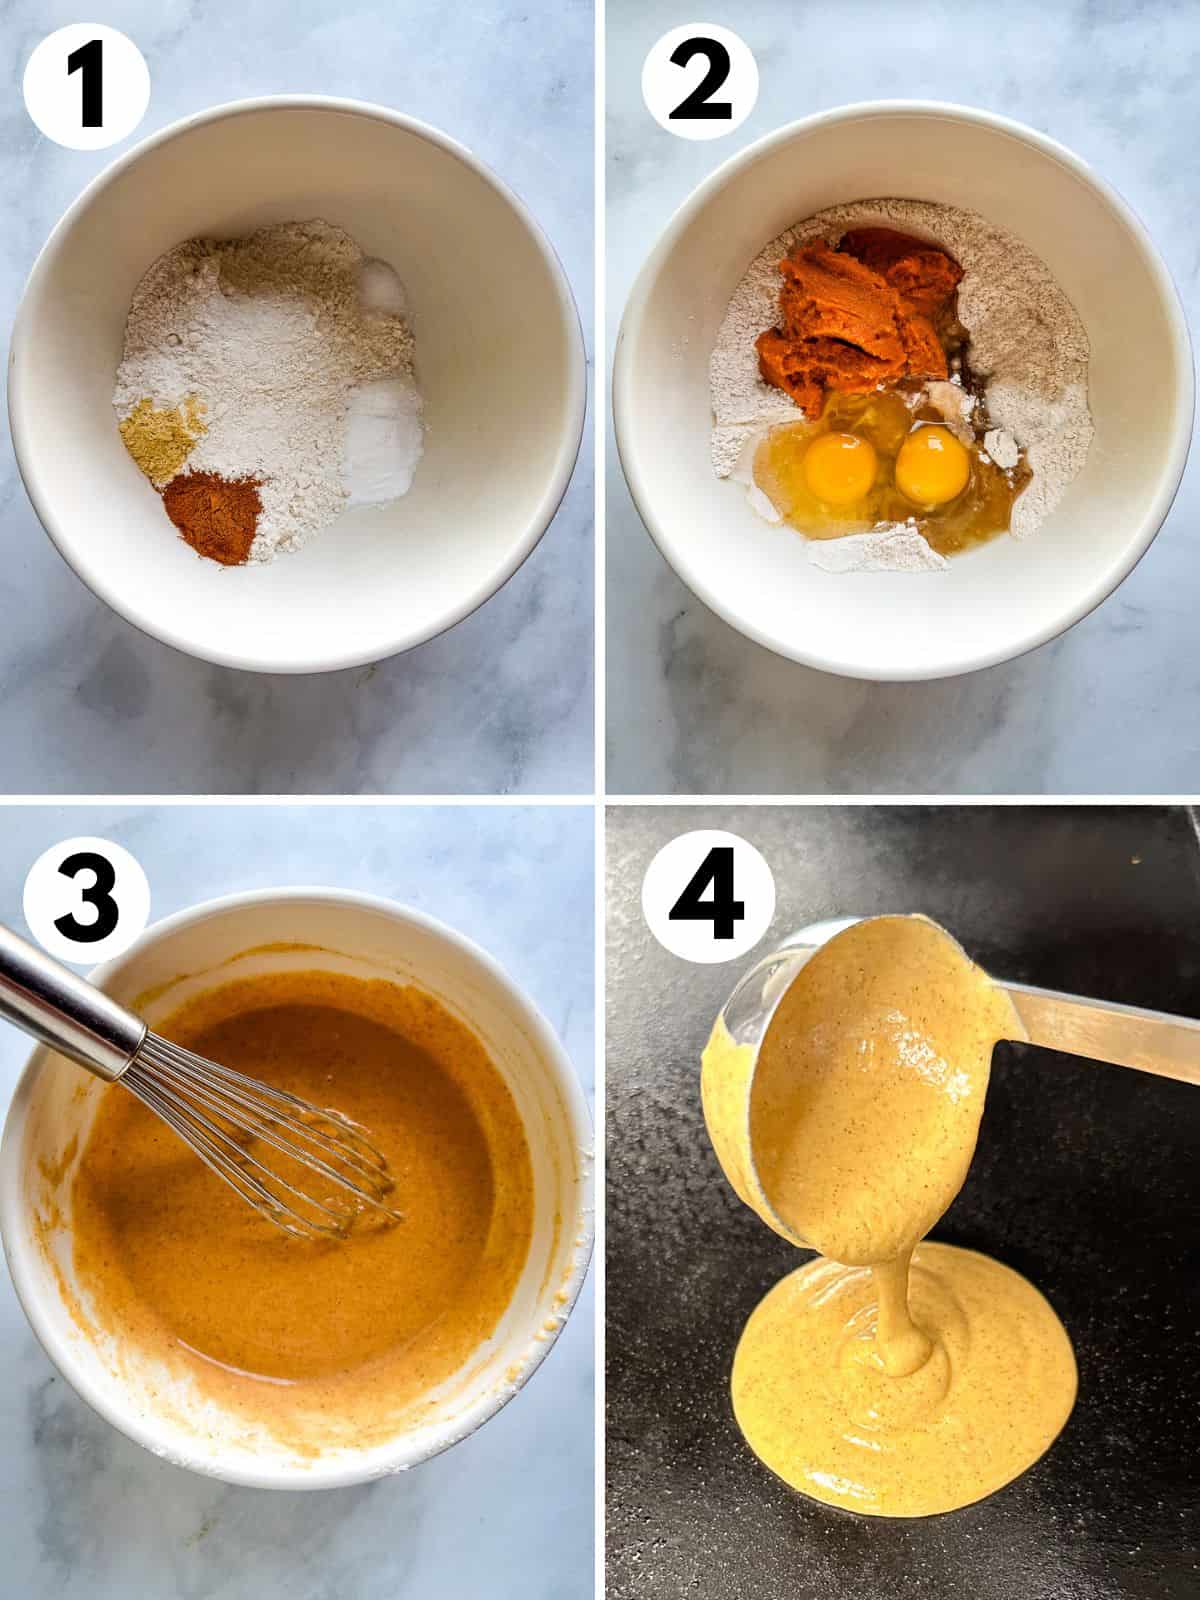
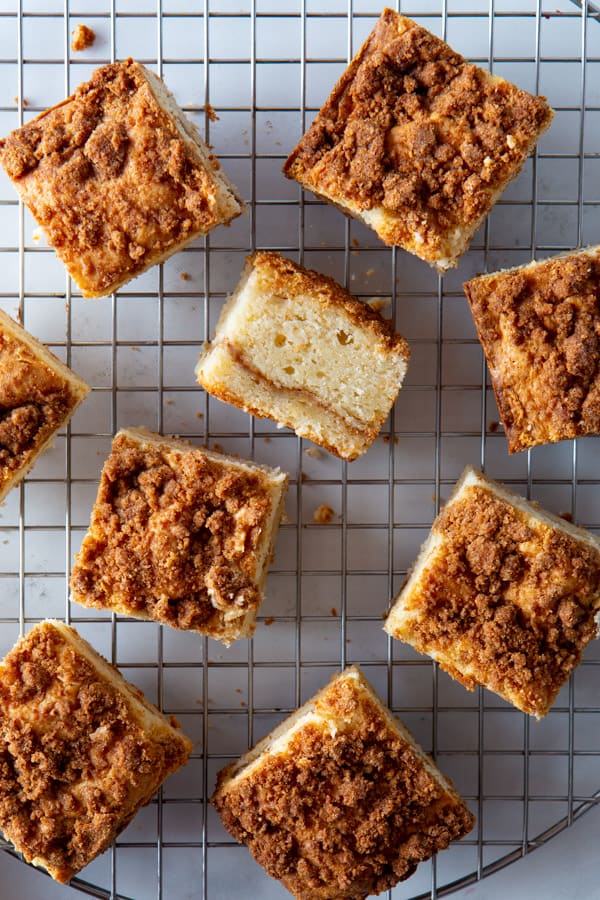
- Mix the Filling and Crumb Topping. This coffee cake includes a yummy ribbon of cinnamon-sugar filling. That same filling turns into the topping. It’s baking magic. (It’s butter, which, I think is baking magic.)
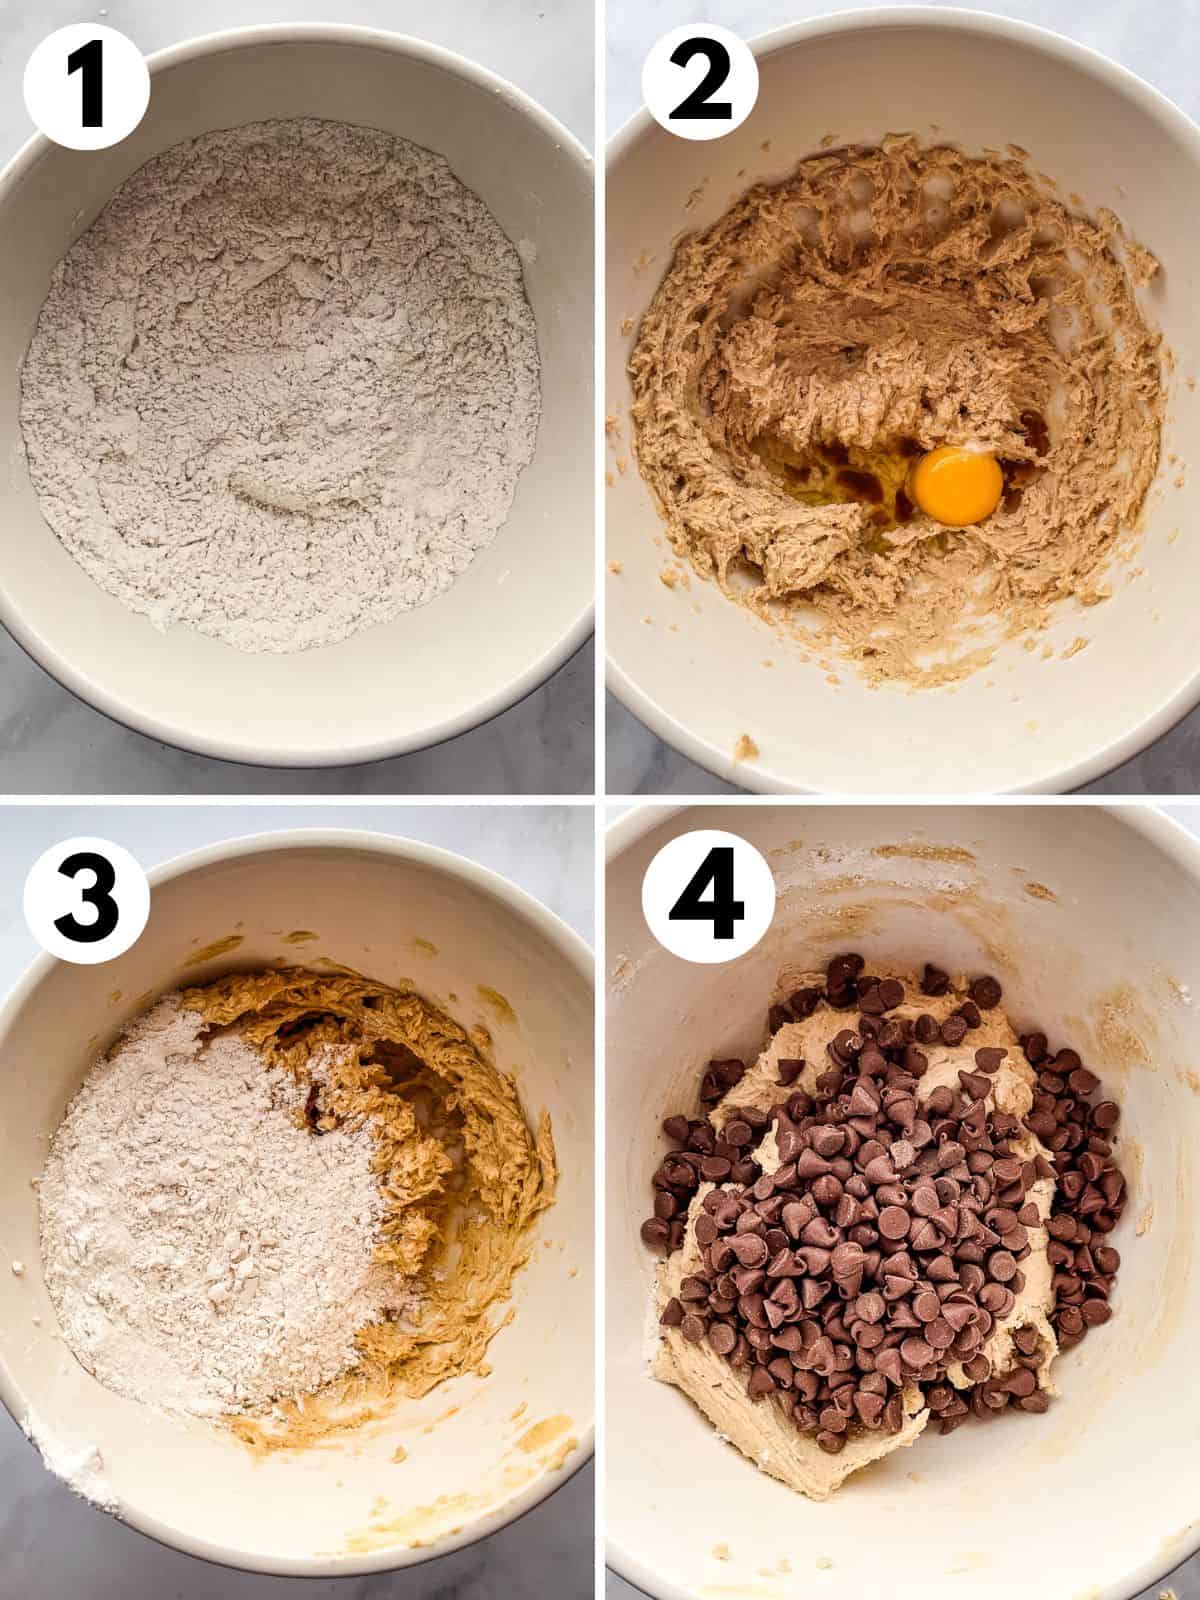
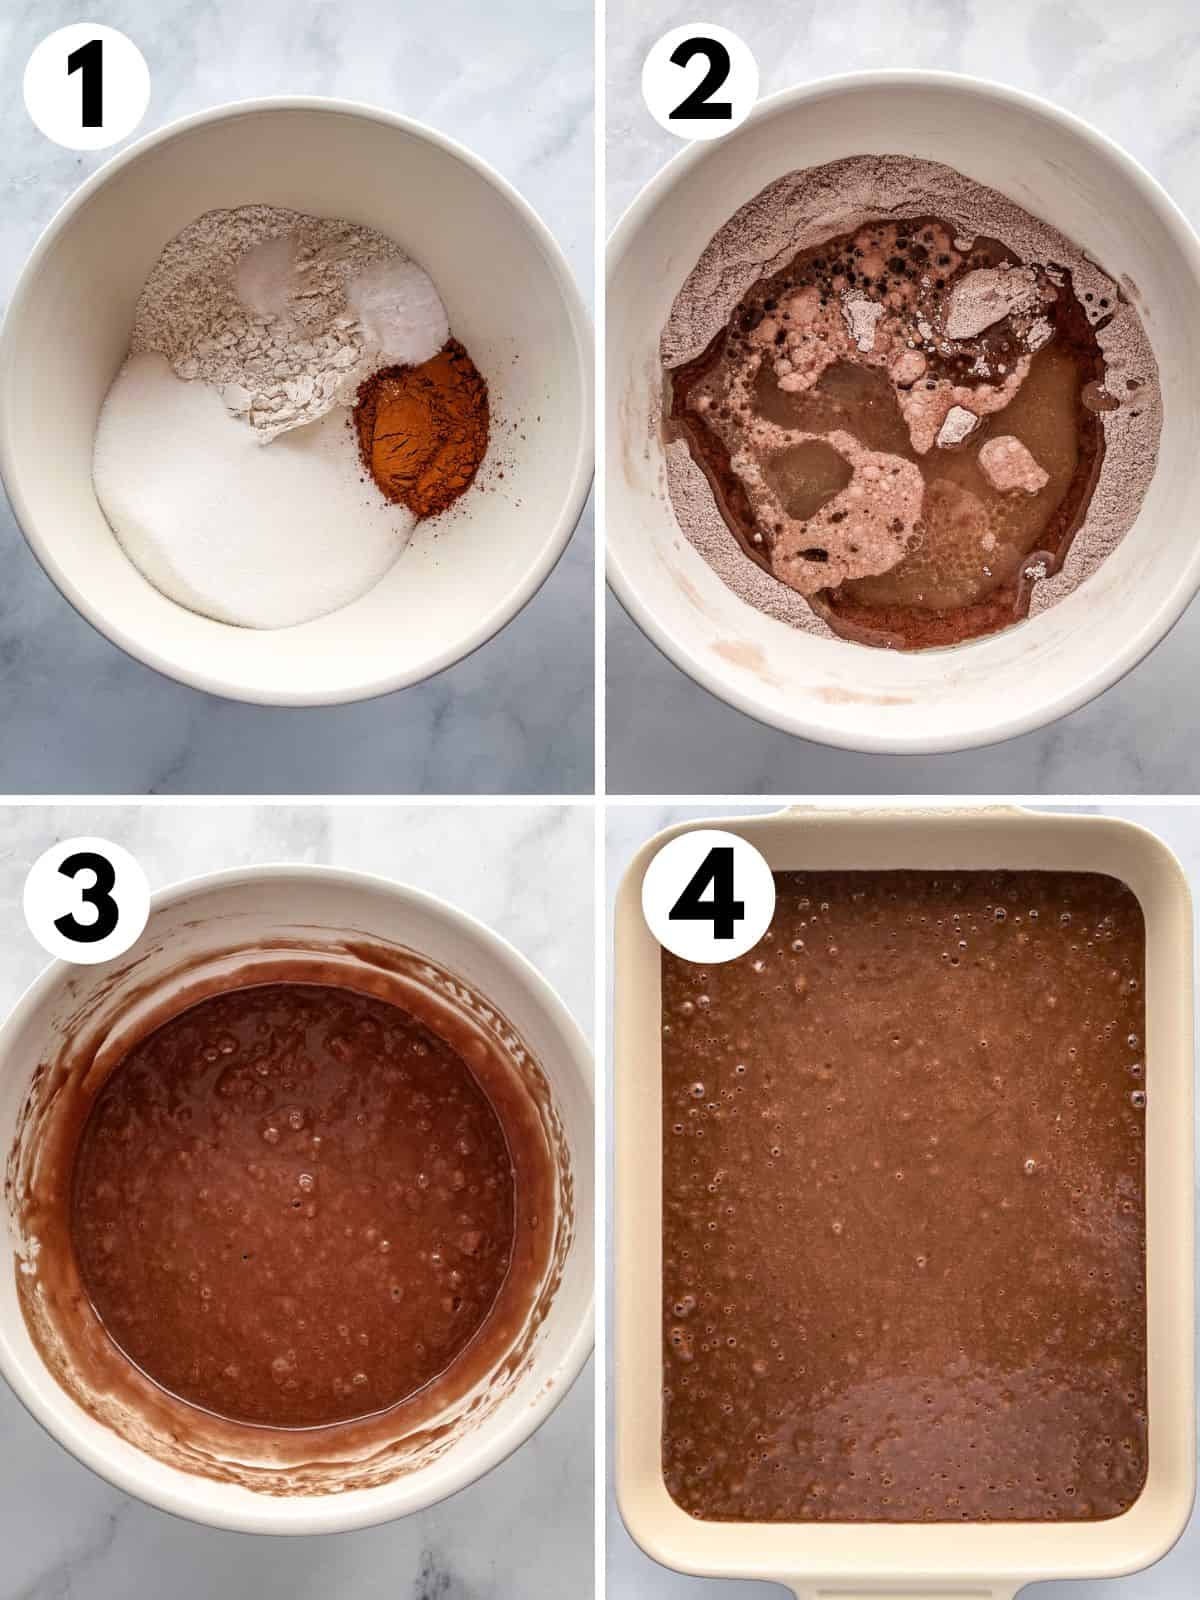
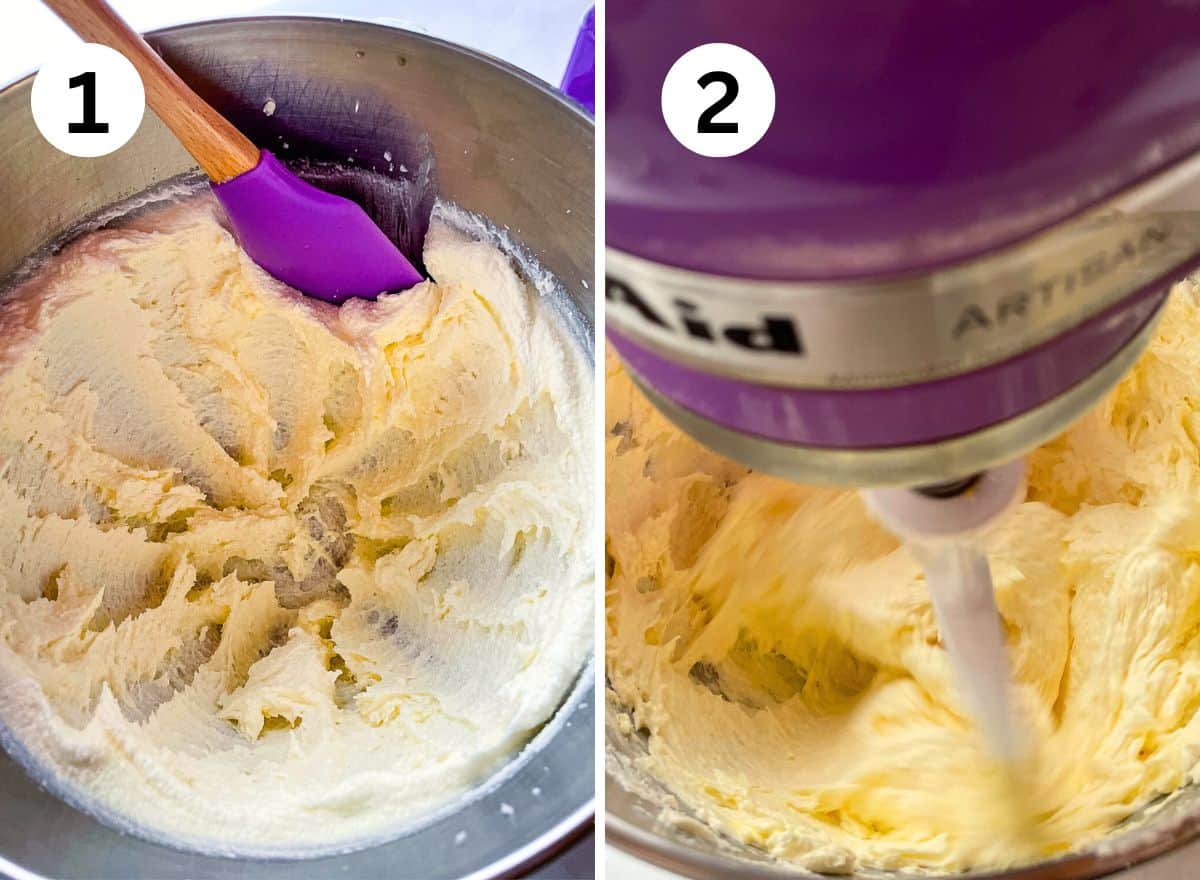
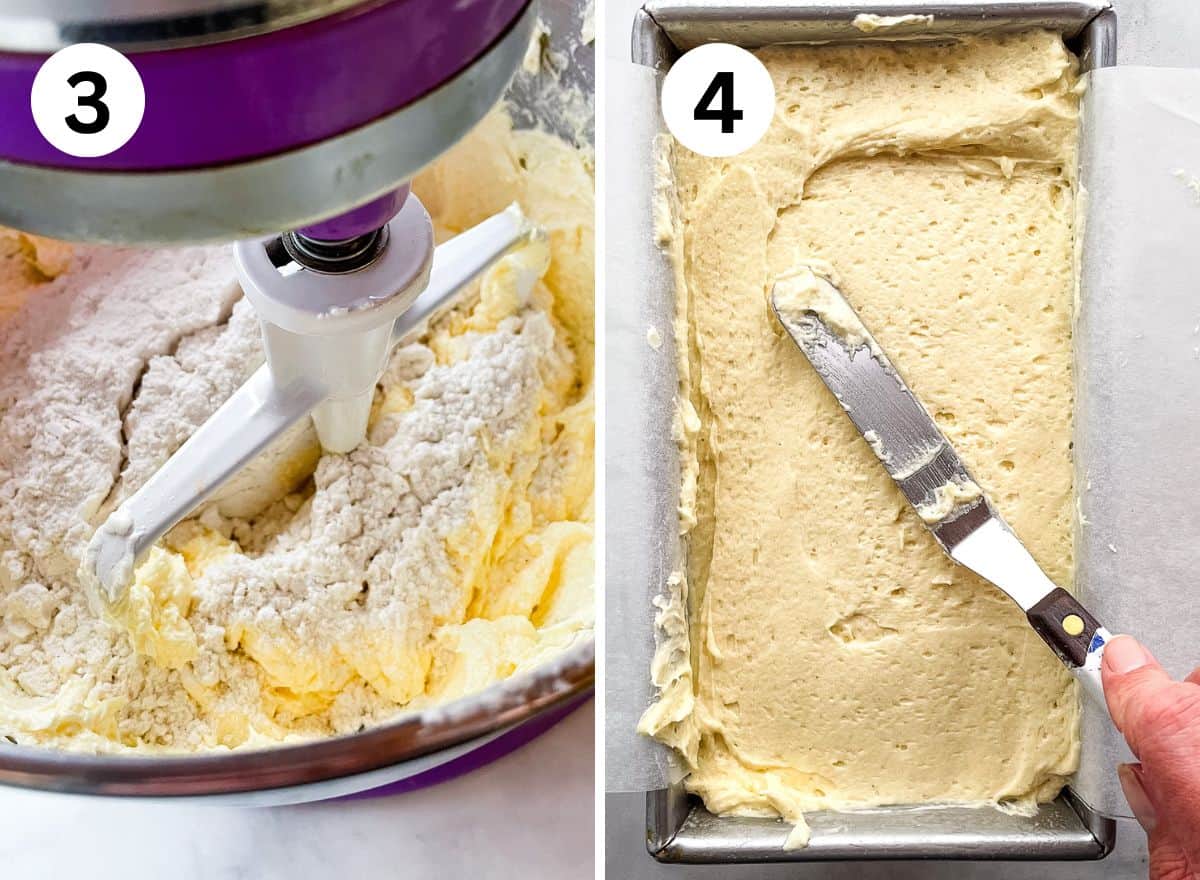
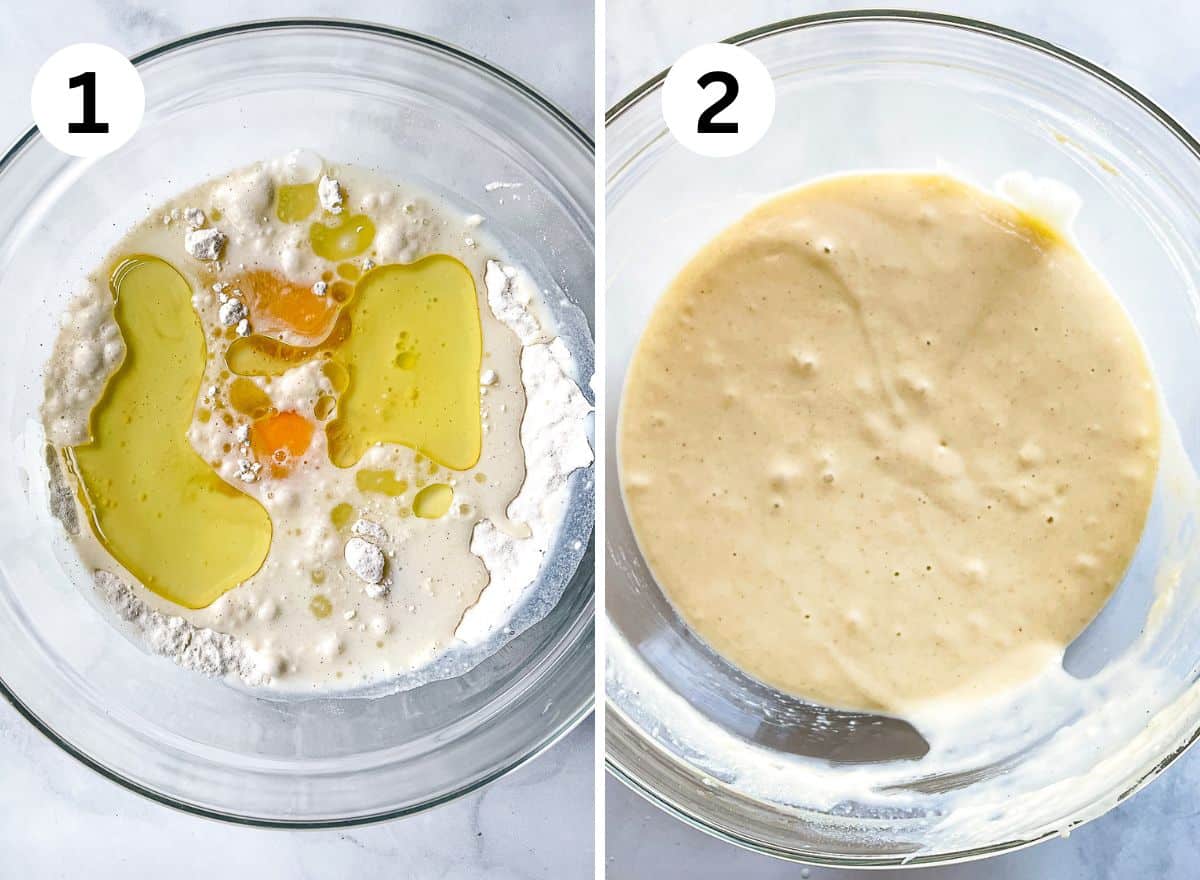
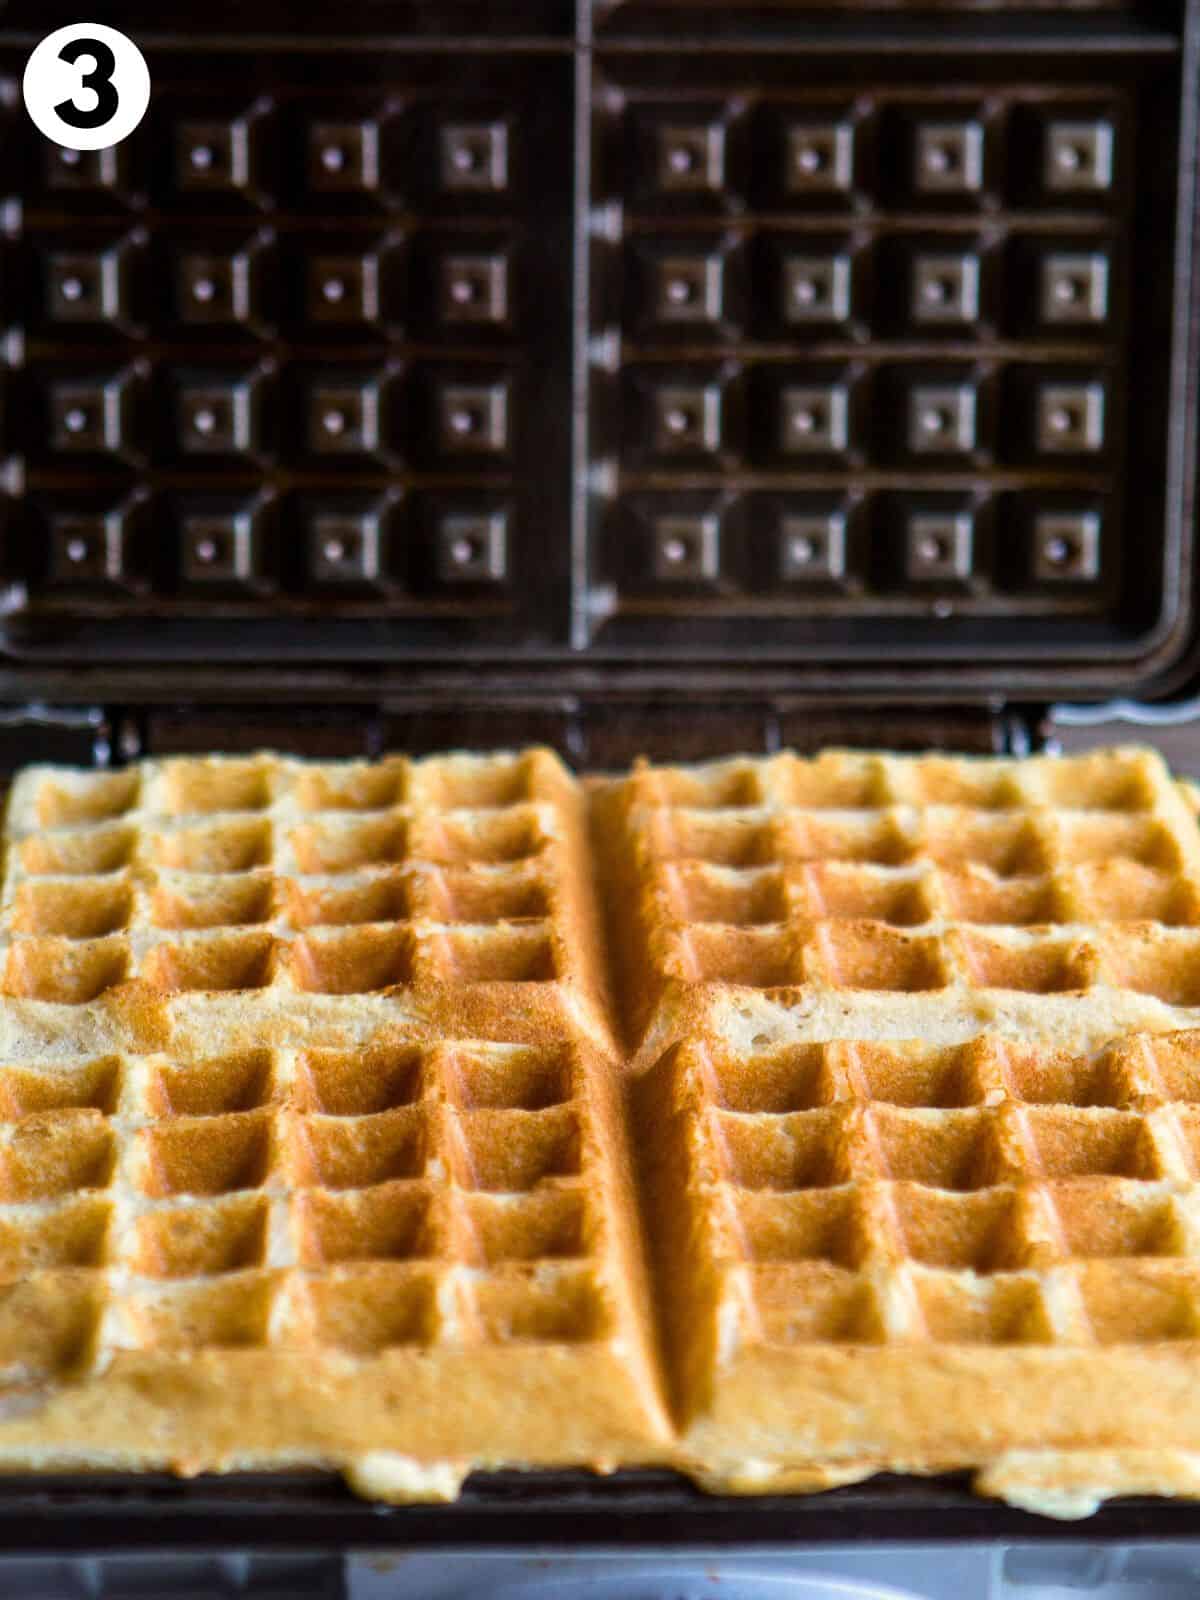
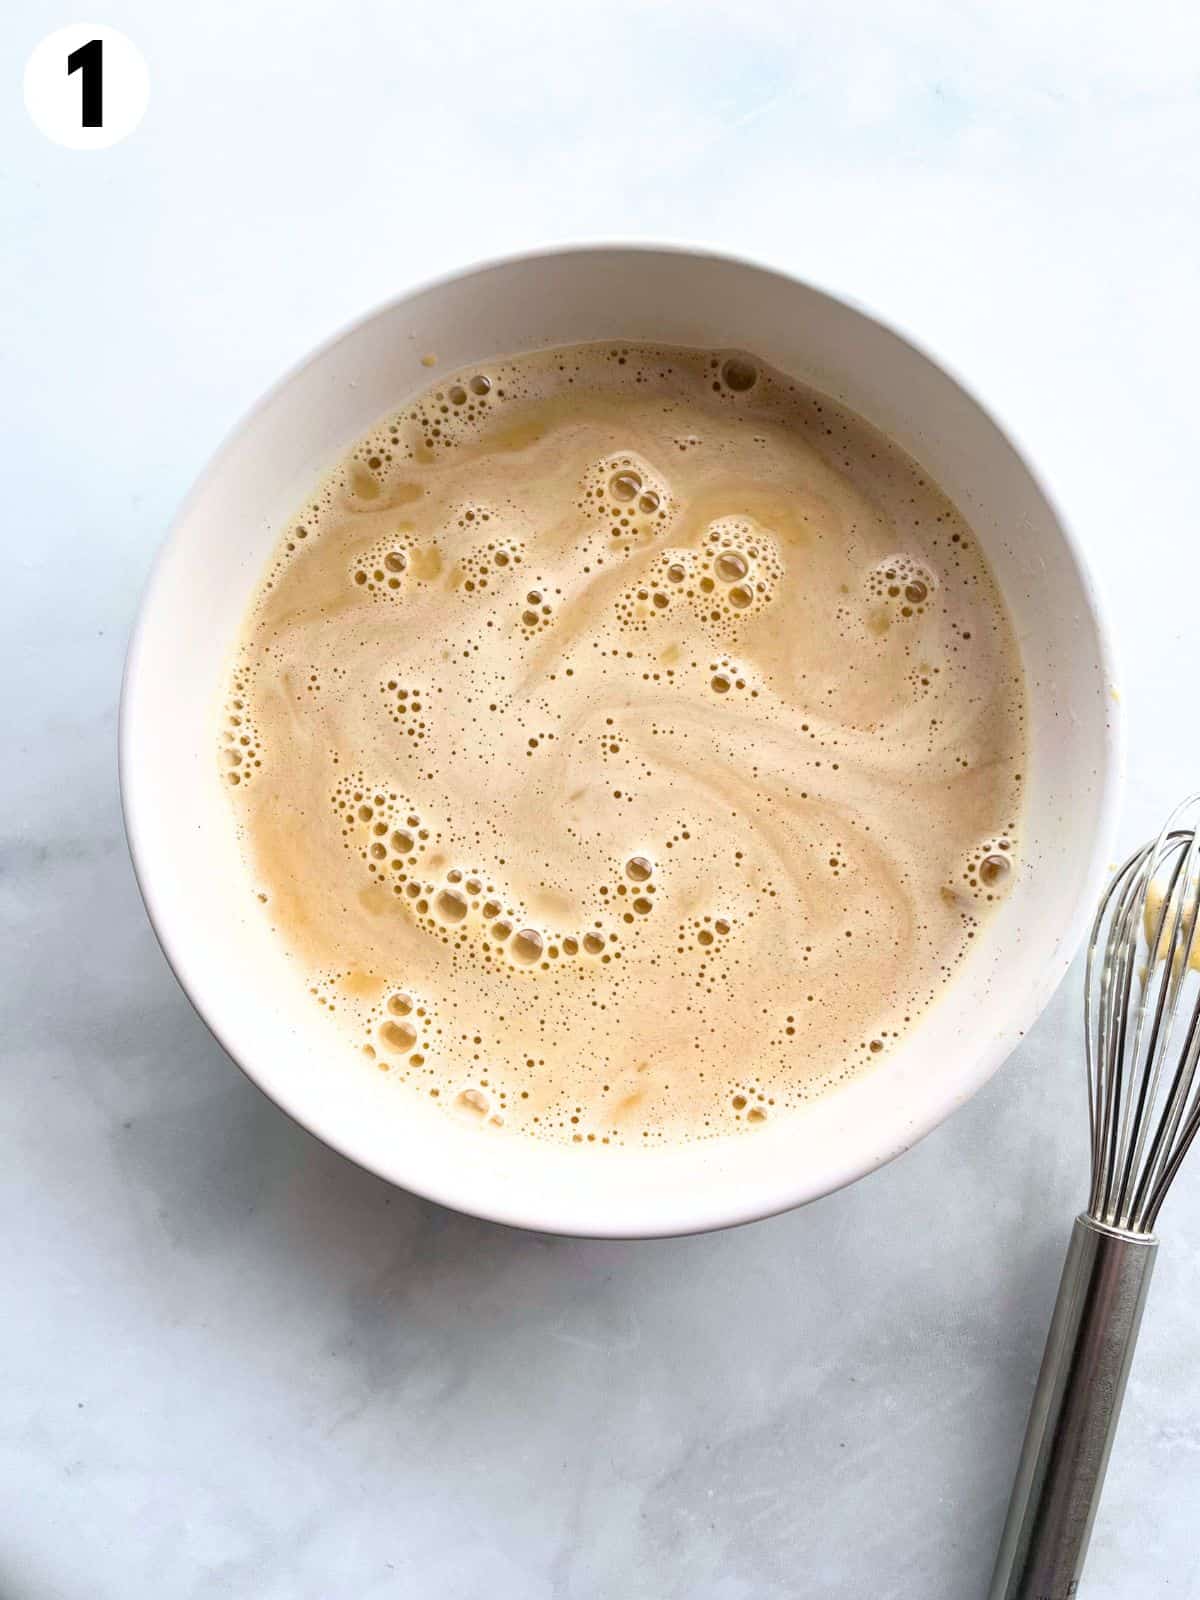
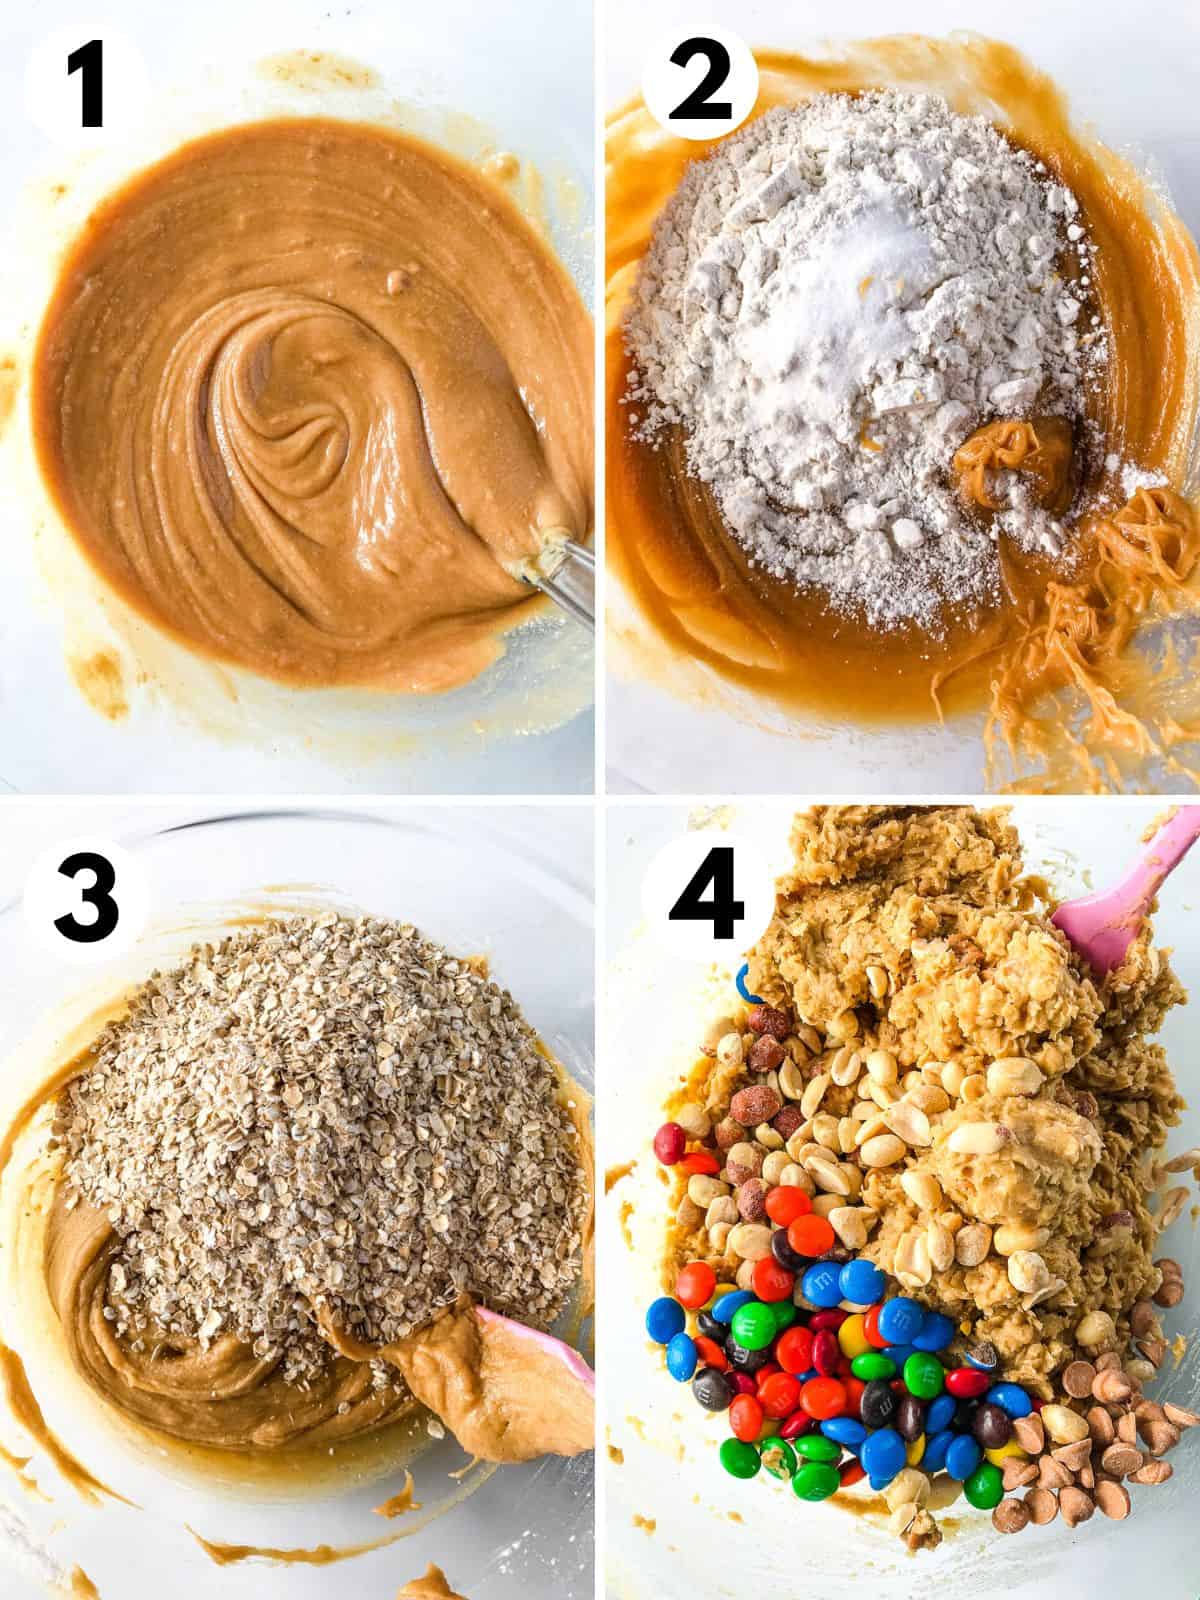
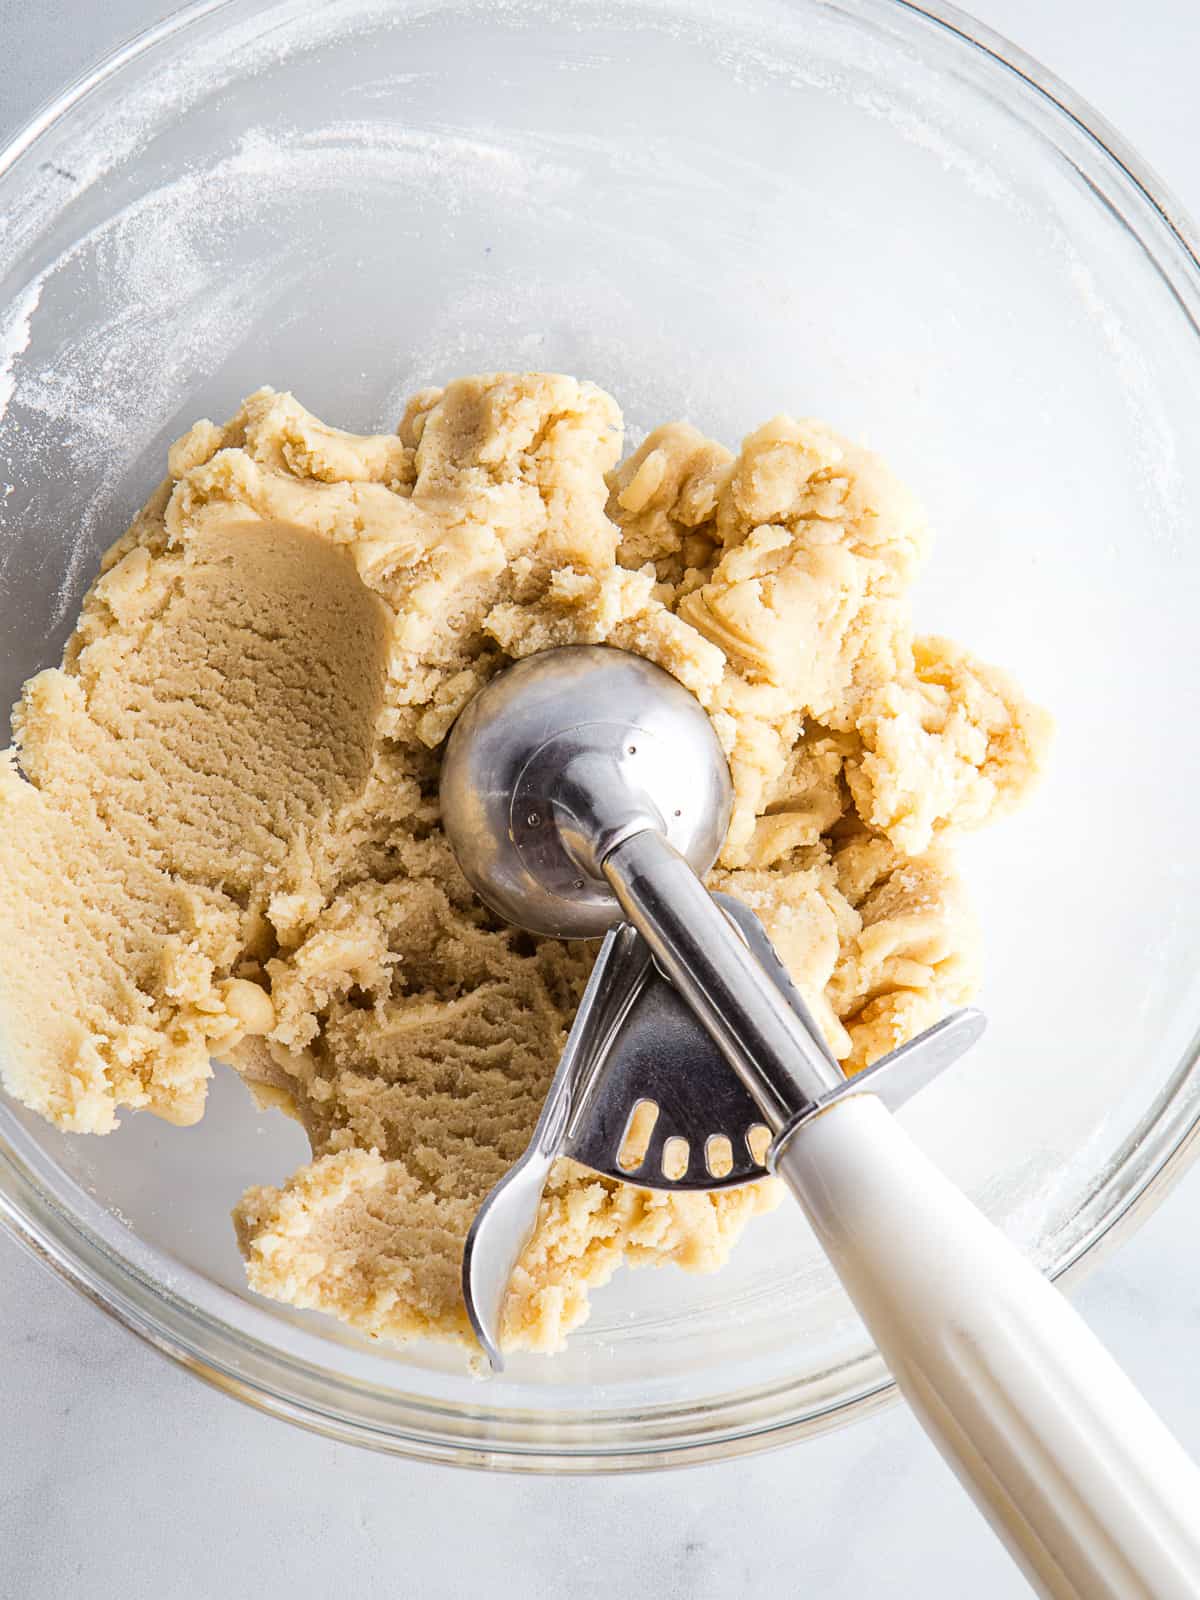
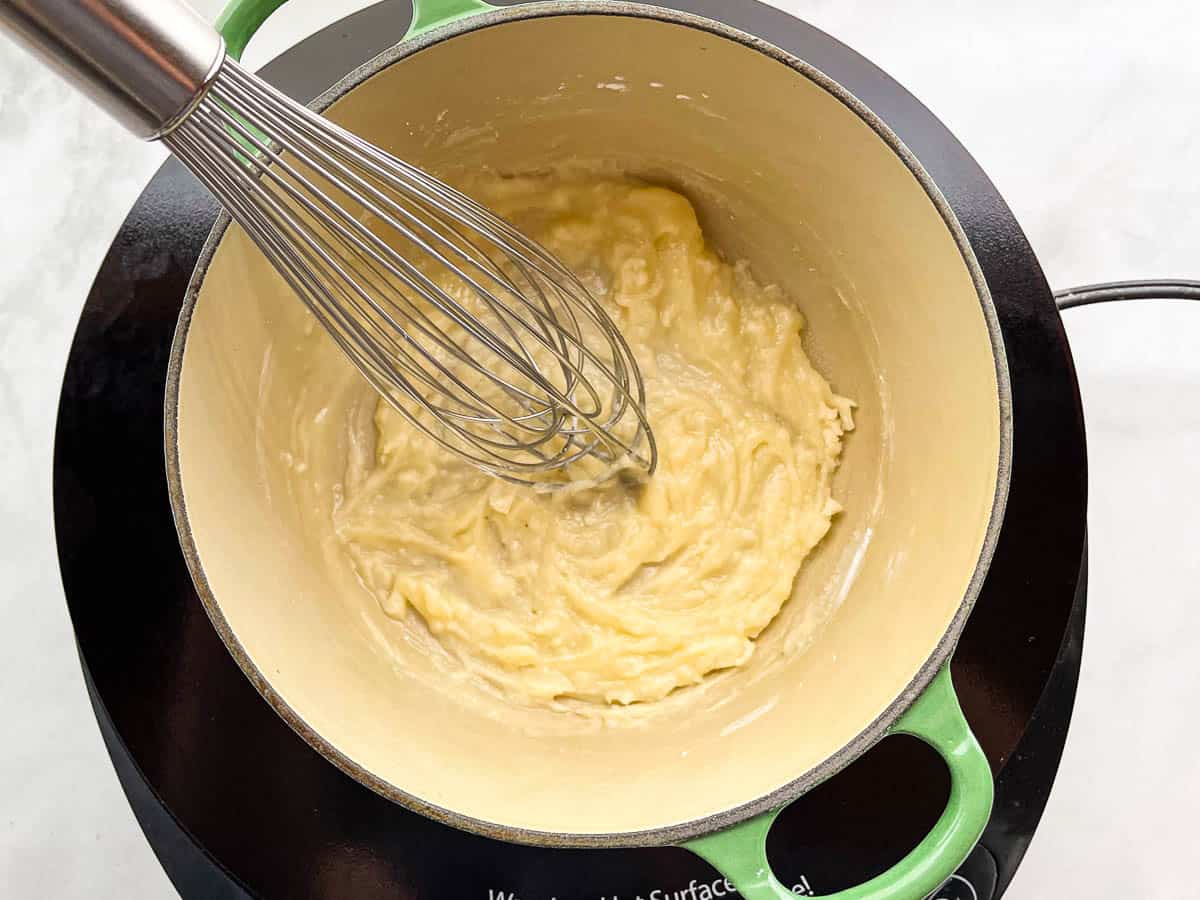
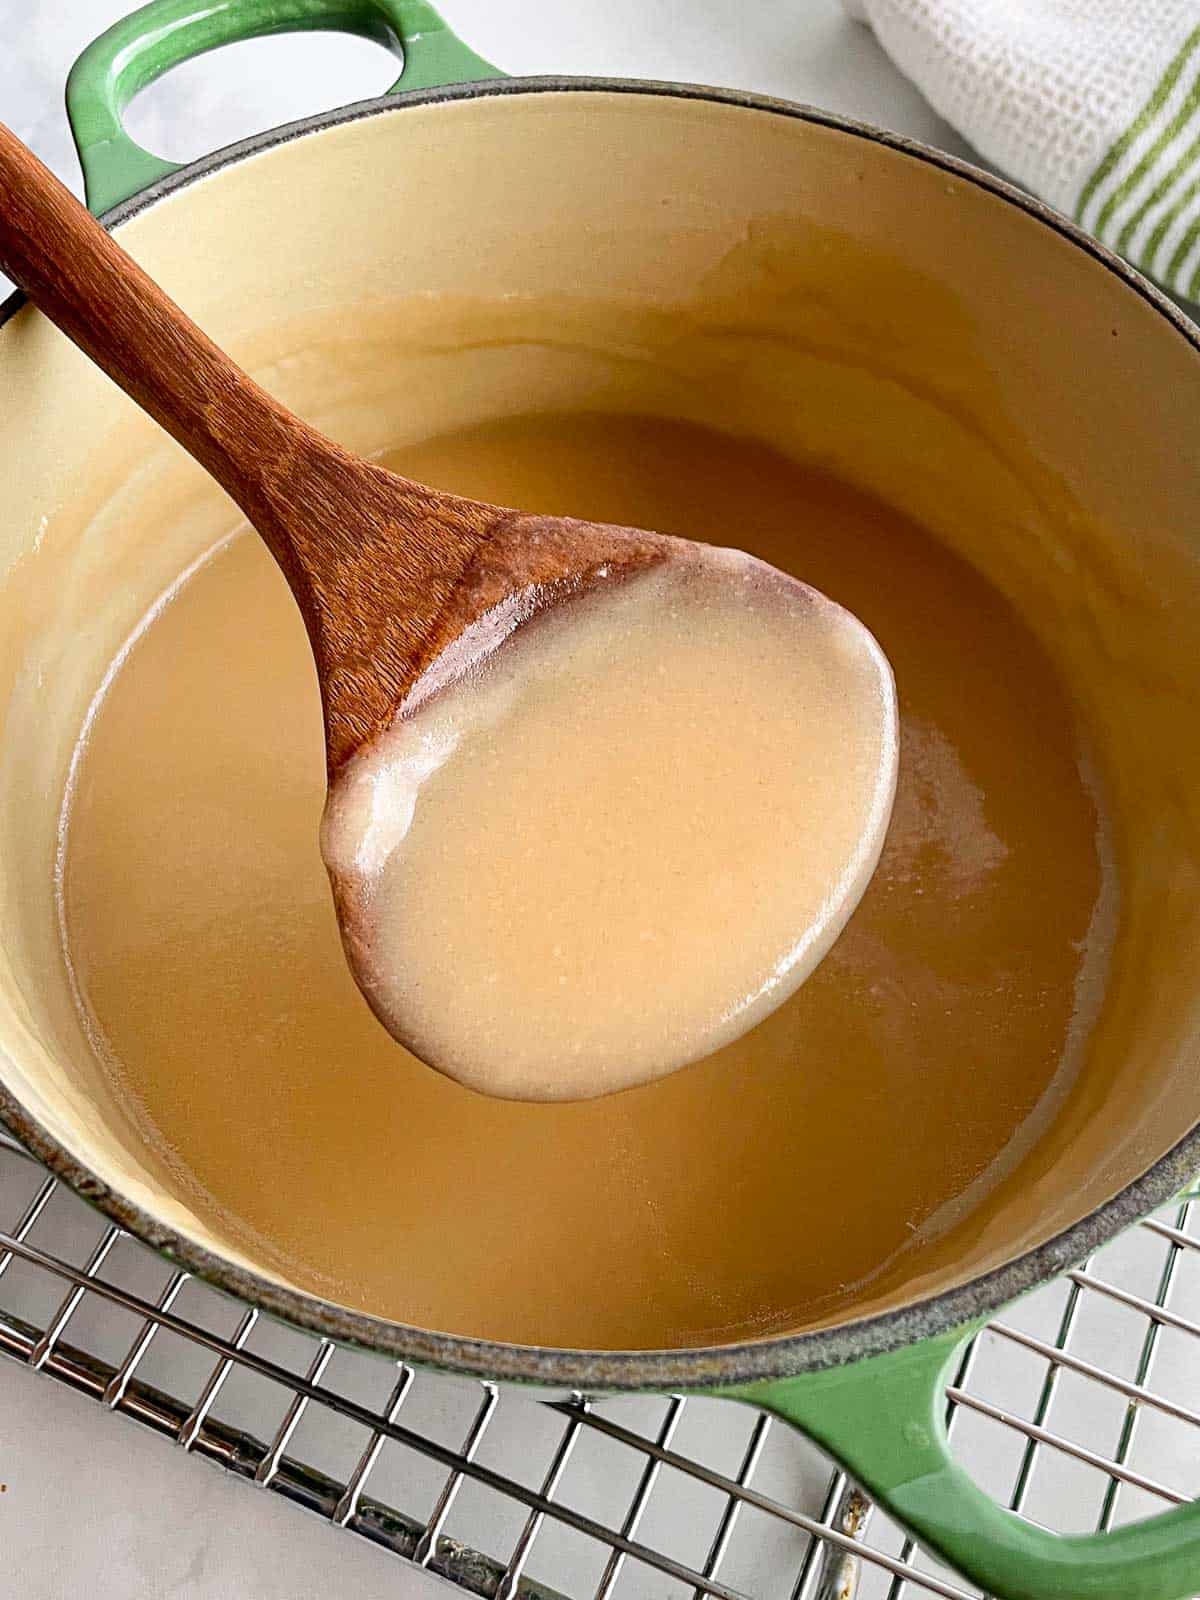
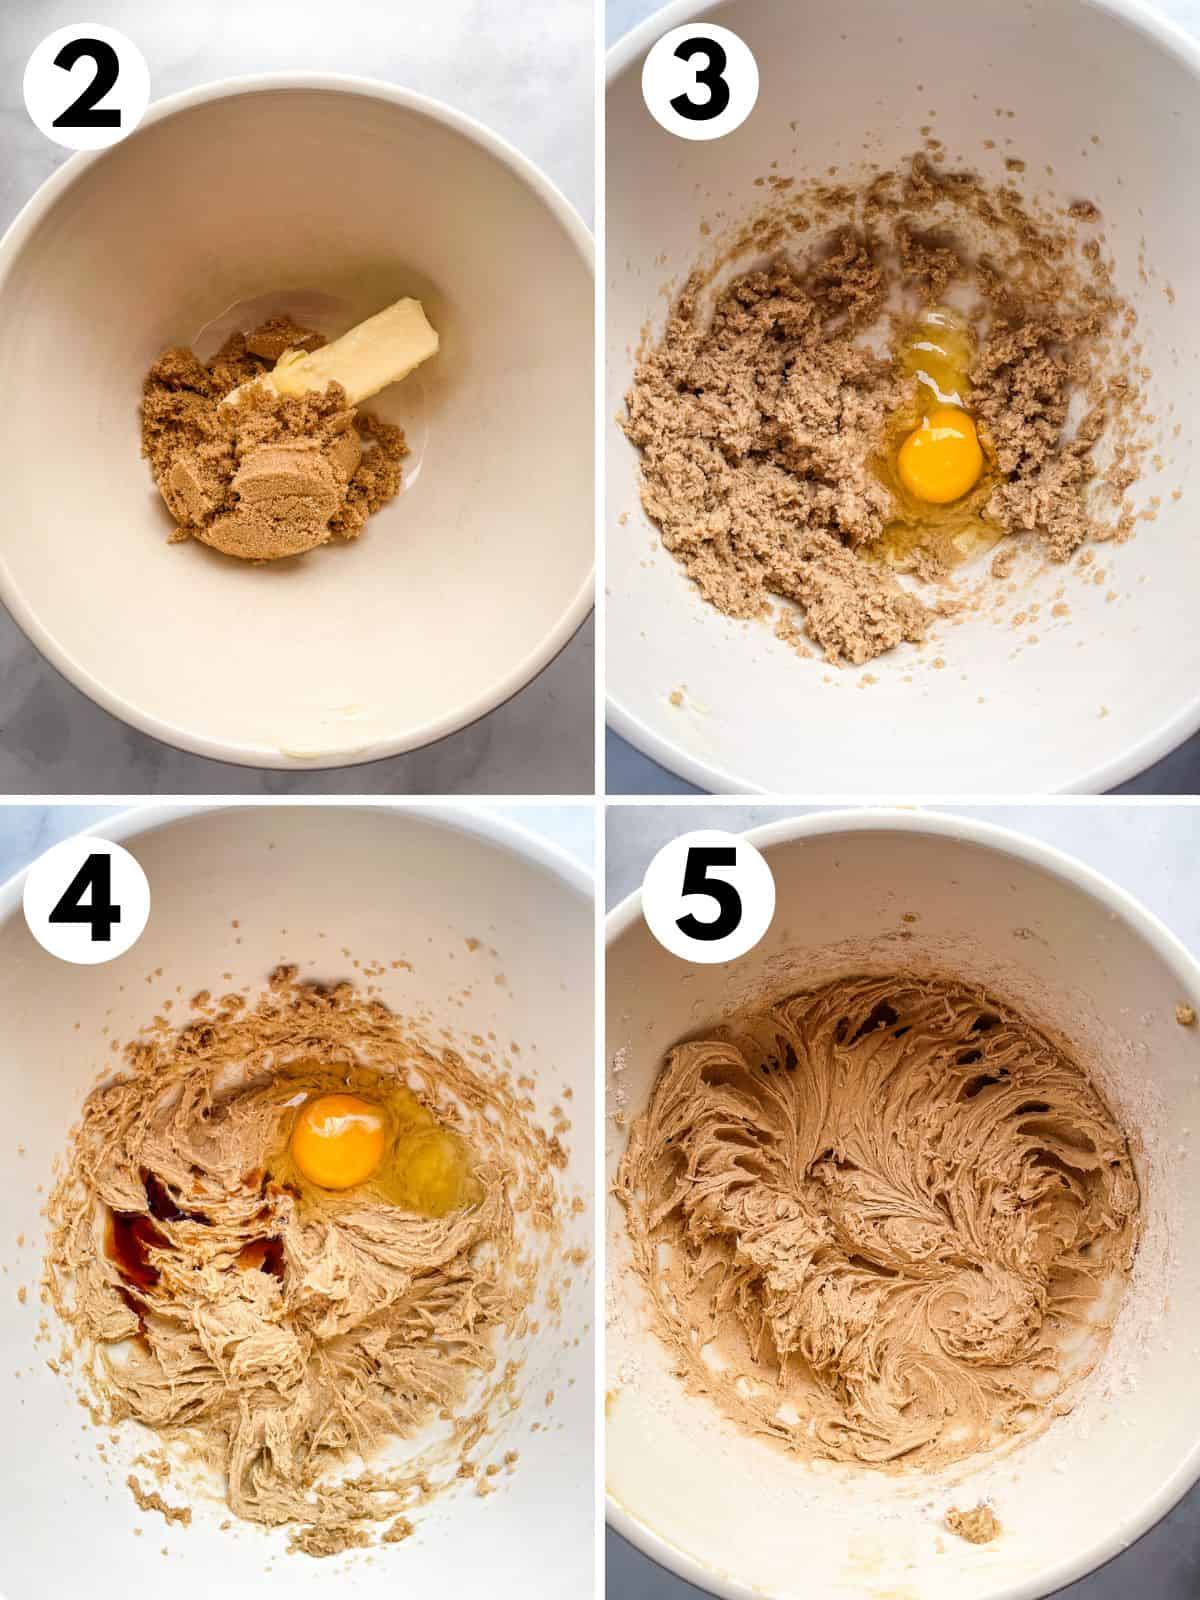
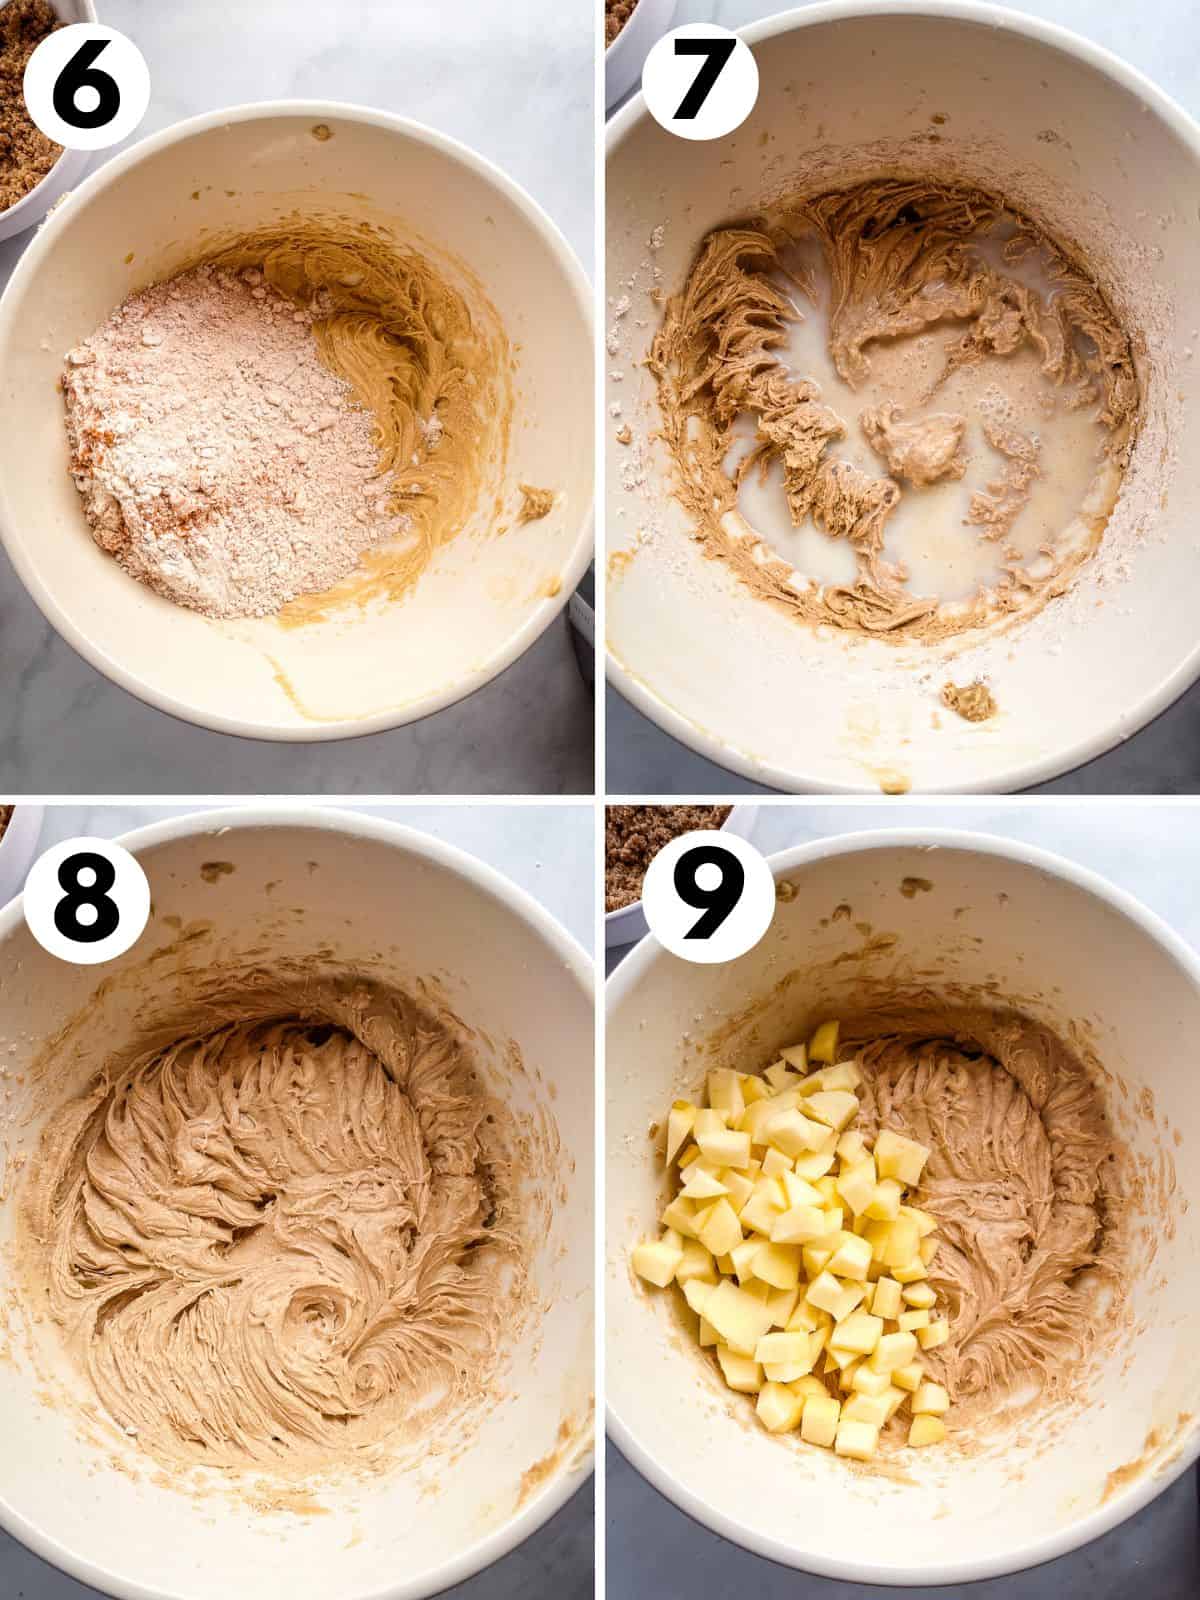
- Make the Batter. This is a simple batter to make. You mix together butter and sugar. Add the eggs. Then add (separately) the dry ingredients and sour cream. Mix until the batter looks smooth and thick.
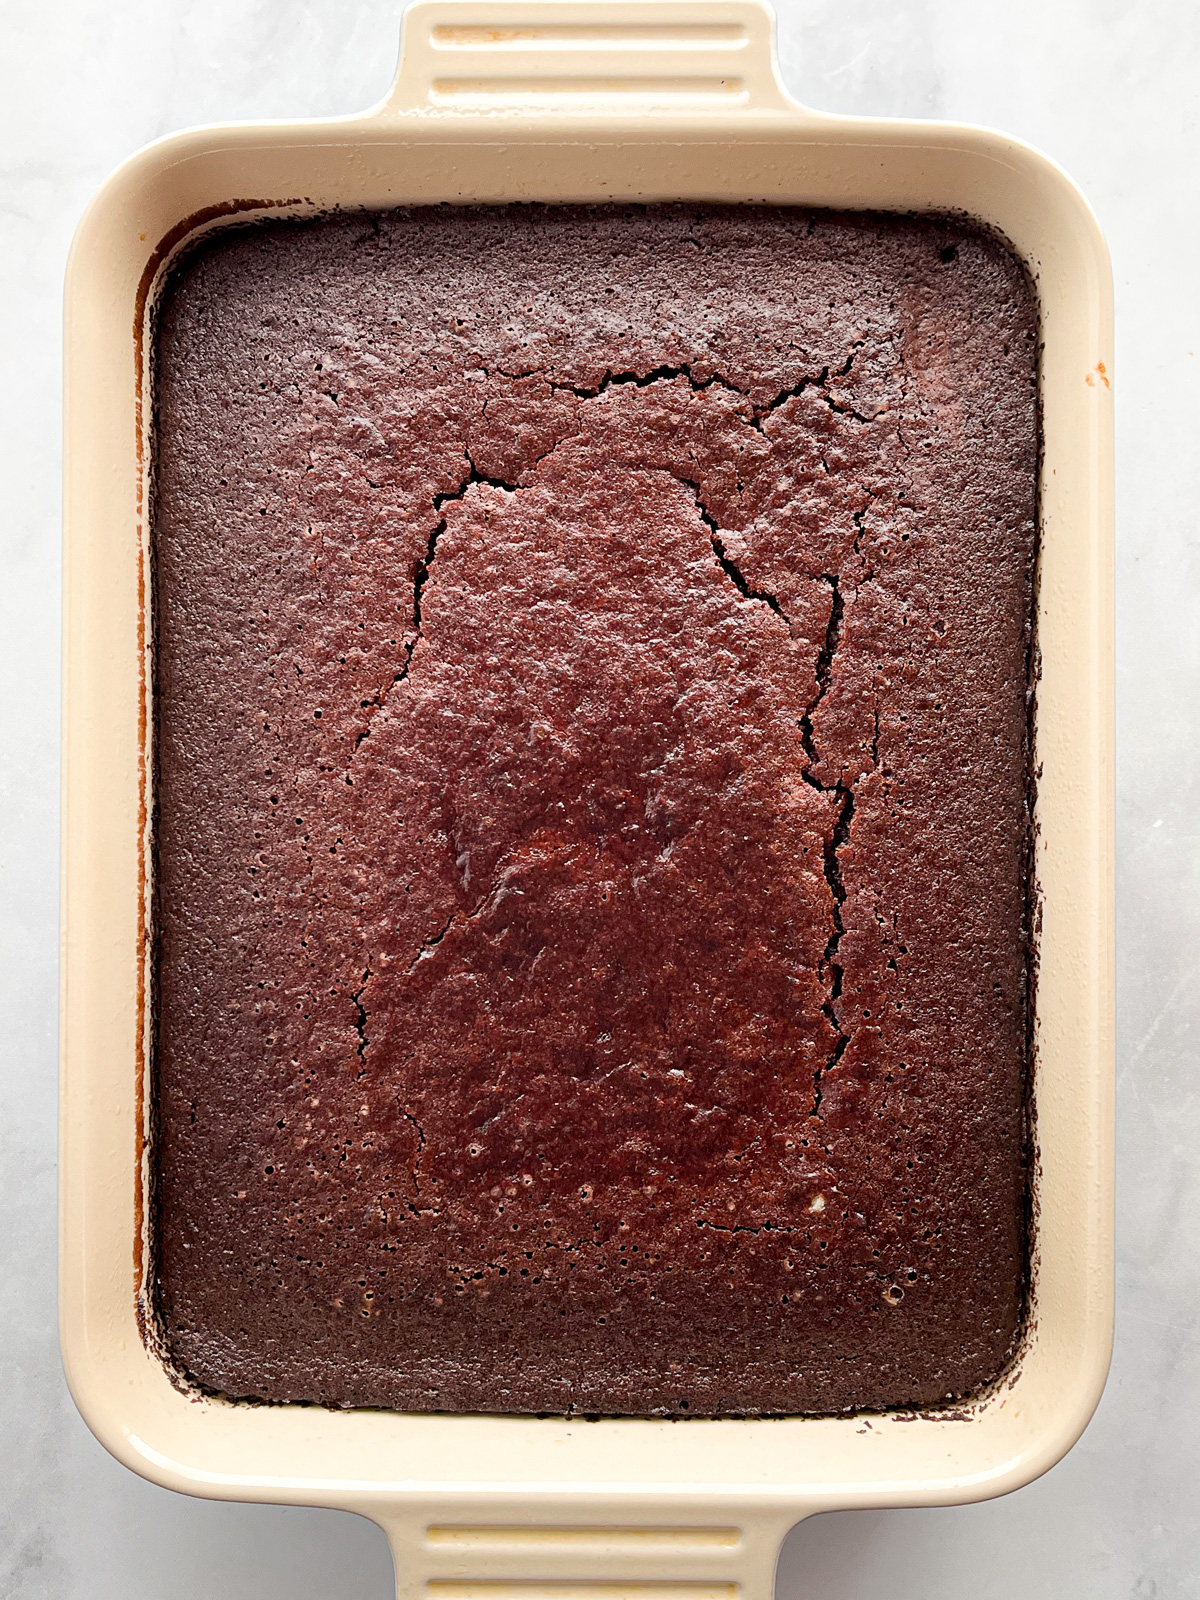
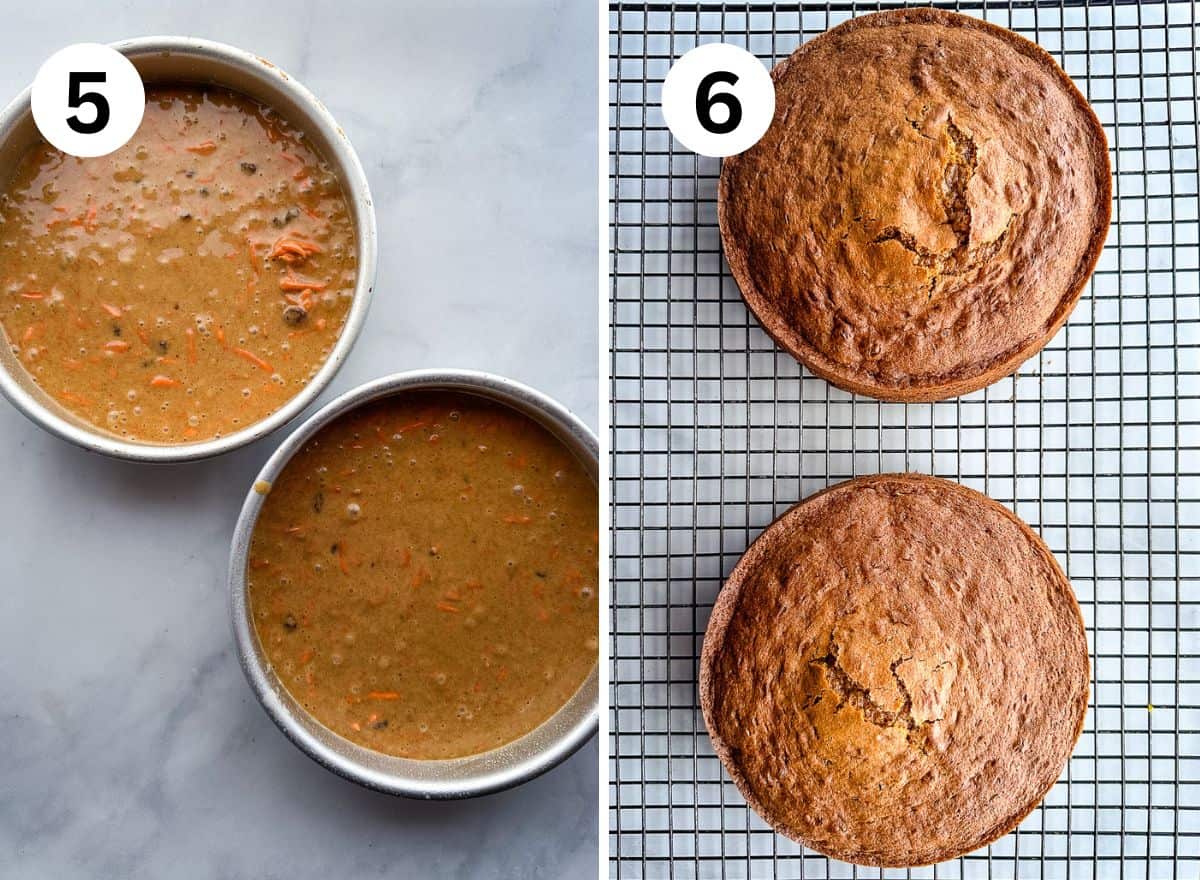
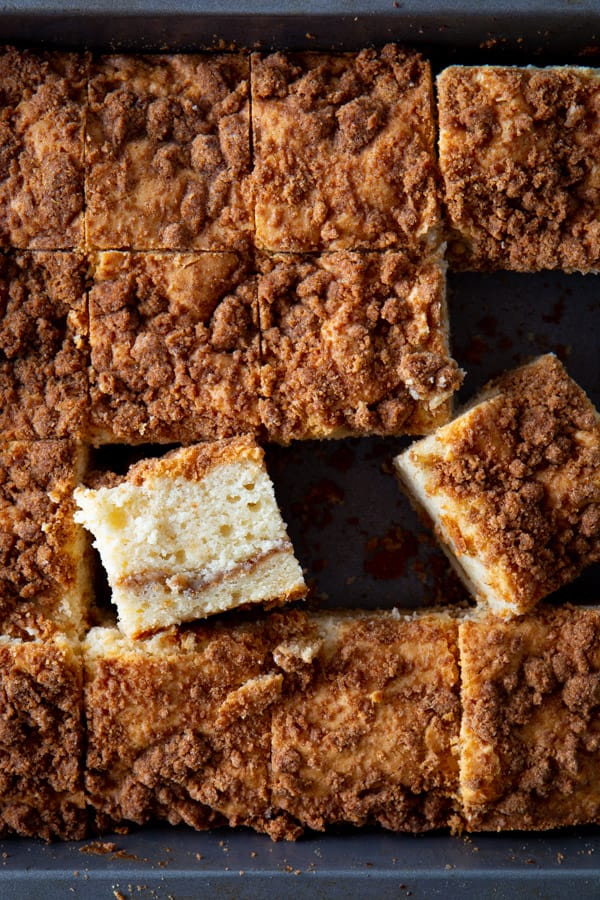
- Spread Half the Batter into the Pan. The original recipe called for a bundt pan. While this is lovely, a lot of people don’t oven bundt pans. So this version of the cake is made in a 9×9-inch square baking pan.
- Sprinkle the Filling Over the Batter. This adds a nice ribbon of cinnamon-sugar to the middle of the cake.
- Spread Remaining Batter Over the Filling. Spread the remaining batter over the cinnamon-sugar filling. Sometimes the filling makes it tough to spread the batter. This is normal-and a bit annoying! To make this easy, spread the batter with the back of a spoon. And don’t worry too much if the filling pokes through the cake batter. The topping covers it up.
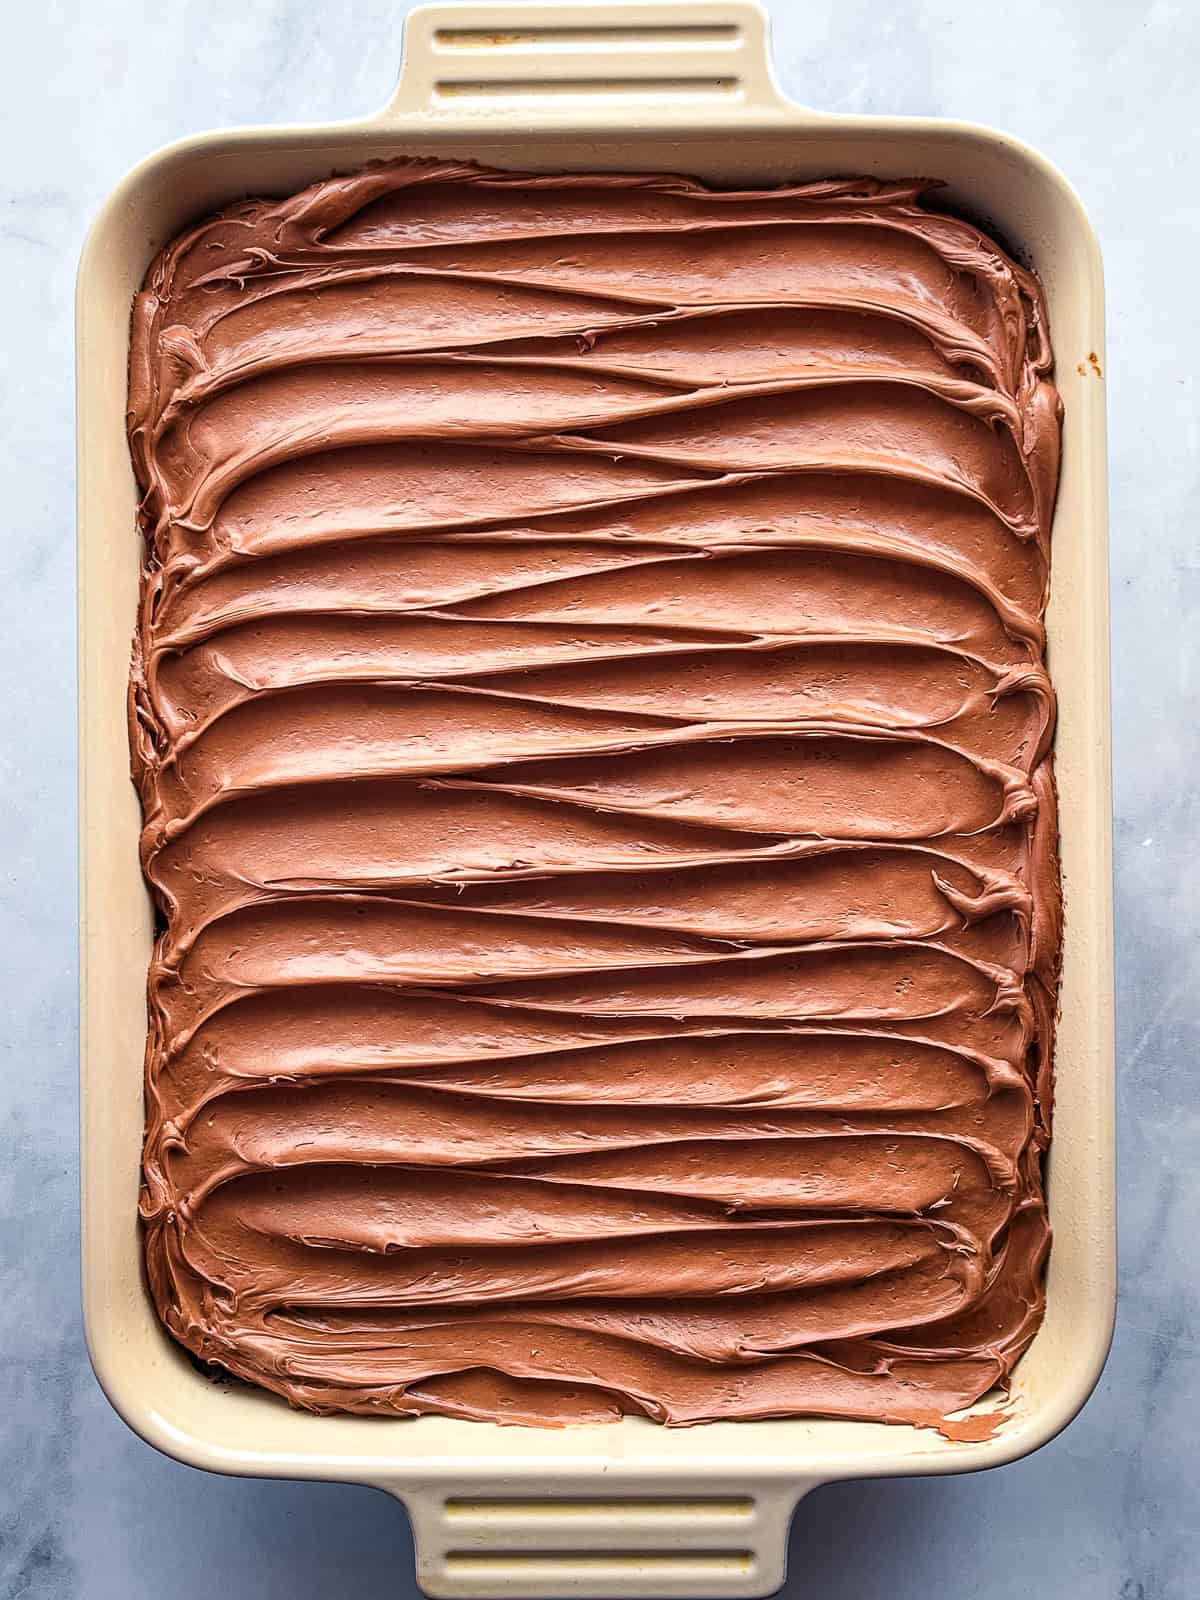
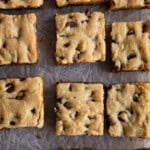
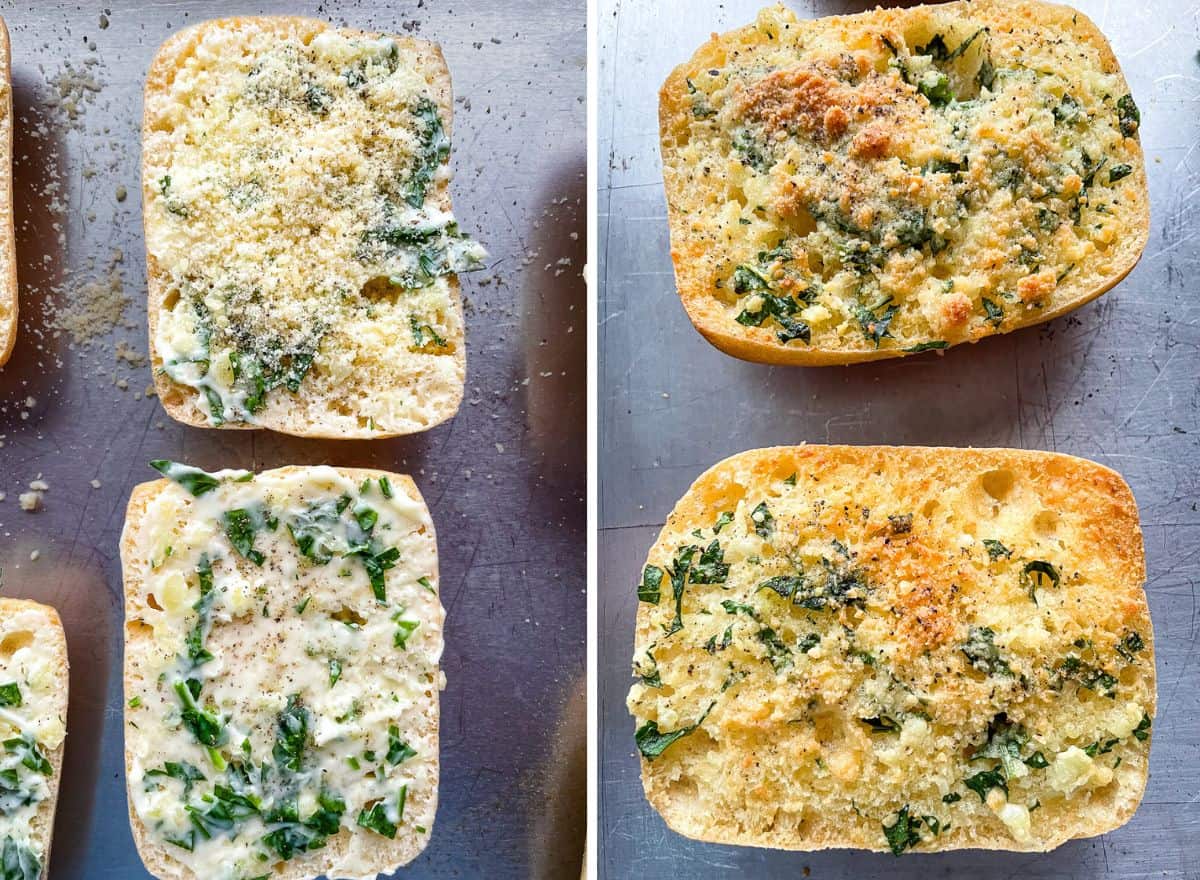
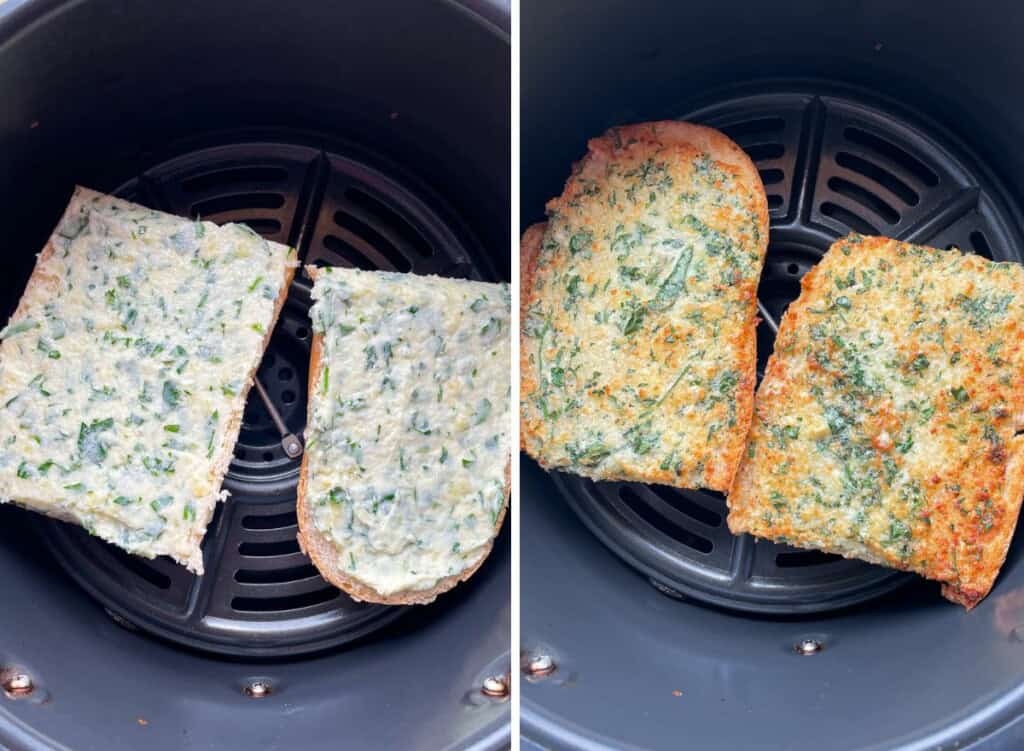
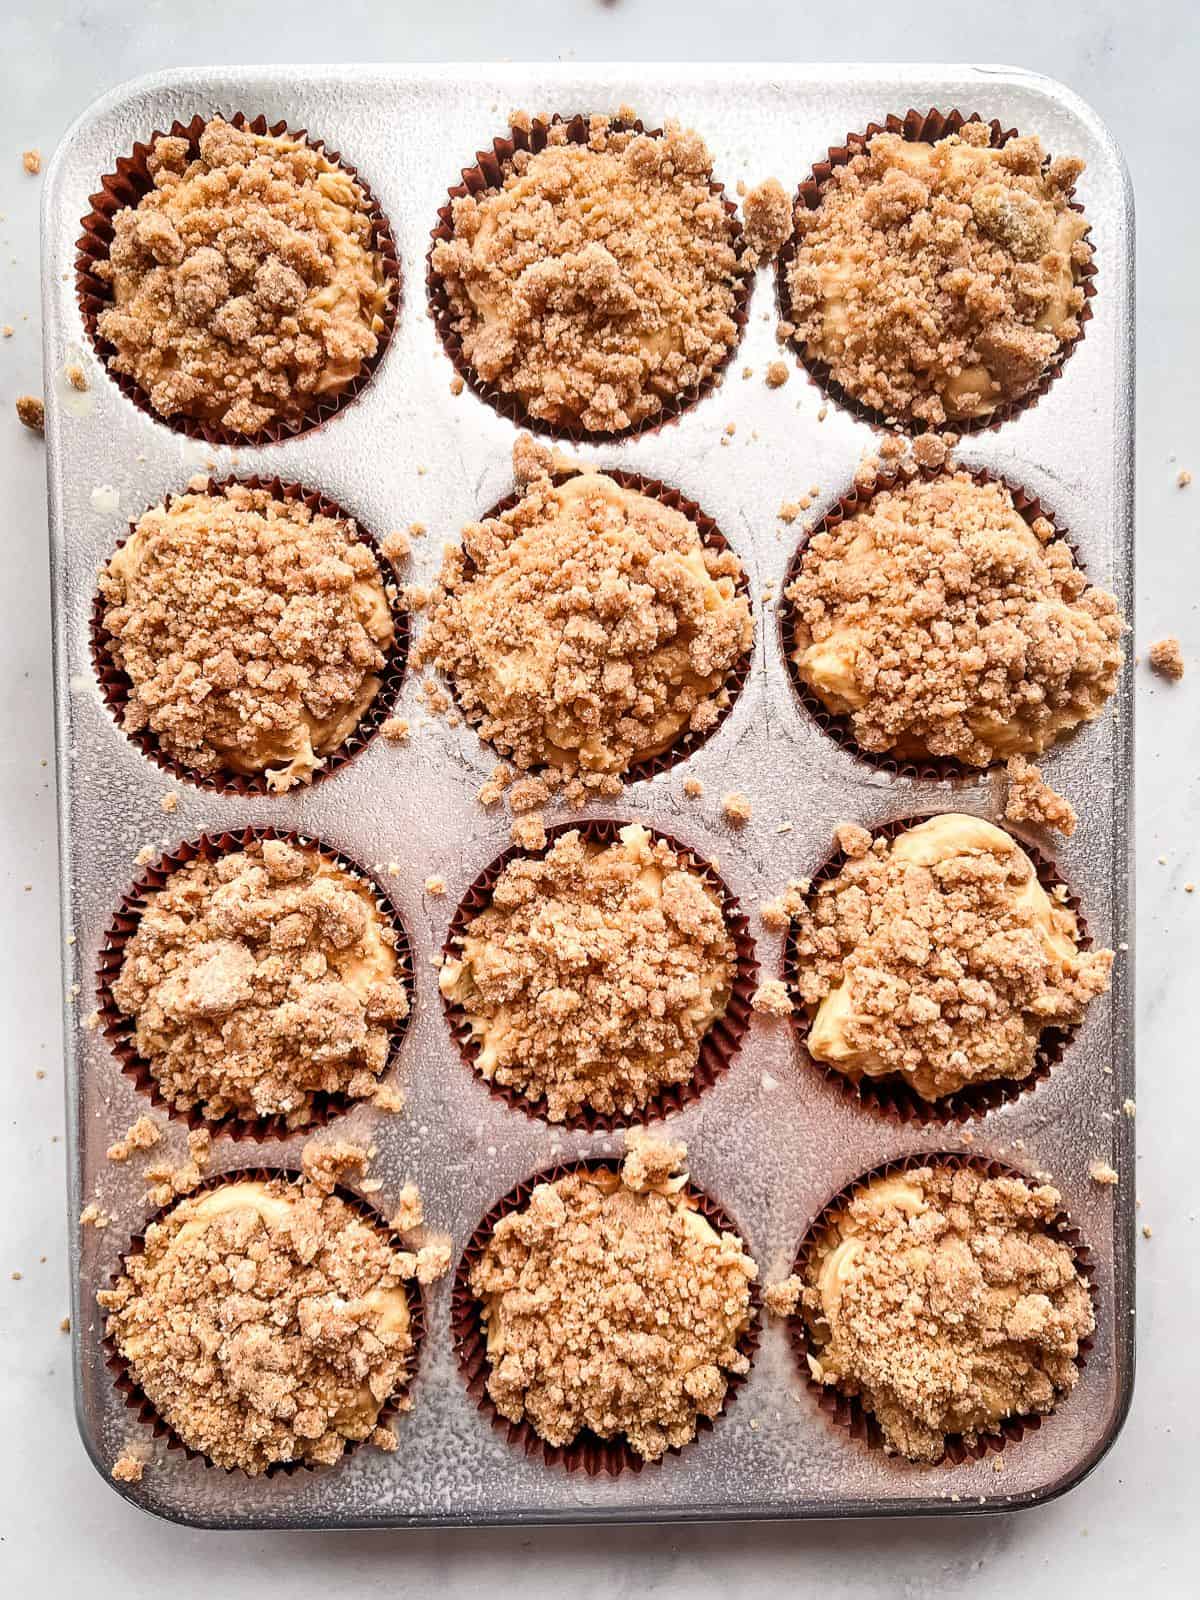
- Top with the Crumb Topping. Sprinkle the crumb topping over the batter.
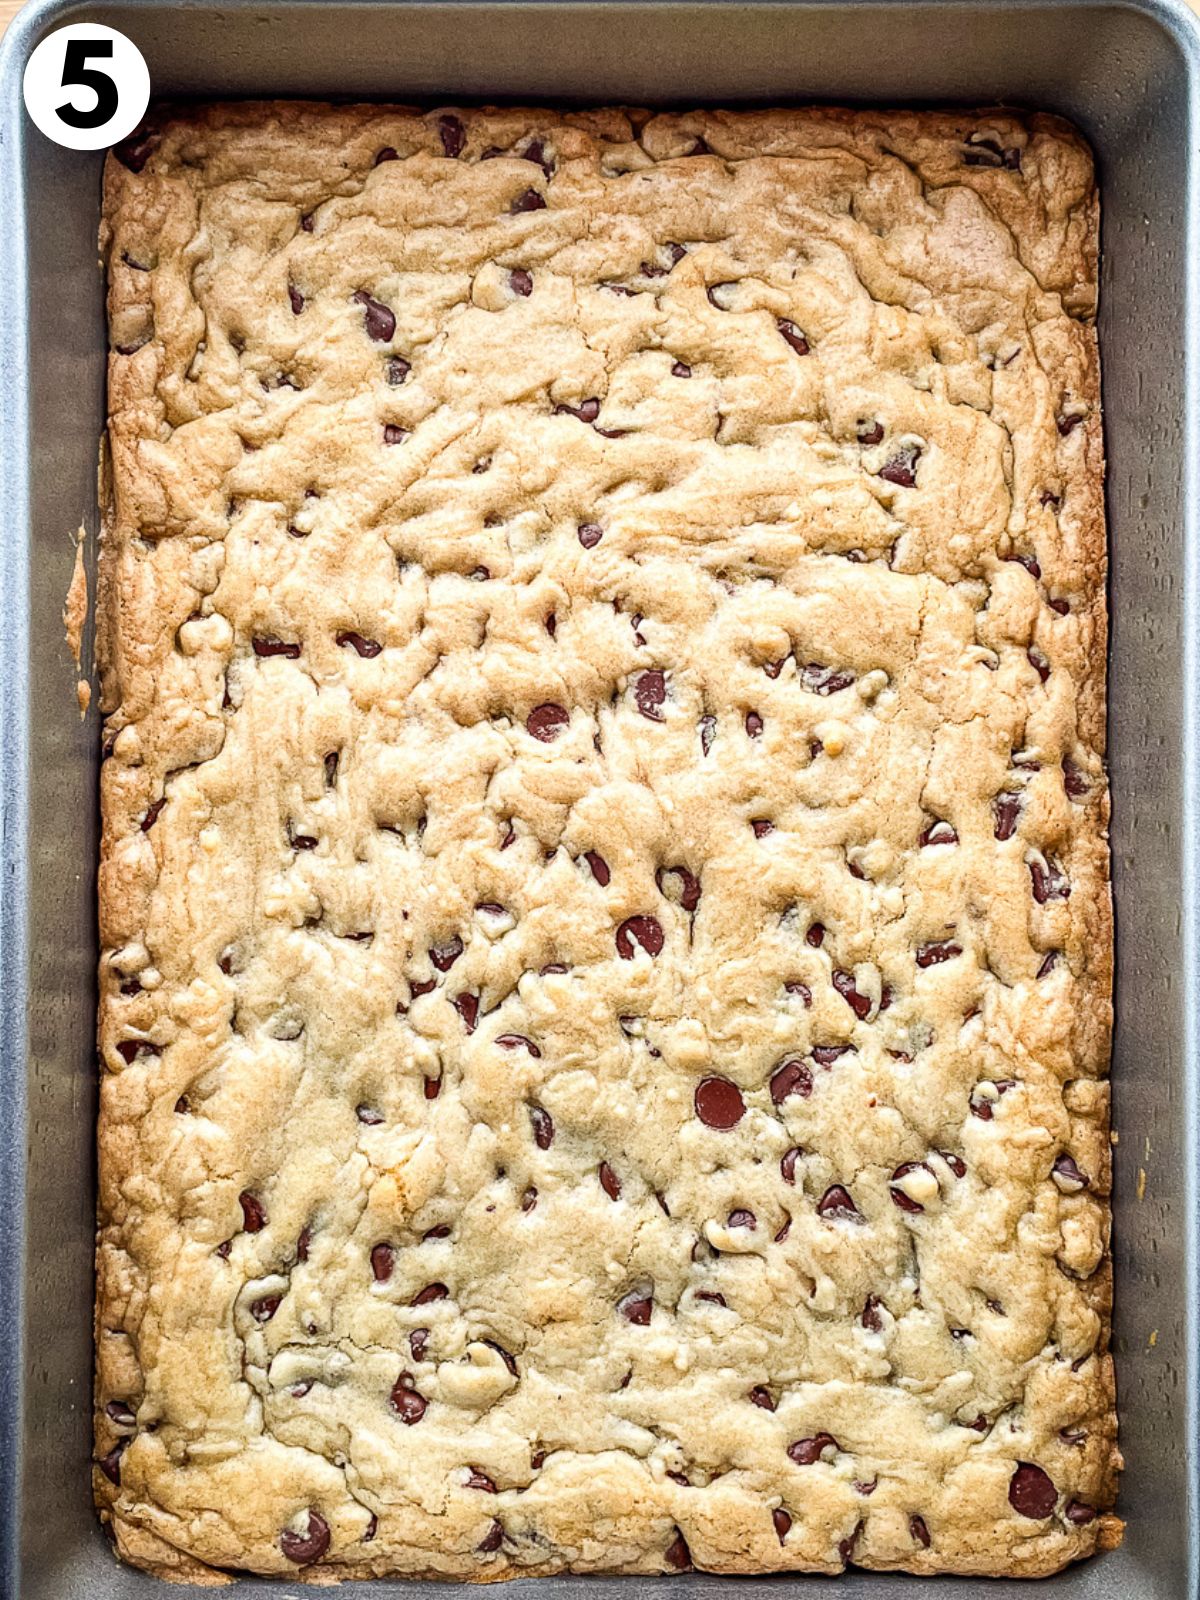
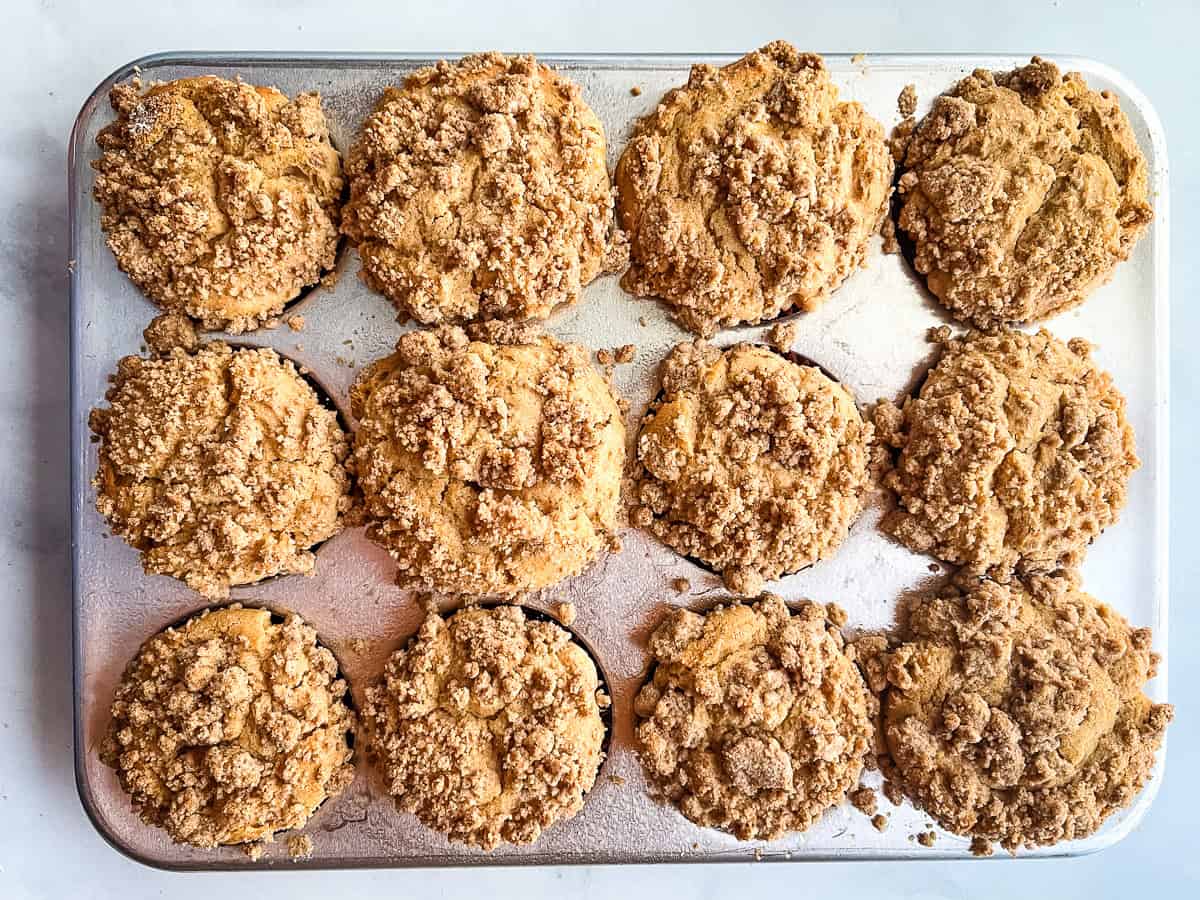
- Bake. Bake until the cake is golden brown. It smells amazing while baking. Test for doneness by inserting a cake tester into the center of the cake.
Gluten-Free Coffee Cake FAQs
Is there coffee in coffee cake?
No. Coffee cake, at least in the United States, is usually a vanilla cake topped with a streusel topping. It’s served in the morning, usually alongside a cup of….coffee.
Can I make this recipe dairy-free?
Yes. Replace the butter and sour cream with dairy-free alternatives.
Can I use almond flour?
Not in this recipe. Use my almond flour coffee cake recipe.
Can I make this cake without eggs?
I haven’t tested the recipe with an egg-replacer. So I can’t say for sure.
Note: This recipe was first shared in 2019. It was updated in 2025 for clarity. The recipe remains the same.
Gluten-Free Crumb Coffee Cake
This gluten-free crumb coffee cake features a buttery cinnamon streusel that doubles as both the filling and the crumb topping.
Ingredients
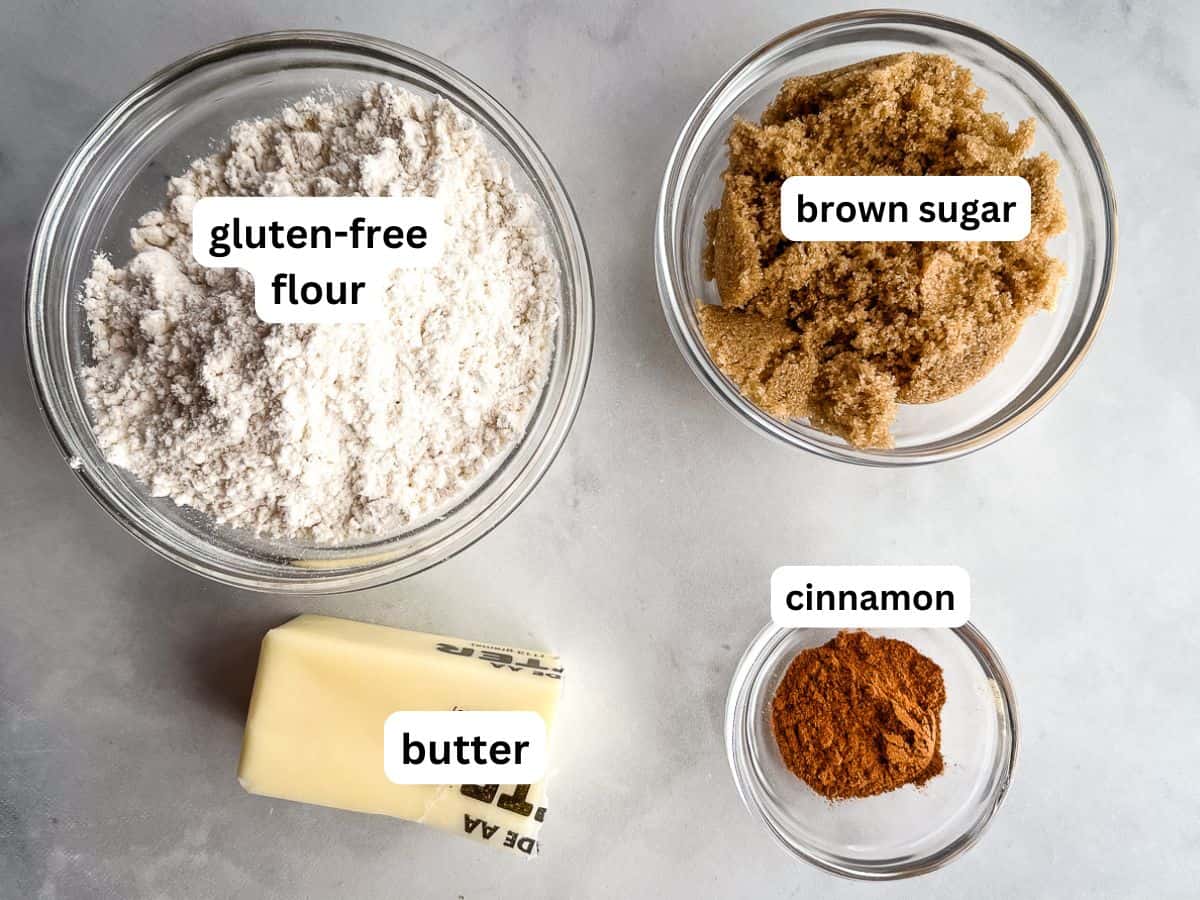
For the Filling and Crumb Topping
- ¾ cup packed brown sugar (5 ½ ounces; 155 grams)
- ½ cup gluten-free baking flour (2 ½ ounces; 70 grams)
- 1 ½ teaspoons ground cinnamon
- 3 tablespoons butter, cold, cut into 6pieces. (1 ½ ounce; 42 grams)
For the Cake
- 2 cups gluten-free baking flour (Bob's Red Mill 1:1 Gluten-Free Baking Flour suggested) (10 ounces; 283 grams)
- 1 ½ teaspoons baking powder
- 1 ½ cups granulated sugar (10 ½ ounces; 297 grams)
- 1 ½ sticks butter, softened (6 ounces; 170 grams)
- ¼ teaspoon ground cinnamon
- 2 large eggs (about 3 ½ ounces out of shell; 100 grams)
- 1 cup sour cream (8 ounces; 226 grams)
Instructions
-
Preheat oven to 350℉. Spray an 9×9-inch square baking pan with nonstick cooking spray. (For a thicker coffee cake, use an 8×8-inch pan.)
-
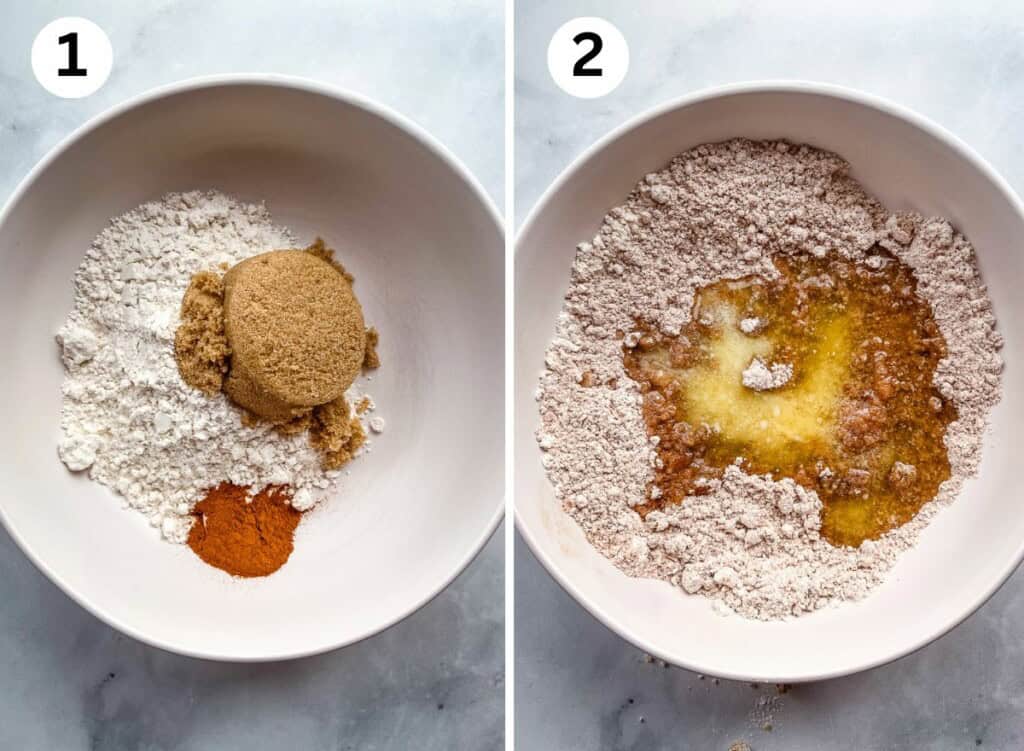
Make the Filling and Topping: Stir together the brown sugar, gluten-free baking flour, and cinnamon in a small bowl.
Remove ⅔ cup of the mixture. Rub the cold butter into the mixture until it's crumbly. Set aside. This is the crumb topping.
The remaining mixture (without the butter) is the filling.
-
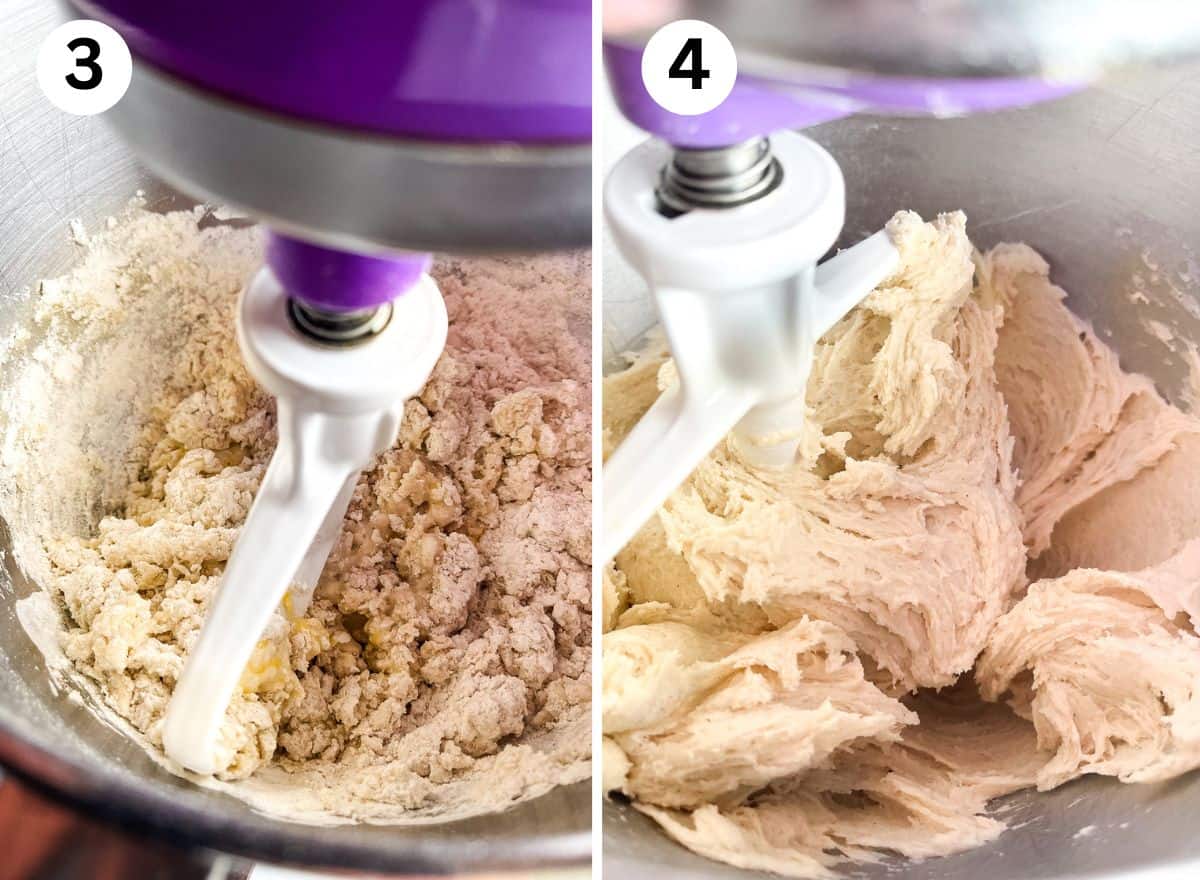
Prepare the Cake Batter: Whisk together the gluten-free baking flour and baking powder in a small bowl.
-
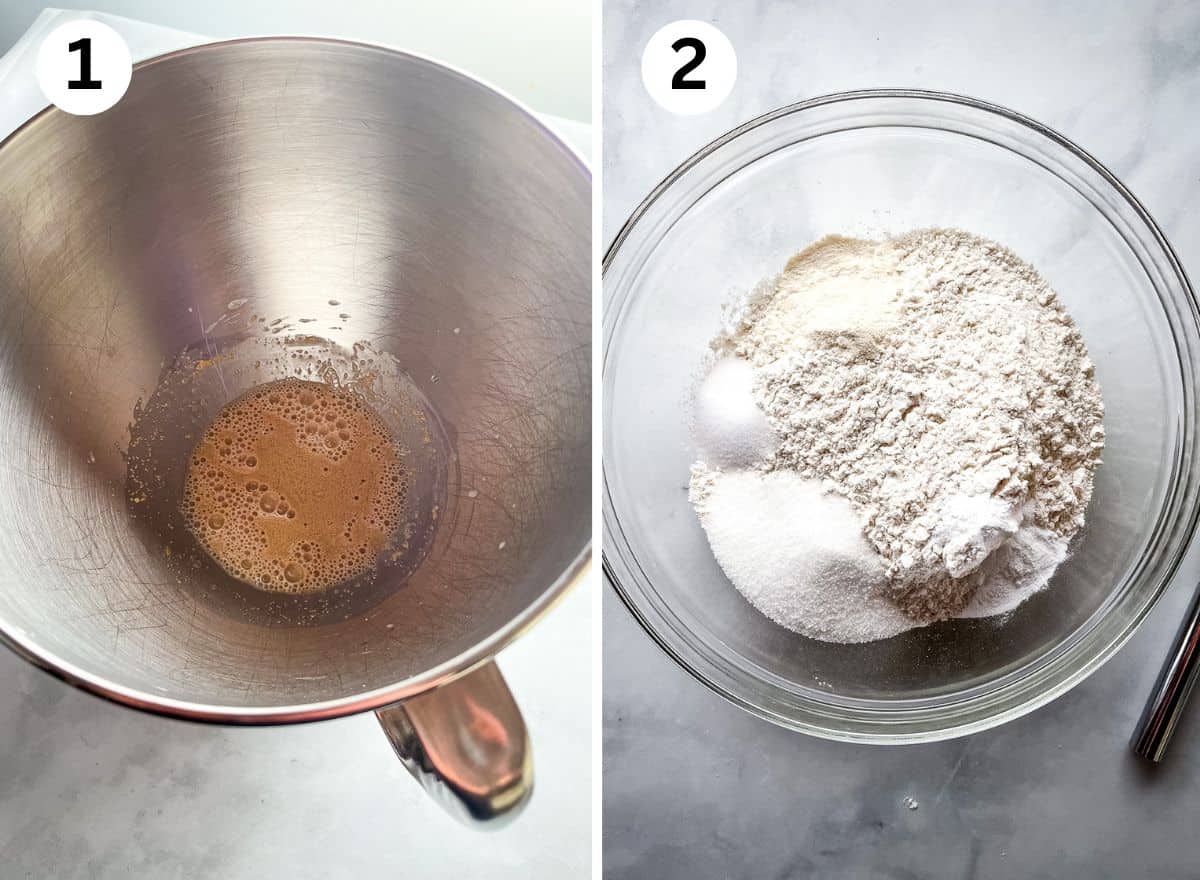
Mix together the butter and cinnamon until light, about one minute on medium-high speed on a stand or handheld mixer.
-
Add the granulated sugar. Mix until a thick paste forms, about 45 seconds. Stop the mixer. Scrape down the bottom and sides of the bowl. Mix again for 15 seconds. (This incorporates in the thick butter that was stuck to the bottom of the bowl.)
-
Stop the mixer. Add the eggs, one at a time. Mix until combined. Stop the mixer. Scrape the bowl. Mix again for 15 seconds.
-
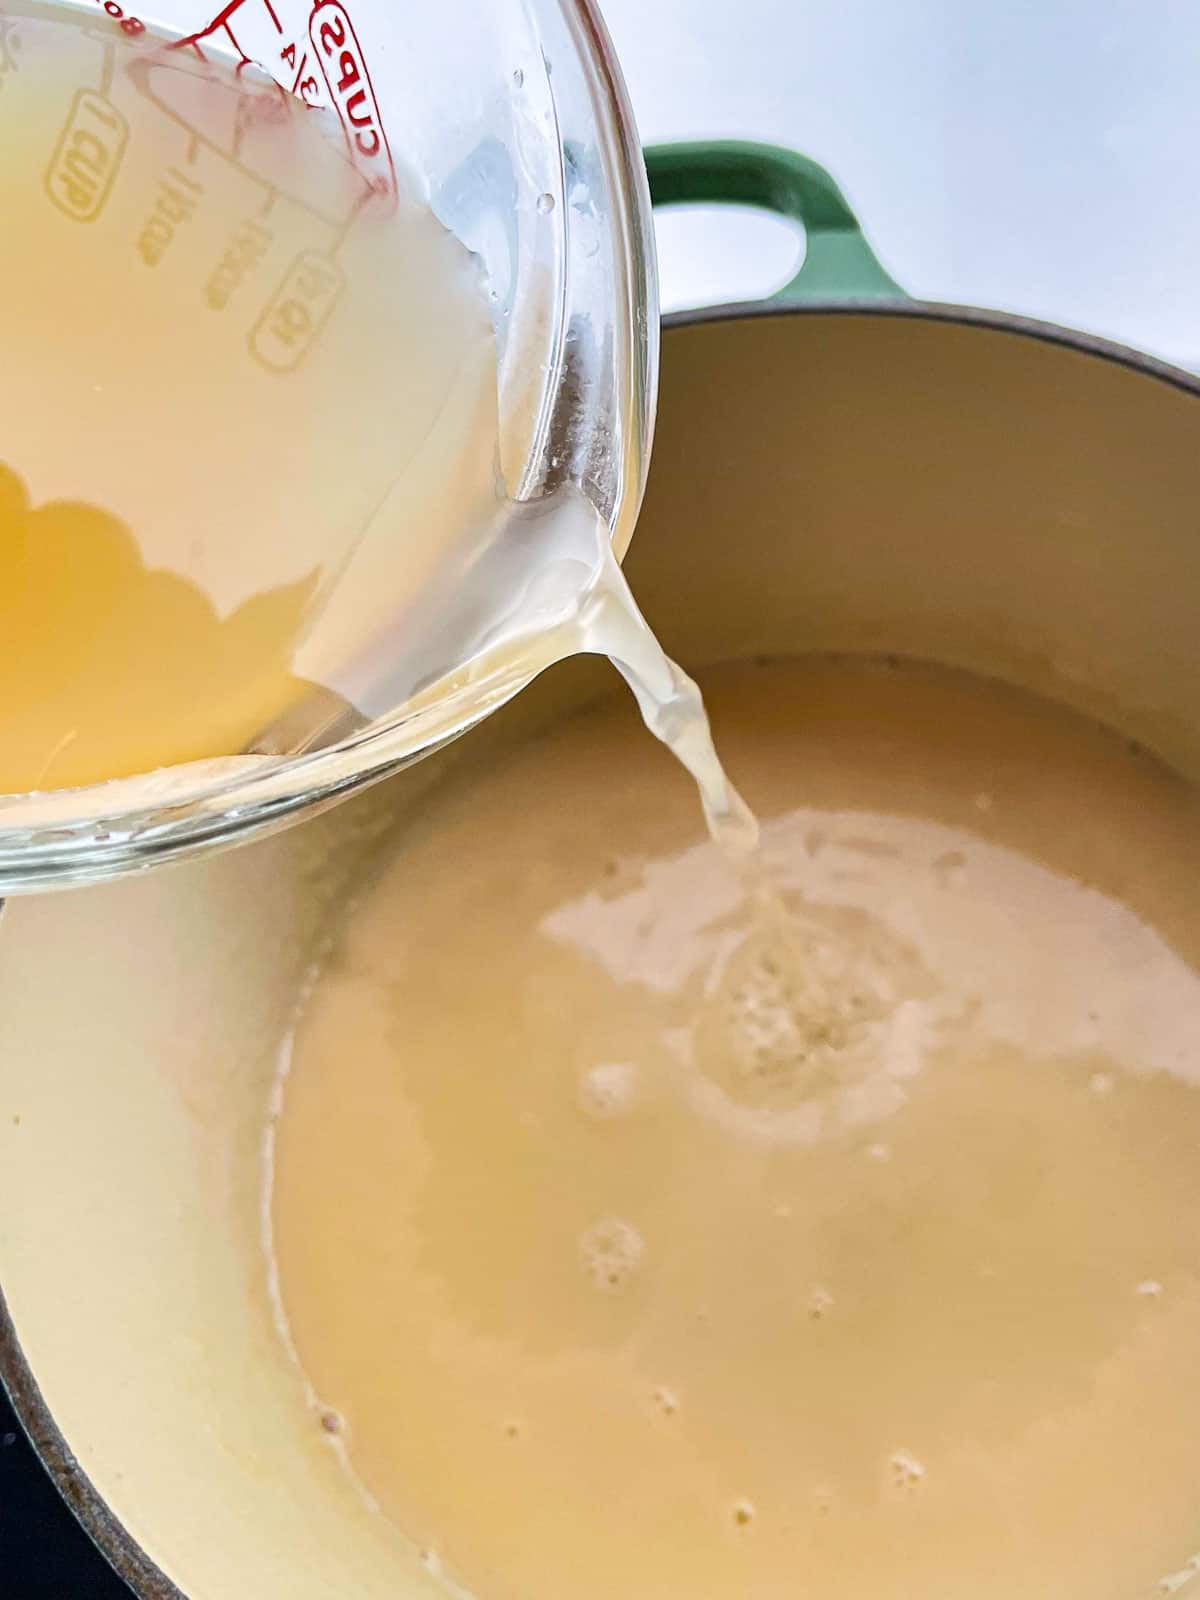
Add half the flour mixture. Mix until combined. Add half the sour cream. Mix until smooth. Repeat with the remaining flour and sour cream. Mix until batter is smooth.
-
Spread half the batter into the prepared pan. Sprinkle streusel mixture over the batter.
-
Spread remaining batter over the filling. Sprinkle the crumb topping evenly over the cake.
-
Bake until a cake tester inserted into the center of the cake comes out clean, about 45 minutes.
-
Cool for 20 minutes before serving. Store, wrapped, on the counter for up to three days.