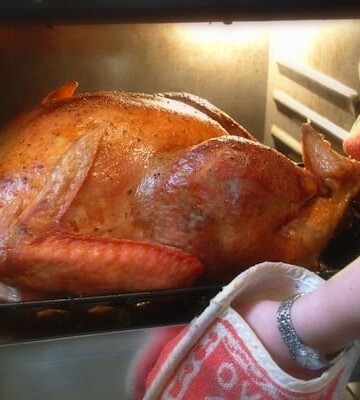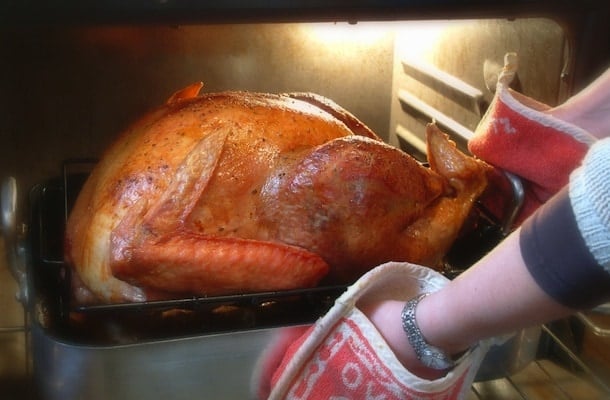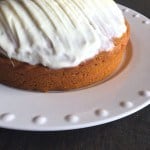
I love cheesecake but a slice of it, even a slender slice, feels like too much richness after the Thanksgiving meal—especially if I have my eye on a slice of pie. (You have to love a holiday where eating multiple desserts is acceptable and, in some families, encouraged!)
My solution to this “problem”? Cheesecake bars! This way I can enjoy a little taste of cheesecake without feeling as stuffed as the turkey.
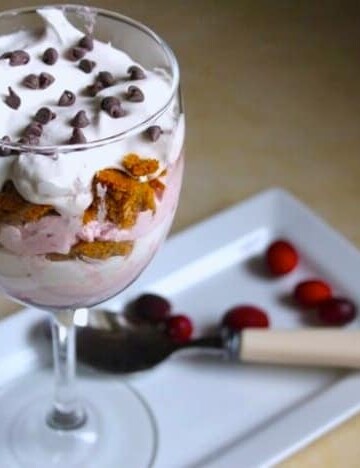
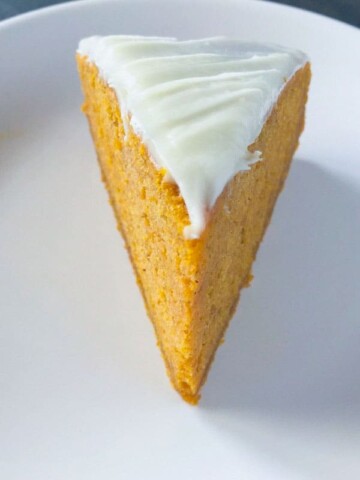
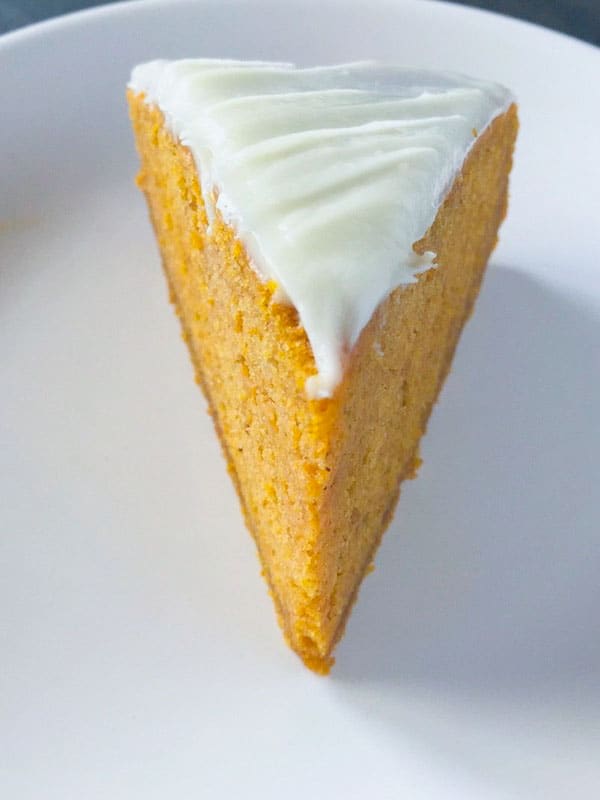
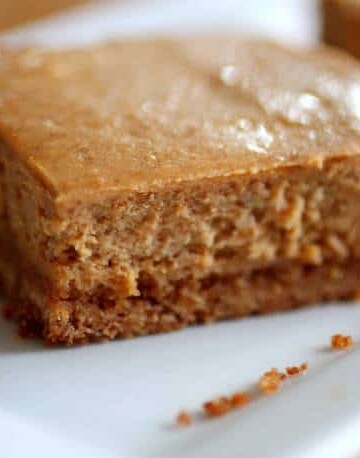
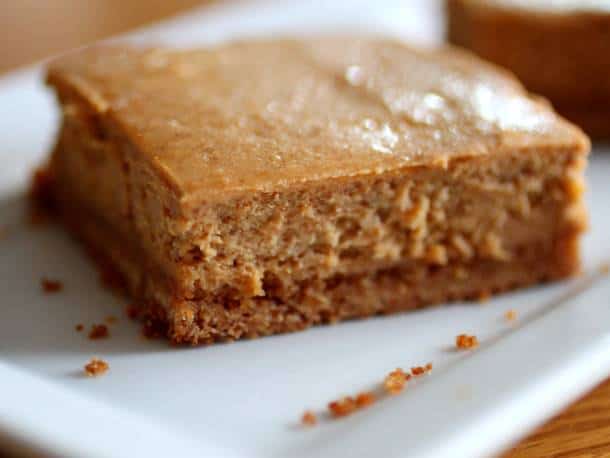
Sitting atop a crumb crust, these bars contain equal parts cream cheese and sweet potato puree. The combination makes a smooth and velvety cheesecake with a pronounced, but not overpowering, sweet potato flavor.
You can have fun playing with this recipe, and I’ve included a list of variations below. No matter how you make these bars, they taste best the day after baking. So prepare them the day before the big meal.
Variations
Pecan Sweet Potato Bars. Replace half the ground cookie crumbs with toasted, ground pecans.
Ginger Sweet Potato Bars. Add two tablespoons finely chopped crystallized ginger to the filling.
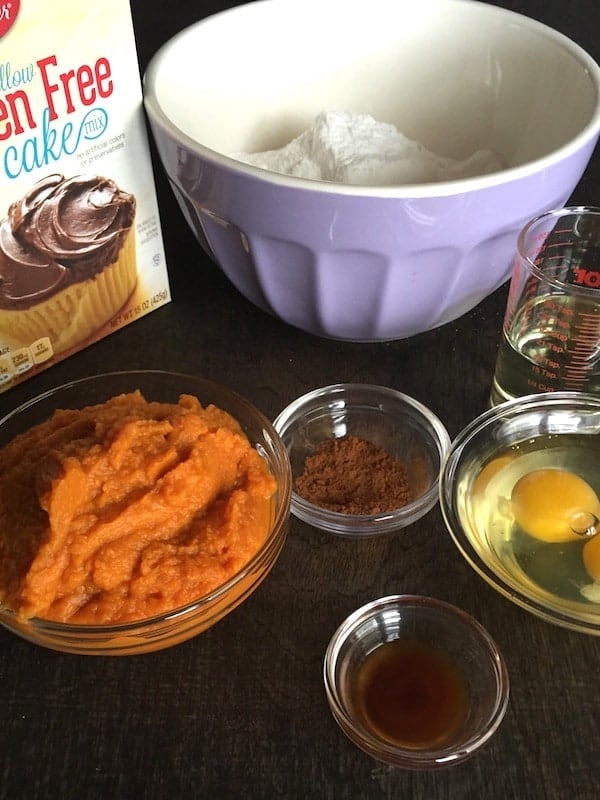
Pumpkin Cheesecake Bars. Replace sweet potato puree with canned or homemade pumpkin puree.
Coconut-Sweet Potato Bars. Add 1/2 cup flaked coconut to the crust.
Dairy-Free Sweet Potato Bars. Replace the cream cheese with a dairy-free cream.
cheese in the filling. Replace the butter with a dairy-free substitute in the crust.
Reduced-Fat Sweet Potato Bars. Replace the cream cheese with reduced-fat cream cheese.
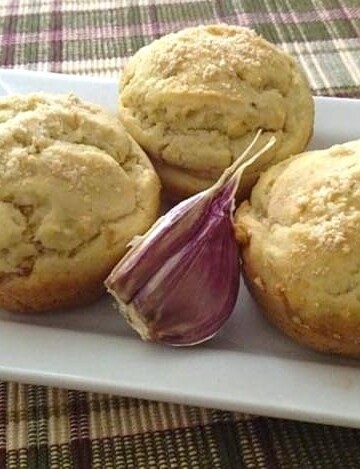
Gluten-Free Sweet Potato Cheesecake Bars
Ingredients
For the Filling
- 2 medium about 2 medium sweet potatoes, skin on, washed and scrubbed (about 18 ounces; 510 grams)
- 16 ounces cream cheese, at room temperature
- 3/4 cup dark brown sugar (5 1/2 ounces; 155 grams)
- 2 large eggs (about 3 1/2 ounces; 100 grams out of shell)
- 2 teaspoons ground cinnamon
- 1/2 teaspoon ground ginger
- 1/2 teaspoon ground nutmeg
- 1/4 teaspoon ground cloves
- 1 1/2 teaspoons vanilla extract
For the Crust
- 2 cups gluten-free cookie crumbs (vanilla, graham cracker or gingersnaps all work well.) (8 ounces; 226 grams)
- 3 tablespoons granulated sugar (3/4 ounces; 22 grams)
- 6 tablespoons butter, melted (3 ounces; 85 grams)
Instructions
-
Preheat oven to 425°F. Pierce sweet potatoes several times with a knife. Roast until flesh yields easily to a knife inserted into the center of the potato. Baking time will vary. Check potatoes after 50 minutes. Reduce oven to 350°F
-
Remove sweet potatoes from oven and allow to cool. (Potatoes can be roasted the day before you need them. Store cooled, roasted potatoes in the refrigerator.)
-
Spoon sweet potato flesh into the bowl of a food processor. Discard
-
potato skins. Process until smooth. Measure 16 ounces (1 3/4 cups) of sweet potato puree into a small bowl. Set aside.
-
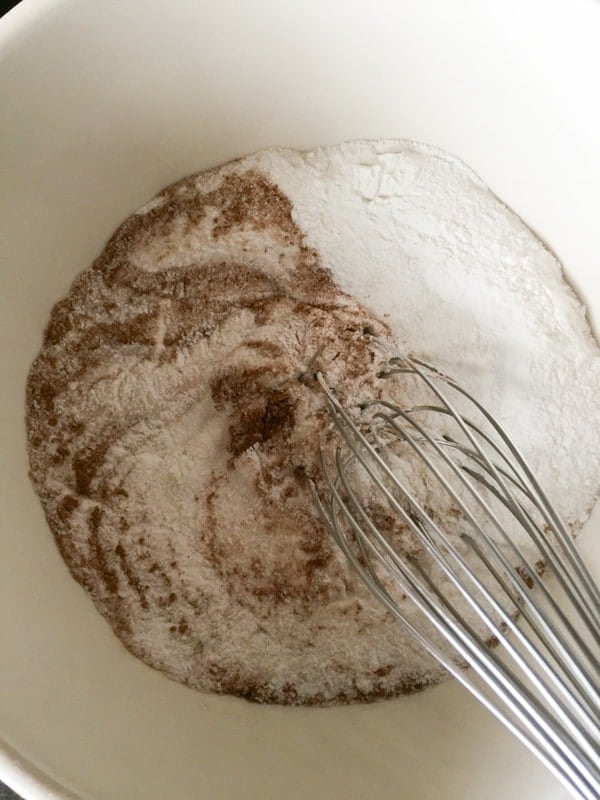
Prepare the crust. In a small bowl, combine cookie crumbs, granulated sugar, and butter. Stir with a fork to combine. Press mixture firmly into the bottom of a 9x13-inch baking dish.
-
Bake crust until golden brown. Remove pan from oven and place on a wire rack. Reduce oven temperature to 325 degrees F.
-
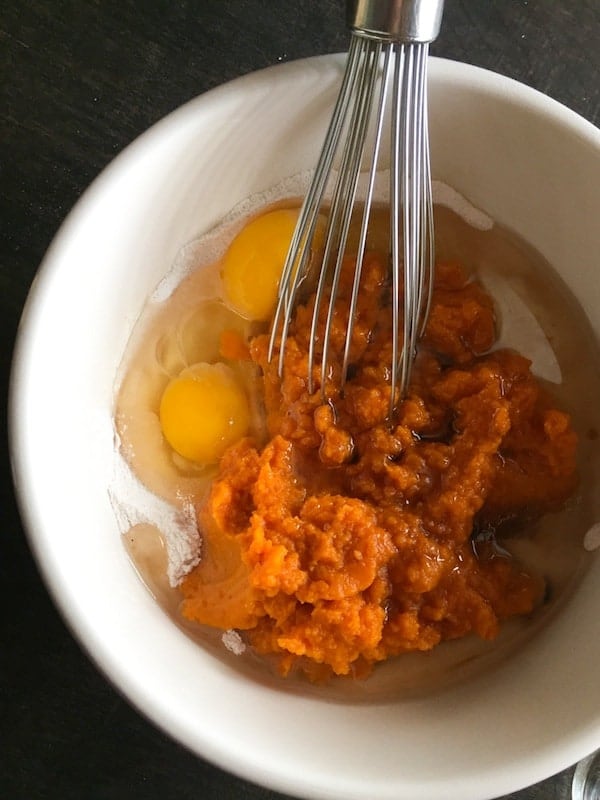
Prepare the filling. In a medium bowl, combine cream cheese and dark brown sugar. Cream until smooth. Add eggs, one at a time. Blend well between each addition. Scrape down the bottom and sides of the bowl with a rubber spatula.
-
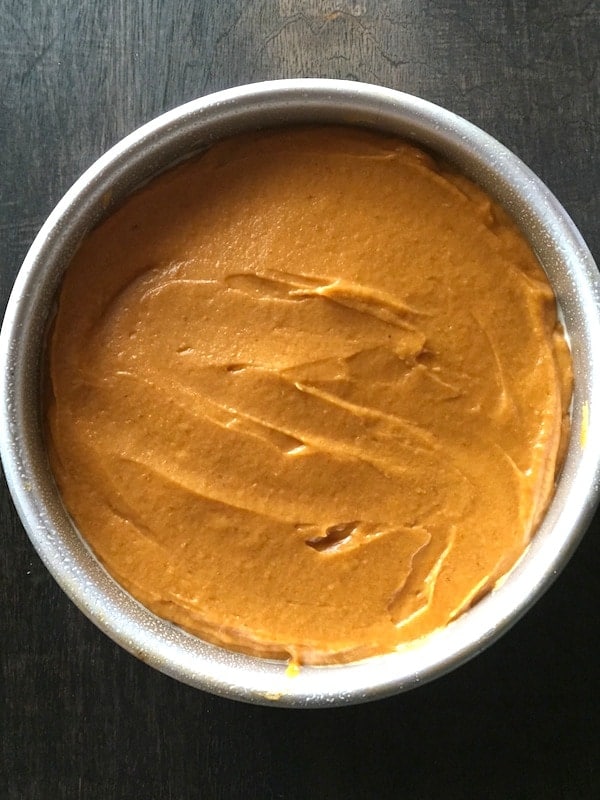
Add sweet potato puree, cinnamon, ginger, nutmeg, cloves, and vanilla extract. Blend until smooth. Filling will be thick. Spread filling evenly over prepared crust.
-
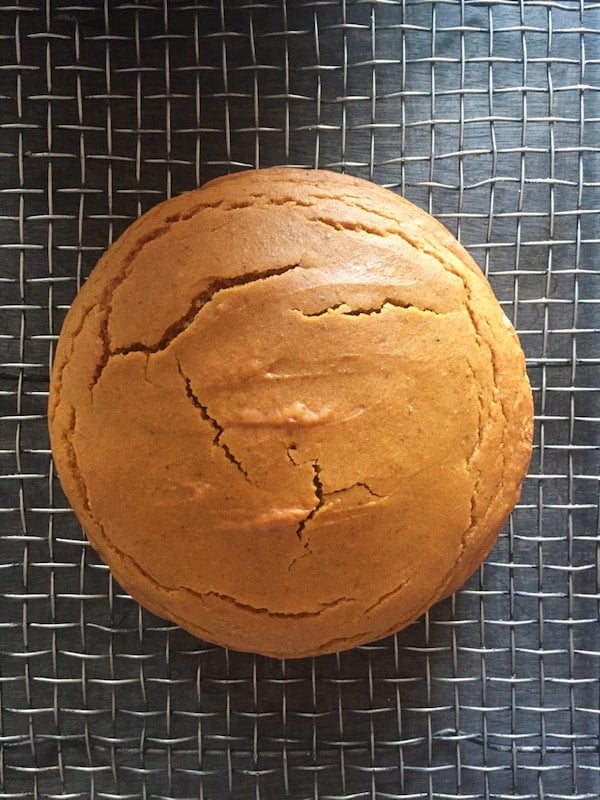
Bake cheesecake for 30 minutes or until golden brown. Filling should be set and not jiggle. Remove pan from oven. Place on a wire rack to cool. Once cooled, cover with plastic wrap and chill overnight. Cut into squares.