I love low-work desserts. And this one is really, really low work. You only need five ingredients and a few minutes. The ingredients: gluten-free chocolate sandwich cookies, peanut butter, cream cheese, whipped topping, and powdered sugar. That’s it!
Let’s make the pie!
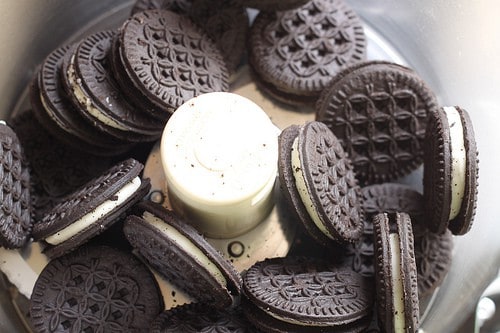
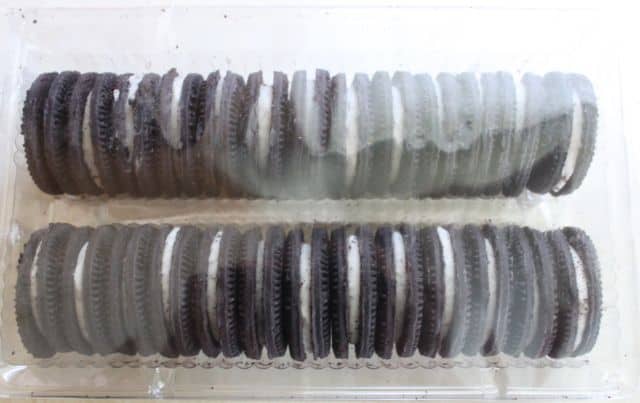
For the crust, use gluten-free sandwich cookies. I really like the ones by Glutino or Trader Joe’s.
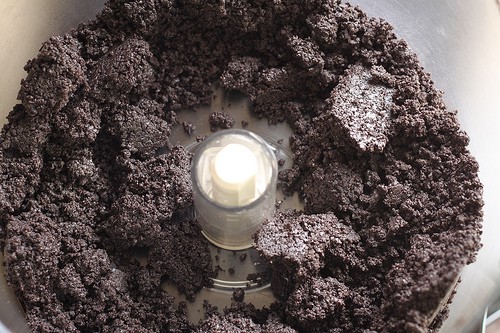
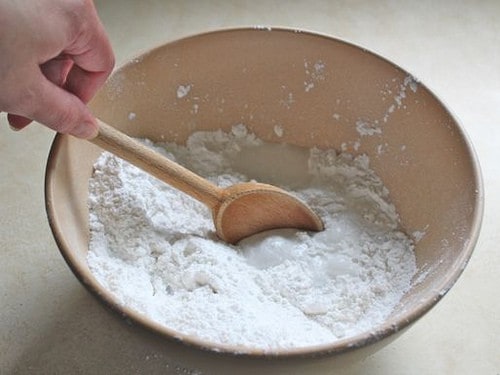
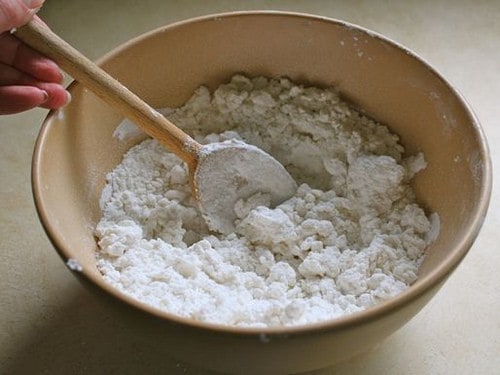
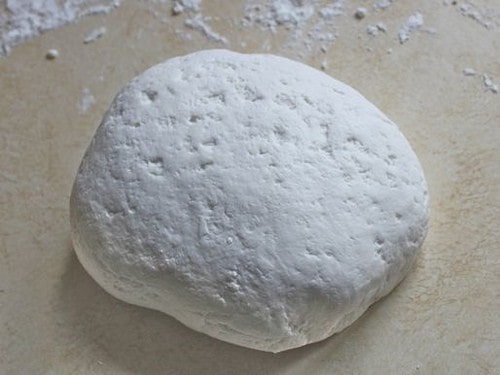
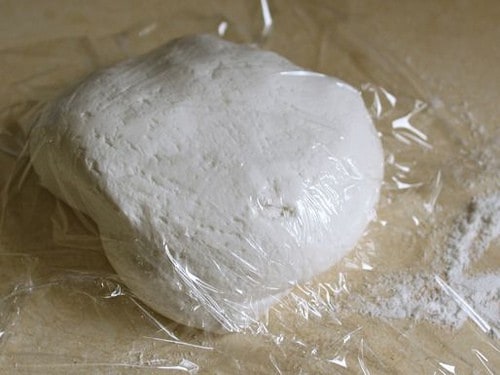
Grind until the cookies are fine and start to hold together.
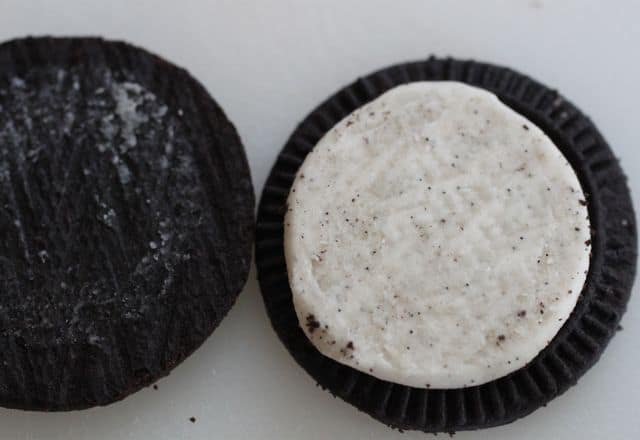
Thanks to the creme filling, you don’t need to add butter to the cookie crust. (Which is something you often need to do with cookie crusts.)
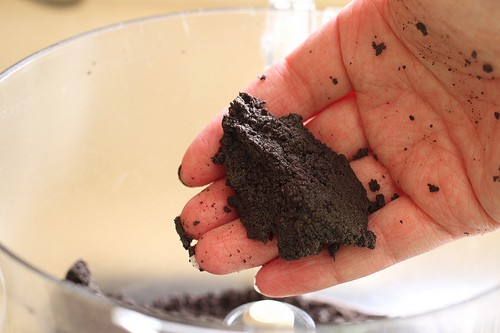
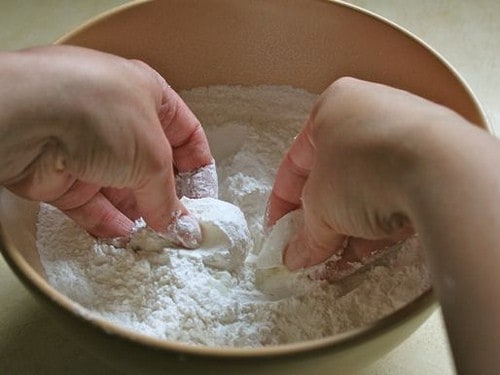
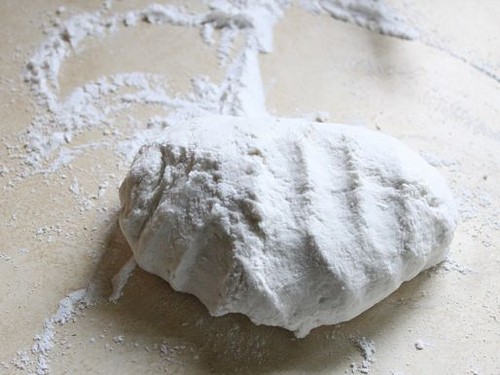
Give the crumbs a squeeze. You want them to hold together.
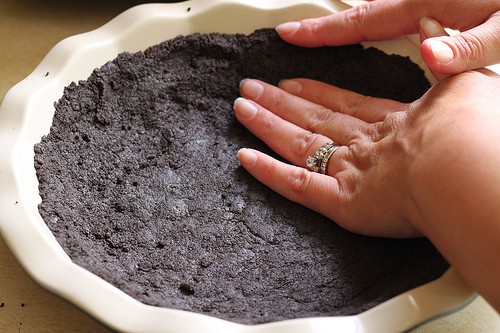
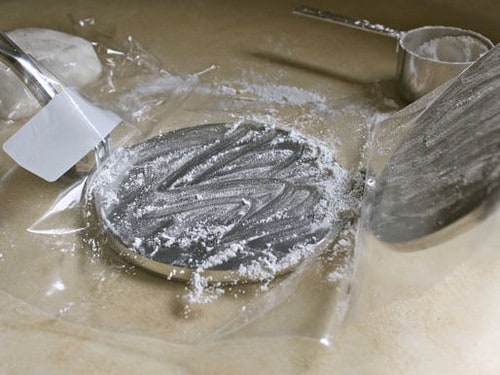
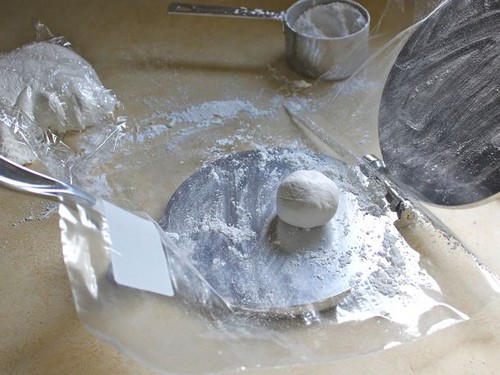
Press the crumbs into a nine-inch pie pan. My pan is really deep; so the crumbs didn’t go all the way up the sides.
Throw the crust into a preheated 350 degree oven. This makes the crust crisp. If you don’t feel like turning on the oven, you can skip this step. The crust will be a little more crumbly but it will still taste good. If you bake the crust, allow it to cool.
Start the crust when the filling is cool. You don’t want to put the filling into a warm crust.
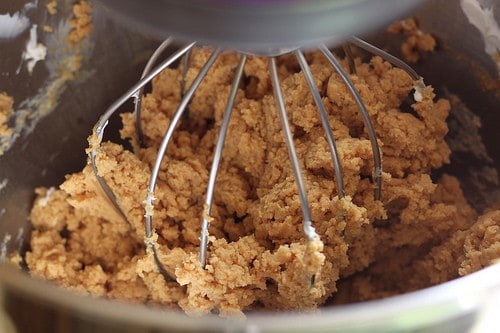
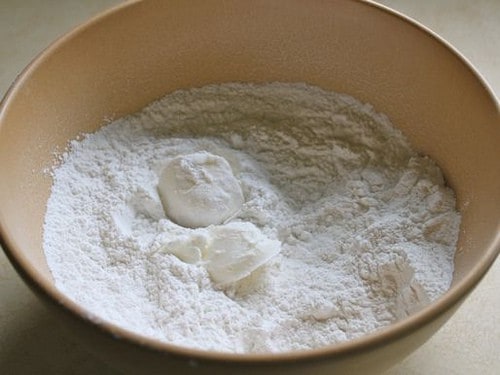
Mix together peanut butter and cream cheese. I used neufchatel cheese, which is like cream cheese but with less fat.

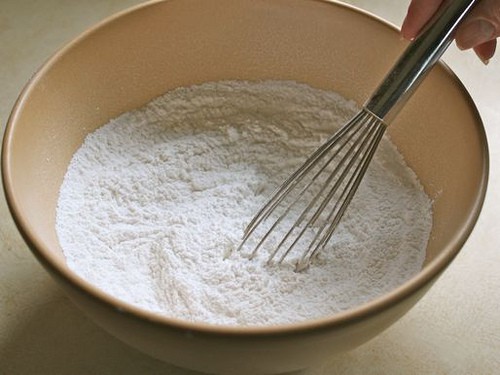
Add powdered sugar and mix until smooth.
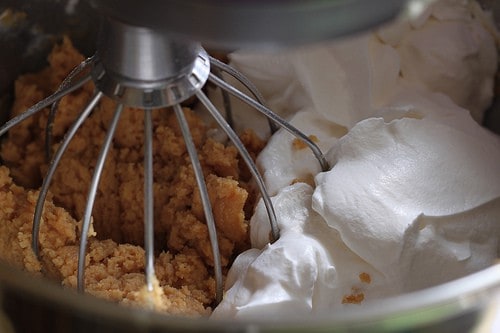
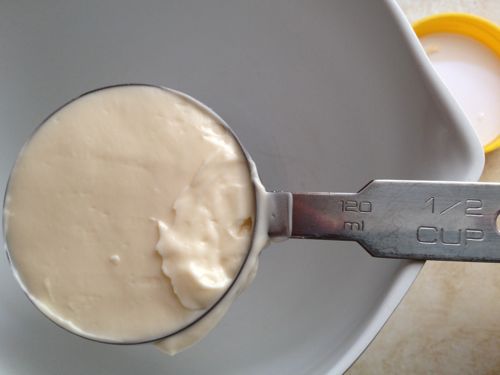
Add one container of Cool Whip. (I used reduced fat Cool Whip.) If you don’t like to use cool whip, use 3 cups of whipped heavy cream.
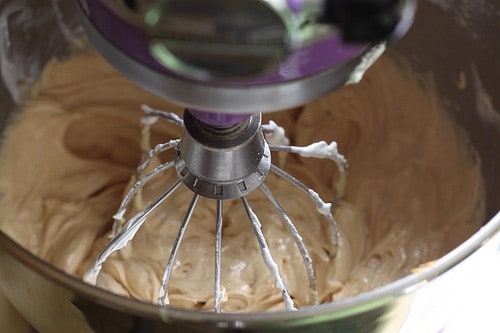
Whip filling until smooth.
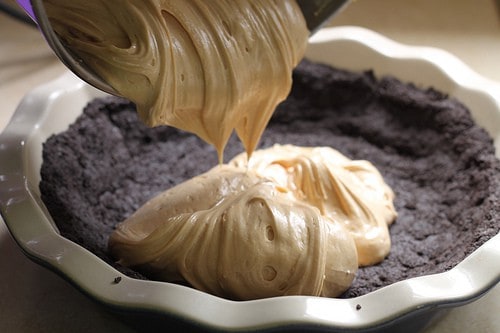
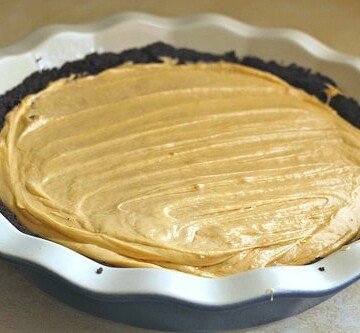
Pour into the prepared crust.
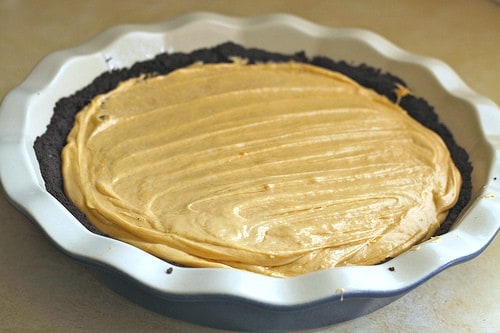
Smooth and chill for two hours. Serve to someone you love.
Recipe Notes
Think about the fat. This is rich pie! And while I’m not fat-phobic (evidence: this entire blog and my books), I found this dessert too rich when made with regular cream cheese and cool whip. When you make this pie with reduced fat cream cheese and Cool Whip it’s still rich. That said, I wouldn’t use fat-free cream cheese or Cool whip. Those ingredients won’t make a great pie. Also, share this pie in thin slices. Trust me.
Make it peanut-free. A peanut-free peanut butter pie? Yup! Replace the peanut butter with almond butter, sunflower butter, or pea butter. All of these make a wonderful pie.
Serve it cool, not cold. You need to keep this pie in the refrigerator but you don’t want to serve it cold. It tastes better cool—almost room temperature—than it does cold. So take it out of the refrigerator about 40 minutes before you plan on serving it.

Classic Peanut Butter Pie
Ingredients
For the Crust
- 1 package 10.6 ounces gluten-free chocolate sandwich cookies
For the Filling
- 1 cup creamy peanut butter (9 1/2 ounces; 269 grams)
- 1 (8 ounce) package cream cheese
- 1 1/4 cups powdered sugar (5 ounces; 142 grams)
- 1 (8 ounce) container Cool Whip, regular or reduced fat OR 3 cups whipped heavy cream
Instructions
-
Preheat oven to 350°F. In bowl of food processor, grind cookies (including filling) until fine. Crumbs should hold together when pressed or squeezed.
-
Press cookie crumbs into the bottom and side of a 9-inch pie pan.
-
Bake until aromatic and firm, about ten minutes. Remove crust from oven. Place on a rack to cool. Turn off oven. You are done with it.
-
When the crust is cool, prepare the filling. In bowl of a stand mixer or large bowl, whip together peanut butter and cream cheese until smooth.
-
Add powdered sugar. Whip until combined. Mixture will be thick.
-
Turn off mixer. Add Cool Whip. Turn mixer on to medium-high. Whip until smooth.
-
Spread filling into prepared crust. Chill for two hours or overnight.