If you have children, this project is wonderful. If you don’t have children, this project is wonderful. There’s just one thing to remember.
It takes time.
And that’s a good thing! The time it takes to make the dough, assemble the house, and decorate means lots of talking and laughing.
On, and there’s one other thing to remember.
Don’t stress about it.
No matter what it looks like, your gingerbread house will be perfect. Why? Because it’s yours. It doesn’t need to be blog-worthy or magazine-worthy or anything else. So what if the roof dips a little? If the candy looks gaudy. It’s a gingerbread house. It’s should be fun. Remember that.
And…remember to laugh and eat candy while you put it together. It’s good for the soul, I promise.
Ready to make a gluten-free gingerbread house?
Here’s how it’s done:
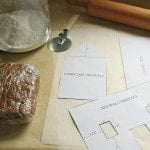
You’ll Need
gingerbread dough (recipe below)
pizza cutter
parchment paper
rimmed baking sheet
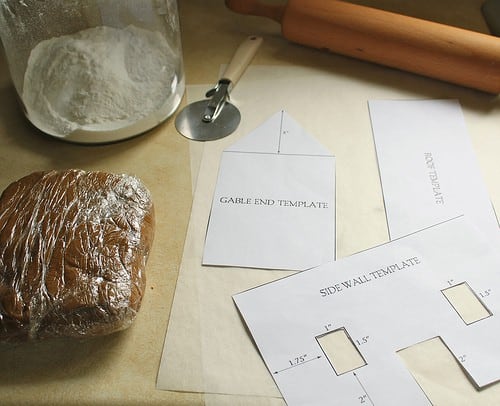
Gingerbread House Template (this is a PDF download)
rolling pin
cake cardboard
royal icing (recipe below)
piping bag
pasty tip (half-inch round)
candy, if desired
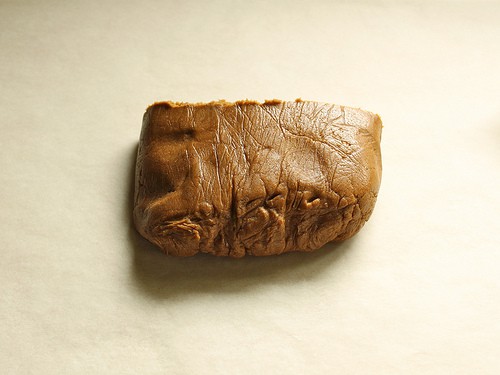
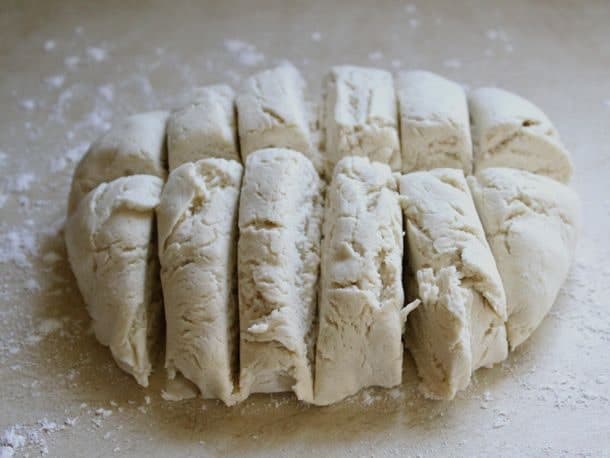
Divide the one of the dough round in half. Center the dough on a piece of parchment paper.
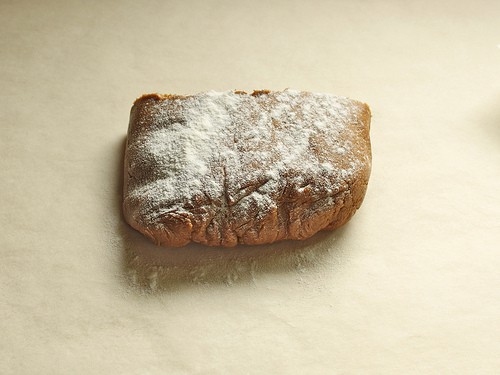
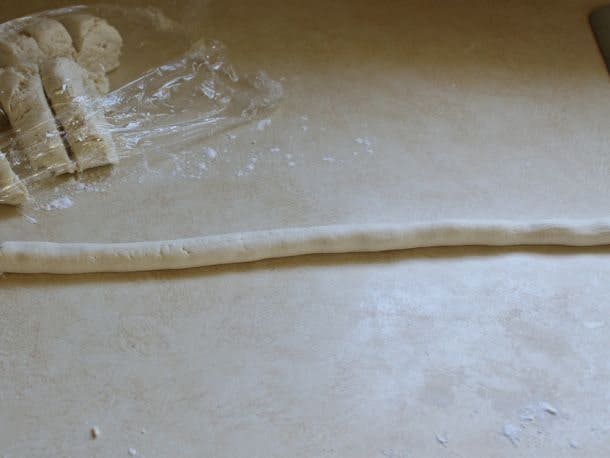
Lightly dust the dough with white rice flour.
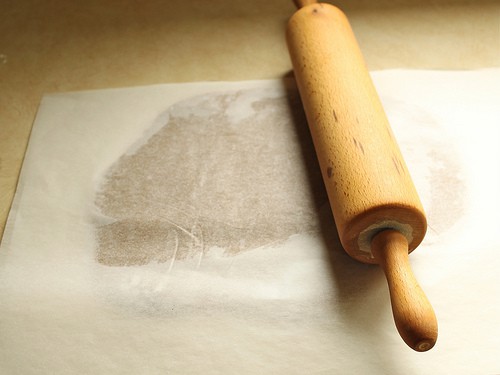
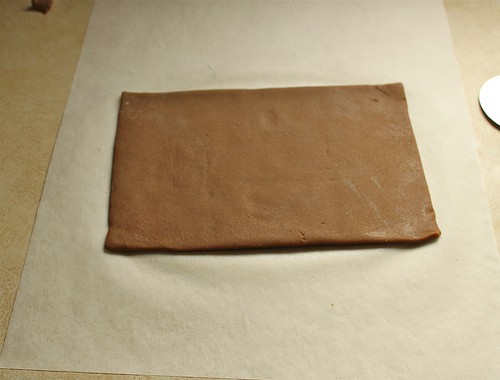
Cover the dough with parchment paper and roll dough out until it’s about 1/4-inch to 1/2-inch thick. Don’t worry if your dough is a wee bit larger than the paper. You can take care of that in a second.
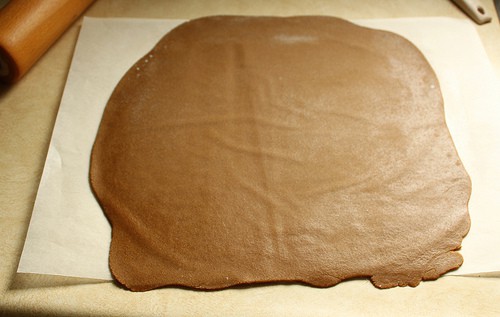
Remove the top piece of parchment.

Use a ruler and pizza wheel to trim the edges of the dough.
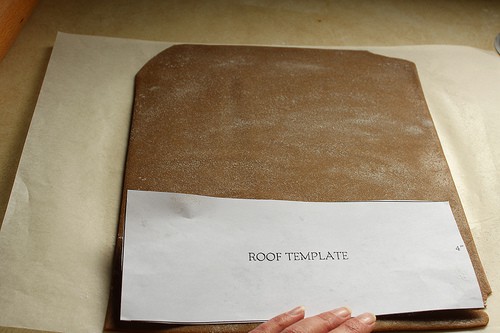
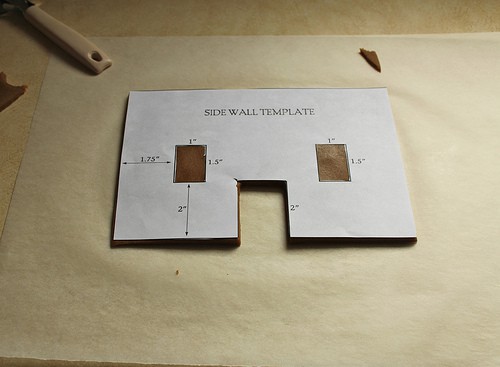
Lightly dust the dough with white rice flour. (This prevents the paper template from sticking to the dough.) Place the template on the dough. Cut with your pizza wheel.
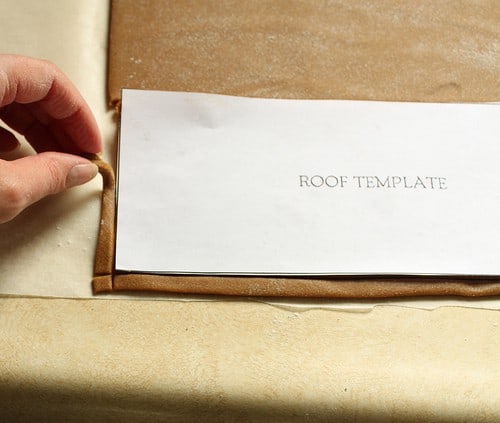
Pull excess dough away.
For this piece (I’m working with the roof pieces here.), there was excess dough between the two roof pieces. You want to remove this extra dough.
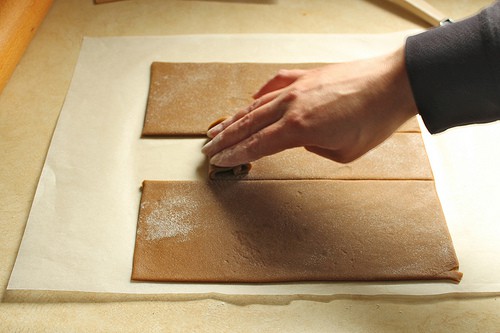
Roll the dough away, if needed.
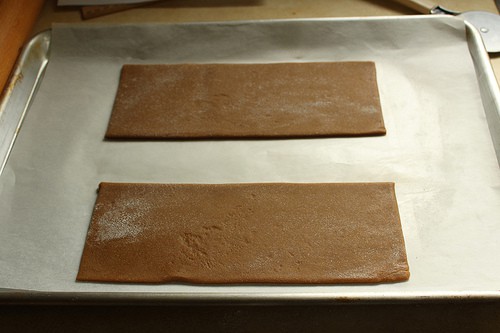
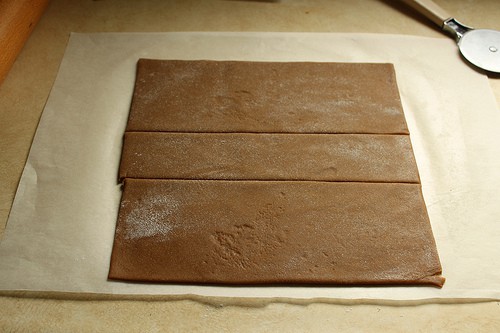
Quickly slide the parchment, with the gingerbread pieces, onto a baking sheet. By sliding the parchment onto the baking sheet, you won’t disturb the cut outs, ensuring they are the correct shape for assembling your house later on in the process.
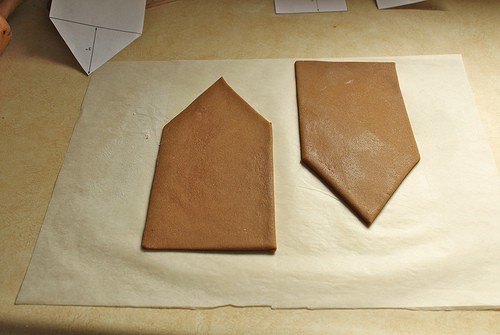
Repeat. Here are the sides of the house.
And the front.
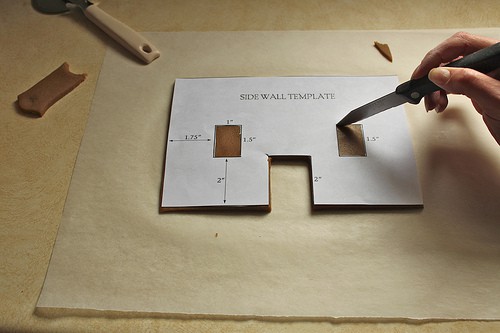
Use a small knife to cut any windows or doors.
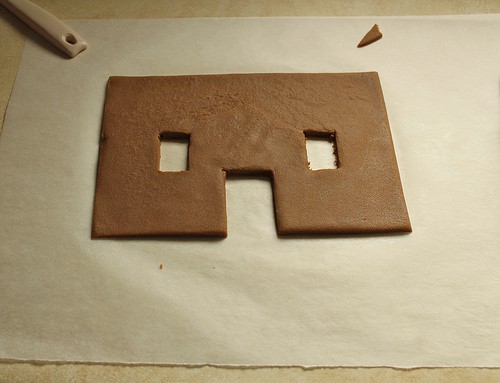
Remove all templates.
For my house, I wanted the back windowless. This is just a preference. So for this piece, I used the same template I used for the front of the house but I didn’t cut in windows or a door.
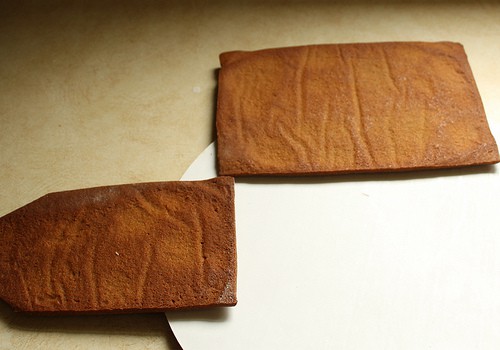
Bake gingerbread pieces. Allow to cool completely.
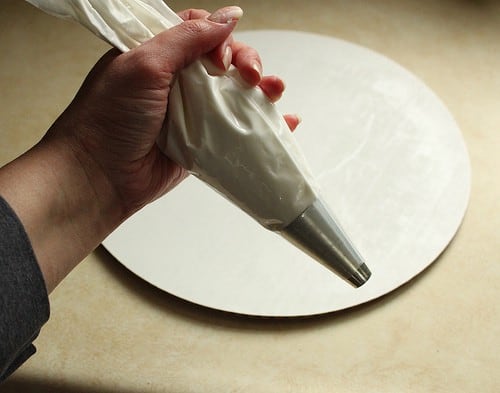
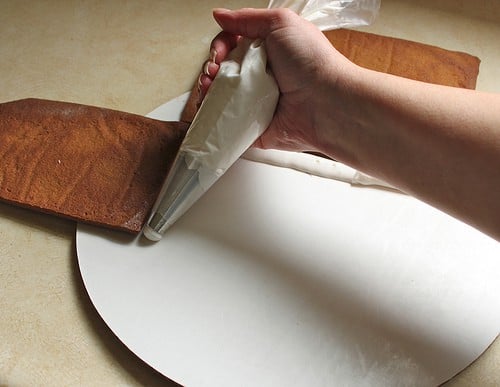
Place royal icing in a pastry bag fitted with a large round tip.
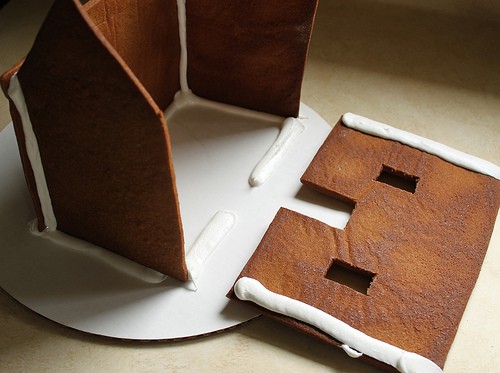
Decide where you want to place the house on the cardboard. Lay the back and one side of the gingerbread on the cardboard (face down).
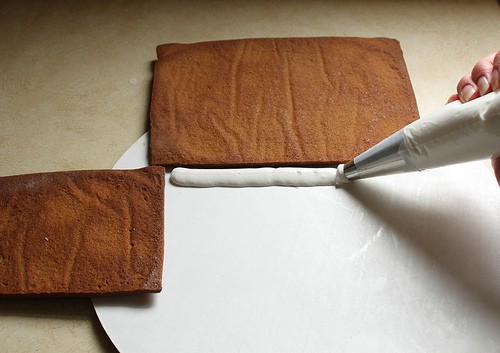
Pipe royal icing along the cardboard below the gingerbread pieces. This ribbon of royal icing helps hold the house up.
Repeat under the side wall.
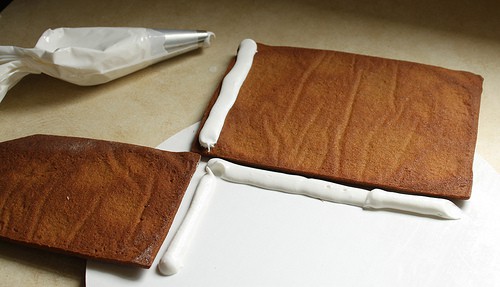
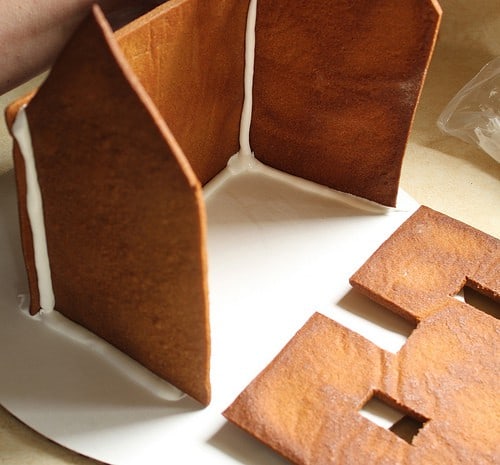
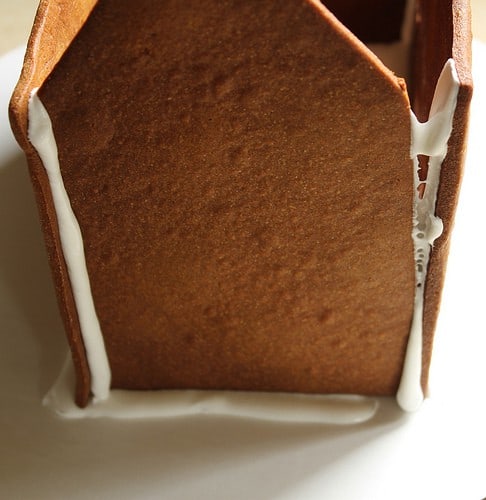
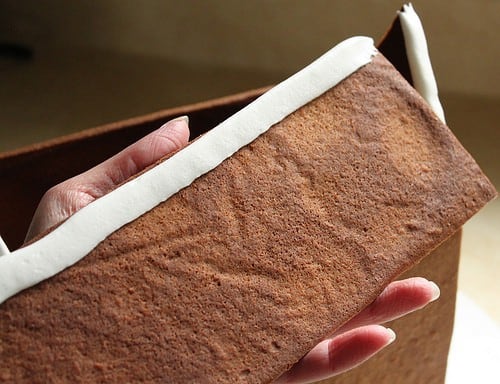
Pipe a ribbon of icing along the edge of the gingerbread back wall.
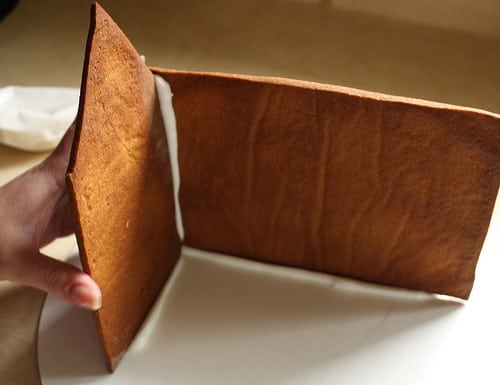
Stand the gingerbread pieces up (centering them in the royal icing you pipped on the cardboard). Hold the back and side wall together for a minute.
Repeat for the side wall. Pipe another ribbon of icing on the cardboard and one on the side of the back wall.
Stand up side wall. Hold for a moment.
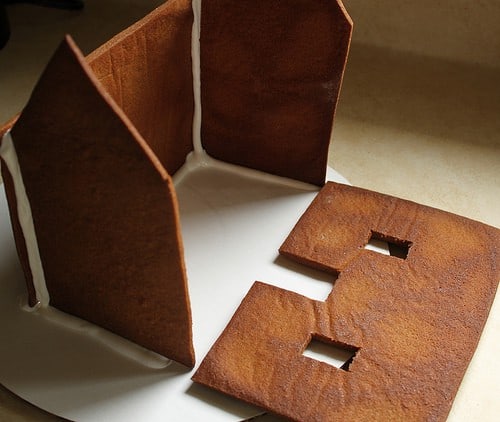
Center the front of the house. (Again, the gingerbread piece should be face down.)
Pipe icing on the cardboard and along the edges of the wall. Stand up front wall.
Inspect the house. See this space? We need to fix this.
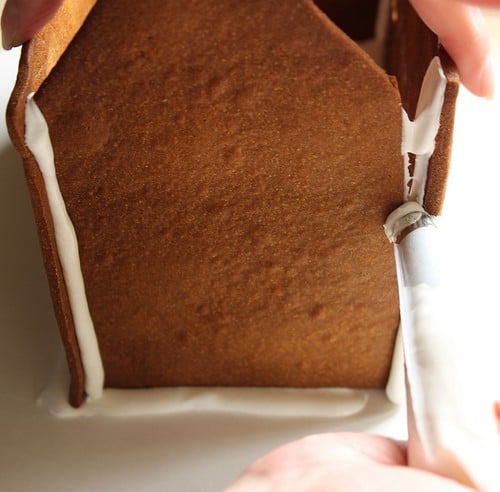
Use your piping bag to squeeze icing into any space between the gingerbread pieces.
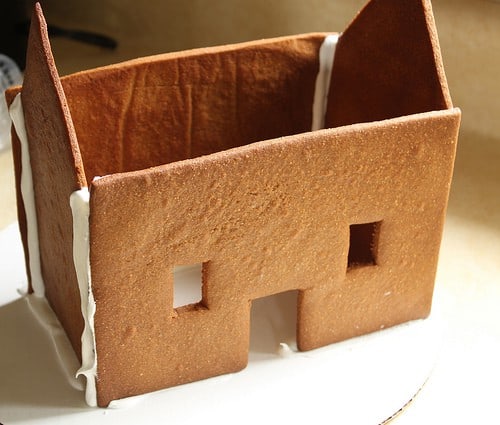
Allow icing to dry for an hour or so. If you put the roof on before the walls are dry, the entire house can fall apart.
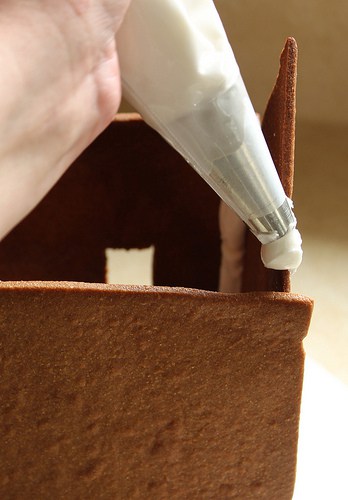
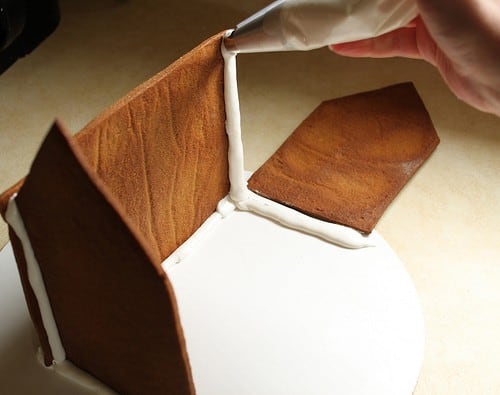
Pipe icing along the edge of the side walls.
Pipe icing along the top of the roof piece.
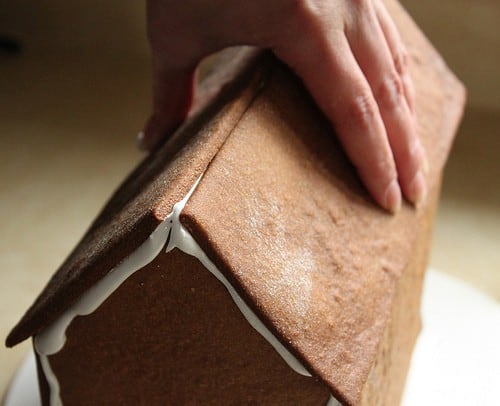
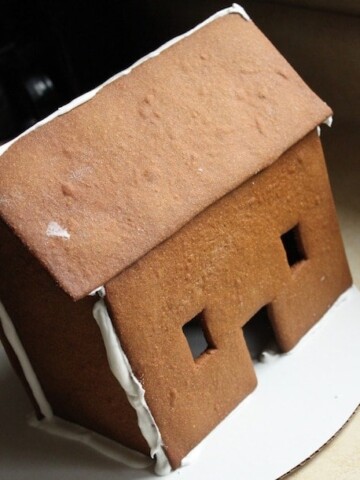
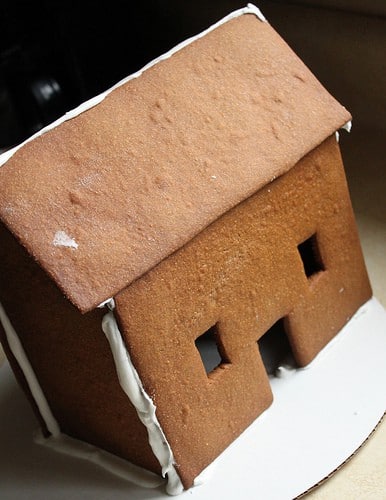
Position roof. Hold in place for a moment.
Allow the house to dry. (Ignore my thumbprint on the roof. It adds…character!) Now you have a blank canvas. Have fun creating your house. Add candy. Colored icing. Leave it alone and just enough the scent of gingerbread! There’s no wrong way to decorate a gingerbread house.
FAQ
My gingerbread house fell apart!
Two things could have happened: 1. Your icing might have been too wet. 2. Your area might be humid. Too much water, either in the icing or in the environment can cause a house to collapse.
My roof wants to slide off!
You really need to hold it in place for a few minutes. If you are unable, you can try to find something tall enough and wide enough to place under the roofline to prop up the roof piece while it dries.
Can we eat it?
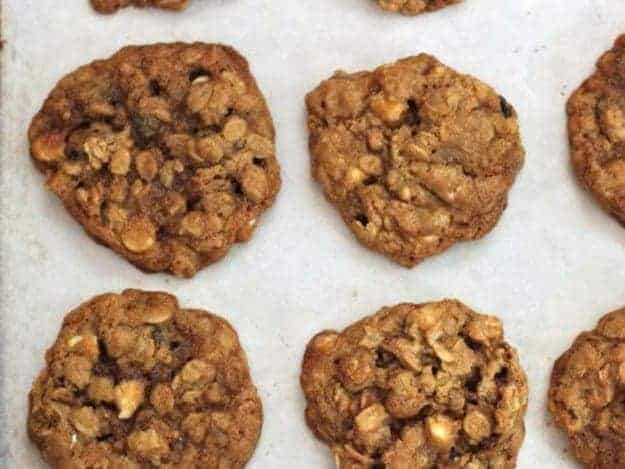
…yes. I hesitate because it’s a very dry gingerbread. If you want a tasty gingerbread, I suggest making a recipe for homemade gingerbread men.
Gluten-Free Gingerbread House
Ingredients
For the Gingerbread House
- 3 cups brown rice flour (15 ounces; 425 grams)
- 1 1/4 cups white rice flour (5 ounces; 142 grams)
- 1 cup sweet rice flour (4 ounces; 113 grams)
- 1/2 cup cornstarch (2 ounces; 56 grams)
- 1 tablespoon ground ginger
- 2 teaspoons ground cinnamon
- 1/2 teaspoon ground allspice
- 2 teaspoons xanthan gum
- 1 cup vegetable shortening, melted (6 1/2 ounces; 192 grams)
- 1/4 cup water, plus more as needed (2 ounces; 56 grams)
- 1 1/2 cup unsulphered molasses (12 ounces; 340 grams)
- 1 cup granulated sugar (7 ounces; 198 grams)
Royal Icing
- 3 tablespoons Meringue Powder
- 4 cups powdered sugar (16 ounces; 453 grams)
- 6 tablespoons warm water (3 ounces; 85 grams)
Instructions
-
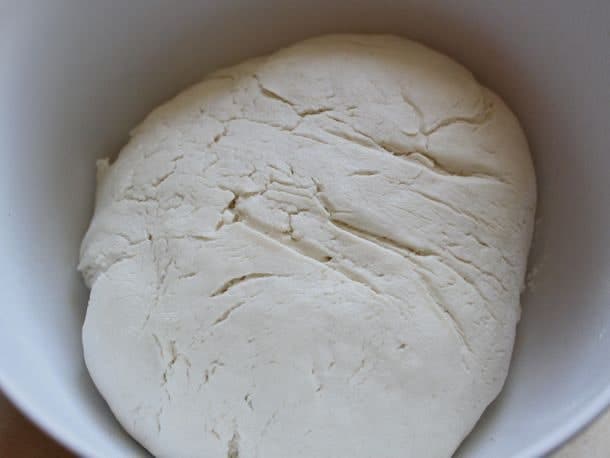
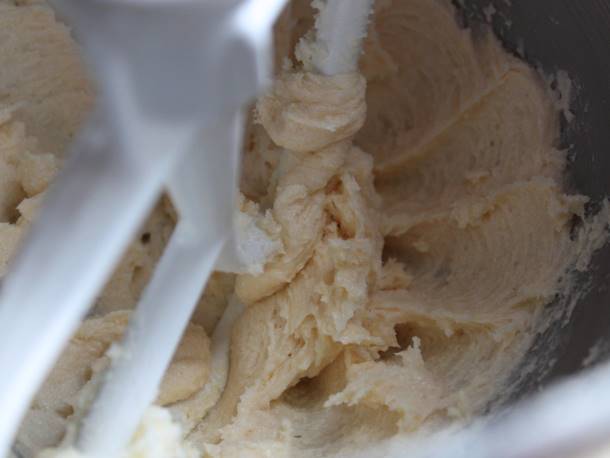
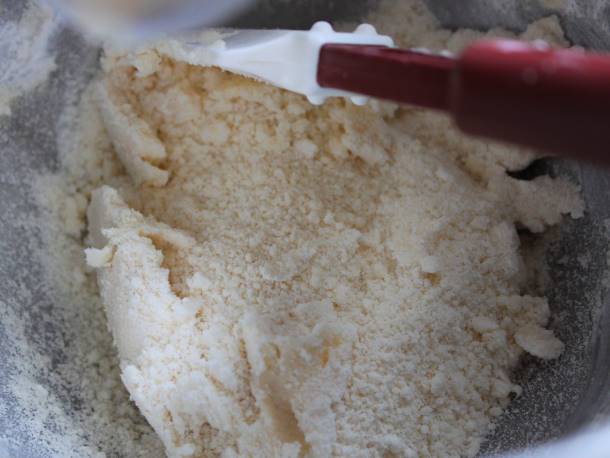
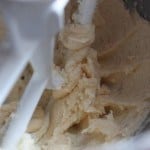
In bowl of stand mixer, whisk together brown rice flour, white rice flour, sweet rice flour, cornstarch, ginger, cinnamon, allspice, and xanthan gum. In small bowl, whisk together melted shortening, water, molasses, and granulated sugar. Stir until smooth.
-
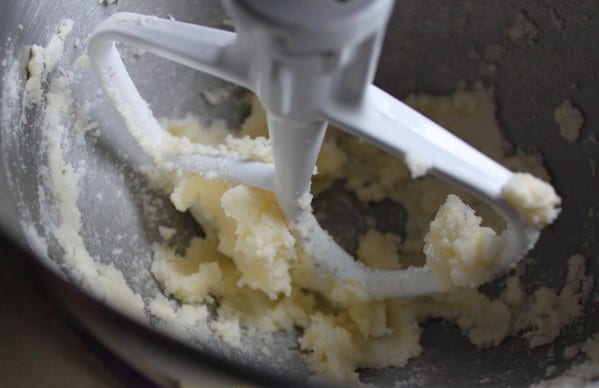
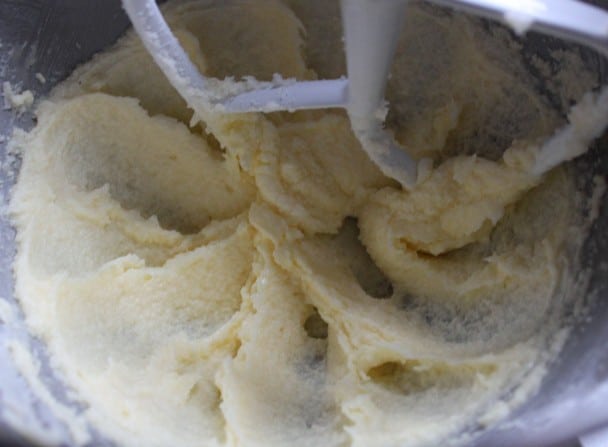
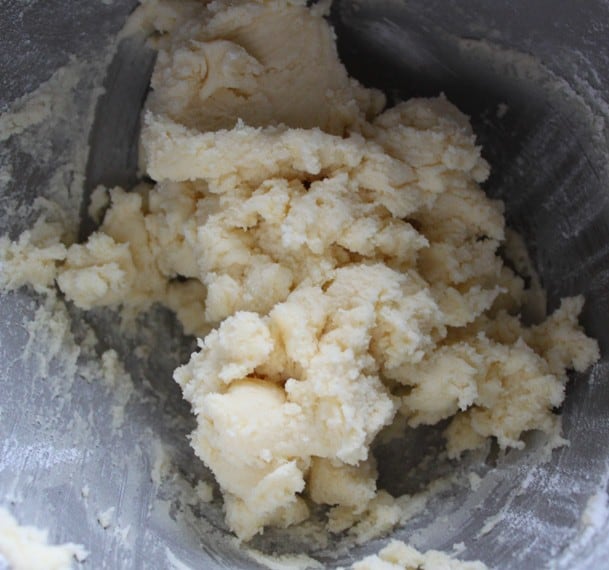
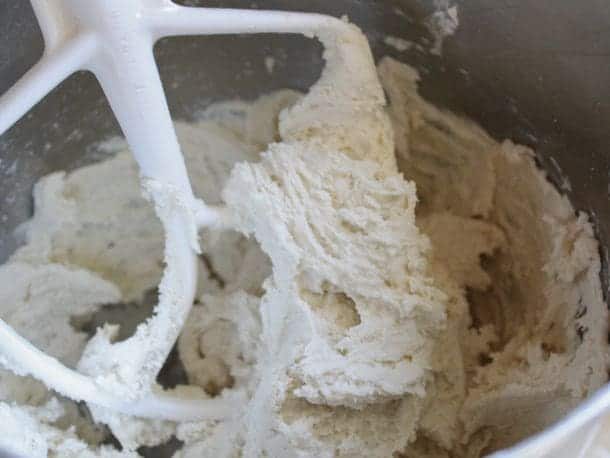
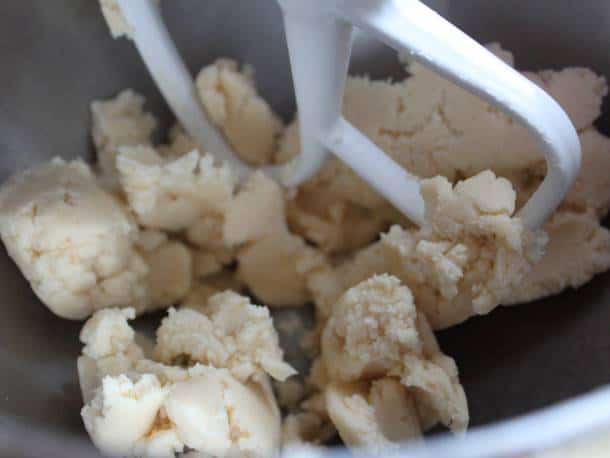
Pour wet ingredients over dry ingredients. Fit mixer with flat paddle attachment. Mix, on medium speed, until a thick dough forms. If dough is very dry, add a tablespoon or more of additional water.
-
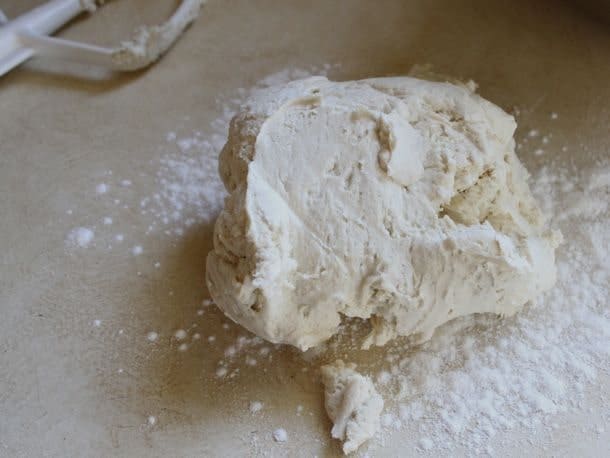
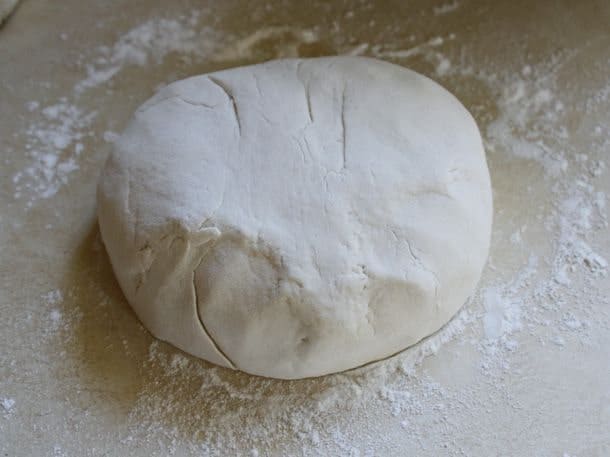
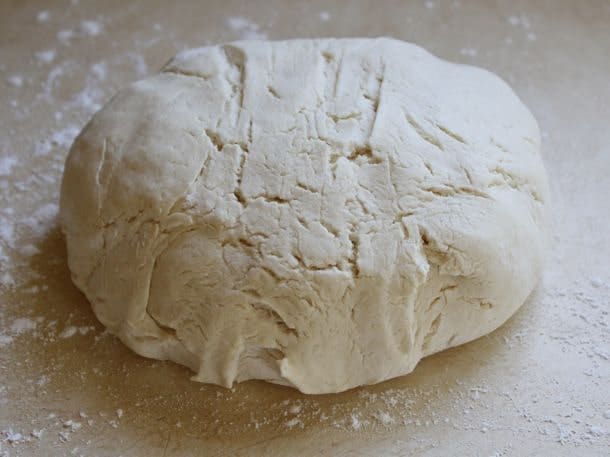
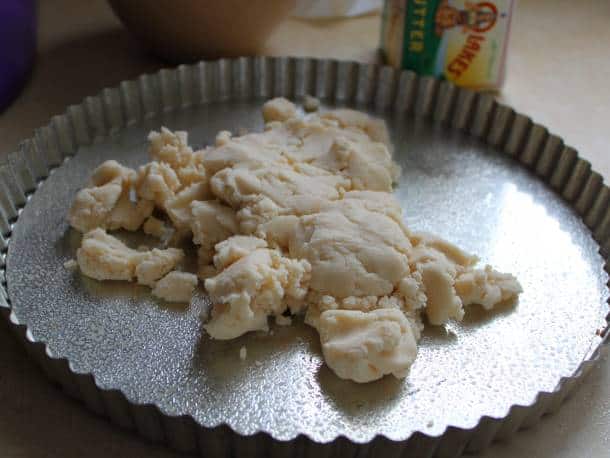
Lightly white rice flour your counter. Turn dough out onto the counter. Pat into a large round. Cut in half. Wrap each half in plastic wrap. Chill overnight. (Or, if you are in a rush, chill at least five hours.)
-
Preheat oven to 375 degrees F.
-
Cut out the template for the house. Set aside.
-
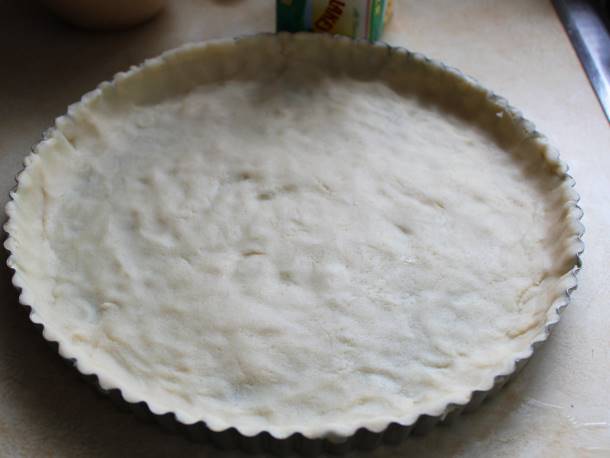
Divide dough in half. Place one half of the dough on a piece of parchment paper. Sprinkle the dough lightly with white rice flour. Cover with a second piece of parchment paper. Roll out dough to 1/4 inch thickness.
-
Remove top piece of parchment paper. Trim dough into a rectangle. Place the template on the dough. Follow the template with a pizza cutter or sharp knife. Remove excess dough from between the pieces. (Be sure to keep similar size on each pan. If you bake a large piece along with a small piece, the small piece will burn before the large piece is done.)
-
Bake dough until aromatic, about 15 minutes.
-
Repeat with remaining templates and dough. Re-rolling dough as needed.
-
Allow gingerbread pieces to cool.
-
Make royal icing
-
In bowl of stand mixer, whisk together meringue powder and confectioners' sugar. Add water. Beat, using flat paddle attachment, until icing is stiff, about seven minutes. Icing should be stiff and shiny. Cover bowl of icing with a damp (not wet) paper towel to prevent a sugary crust from forming on the icing.
-
Place the royal icing in a bag fitted with a large pastry tip.
-
Ice sides, front and sides of house together at corners using royal icing. Hold the pieces together. Repeat with back and other side. Check the house for any gaps. Fill in with royal icing. Allow the house to dry for 30 minutes before attaching the roof.
-
Attach the roof. Check the roof for any gaps. Fill in with royal icing.
-
Using the remaining royal icing, decorate the house, attaching candy as desired.