This virtual cookie swap post and giveaway are sponsored by Glutino.
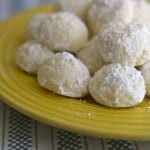
What special treat do you always want in the house this time of the year? Around here, it’s a plate of cookies and a tin of peppermint bark.
The other day while deciding how to spend some calories, I was faced with an impossible decision: peppermint bark or cookies. Hmmm…(spoiler: I ate a little of each, slapped on my yoga pants and called it a day.)
And THEN, in a flash of inspiration, I thought, “Why not peppermint bark cookies?” Yes, self, why not?
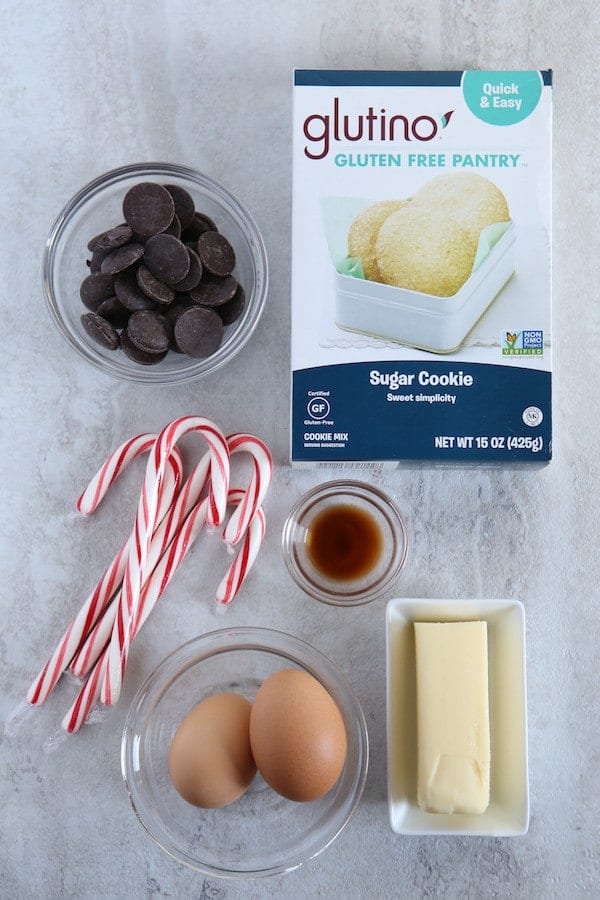
I grabbed a box of Glutino’s Sugar Cookie mix and headed into the kitchen. (Glutino’s sugar cookie mix is my go-to mix for times when I’m too busy to make a batch of cookies from scratch. In fact, you’ll also always find their cake and brownie mix in my pantry.)
While the oven preheated, I whipped up a batch. Have you ever used this mix? It’s SUPER easy.
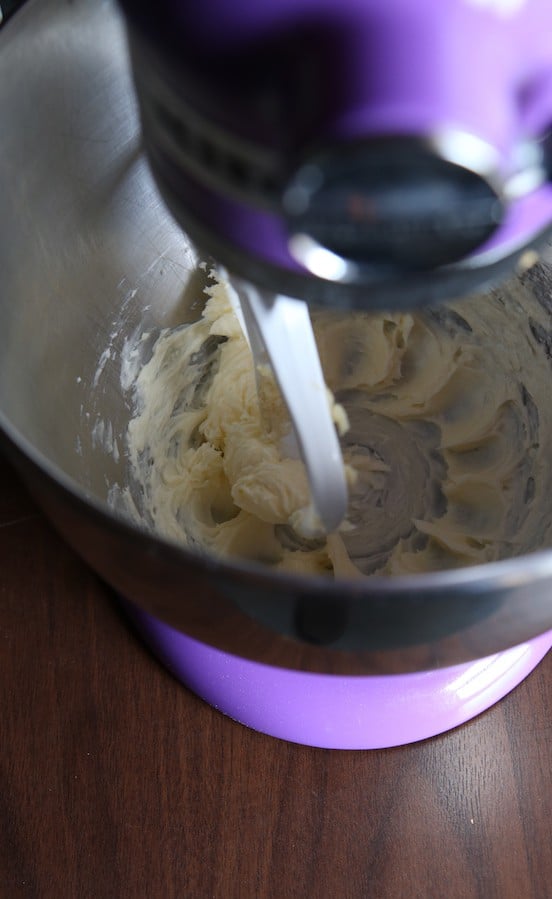
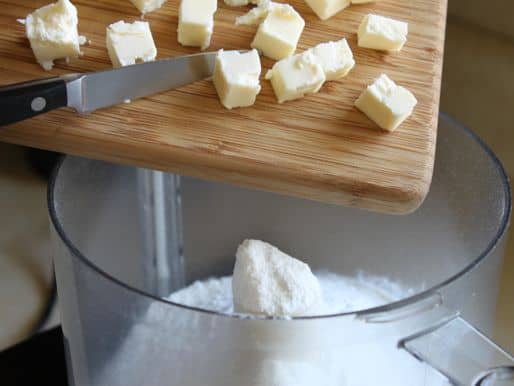
You start by creaming the butter until light and fluffy. I did this in my Kitchen Aid mixer. Do you have a Kitchen Aid? No? Hmm…you might want to read to the bottom of this post. #hint #justsayin’
When creaming butter, start with softened butter. This is key! If you use cold butter, it won’t get nice and fluffy. And fluffy butter= amazing cookies.
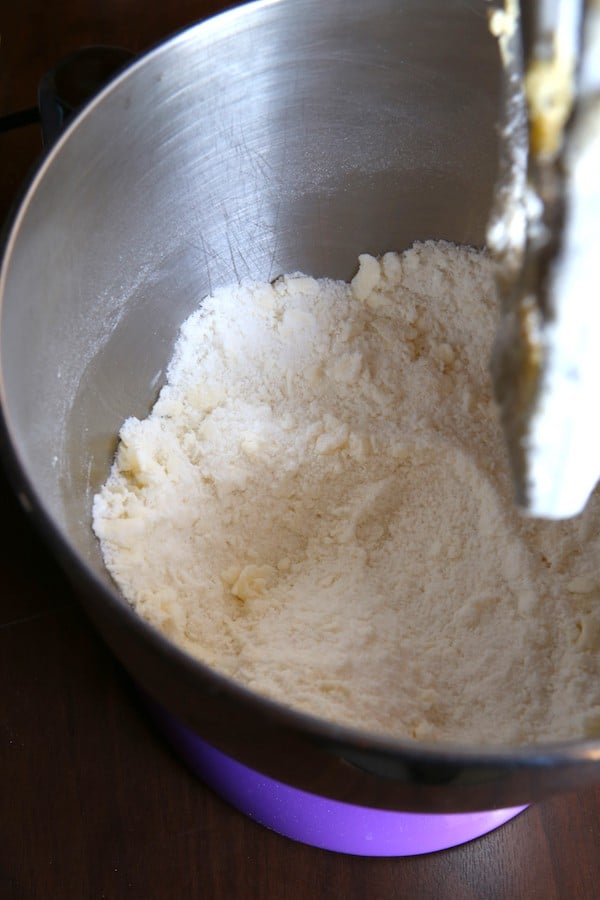
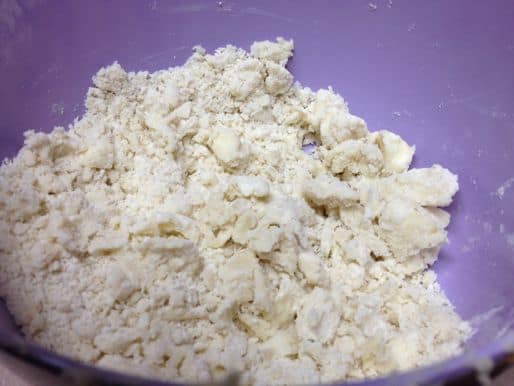
Then add the cookie mix and blend until combined. It’ll look dry and sandy. Totally normal! In fact, that “dry and sandy” step gives Glutino’s sugar cookies their amazing texture. See, when you cream together butter with flour, the flour coats the butter. As the cookies bake, the little nuggets of flour-coated butter melt, leaving behind a teeny-tiny pocket of air. Those pockets give us an incredibly light cookie. Yay! Baking science!
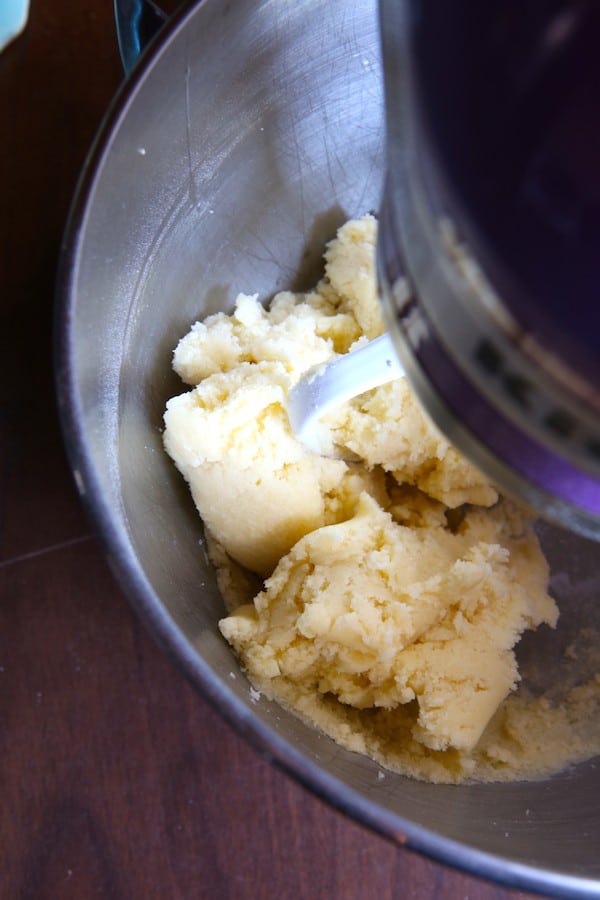
In went the eggs and vanilla. And then? Magic.
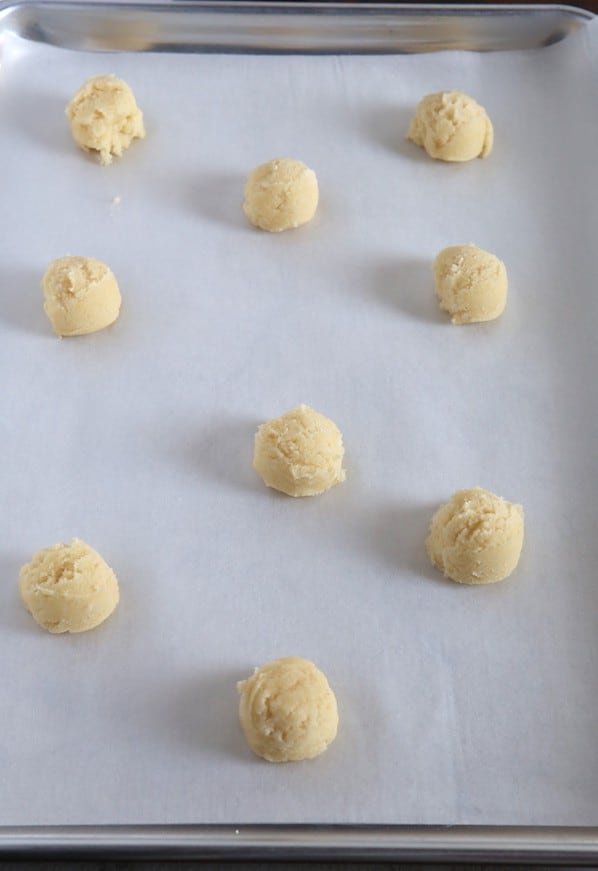
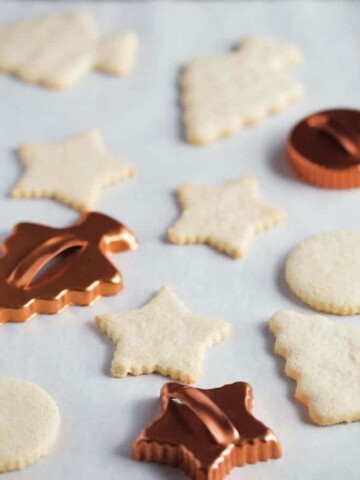
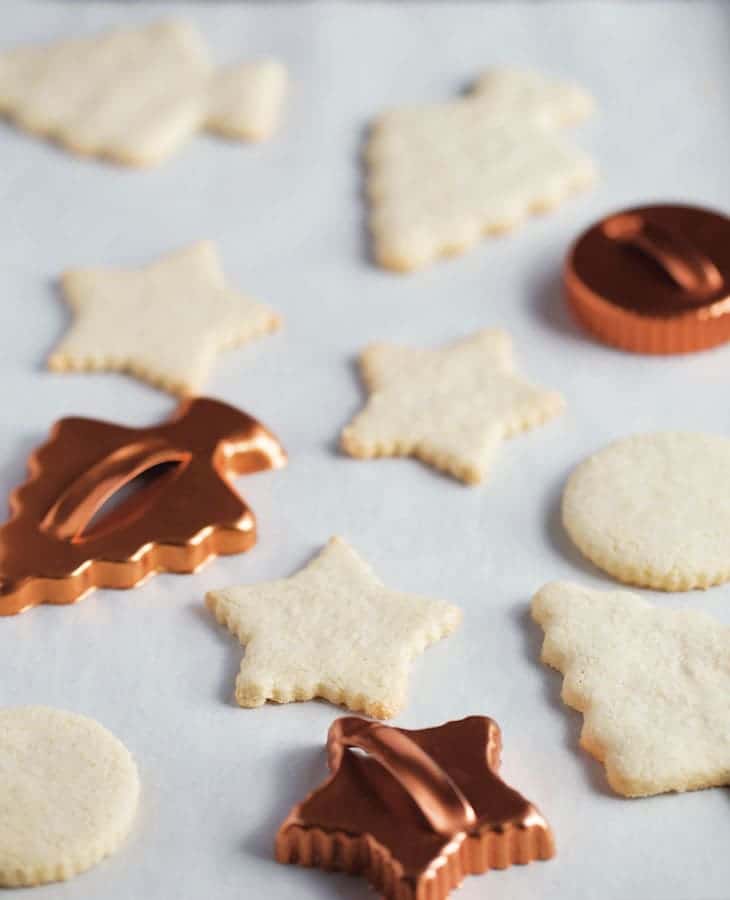
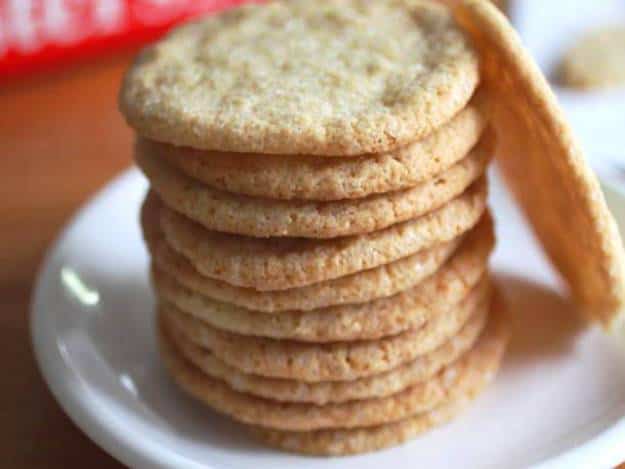
Drop the cookies onto a parchment-lined baking sheet. These cookies spread; so space them about two-inches apart.
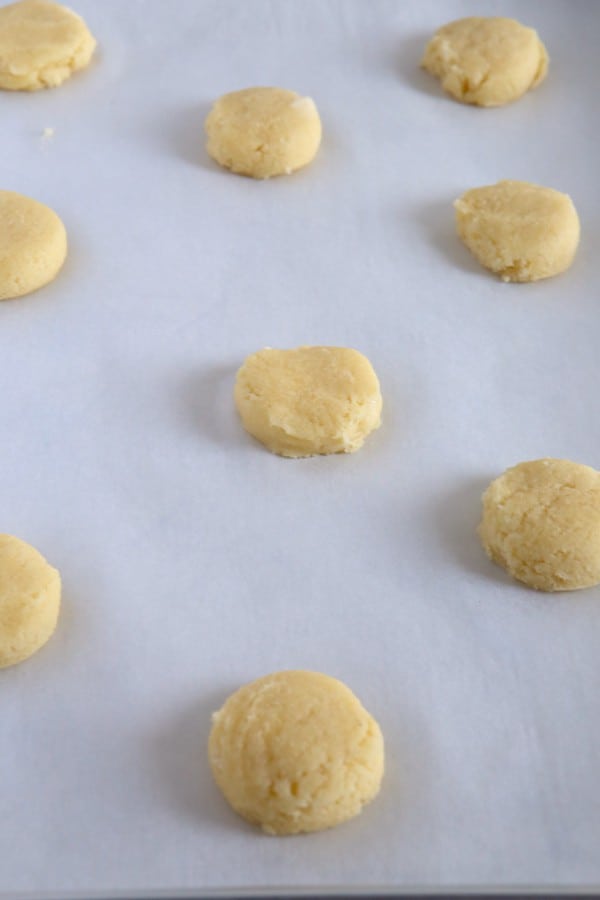
Lightly press down on the cookies. You want to flatten them just a little. If the dough sticks to your hand, dust your hand with a wee bit of white rice flour or Glutino’s all-purpose gluten-free flour.
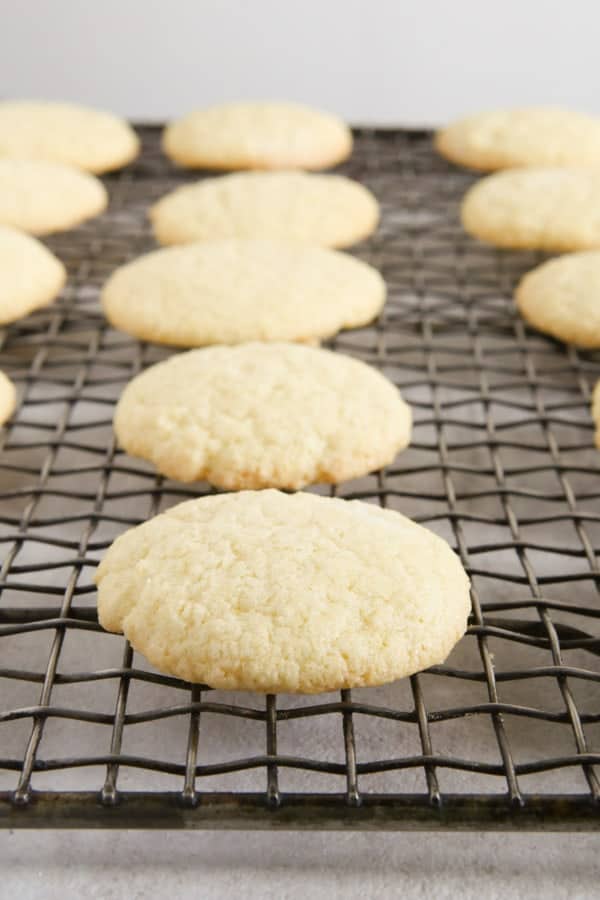
Allow the cookies to cool on a wire rack. Once they’re cool, things get REALLY fun.

Place a few candy canes into a plastic bag. (Always check that the candy canes are gluten-free.)
Now, you know all that low-level tension you feel during the holiday season? It’s time to work that out!
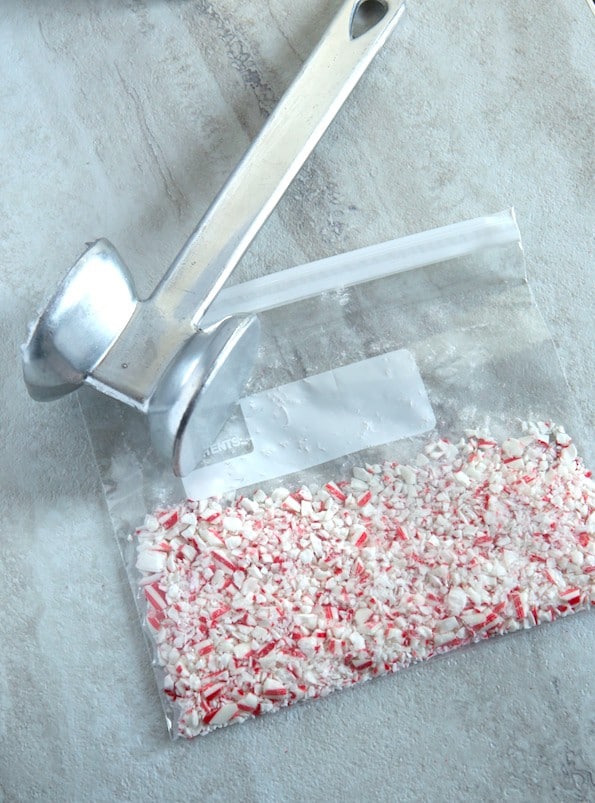
Smash those candy canes! Go head, really whack ’em! Ahhhh. I feel better! Don’t you?
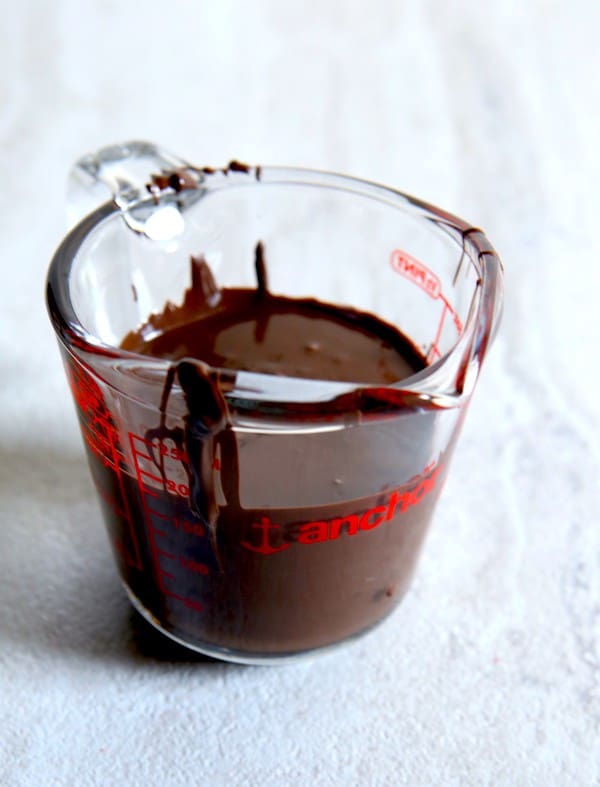
Melt some dark chocolate candy coatings. I do this in the microwave. It’s easy! Place your chocolate in a glass microwave-safe bowl (I used a measuring cup). Microwave for 30 seconds. Remove the chocolate, give it a stir and repeat until the coatings are melted. The reason I use candy coatings is because they don’t require tempering. This means you can melt the coatings and it will set. Regular chocolate needs to be tempered before it sets correctly. And tempering a long, involved process. (It’s doable but more work than I want to do!)
If you don’t like dark chocolate, go ahead and use milk or white! The cookies taste great with any type of chocolate. <—isn’t that true of anything made with chocolate?

Dip the cookies into the melted chocolate, sprinkle on the crushed candy canes, and place the cookies on a parchment-lined baking sheet to set. That’s it. Seriously. That’s IT. Can you even?
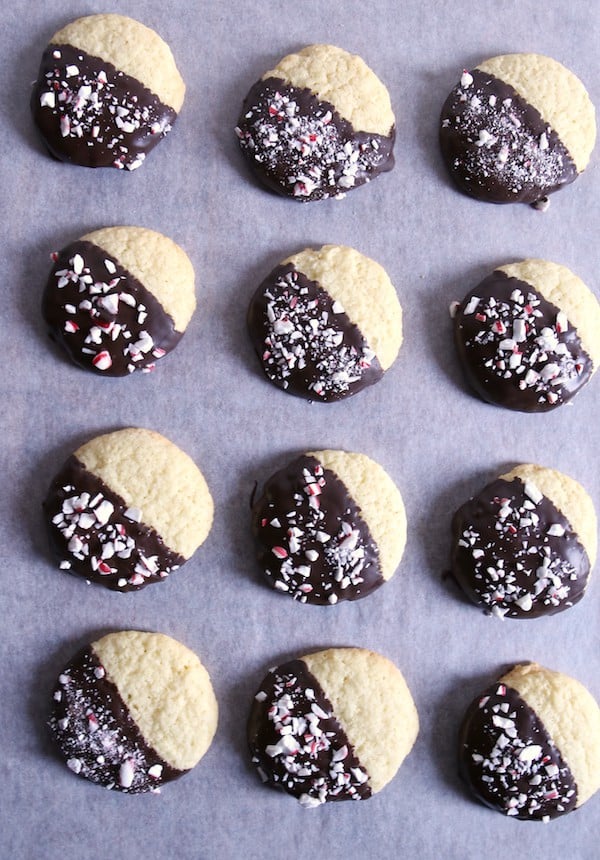
I dipped these cookies halfway in melted chocolate. I just liked how that looked. If you want to fully dip the cookies, go for it!
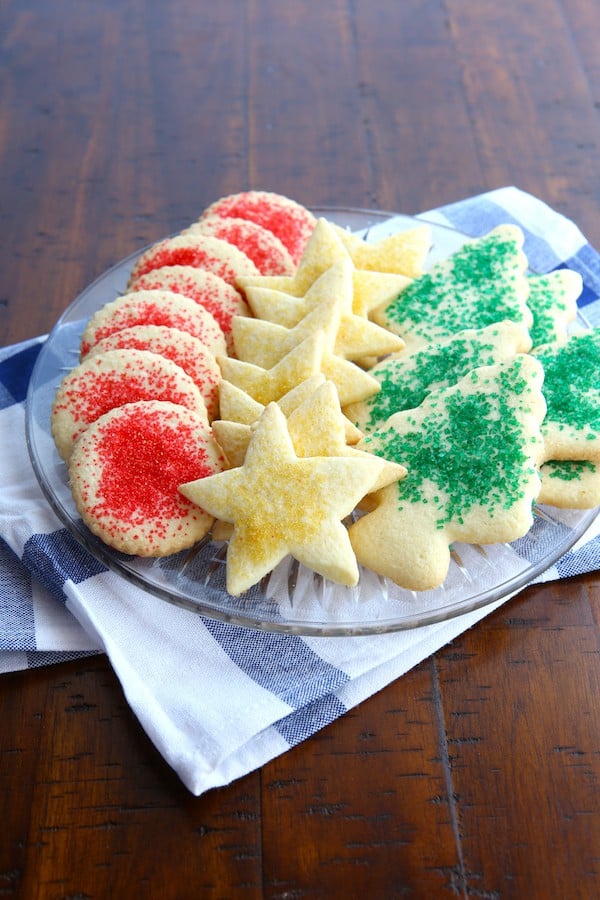
After I made the cookies, I boxed them up and gave them out to friends. You know what happened? They all LOVED them and no one could believe the cookies 1. were gluten-free 2. came from a box mix!
They are THAT good.
I mean, what could be better than peppermint bark cookies?
Oh, a KitchenAid mixer giveaway? Is that what you said?
I agree!
The kind folks at Glutino are giving away….(drum roll, please)

KitchenAid® Artisan 5 Qt Stand Mixer!
One lucky winner gets not only the mixer but they’ll also receive:
- $50 Worth of Glutino Products
- Stone Pie Dish
- Mason Jar Measuring Cup
- Red Baking Spatula
Awesome, right? In the spirit of the holiday, Glutino isn’t stopping there!
Nine (9!!) other folks will receive “runner up” prizes. That prize pack includes:
- $50 Worth of Glutino Products
- Stone Pie Dish
- Mason Jar Measuring Cups
- Red Baking Spatula
NO PURCHASE NECESSARY. Begins at 12:00 am EST on 12/16/15 and ends at 11:59 p.m. EST on 01/01/16. Open to legal residents of the United States, 18 years of age and older. Void where prohibited. One (1) potential Grand Prize winner and nine (9) runner up winners will be selected in a random drawing held within 1 week of sweepstakes ending date from among all eligible entries received and combined throughout the Sweepstakes Period. Odds of winning the Grand Prize depend on the number of eligible entries received throughout the Sweepstakes Period. Sponsored by Glutino Foods.
Glutino’s Virtual Gluten-Free Cookie Swap!
You know what’s even better than peppermint bark cookies and a KitchenAid Giveaway? MORE COOKIES!
The following awesome bloggers participated in this virtual cookie swap. You need to go check out their recipes, like, right now.
- Julie from The Healthy Home Cook whipped up a batch of Gluten Free Chocolate Dipped Snickerdoodles.
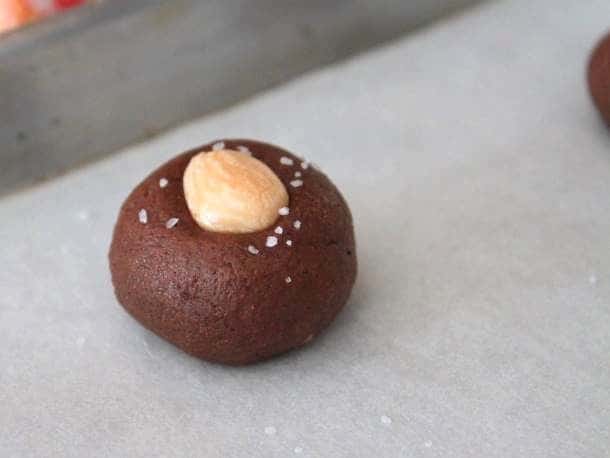
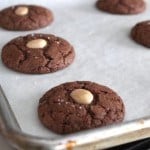
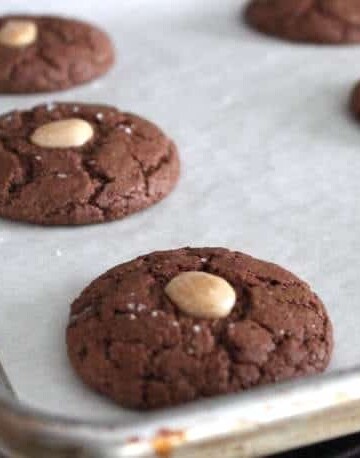
- Annie over at Maebells combined salty and sweet to make Dark Chocolate Salted Pretzel Cookies.
- Brianna who blogs at Flippin’ Delicious gave her oven a rest and created No Bake White Chocolate Cinnamon Cookies<.
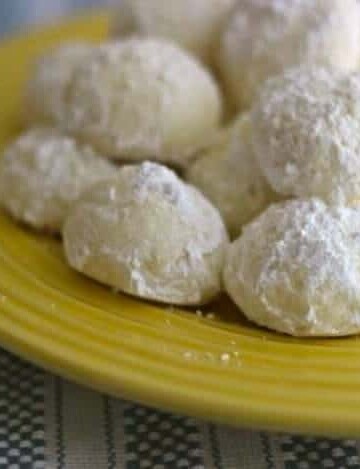
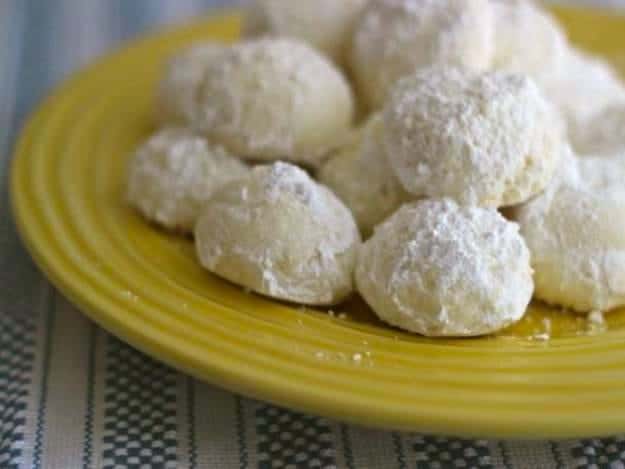
- Kelly at The Pretty Bee made Lemon Currant Butter Cookies.
- Angelina from JoJo & Eloise created Cream Cheese Peppermint Pretzel Cookies!
- Chandice who you’ll find at Gluten-Free Frenzy made the MOST adorable Reindeer Cookies!
- Pam at I’m a Celiac made Peanut Butter Crunch Cookies.

Gluten-Free Peppermint Bark Cookies
Ingredients
- 1 (15 ounce) box Glutino's Sugar Cookie Mix
- 6 tablespoons butter, softened (3 ounces; 85 grams)
- 2 large eggs (3 1/2 ounces; 100 grams)
- 1 teaspoon vanilla extract
- 4 to 5 standard size peppermint candy canes crushed
- 1 pound Merckens Dark Candy Coatings or 1 pound dark chocolate chopped or (see note above)
Instructions
-
Preheat oven to 350 degrees F.
-
In a large bowl, cream butter until light and fluffy. Add cookie mix. Blend to combine. Mixture will look dry and sandy. This is normal. Add eggs and vanilla. Mix until a soft dough forms.
-
Drop dough, about 1 tablespoon each, onto a parchment-lined baking sheet. Space dough about two inches apart as cookies spread during baking.
-
Bake cookies until the edges are golden brown, about ten minutes. Remove cookies from oven and allow to cool on the pan for about three minutes. Transfer cookies to a wire rack to cool completely.
-
Once cookies are cool, melt the chocolate. Place the chocolate into a 2 cup glass cup. Microwave for 30 seconds. Remove chocolate from the microwave and stir. It won't look melted at this point. That's fine. Stir it anyway. Repeat until chocolate has melted.
-
Dip cookies into chocolate and place onto a parchment-lined baking sheet. Immediately sprinkle cookie with crushed candy canes. If you are using candy melts, allow the cookies to set up at room temperature. If you are using dark chocolate, place the cookies in the refrigerator to harden.
-
Store cookies in an airtight container for up to one week.
Recipe Notes
Gluten-Free Peppermint Bark Cookie Variations
Double Peppermint Add a few drops of pure peppermint oil to the dark chocolate before dipping the cookies. Pure peppermint oil is strong. Add a drop or two (seriously, use an eyedropper) and stir. Taste the chocolate. Add more peppermint oil if needed.
Double Chocolate
Add one cup chocolate chips to the cookie dough before baking. Stir in the chocolate chips with a wooden spoon after the dough has come together.


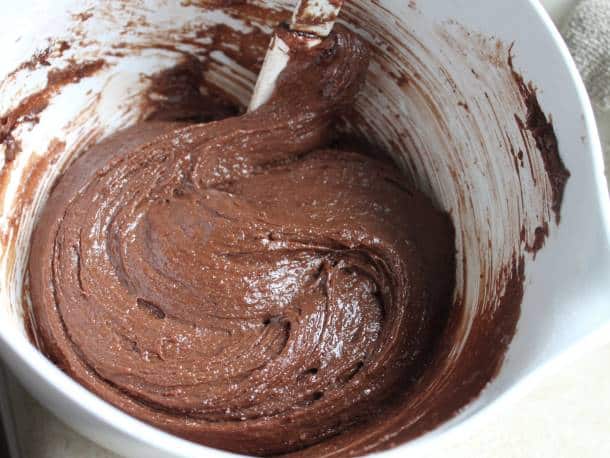 Thanks to melted butter and chocolate, the dough comes together quickly. (I even whipped up several batches using a fork.) After mixing, the dough resembles brownie batter; so be sure to chill the dough before baking.