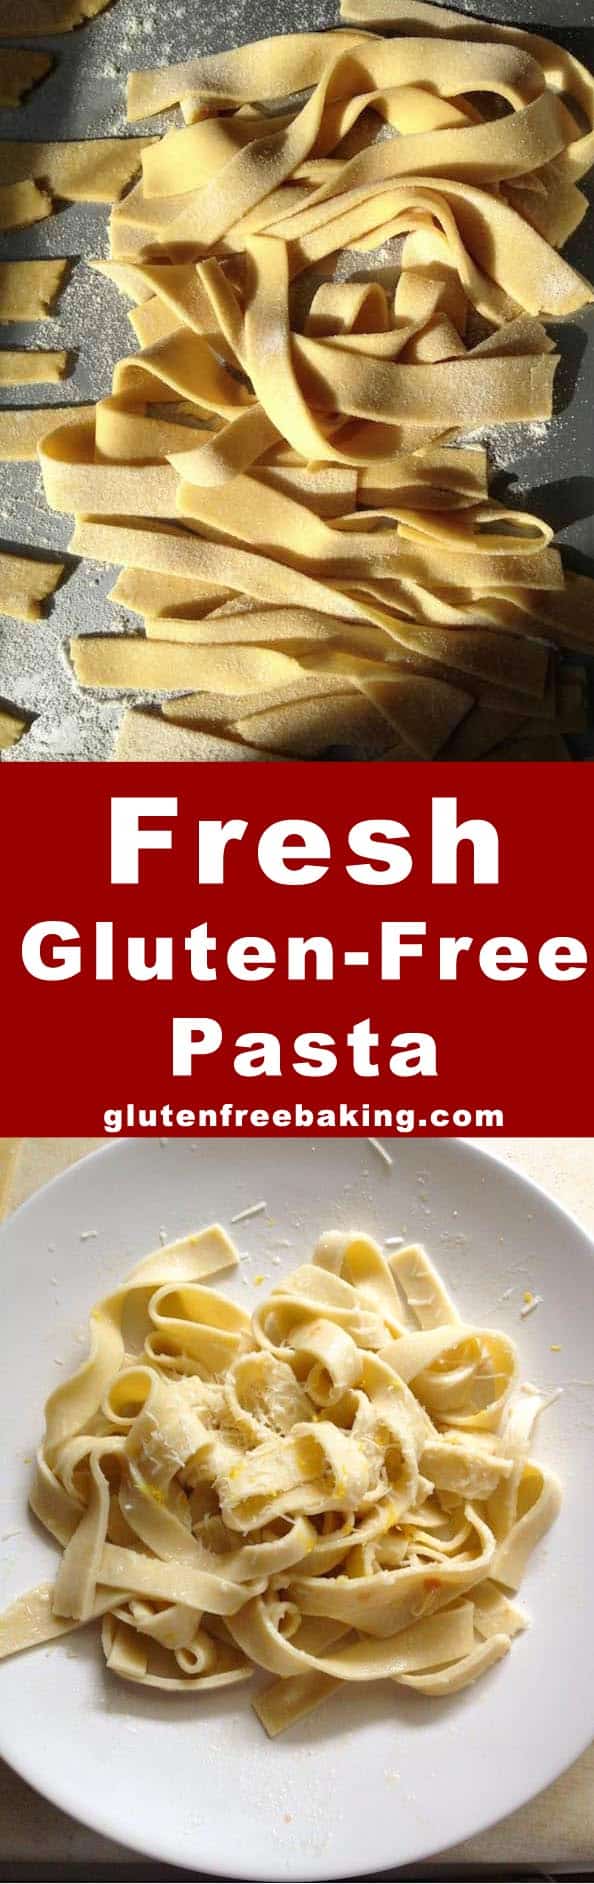
Gluten-Free Pumpkin Doughnuts or Rethinking Fall Favorites
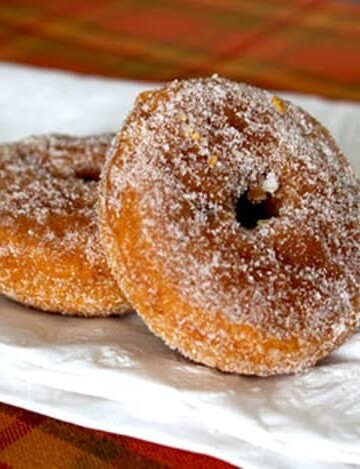
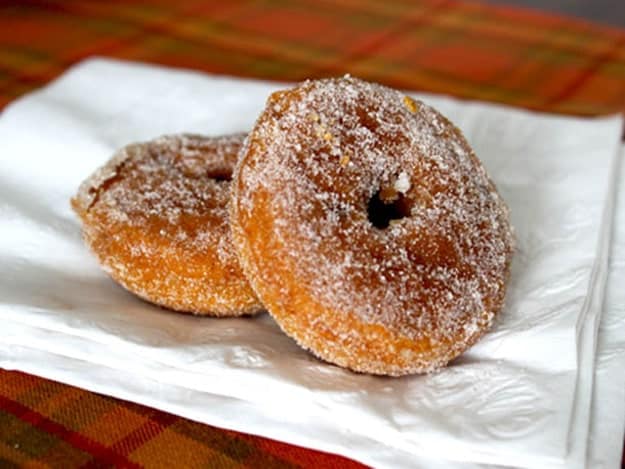
For me, the official doughnut of fall is the apple cider doughnut. But recently, a sign flapping outside my local Dunkin’ Donuts made me reconsider. It showed a pumpkin doughnut sitting next to a pumpkin latte. The pumpkin latte didn’t interest me; the doughnut did. Sadly, Dunkin’ Donuts doesn’t sell gluten-free pumpkin doughnuts. If they did, that doughnut would have been in my hand seconds after I turned into the parking lot.
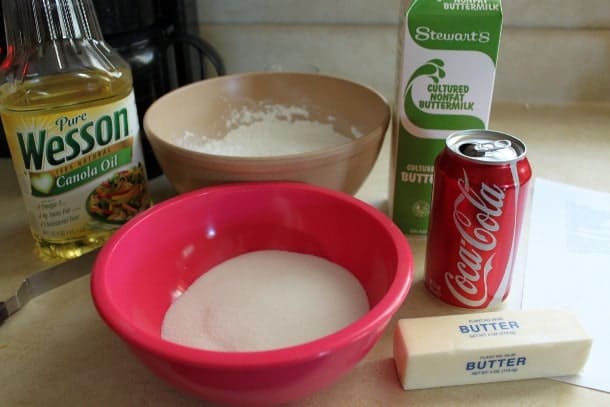
Since I could’t buy a pumpkin doughnut, I headed home and decided to make a batch. Instead of pulling out the fryer, I decided to give my doughnut pan a workout and bake a batch of pumpkin doughnuts. Since I’d never made pumpkin doughnuts before, I headed over to King Arthur Flour’s site. Sure enough, they had a recipe for baked pumpkin doughnuts. The recipe wasn’t gluten-free, but it was dairy-free. And it looked good. Time to convert it to gluten-free!
Going from Gluten-Filled to Gluten-Free
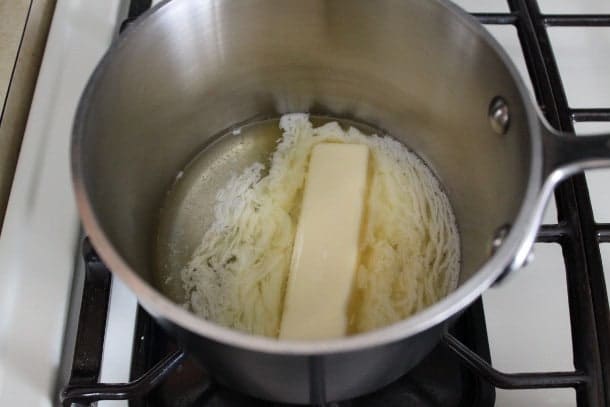
First I replaced the all-purpose flour with gluten-free millet and oat flours. I left everything else in the recipe alone. The doughnuts tasted great, but they were a little too rich. The oil and eggs muted the delicate flavor of the pumpkin. For the next batch, I reduced the vegetable oil from a half cup to one-third of a cup. I also got rid of one of the eggs. These changes made the batter a little dry. On the third try, I borrowed an idea from my pumpkin bread recipe: I added a little orange juice to the batter.
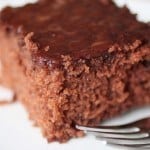
All these little changes added up to a big improvement in texture and flavor. The doughnuts were moist and could taste the pumpkin and the spices.
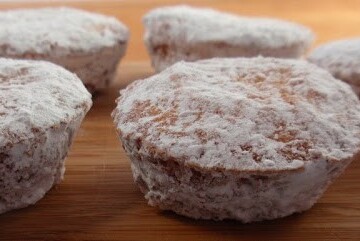
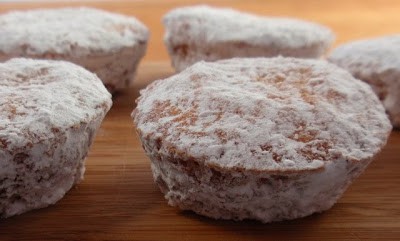
Batch number two also taught me that tossing the doughnuts in sugar while they’re still warm isn’t the best idea. The doughnuts tended to break. However, if you bury the warm doughnuts in a bed of cinnamon-sugar, well, that’s a different story. The sugar sticks and the doughnuts don’t fall apart.
While I’m not giving up my beloved apple cider doughnuts this fall, they’ll need to share the title of the “official doughnut of fall” with these tasty gluten-free pumpkin doughnuts.
Shop the Recipe
The links below are affiliate links. GlutenFreeBaking.com earns a commission when you use the links to shop.

Baked Gluten-Free Pumpkin Doughnuts
Ingredients
For the Doughnuts
- Nonstick cooking spray
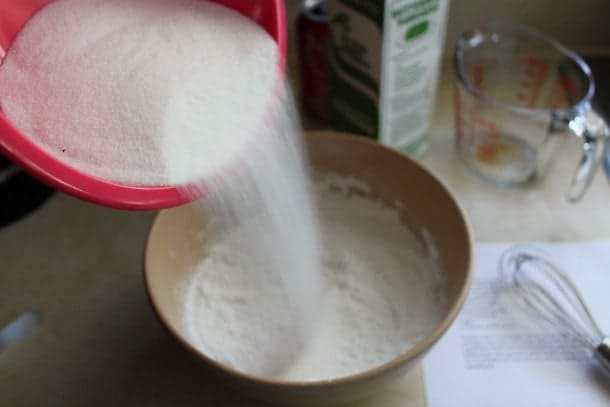
- 1 1/4 cups millet flour (6 1/4 ounces; 177 grams)
- 1 1/4 cups granulated sugar (8 3/4 ounces; 248 grams)
- 3/4 cup gluten-free oat flour (2 1/2 ounces; 70 grams)
- 1 1/2 teaspoons pumpkin pie spice
- 1 1/2 teaspoons baking powder
- 1 teaspoons salt
- 1/4 teaspoon xanthan gum
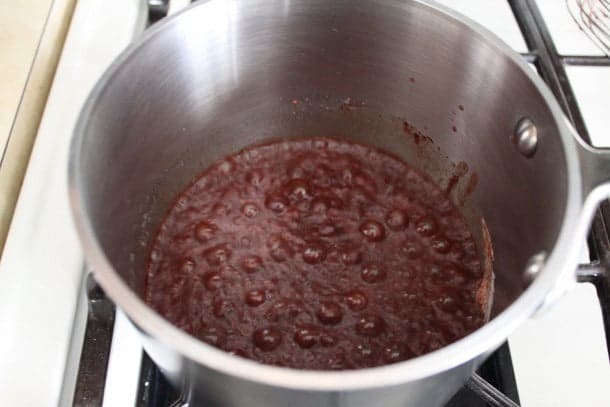
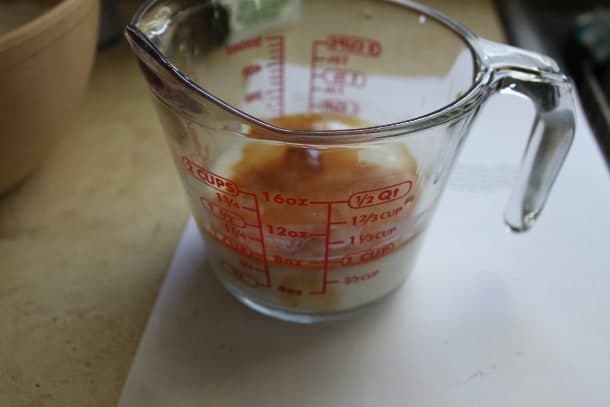
- 1 (15 ounce) can pumpkin puree
- 2 large eggs (about 3 1/2 ounces; 100 grams)
- 1/3 cup vegetable oil (2 1/3 ounces; 66 grams)
- 1/4 cup orange juice (2 ounces; 56 grams)
For the Cinnamon-Sugar
- 1 cup granulated sugar (7 ounces; 198 grams)
- 2 teaspoons ground cinnamon
Instructions
-
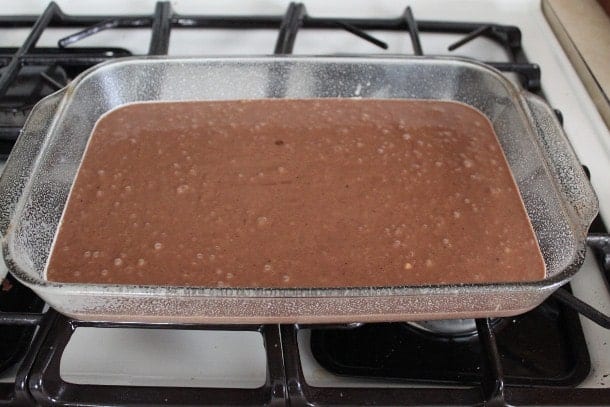
Preheat oven to 350°F. Spray a doughnut pan with nonstick cooking spray. Set aside.
-
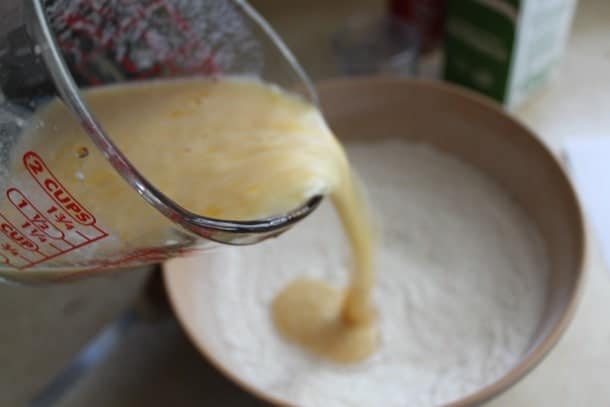
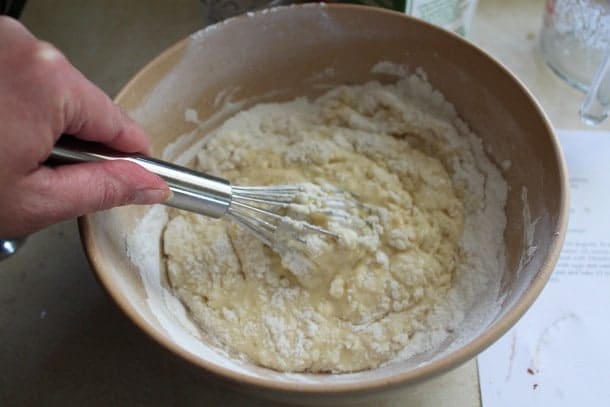
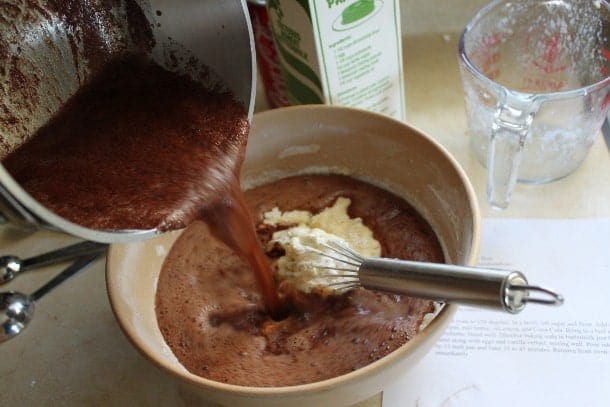
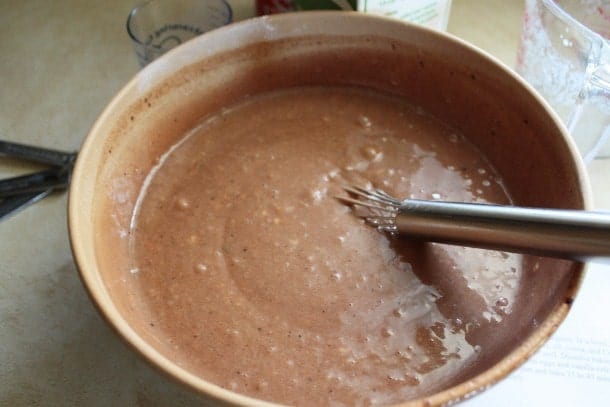
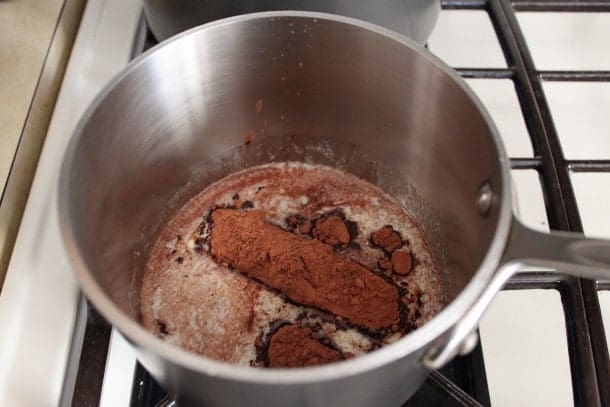
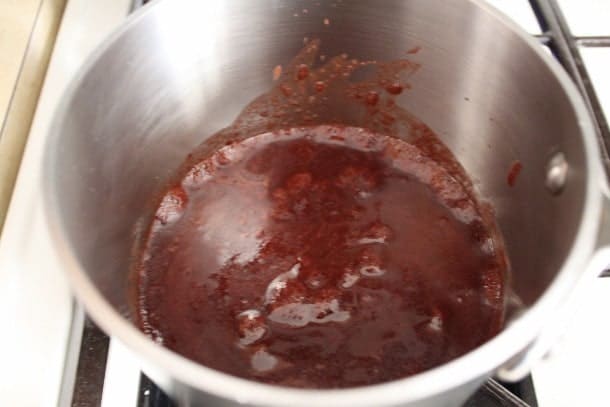
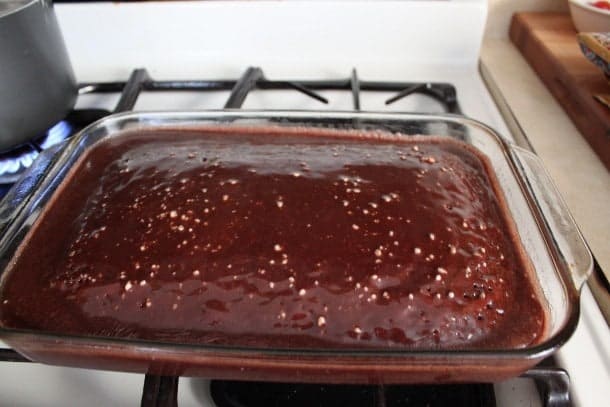
For the Doughnuts: In large bowl, whisk together millet flour, granulated sugar, oat flour, pumpkin pie spice, baking powder, salt, and xanthan gum. In small bowl, stir together pumpkin, eggs, vegetable oil, and orange juice until smooth. Pour pumpkin mixture over dry ingredients and whisk until no lumps remain.
-
Bake until doughnuts spring back to the touch, about eighteen minutes. Turn doughnuts out onto a wire rack to cool. Repeat with remaining batter. Place warm doughnuts in sugar mixture.
-
For the Cinnamon-Sugar Topping: In a 9-inch square pan, stir together granulated sugar and ground cinnamon. Place doughnuts in sugar mixture. Carefully turn over. Allow doughnuts to cool in the sugar. When cool, shake off excess sugar. Store doughnuts, covered, on the counter for up to three days.