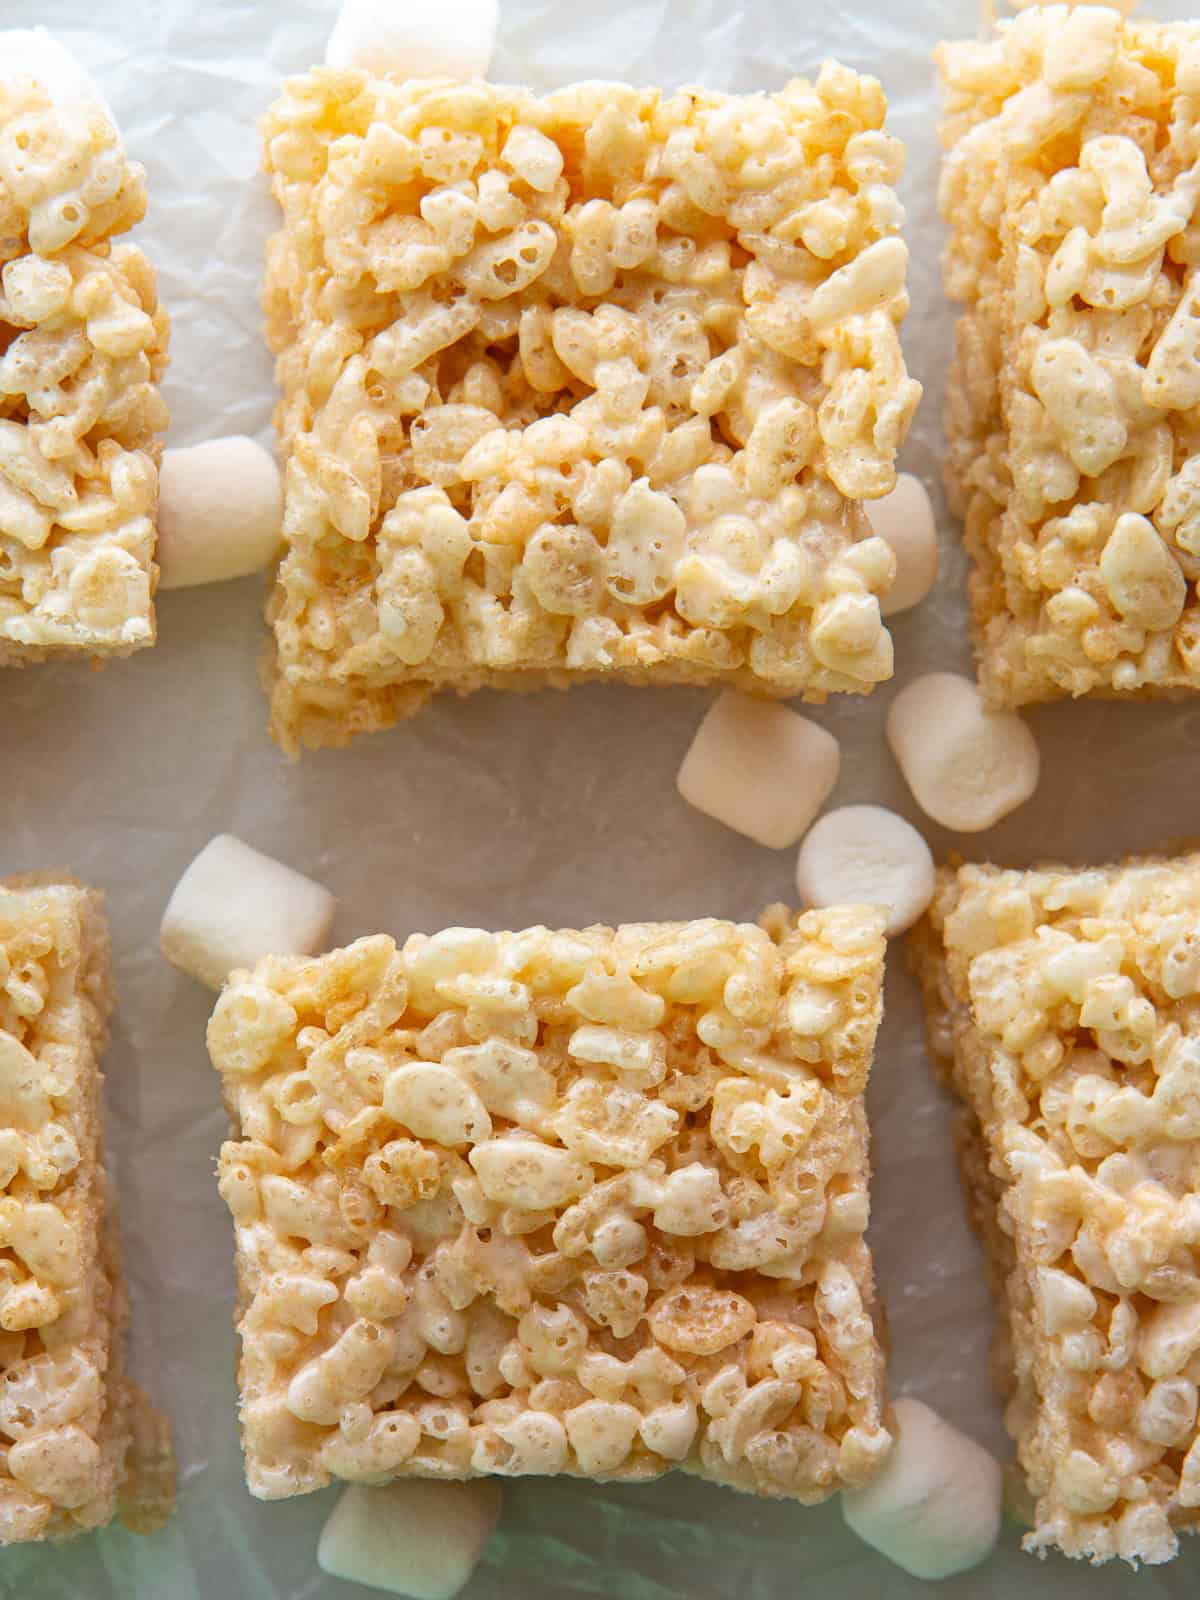
These gluten-free marshmallow crispy treats are the perfect no-bake dessert. Gooey, melted marshmallows hold together the gluten-free cereal. The recipe comes together in just a few minutes.
Here’s something that often surprises folks new to the gluten-free diet: some crispy rice cereals, most notably Kellogg’s Rice Krispies, aren’t gluten-free. They contain malt flavoring which isn’t a gluten-free ingredient.
Thankfully, there are gluten-free crispy rice cereals available. Since ingredients change frequently, always check the box for the most up-to-date ingredients.
You can simply swap gluten-free crisp rice cereal for the Kelloggs in your favorite recipe. And if you don’t have a favorite recipe? Use mine! It makes gooey, soft bars that are gluten-free and so tasty.
How to Make Gluten-Free Rice Crispy Treats
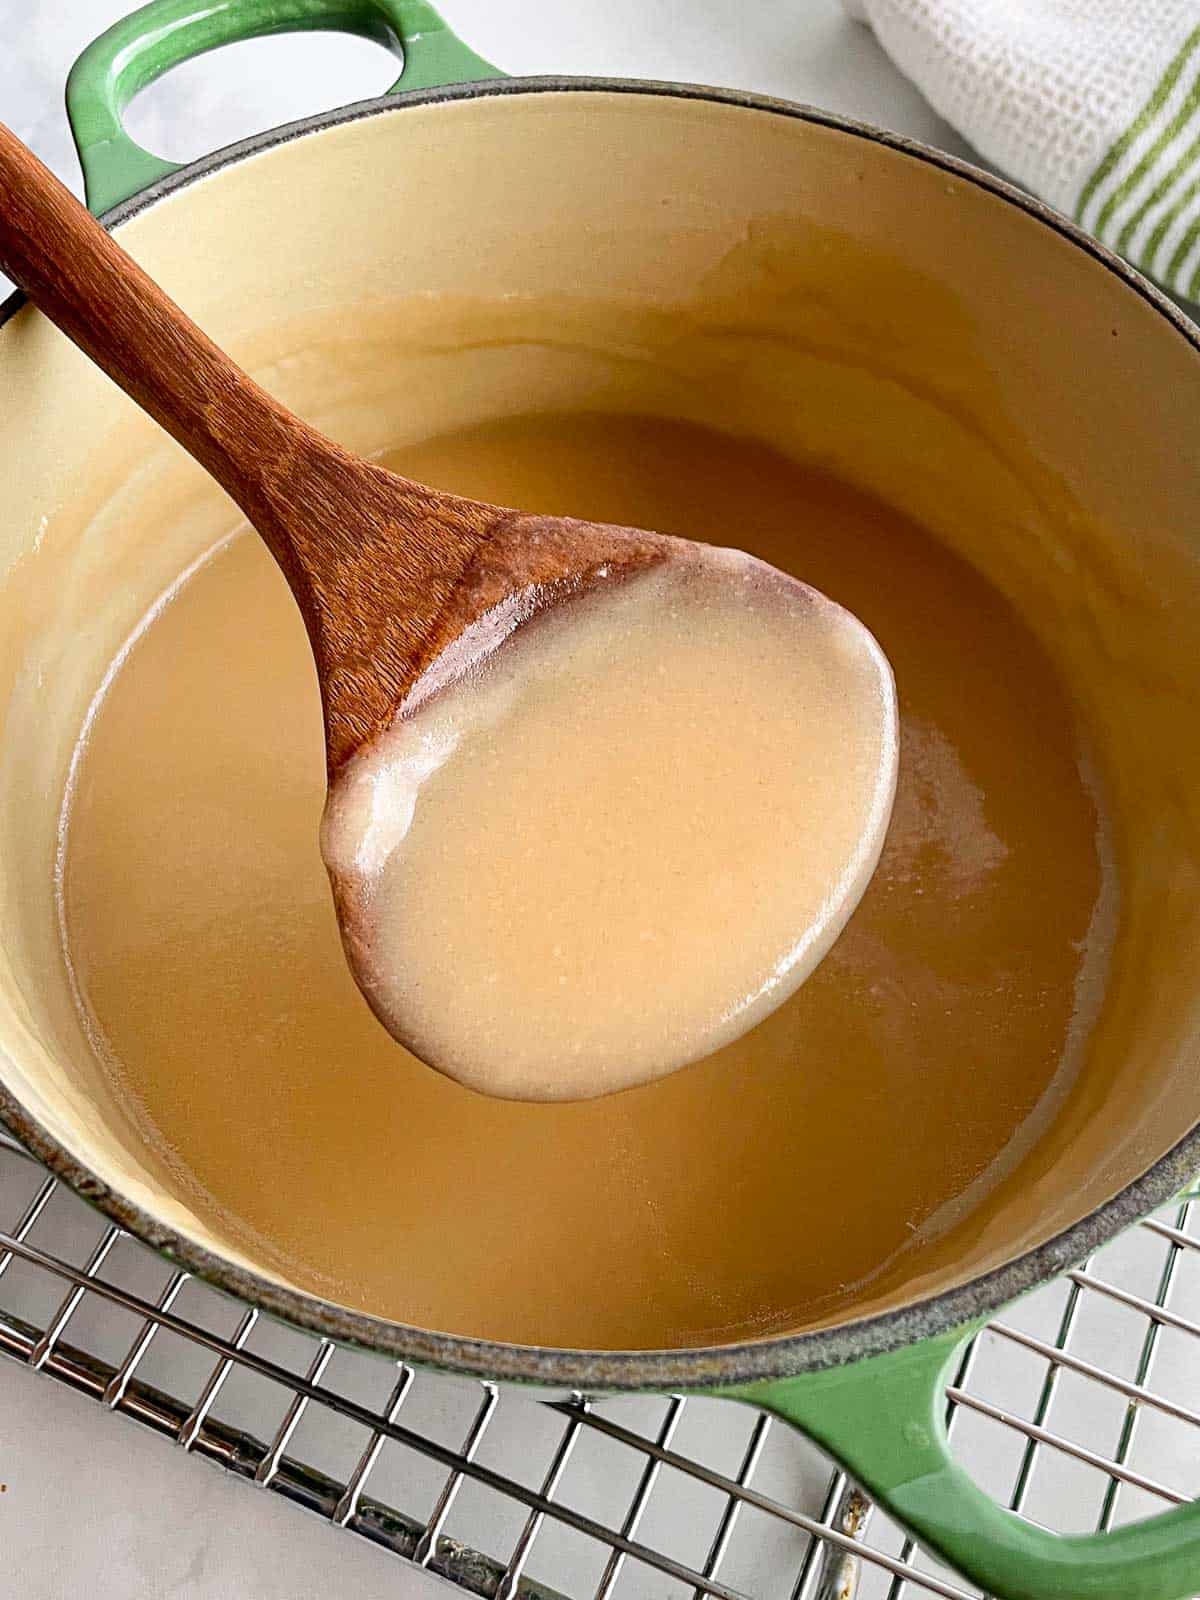
Here’s the secret to gooey crispy treats: melt the marshmallows over low heat. That keeps the bars soft and not crispy. (And if you want them crispy, use higher heat!)
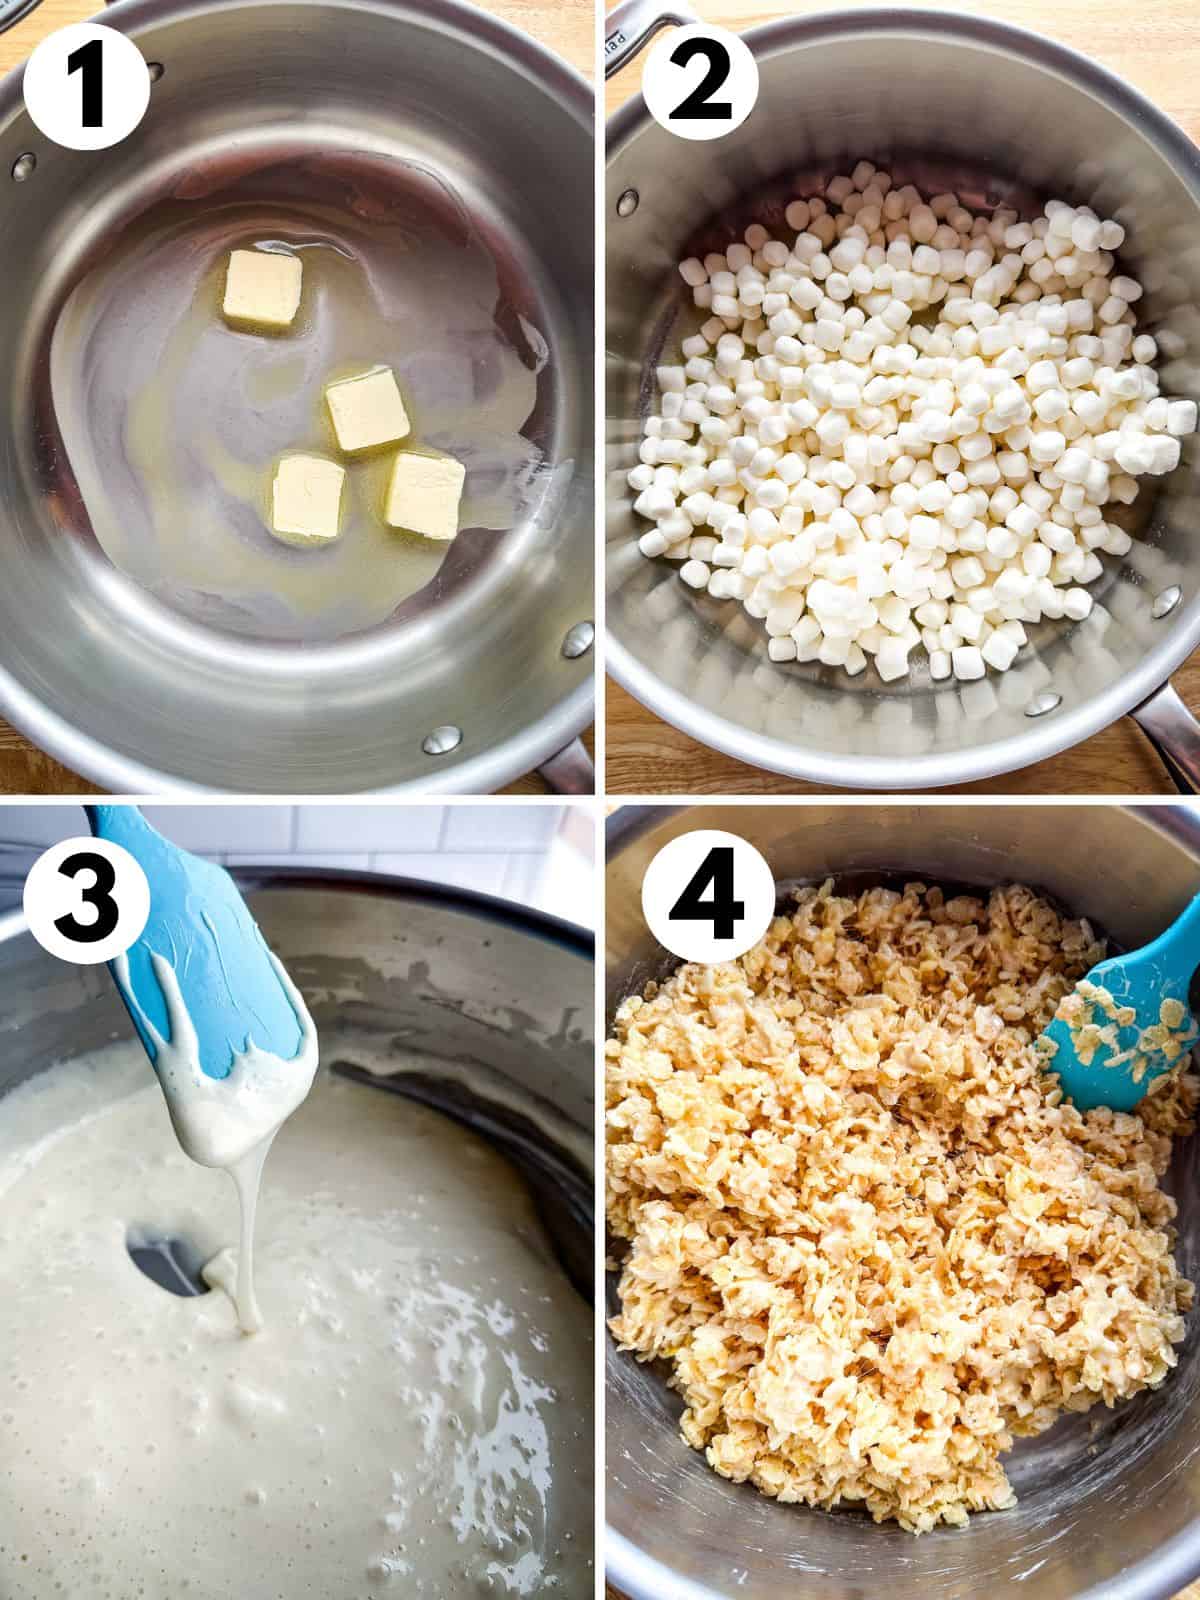
- Melt the butter. Do this over low heat if you want soft bars. Use medium-high heat for crunchy bars.
- Add the marshmallows. Stir the marshmallows into the melted butter.
- Melt until the marshmallows are creamy. While the marshmallows are melting, keep stirring. This prevents the marshmallows from burning and sticking to the bottom of the pot.
- Stir in the cereal. Remove the pan from the heat. If you’re adding vanilla extract, add it now. Then stir in the cereal. Stir until the melted marshmallows coat the cereal.
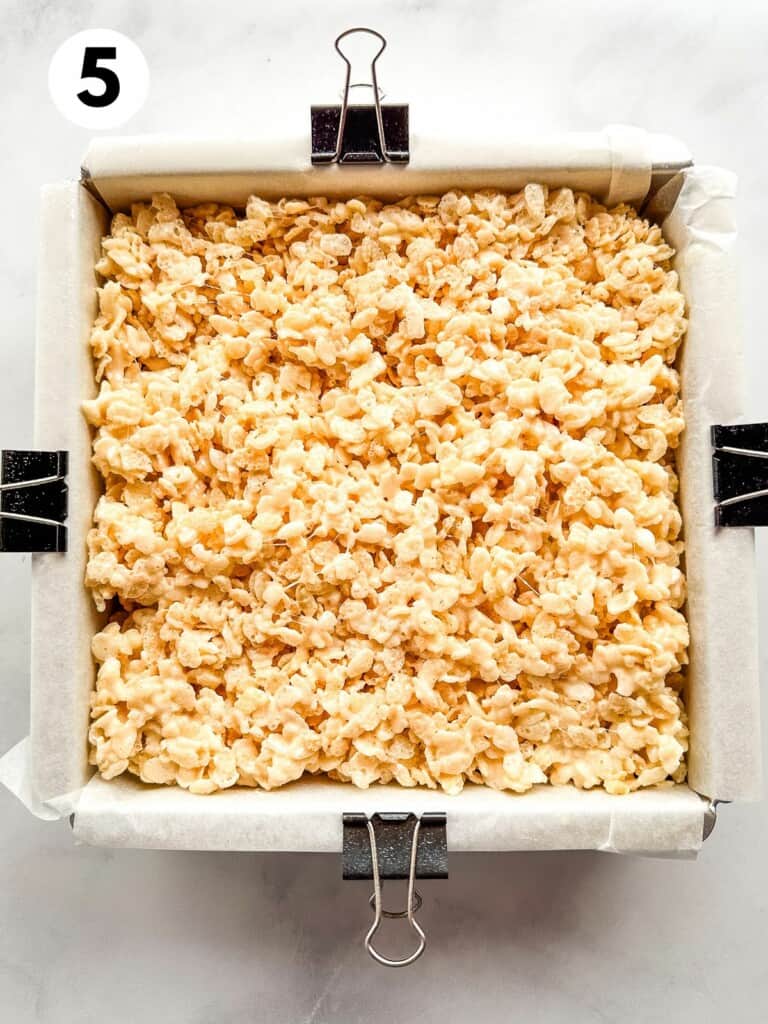
- Press into a pan. For classic crispy treats, use a 9×13-inch pan. For thicker treats, use an 8×8-inch pan
Five Easy Ways to Boost Flavor
The basic ingredients for gluten-free crispy treats are simple: cereal, butter, marshmallows. And, let’s be honest, they make pretty great treats. If you want to add a little something-something, try one of these options. Or mix and match a few!
- Use extra butter. The original recipe calls for four tablespoons of butter. If you want buttery bars, increase that to six tablespoons for buttery bars.
- Brown the butter. This adds a wonderfully caramel/nutty flavor. To do this, melt the butter over low heat and cook until light brown.
- Add some spice. Cinnamon-sugar or pumpkin spice crispy treats are so tasty! After you melt the butter and marshmallows, sprinkle in ground cinnamon or pie spice.
- Make ‘em salty and sweet. Love salty desserts? Replace about a cup of the rice cereal with crushed potato chips or gluten-free pretzels.
- Stir in more marshmallows. If marshmallows are your thing, stir about a cup of mini-marshmallows after you add the cereal.
Gluten-Free Marshmallow Treats
Ingredients
- 4 tablespoons butter (2 ounces; 56 grams)
- 1 (10 ounce) bag mini marshmallows (about 6 ½ cups)
- 5 ½ cups gluten-free crispy rice cereal (about 6 ounces; 170 grams)
- ½ teaspoon vanilla extract, optional
Instructions
-
Select your pan. For classic bars, use a 9×13-inch pan. For thick bars, use an 8×8-inch pan.
Grease your pan and line with parchment paper. Let the parchment paper overhang the edges to make it easy to lift the bars out of the pan.
-
In a large (5 quart) pot, melt butter over low heat. Add the marshmallows. Stir until they’re melted and creamy. Tip: Using low heat keeps the marshmallows soft. High heat makes them crunchy.
-
Remove the pan from the heat. If you're using vanilla extract, stir it in now. Add the cereal and stir until coated.
-
Press the mixture evenly into your prepared pan. Tip: A piece of greased parchment paper makes this step easy.
-
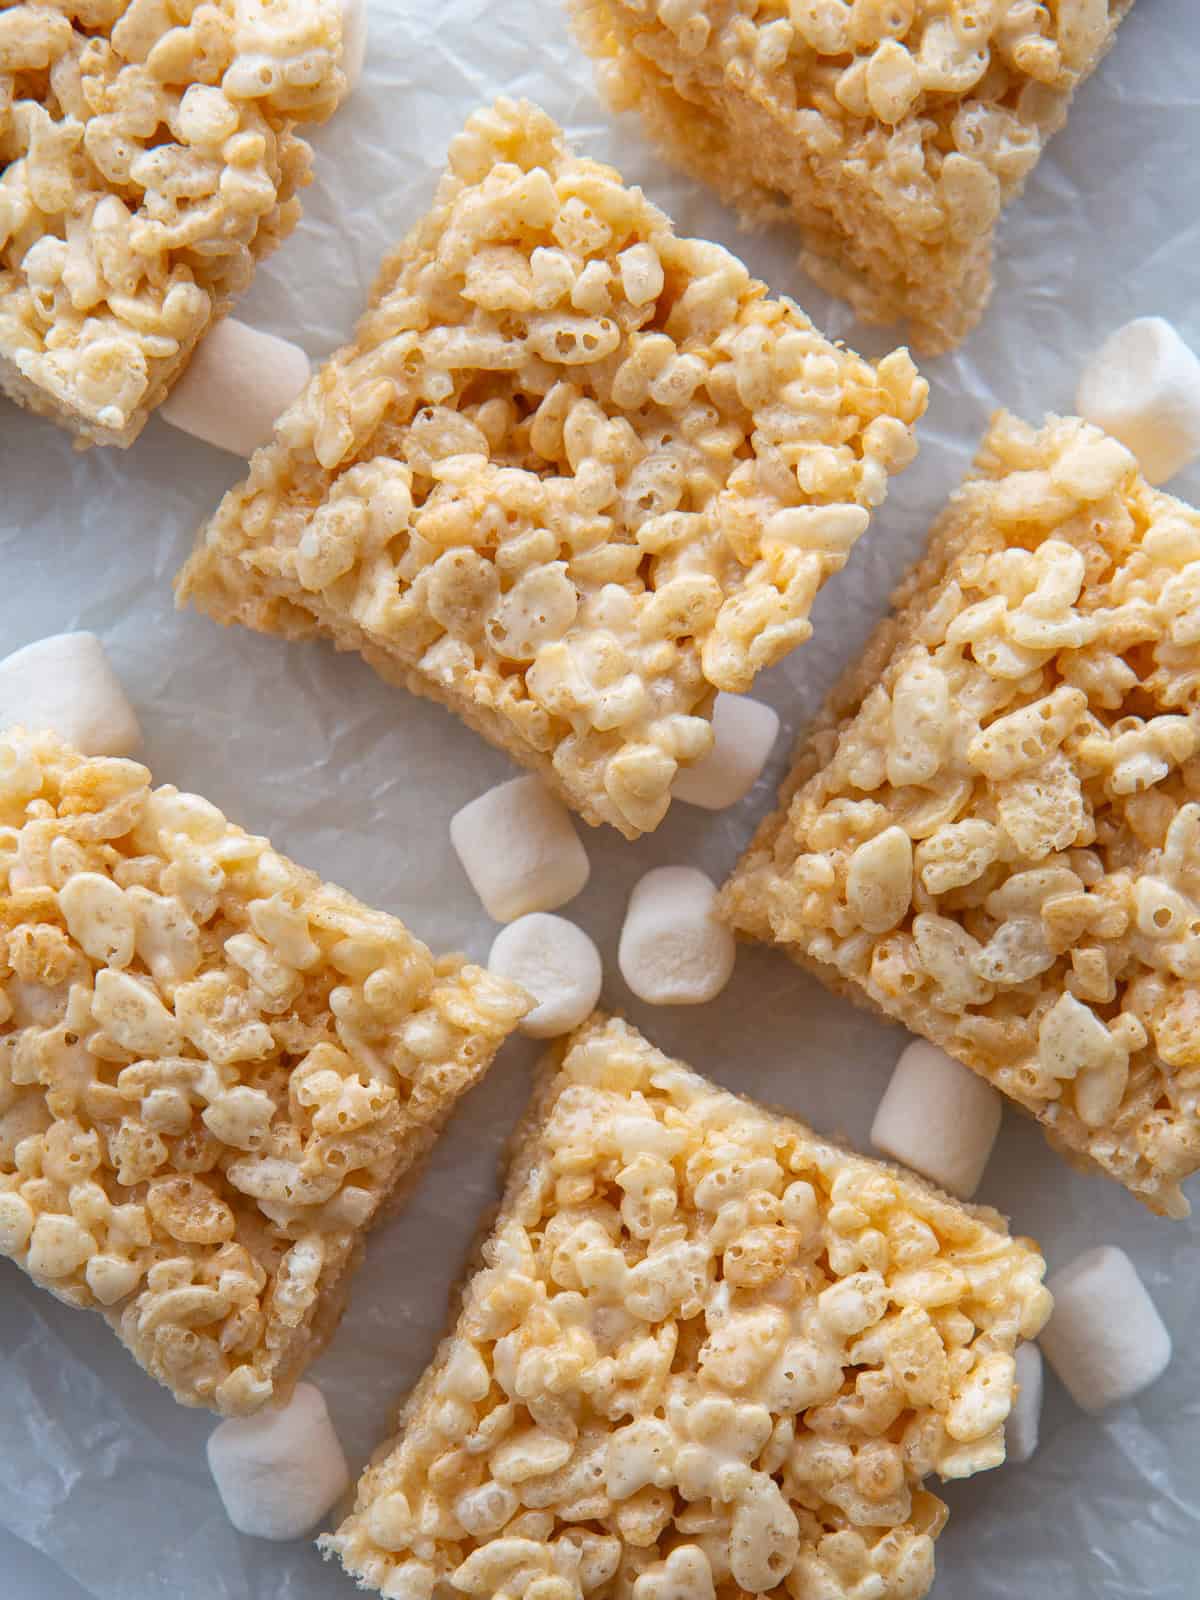
Chill bars in the refrigerator until set, about one hour. Using the overhanging parchment, lift cereal out of the pan. Cut into bars and enjoy.
-
Store leftovers covered on the counter for up to five days.
Recipe Notes
Dairy-free option
Replace the butter with a dairy-free butter.