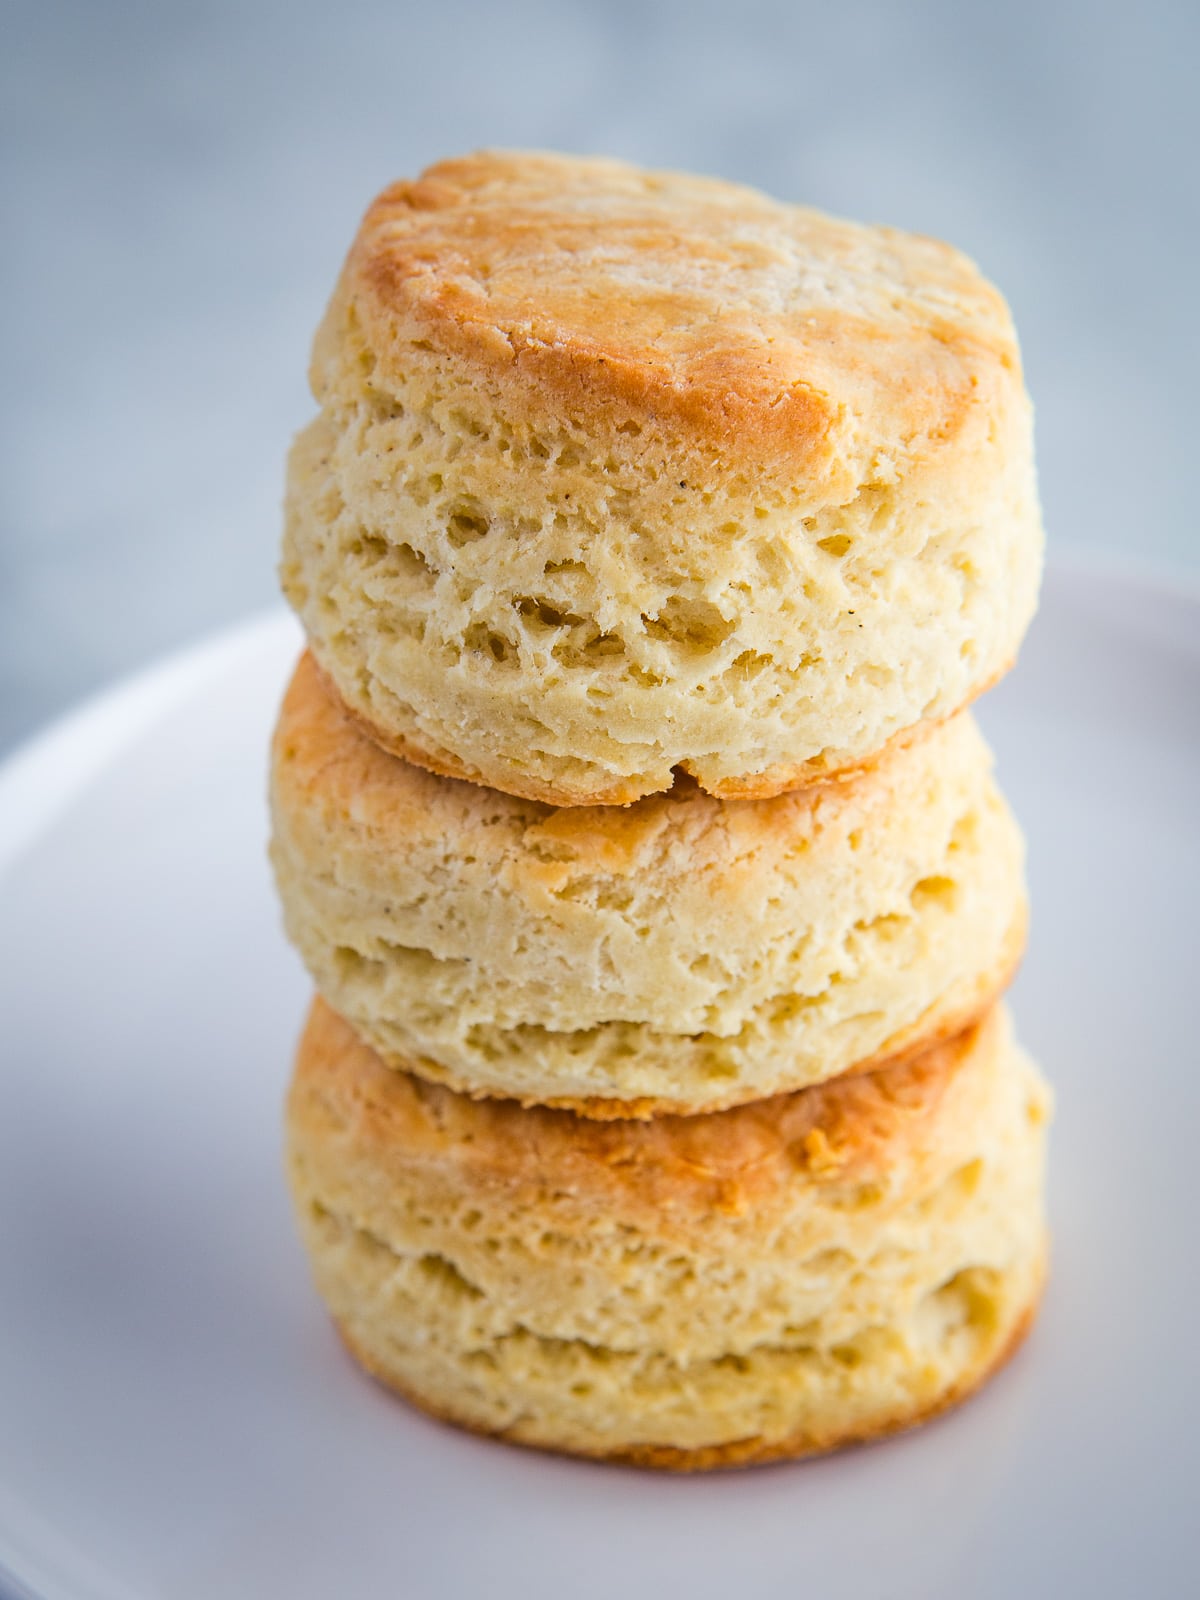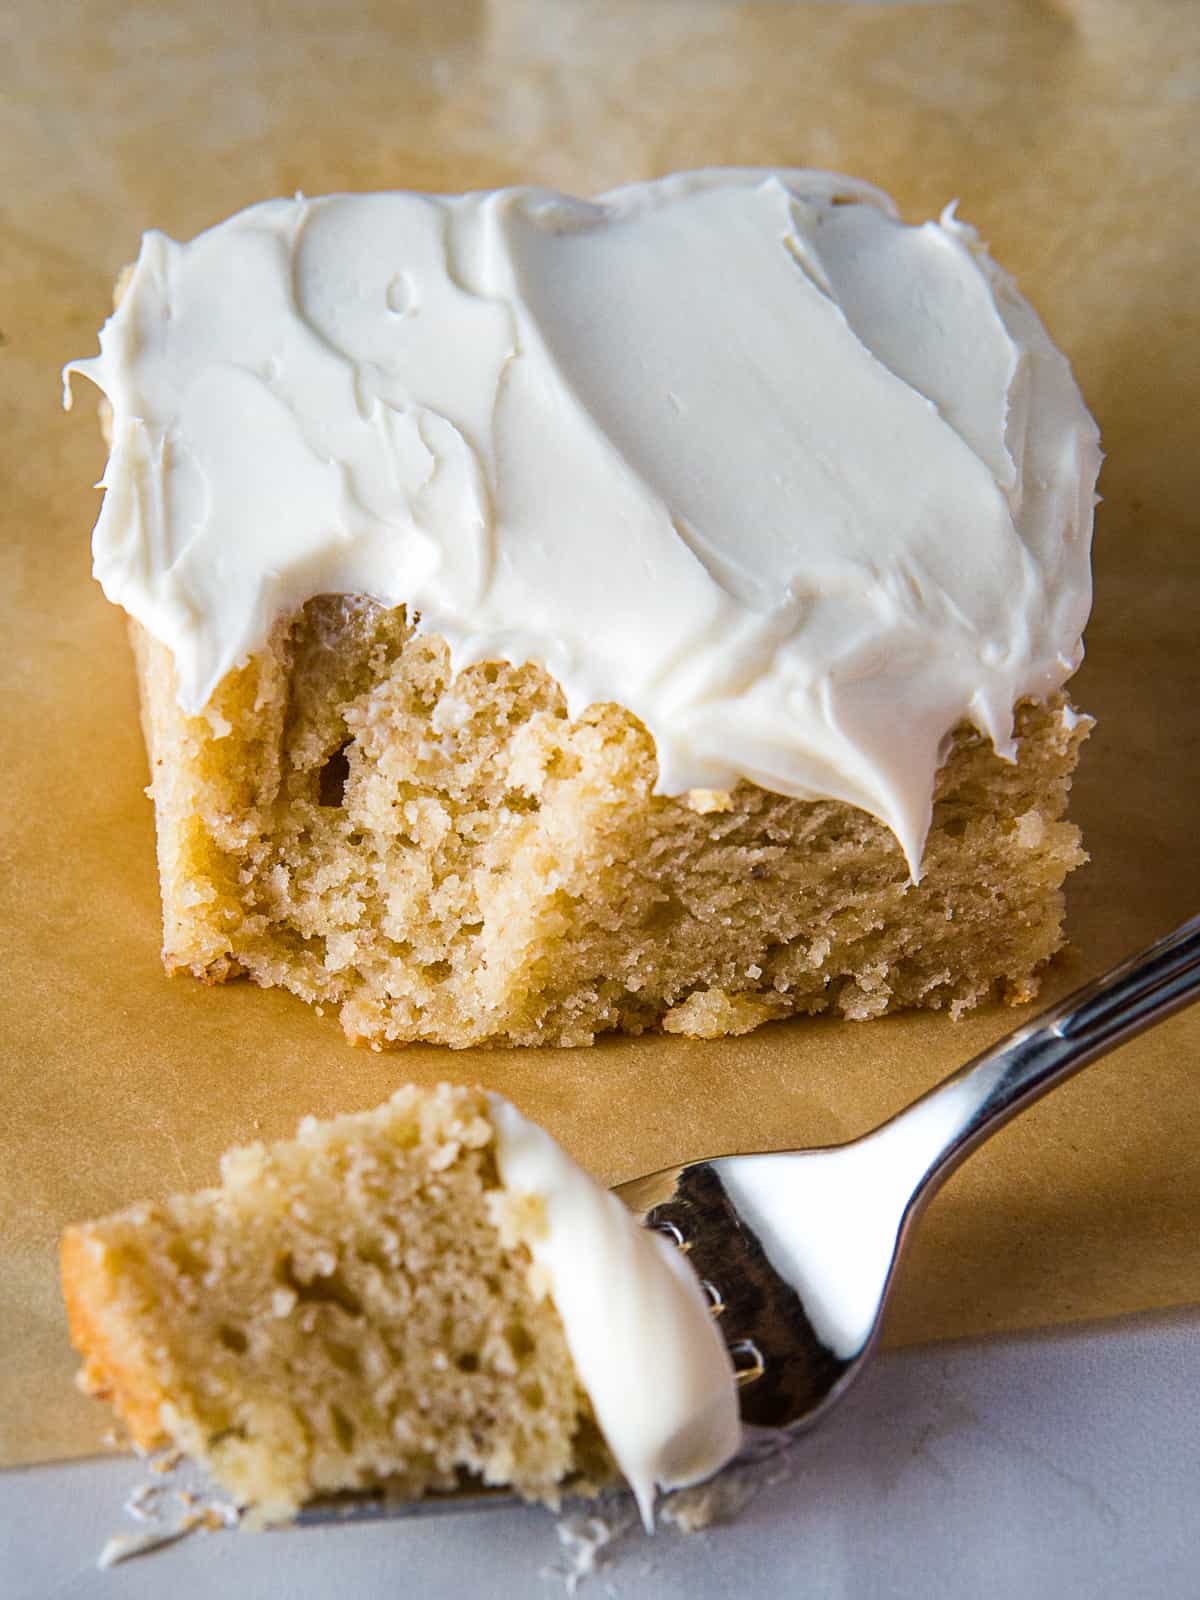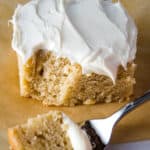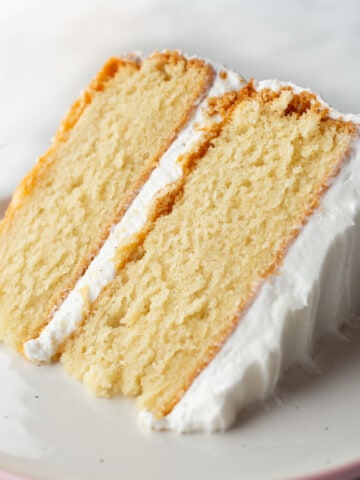
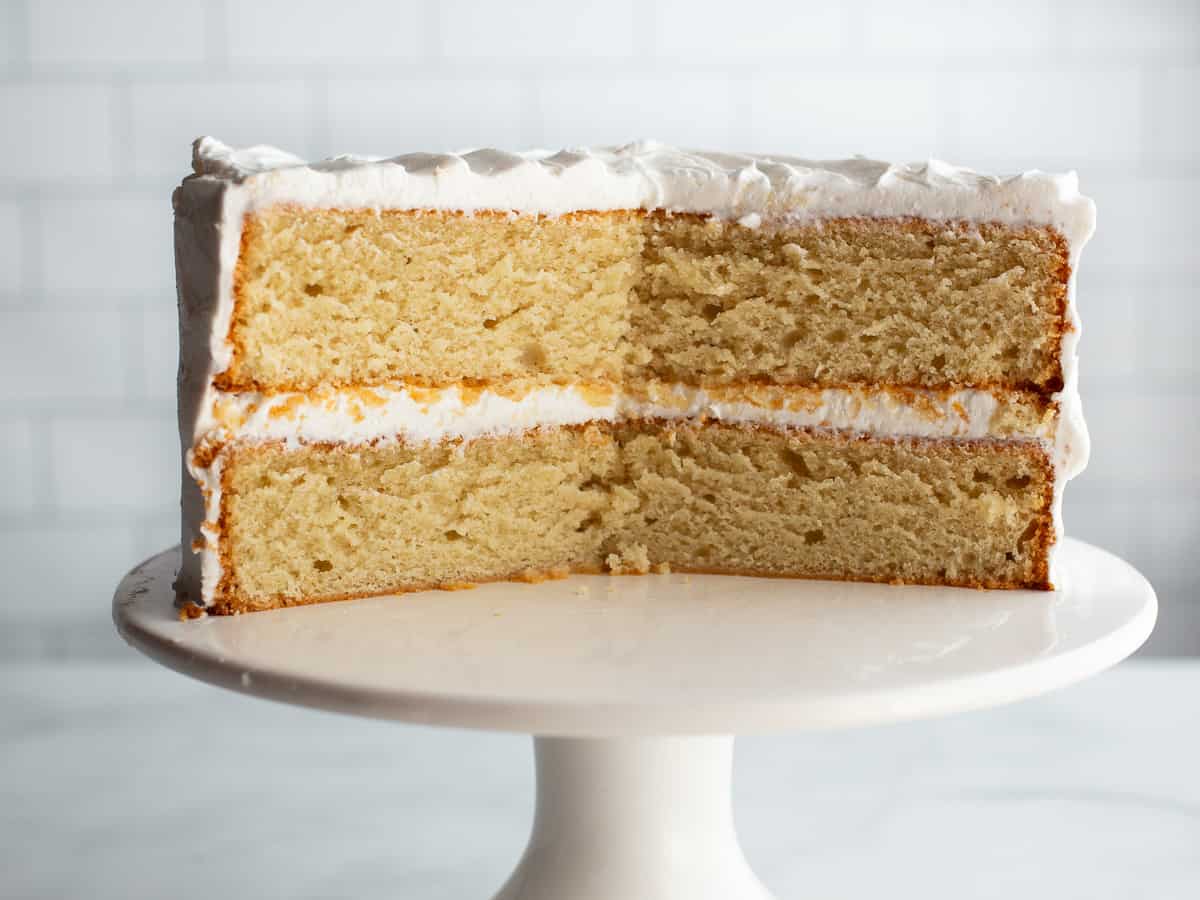
This gluten-free vanilla cake is moist, rich, and with a lovely vanilla flavor. It’s a perfect cake for birthdays, weddings, or any celebration. Thanks to the gluten-free flour, butter, and sour cream, it remains soft and fresh for several days. Frost it with vanilla or gluten-free chocolate frosting.
Vanilla cake is one of those recipes that every gluten-free baker will (most likely) bake. Like my gluten-free chocolate cake recipe, this vanilla cake is a reader’s favorite. Here’s why:
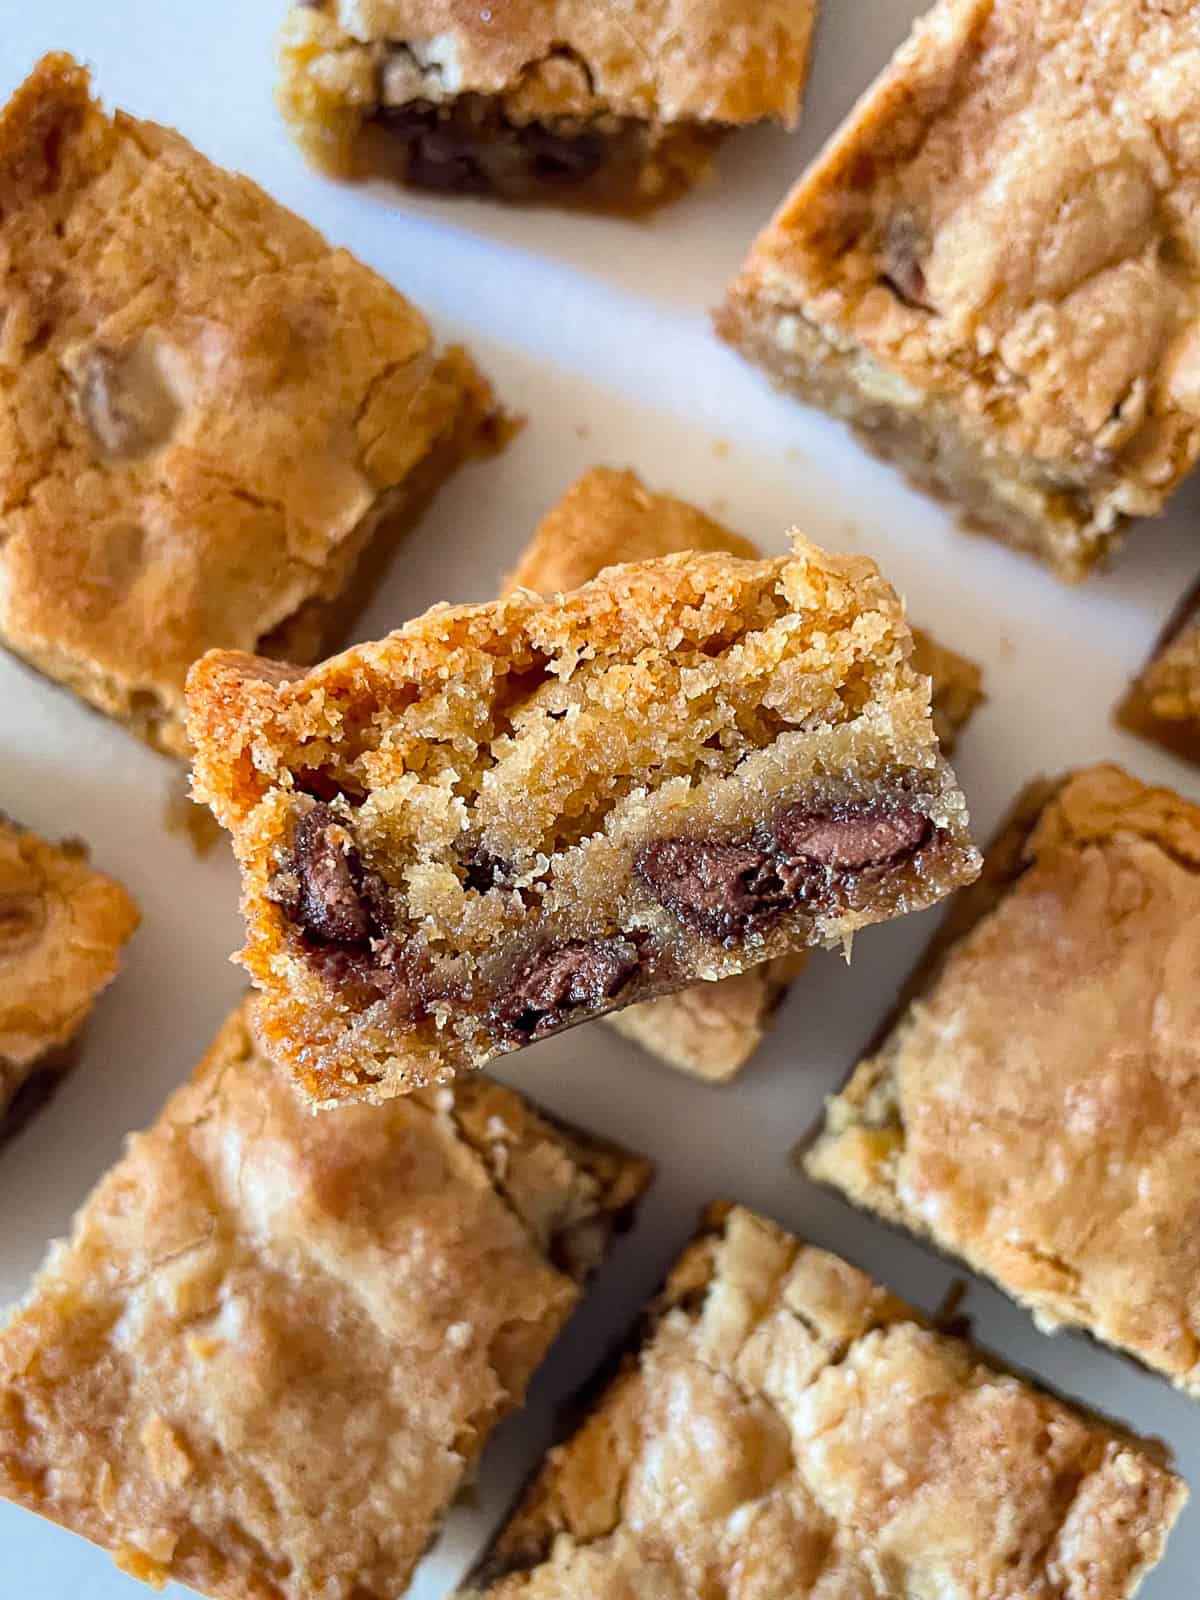
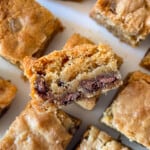
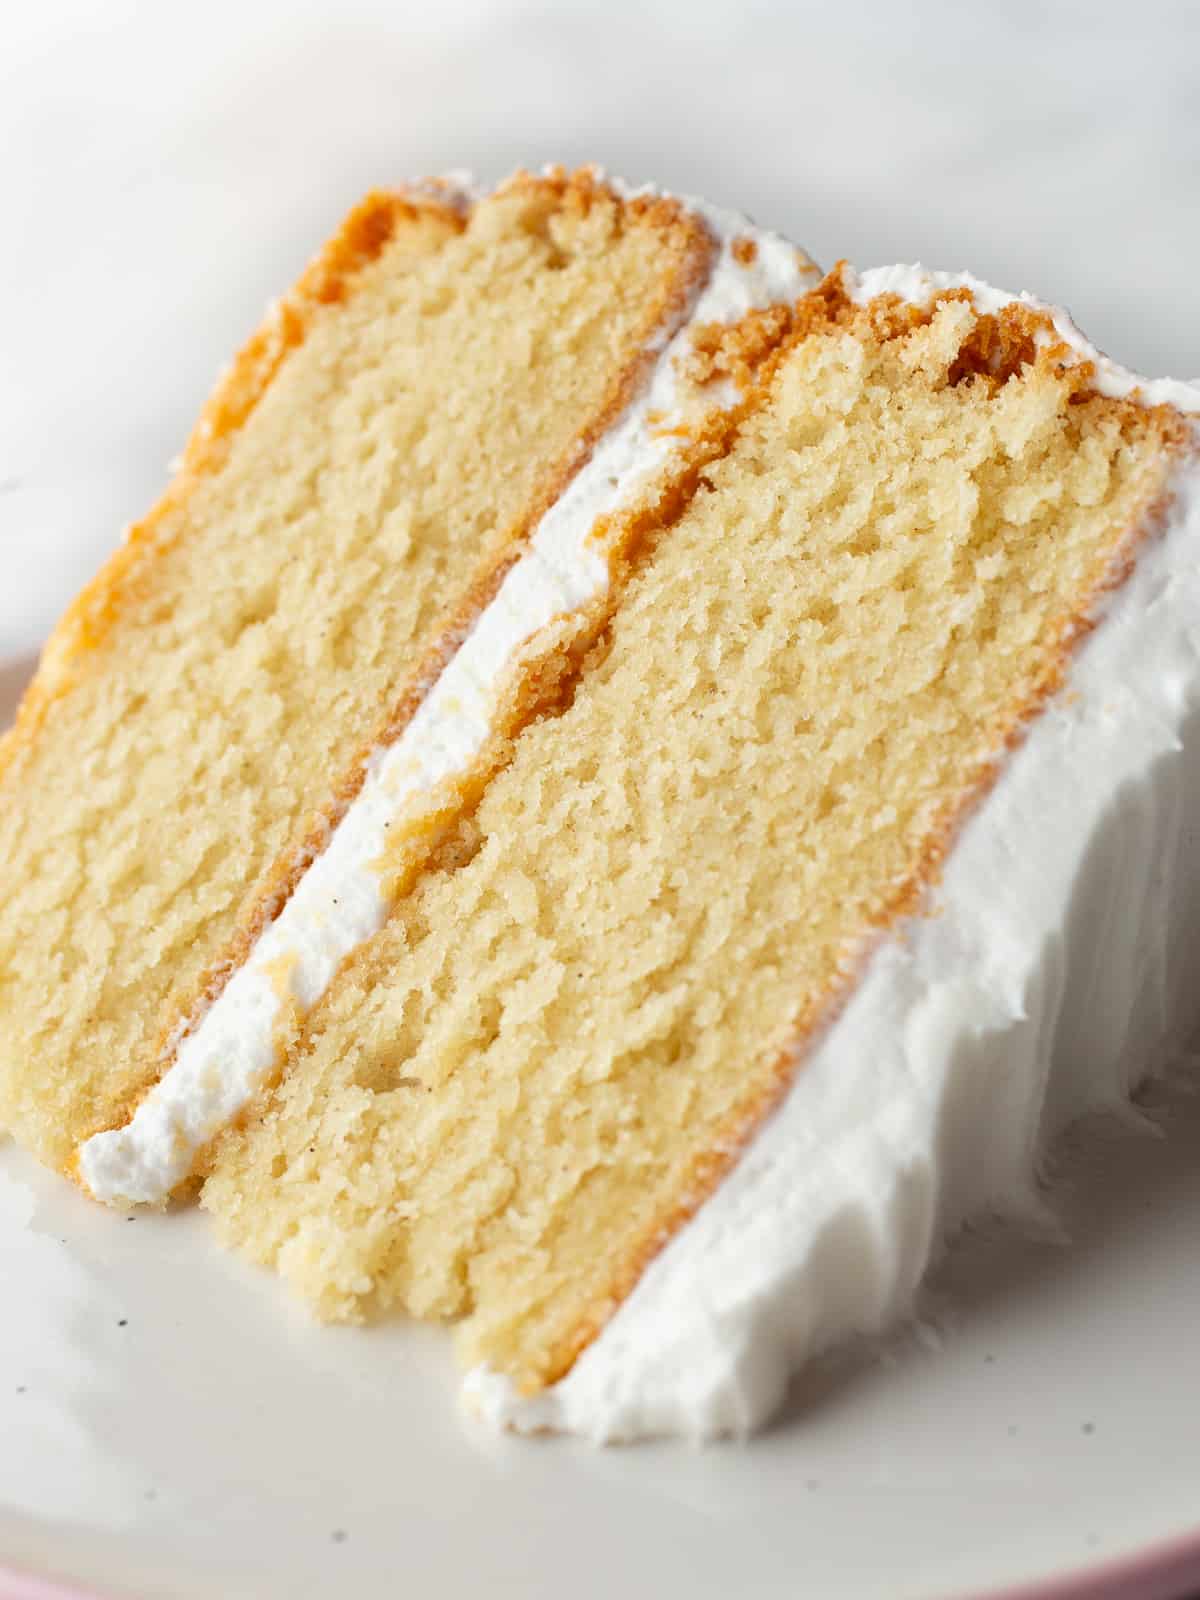
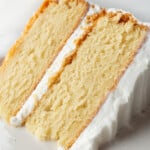
- The crumb. This cake has a dense, buttery crumb that’s not dry or grainy.
- The flavor. The vanilla and butter are the stars of the show.

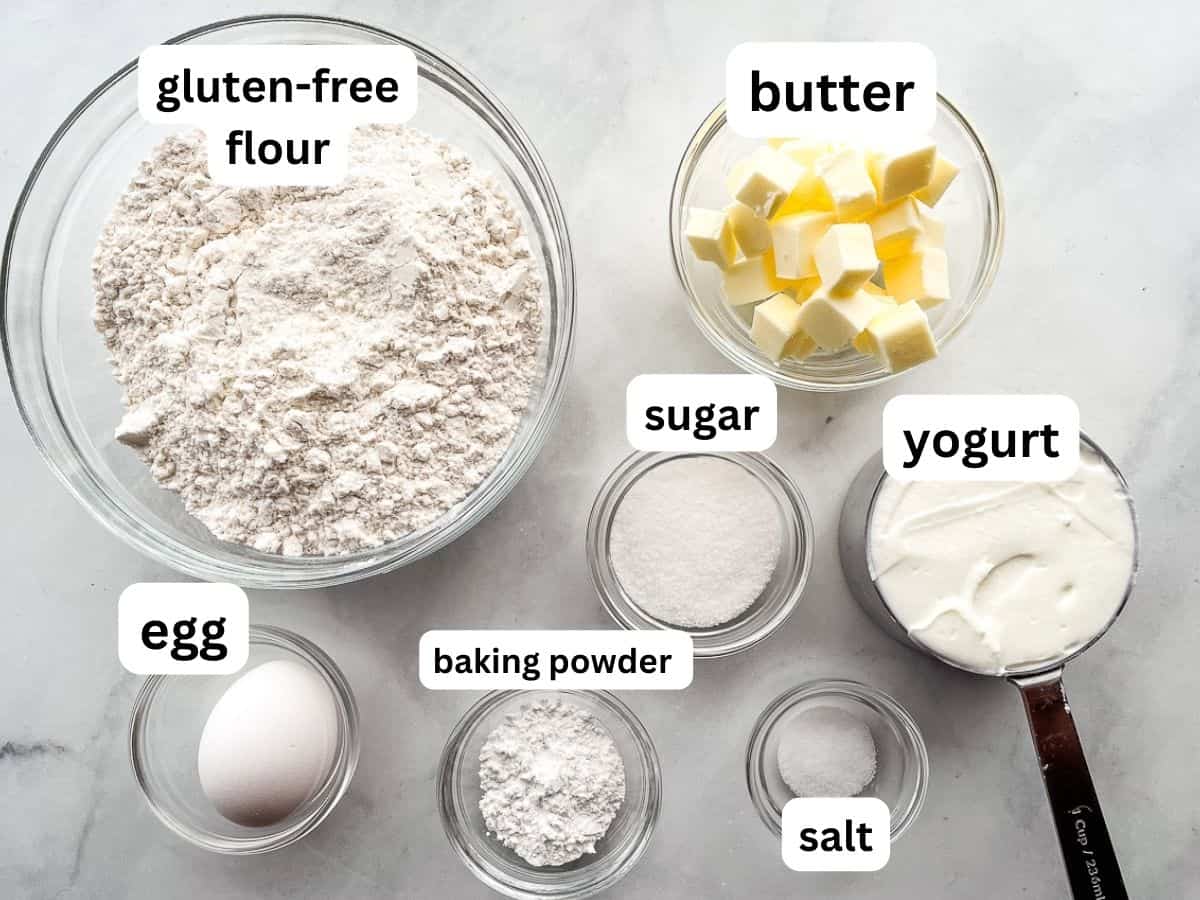
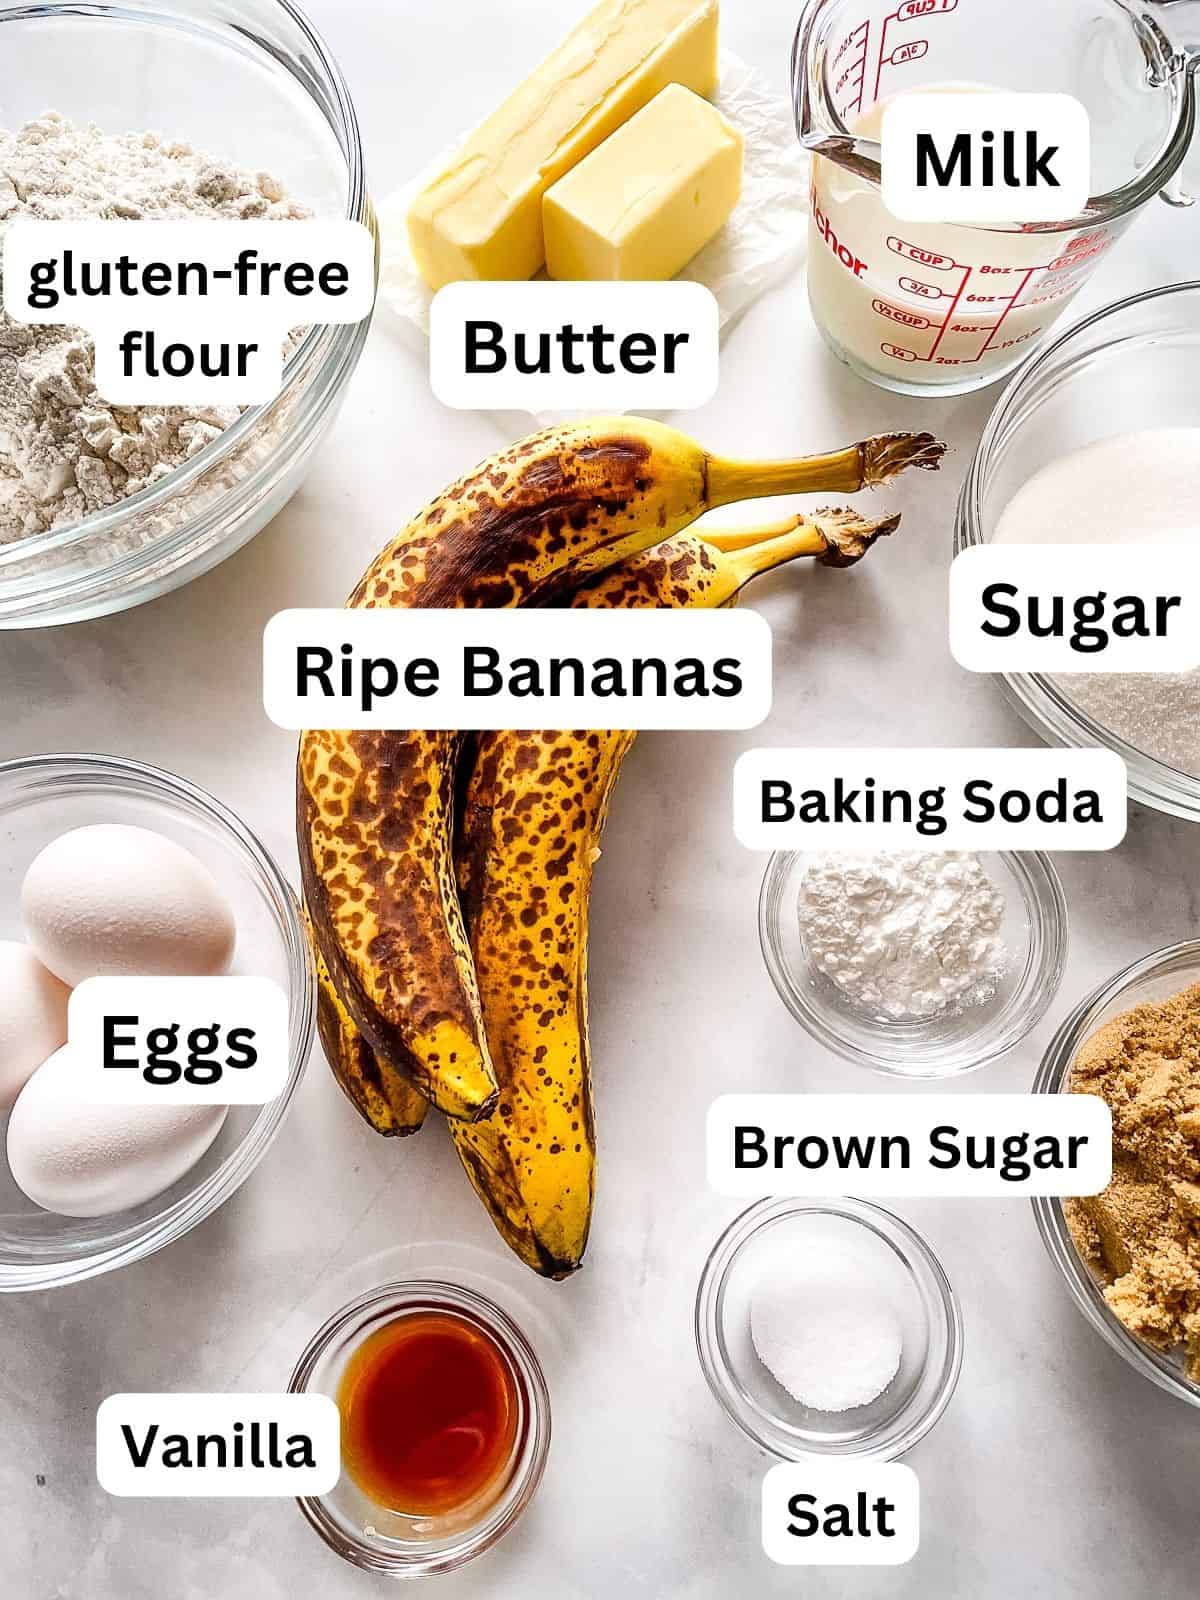
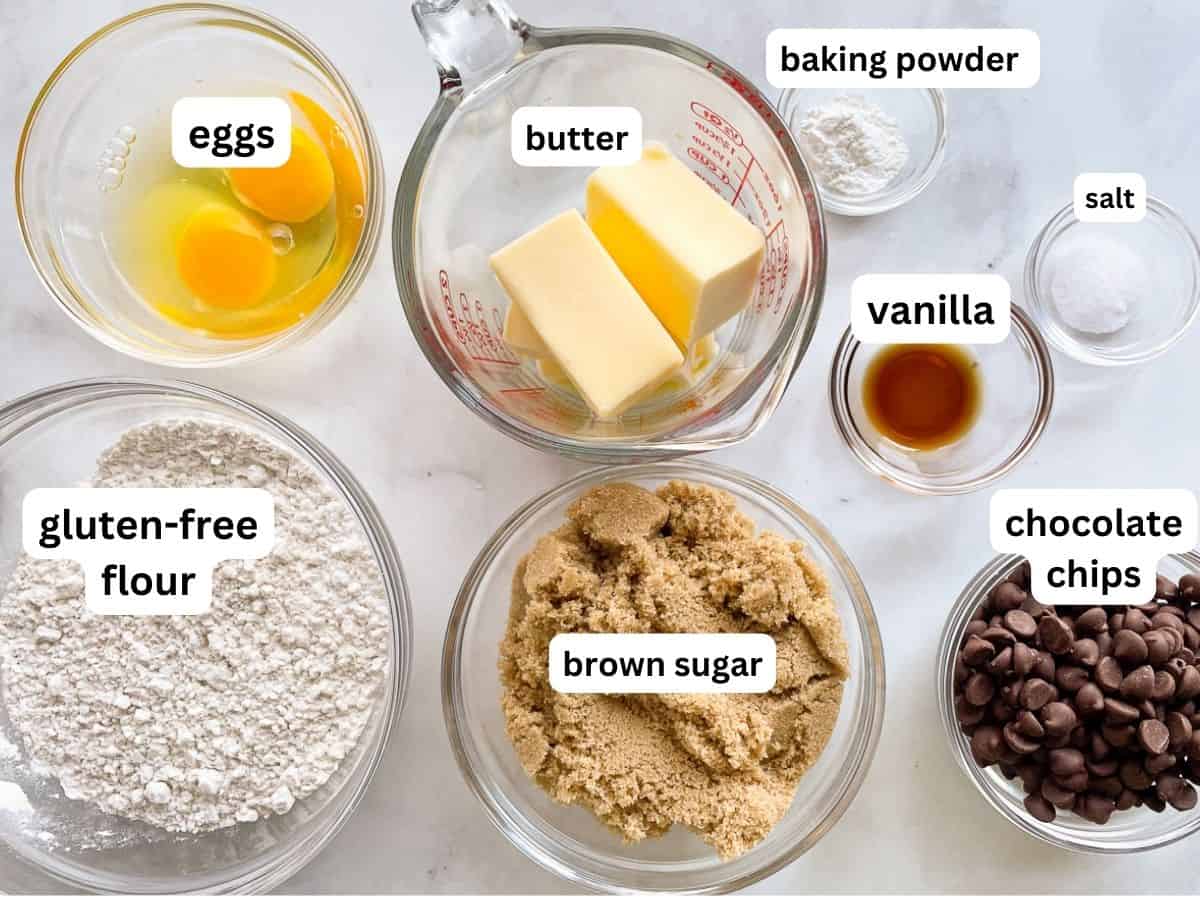
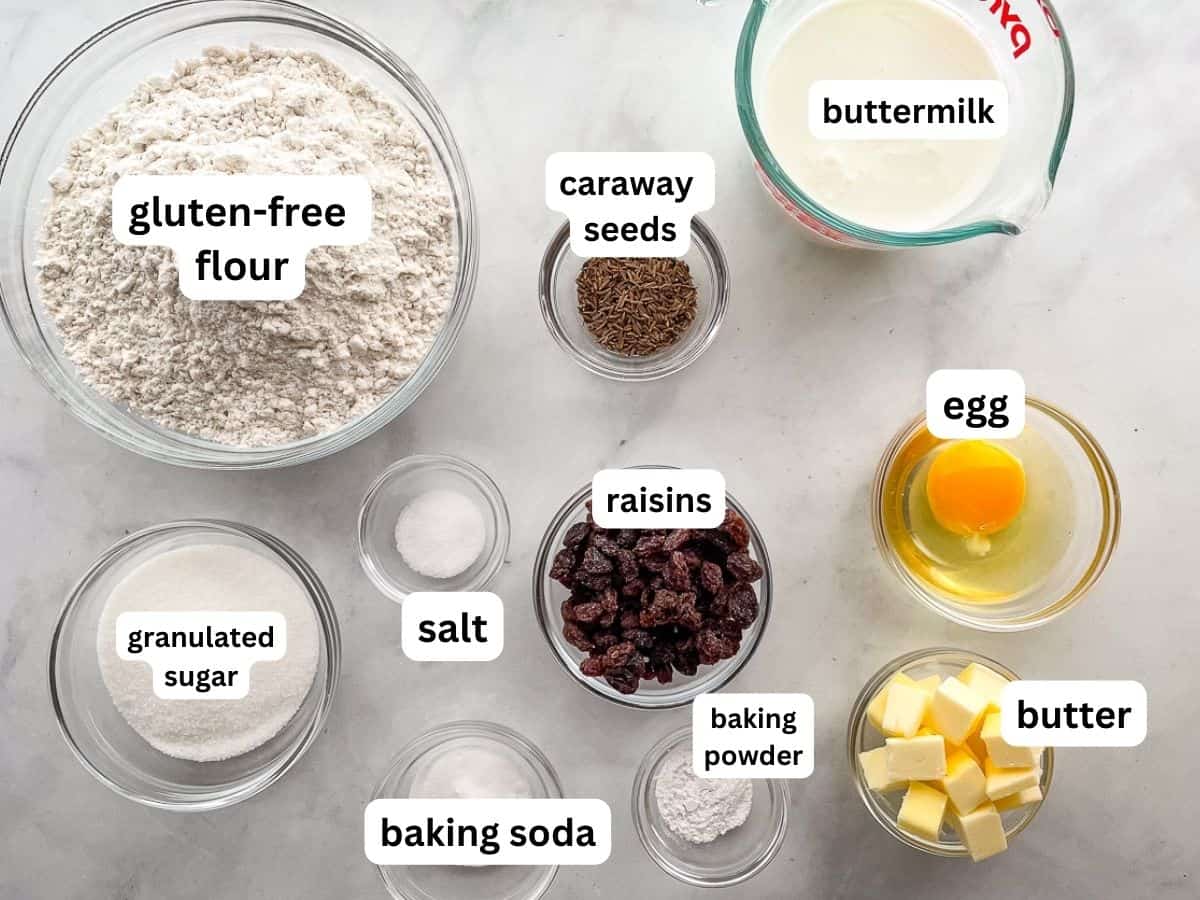
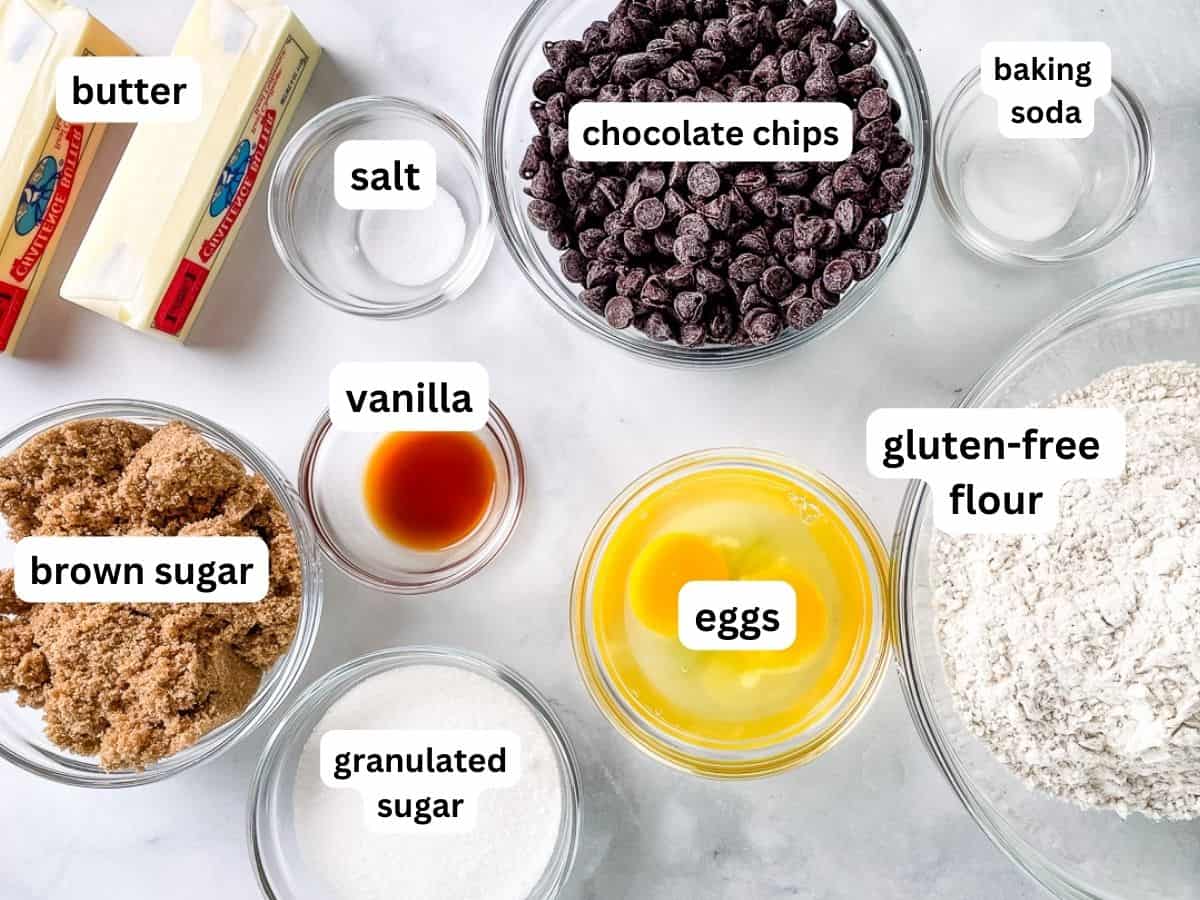
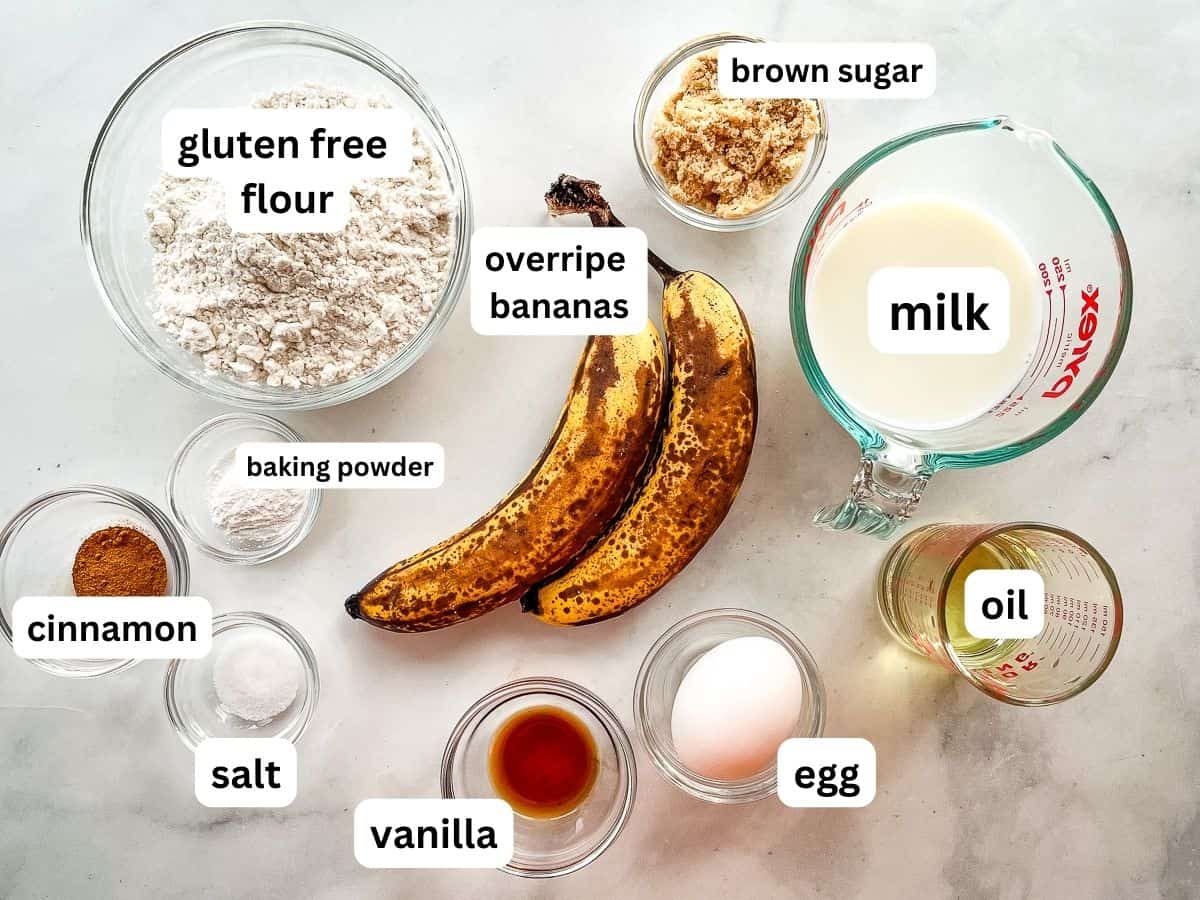
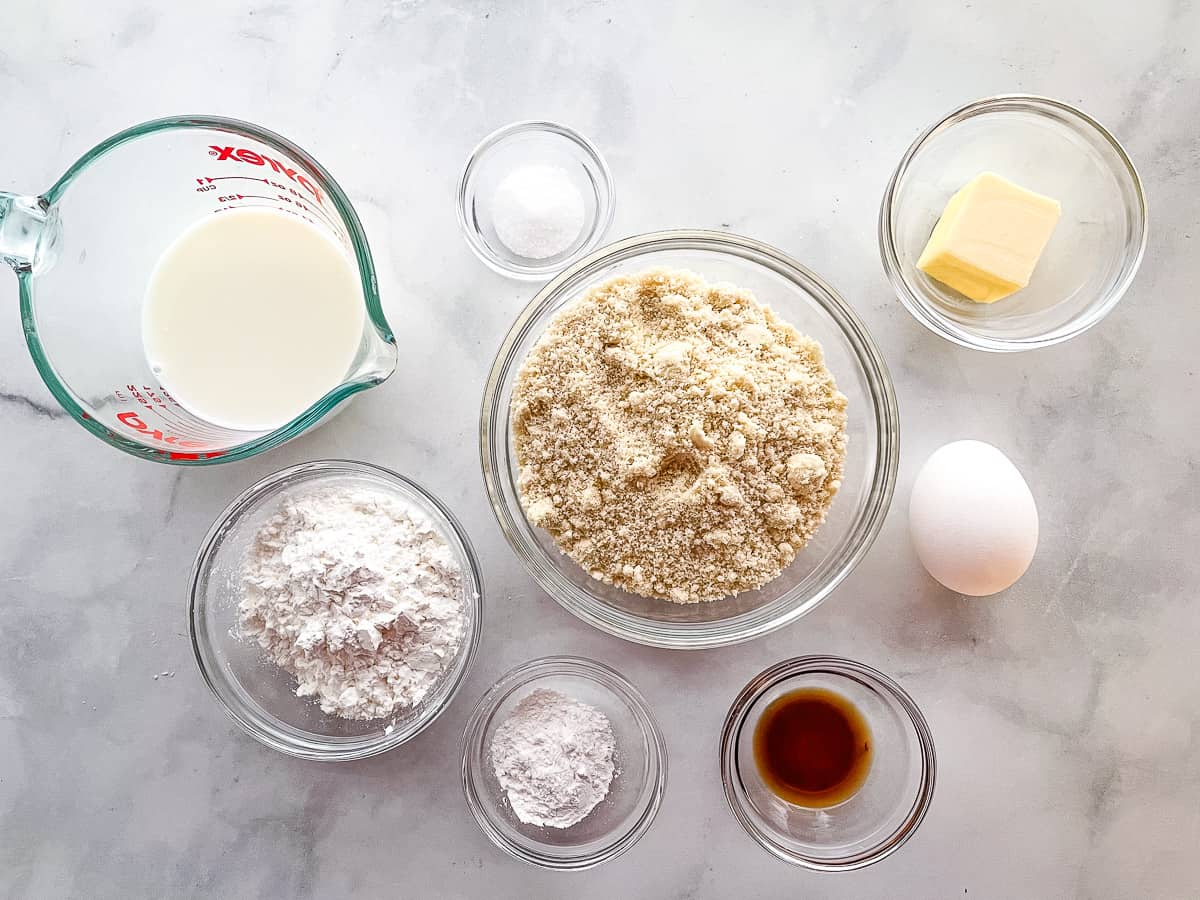
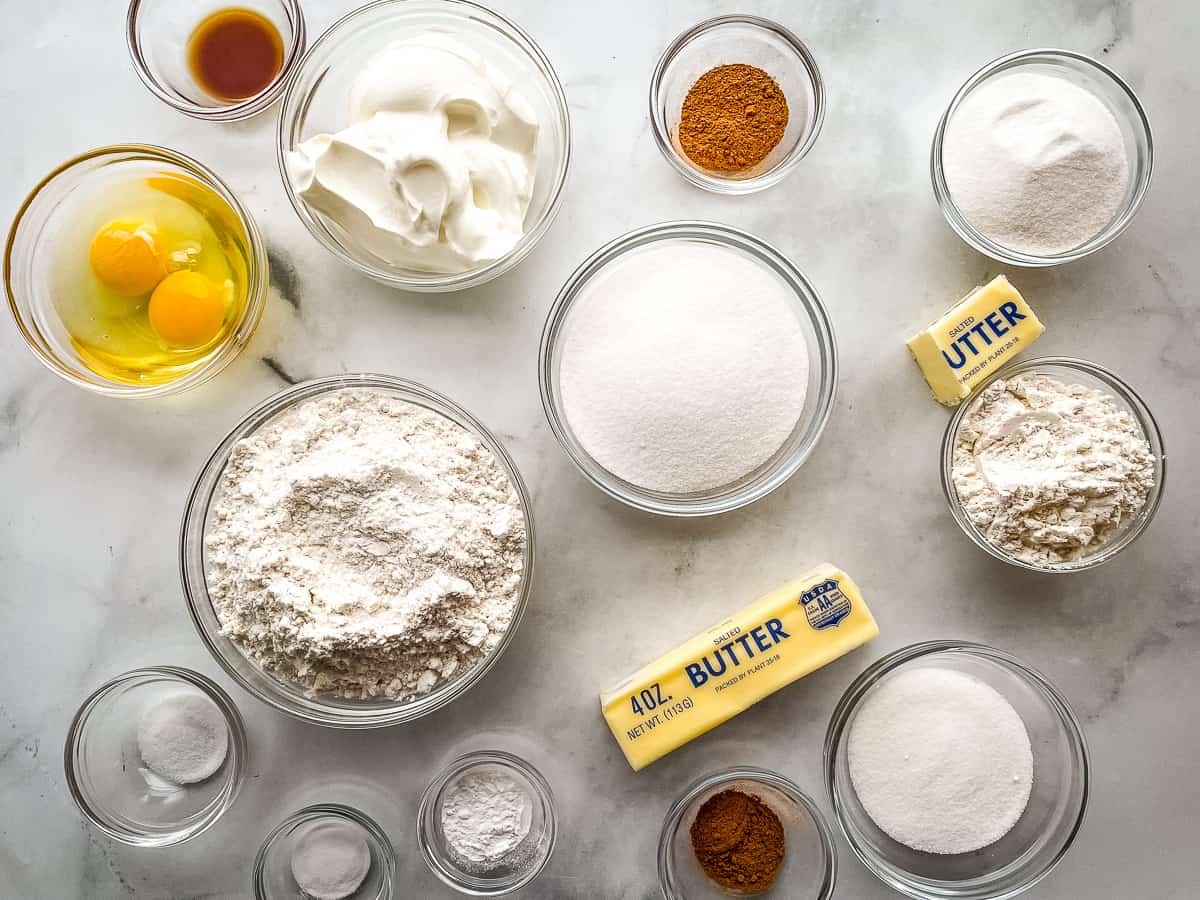
Ingredients.
- Gluten-Free Flour. I developed the recipe with Bob’s Red Mill 1:1 Gluten-Free Baking Flour. Using a different blend might change the texture of the cake.
Baker’s Note: Use a gluten-free flour blend that contains xanthan or guar gum. If your blend doesn’t, whisk ¾ teaspoon of xanthan gum into the flour before using. Don’t replace the gluten-free flour with almond flour. The recipe won’t work. If you’d like to use almond flour, try this recipe for an almond flour yellow cake. It works great. - Butter. Adds flavor, keeps the cake moist, and helps the cake to rise.
- Eggs. Three eggs play a key role in this recipe. They help the cake to rise, provide structure, and keep the cake moist. Unfortunately, this cake doesn’t work with egg replacers.
- Granulated Sugar. Adds sweetness. Be sure to use granulated sugar. Other sugars, including honey and sugar replacements, don’t work in this recipe.
- Milk. Gives the cake the flavor and texture. It also helps the batter come together.
- Sour Cream. Adds flavor and richness. You can replace the sour cream with whole-milk yogurt. Since yogurt contains less fat than sour cream, the texture of the cake will be a little drier. I don’t recommend using low-fat or fat-free sour cream or yogurt in this recipe.
- Vanilla Extract. Two teaspoons of vanilla extract give the cake batter a lovely flavor.
- Baking Powder and Baking Soda. The combination of baking powder and baking soda gives this cake a nice rise and tender texture.
- Salt. A teaspoon of salt enhances the flavor of this cake. Without salt, most gluten-free baked goods taste flat. This cake is no expectation.
How to Make a Gluten-Free Vanilla Cake.
Here’s how to make this cake. It’s important to note that the gluten-free flour must be added in two stages. You alternate adding the gluten-free flour with the milk and sour cream. It’s an extra step but it gives you a batter that’s smooth and creamy. This makes a cake with a wonderful crumb.
Prepare the Pan, Oven, and Ingredients.
- Grease two 8-inch pans with nonstick cooking spray and line with a piece of parchment paper.
- Set the oven to 350℉
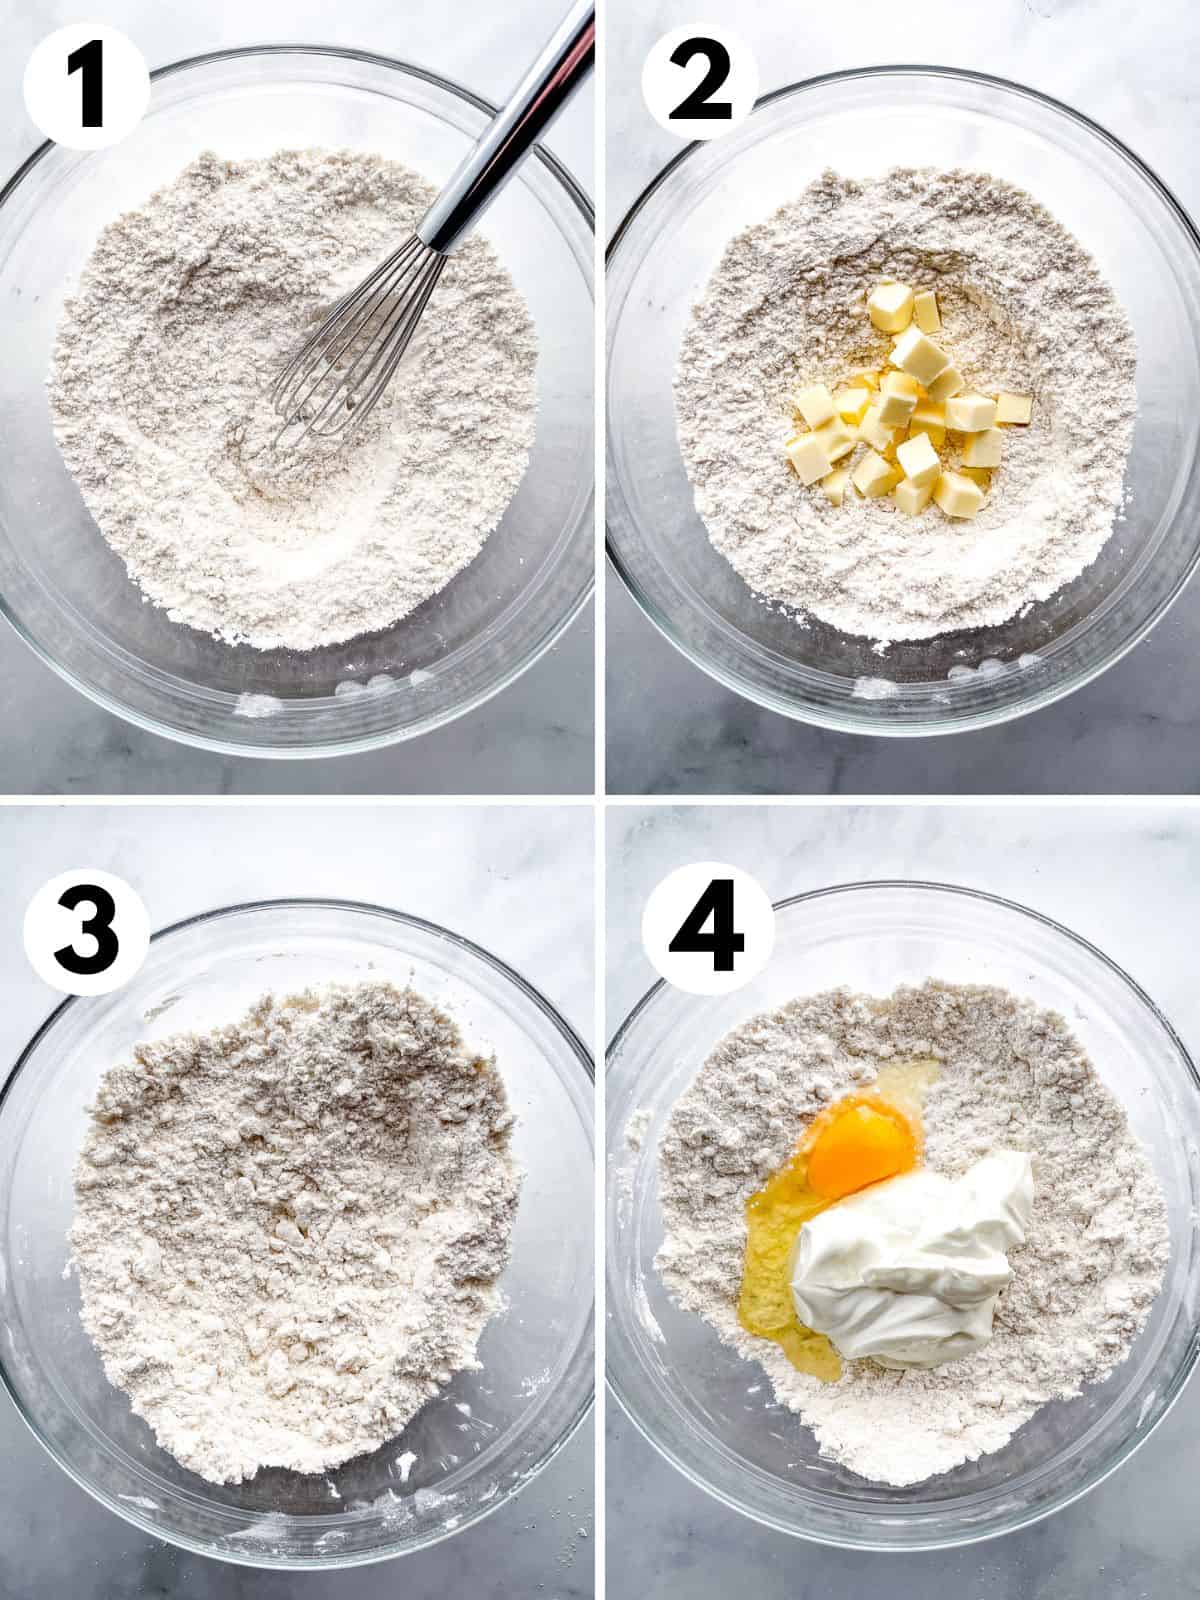
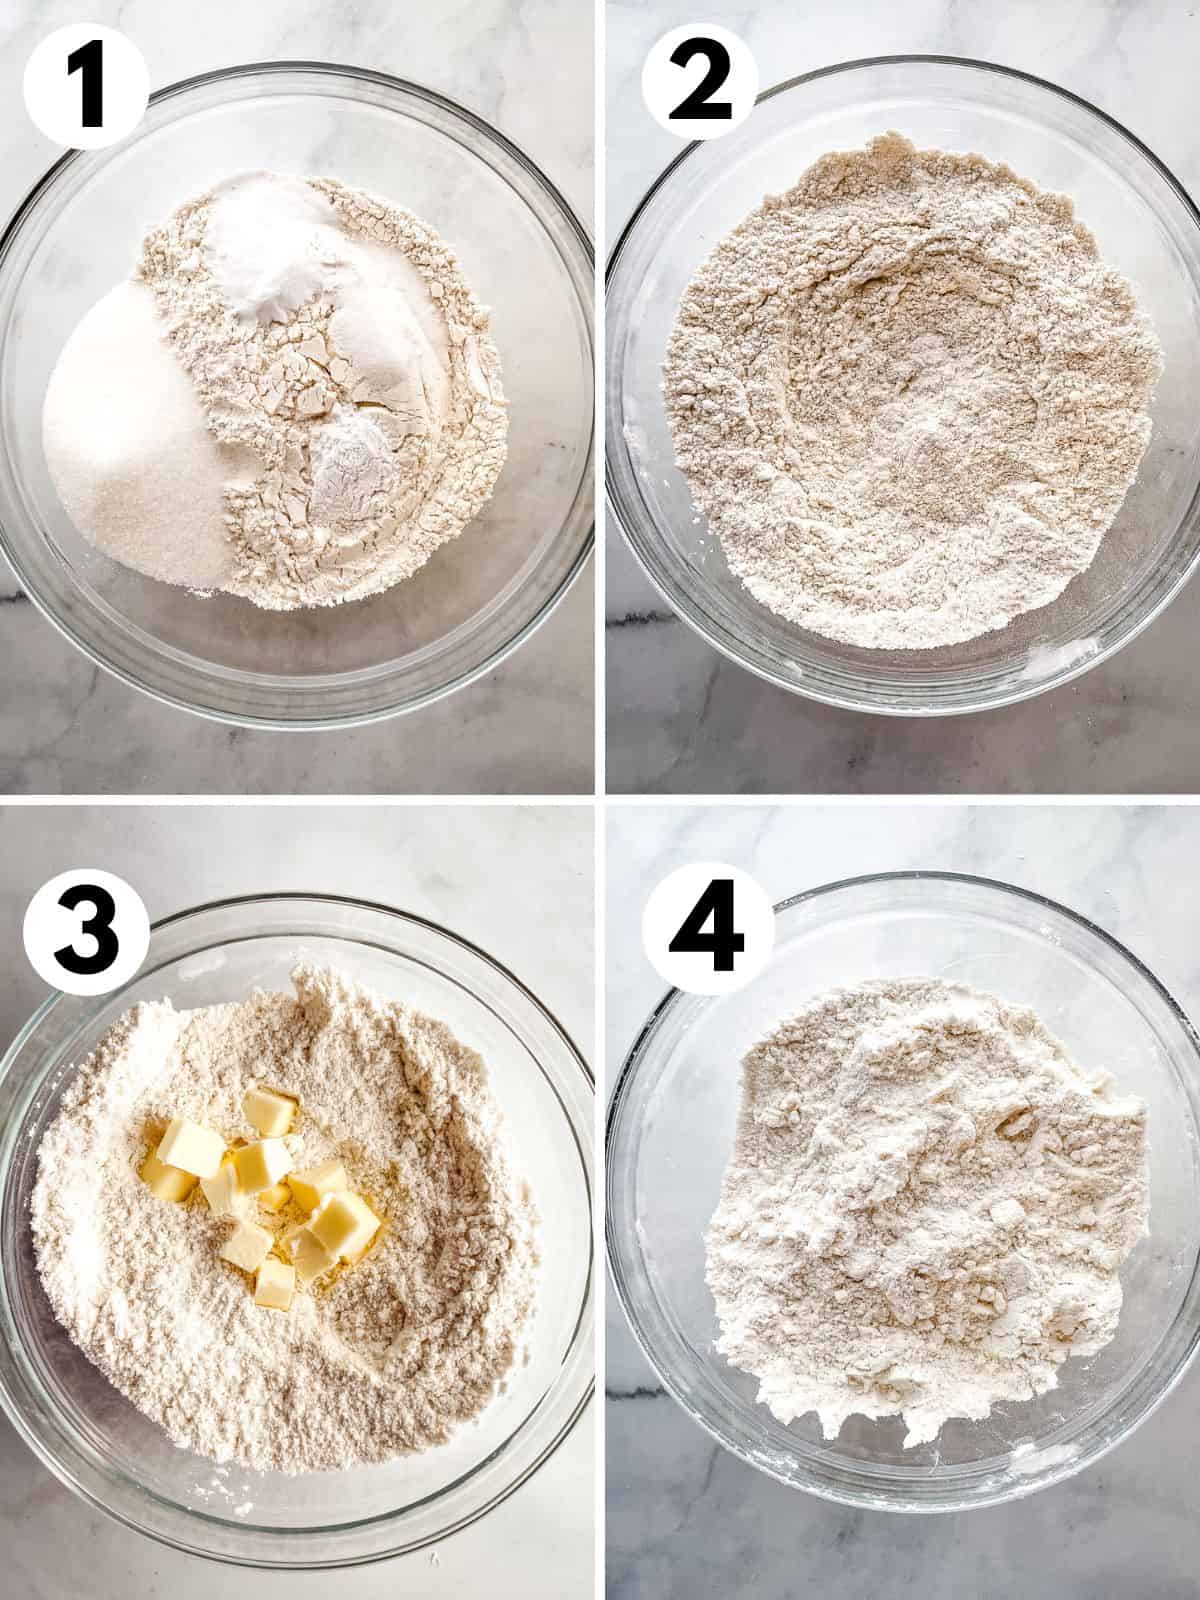
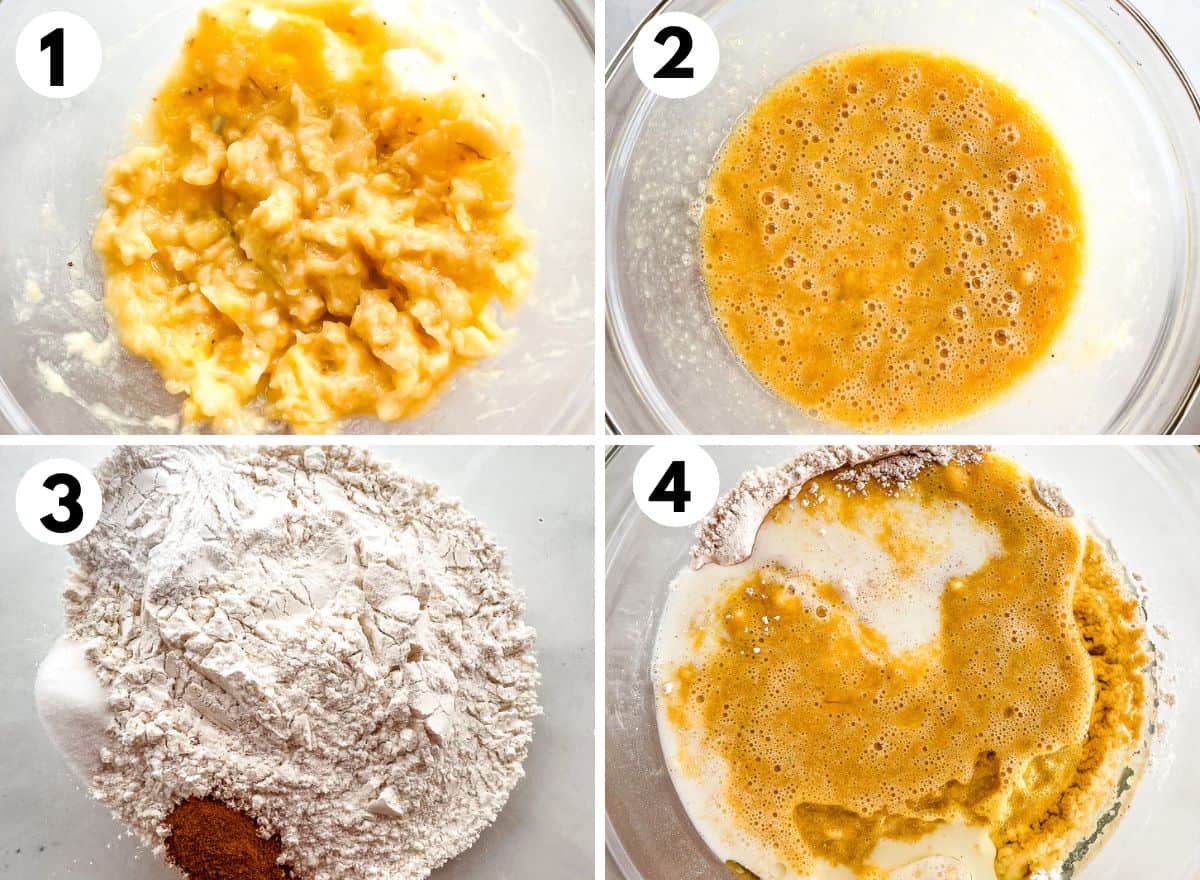
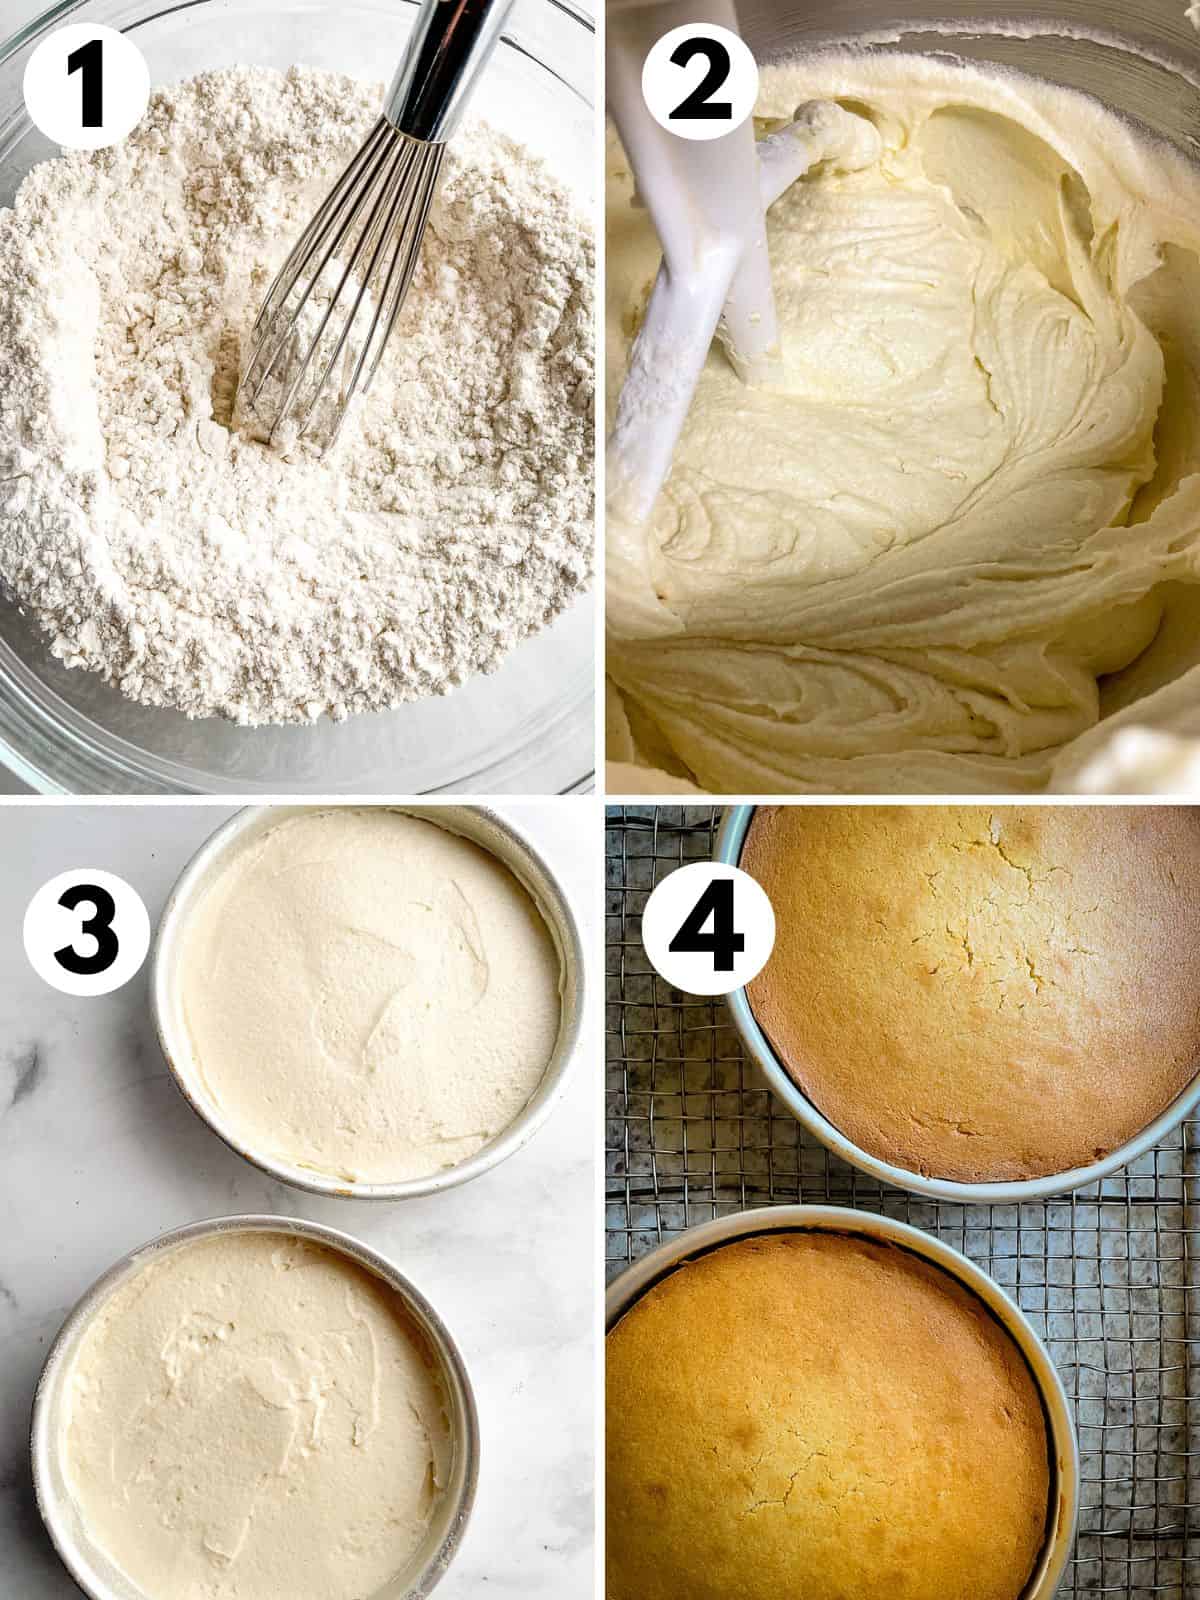
- Whisk the gluten-free flour, baking powder, baking soda, and salt in a medium bowl.
- In a separate bowl or large measuring cup, mix the milk, sour cream, and vanilla extract together until smooth.
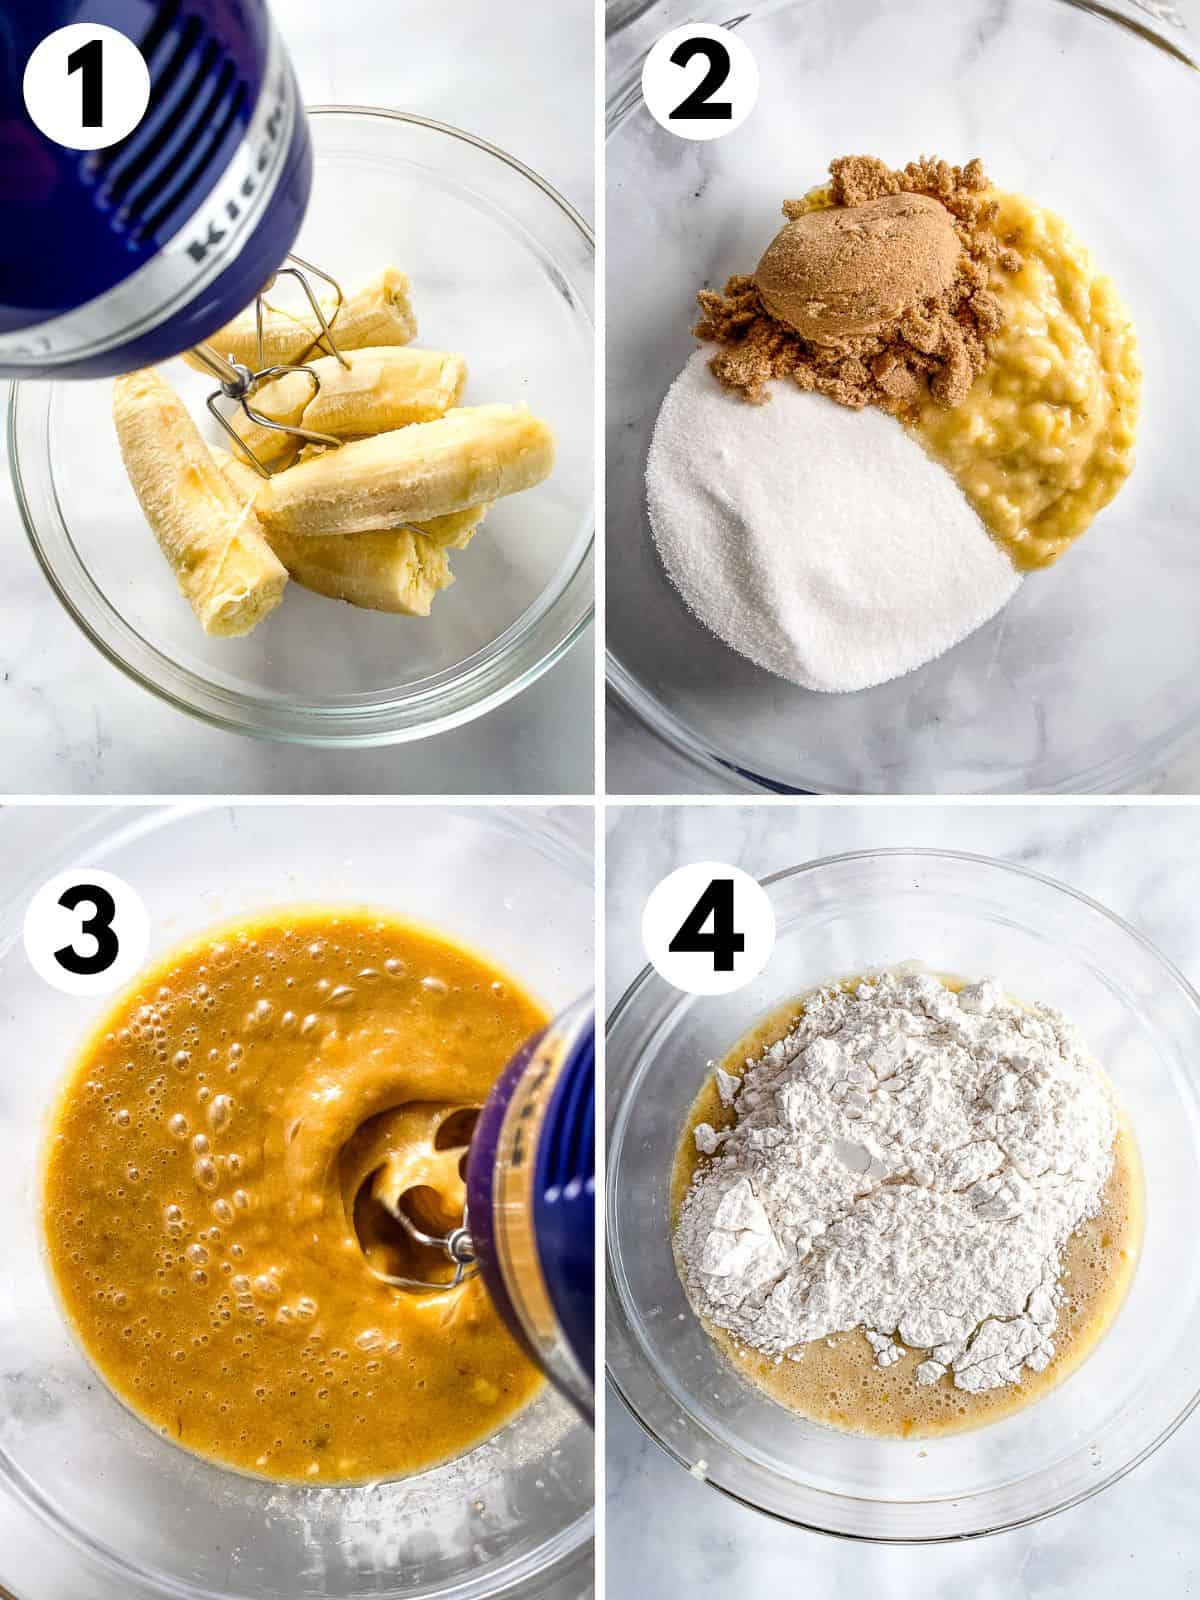
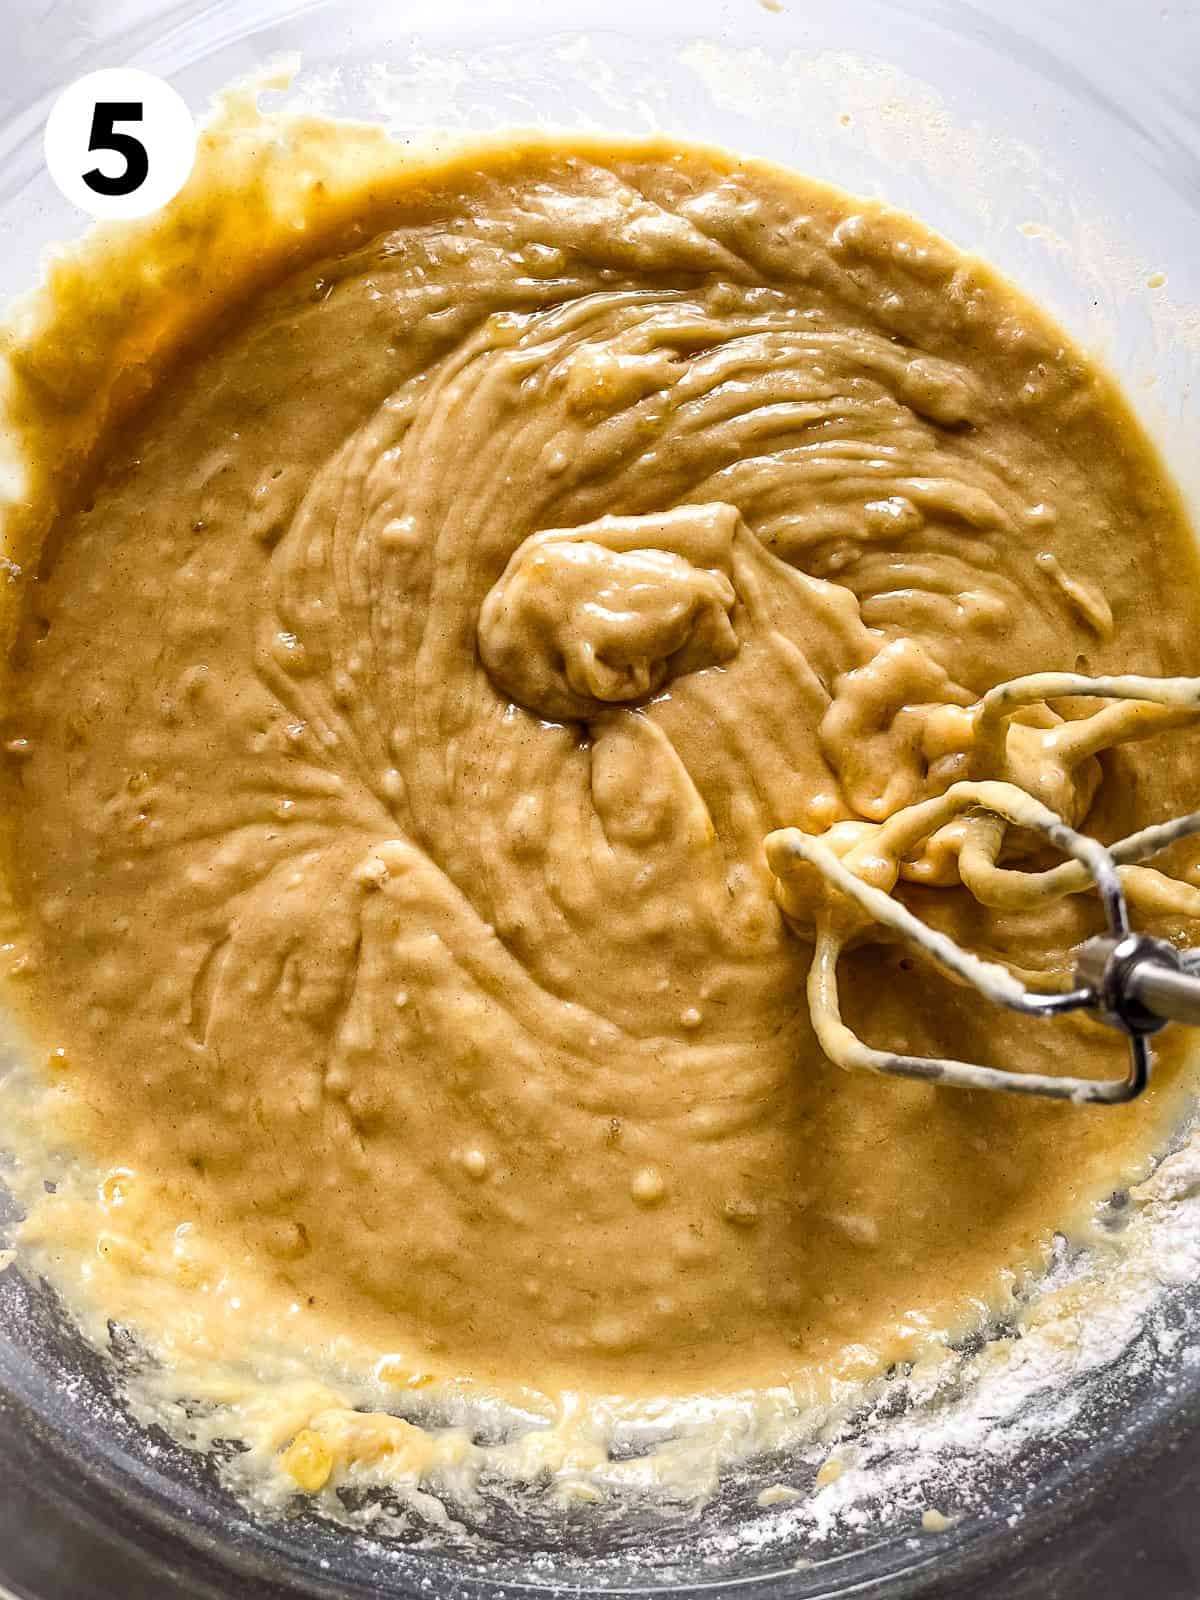
Make the Batter.
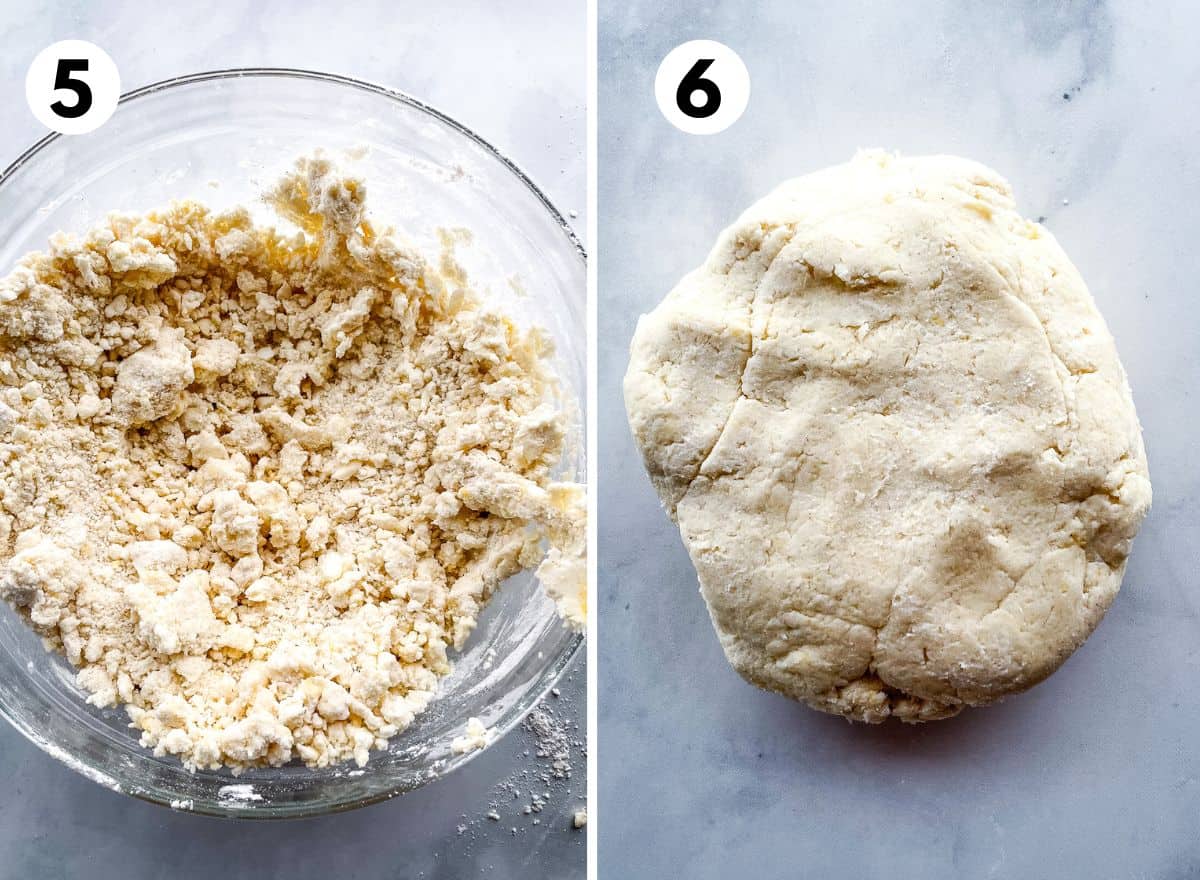
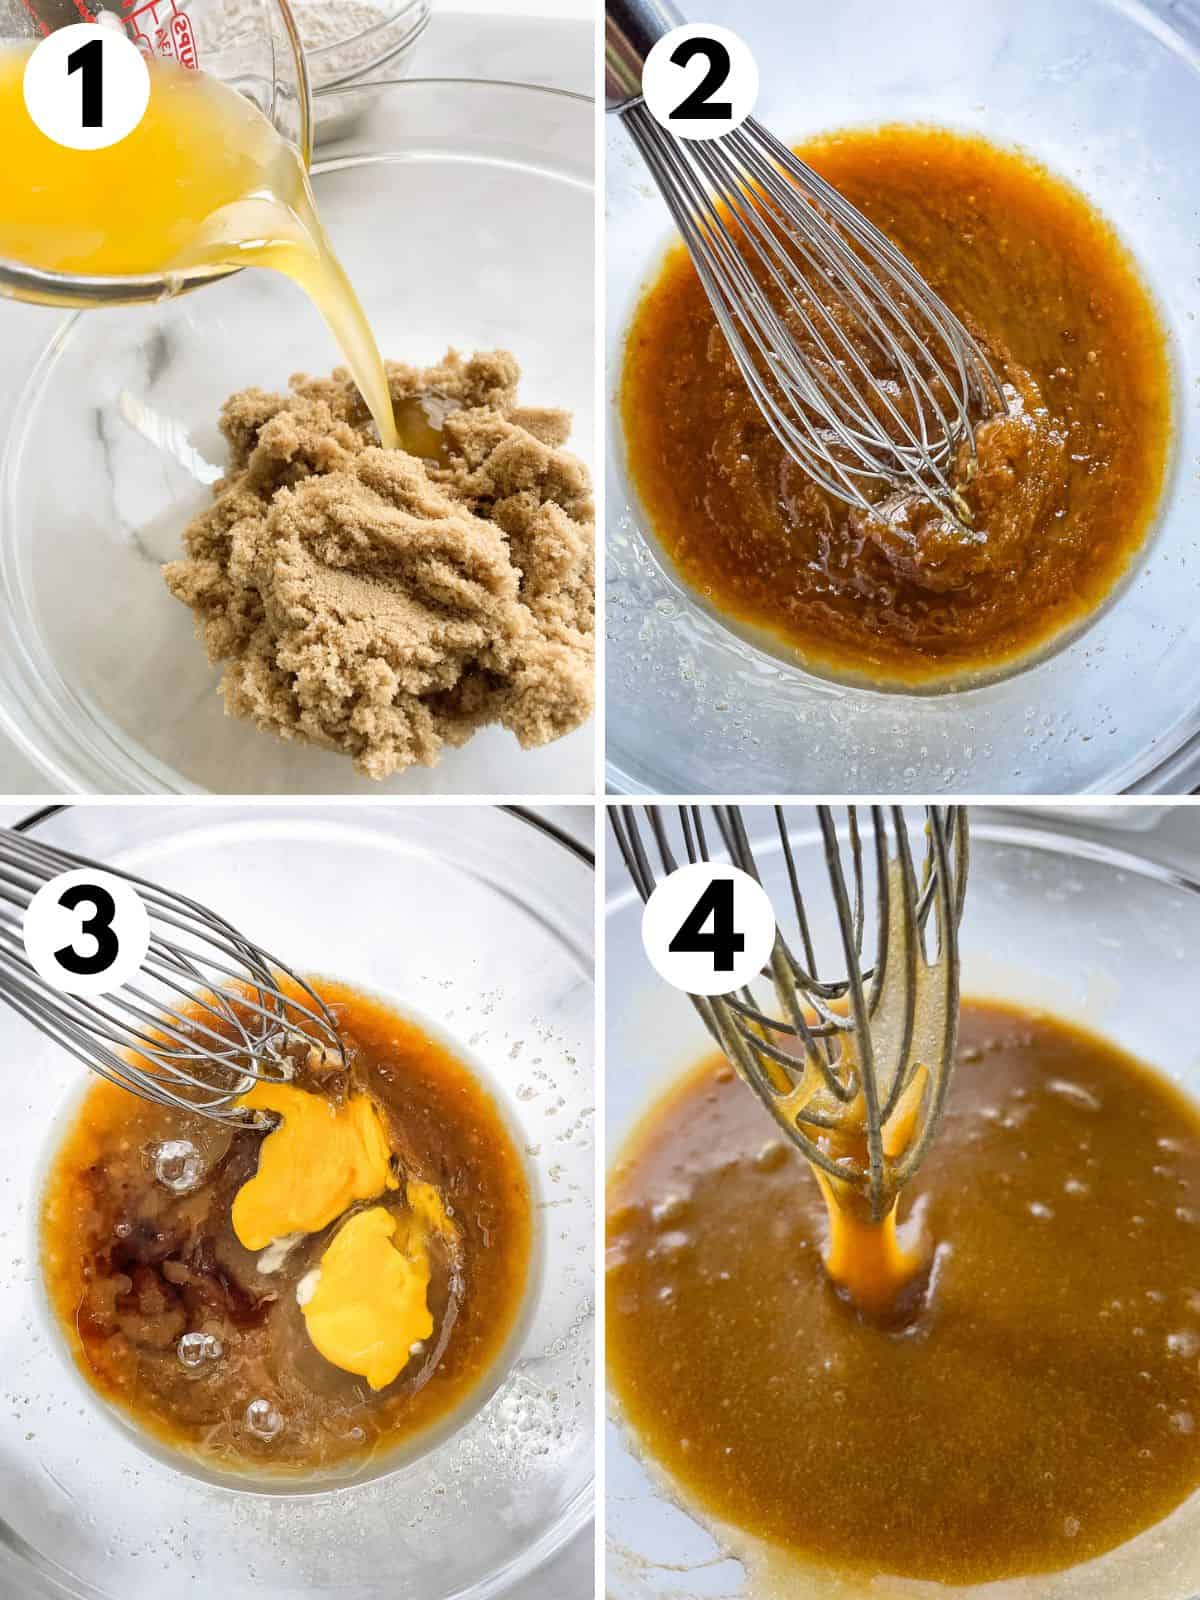
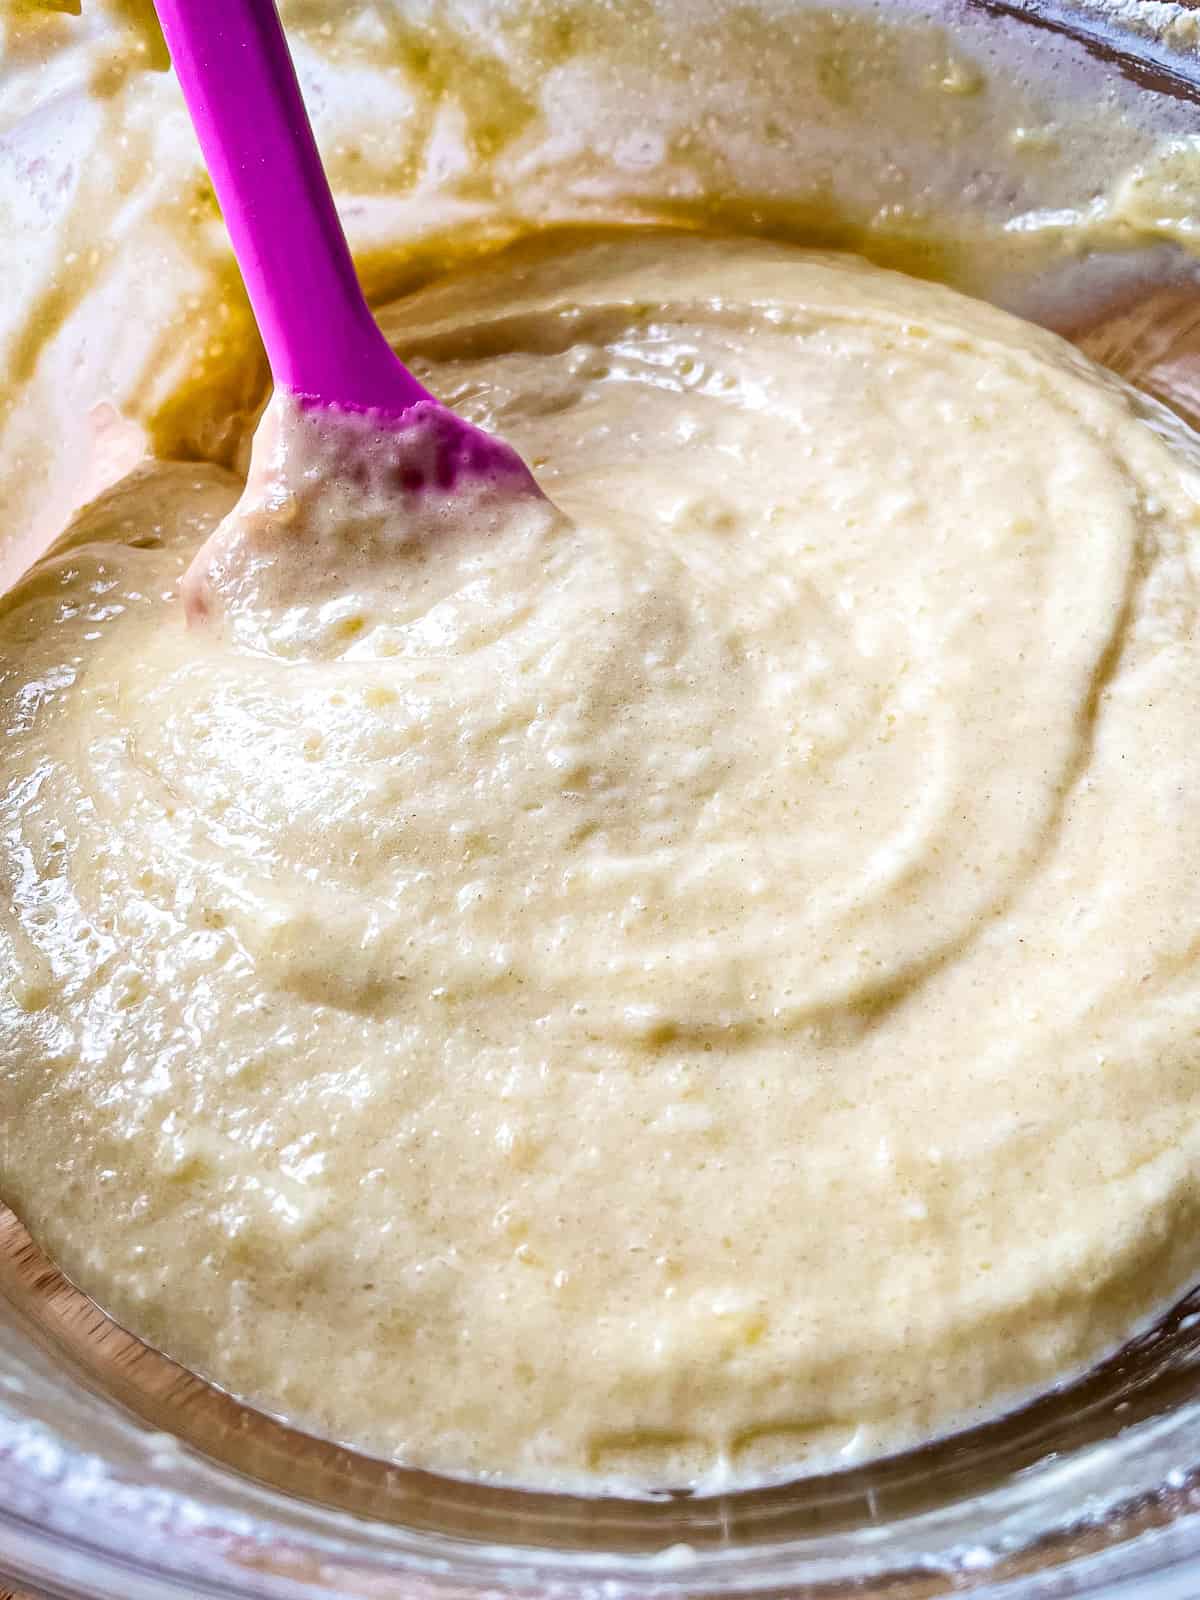
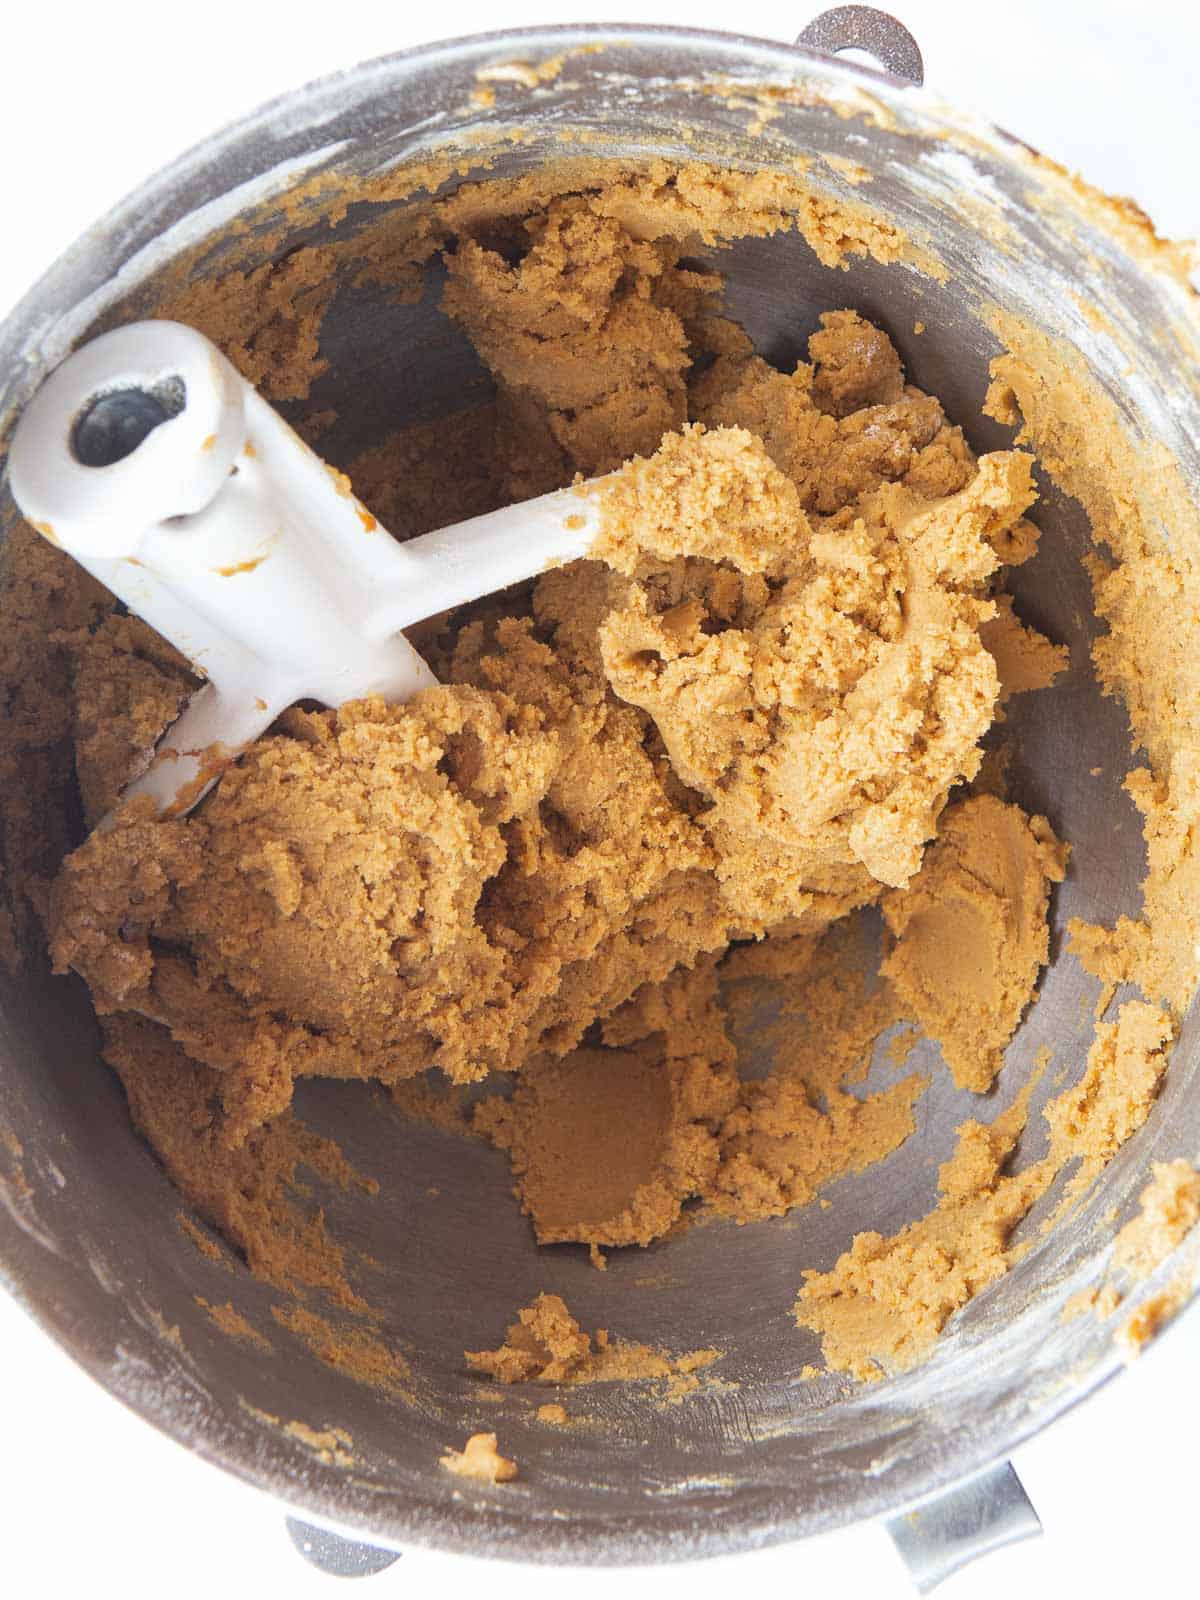
- In a large bowl, mix the softened butter and sugar until it’s light and fluffy. If it looks like frosting, you’ve done it right.
- One by one, add the eggs. Let each egg mix into the sugar-butter mixture before you add the next one.
- After you’ve added all the eggs, stop the mixer. Scrape down the bottom and sides of the bowl.
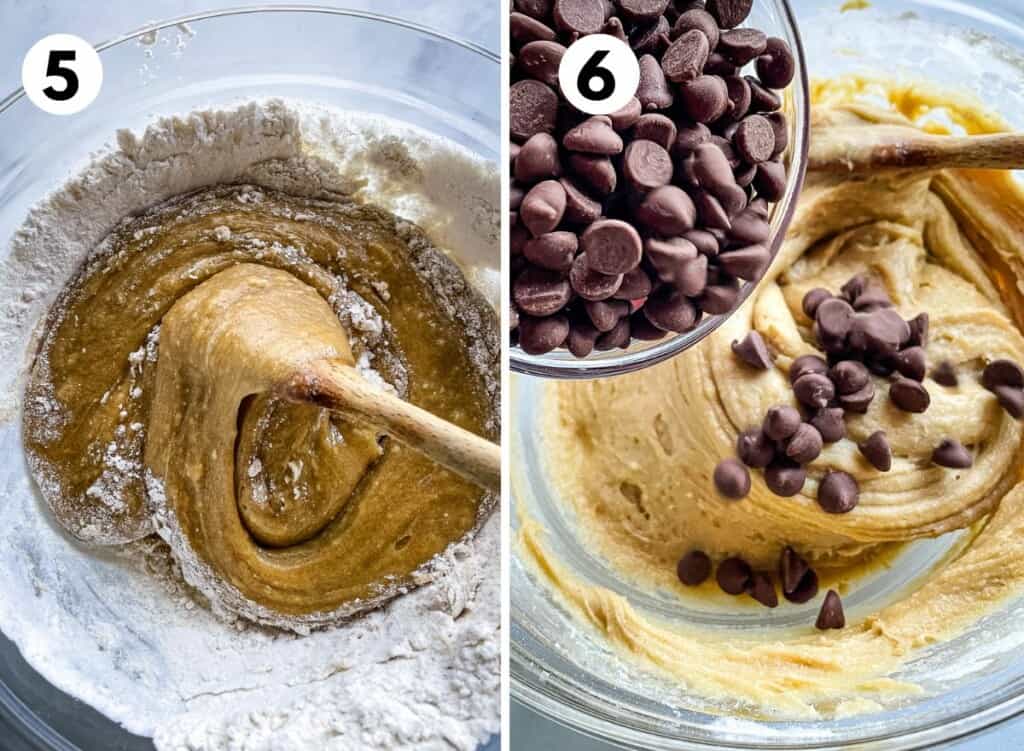
- Turn the mixer to low speed. Add half the gluten-free flour mixture. Let it mix until smooth. It will be thick.
- Add half the milk-sour cream mixture in a slow and steady stream. Mix until creamy.
- Once it’s smooth, repeat the process. Add the remaining gluten-free flour. Let it mix into the batter. Add the remaining milk-sour cream mixture. Let it mix until a thick batter forms.
- Stop the mixer. Scrape down the sides and bottom of the bowl. Mix for another 30 seconds or so.
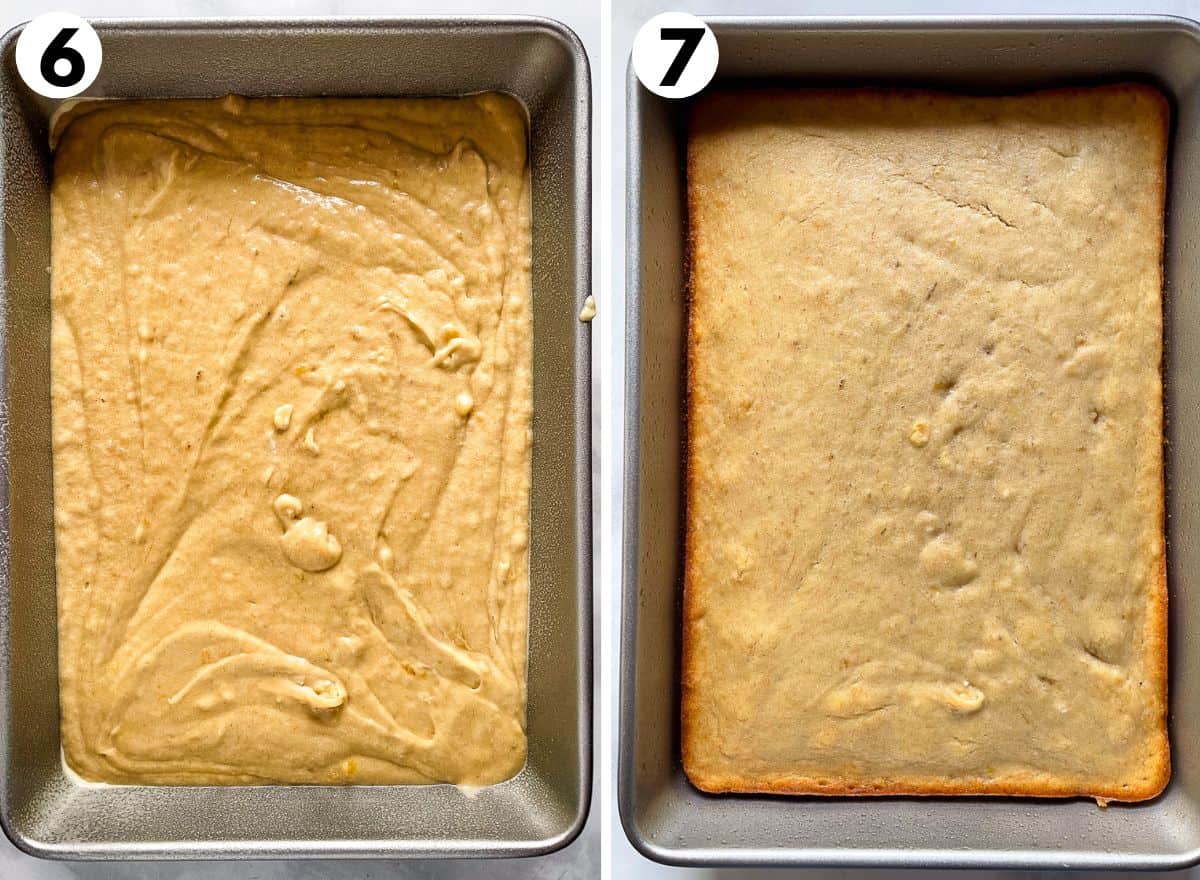
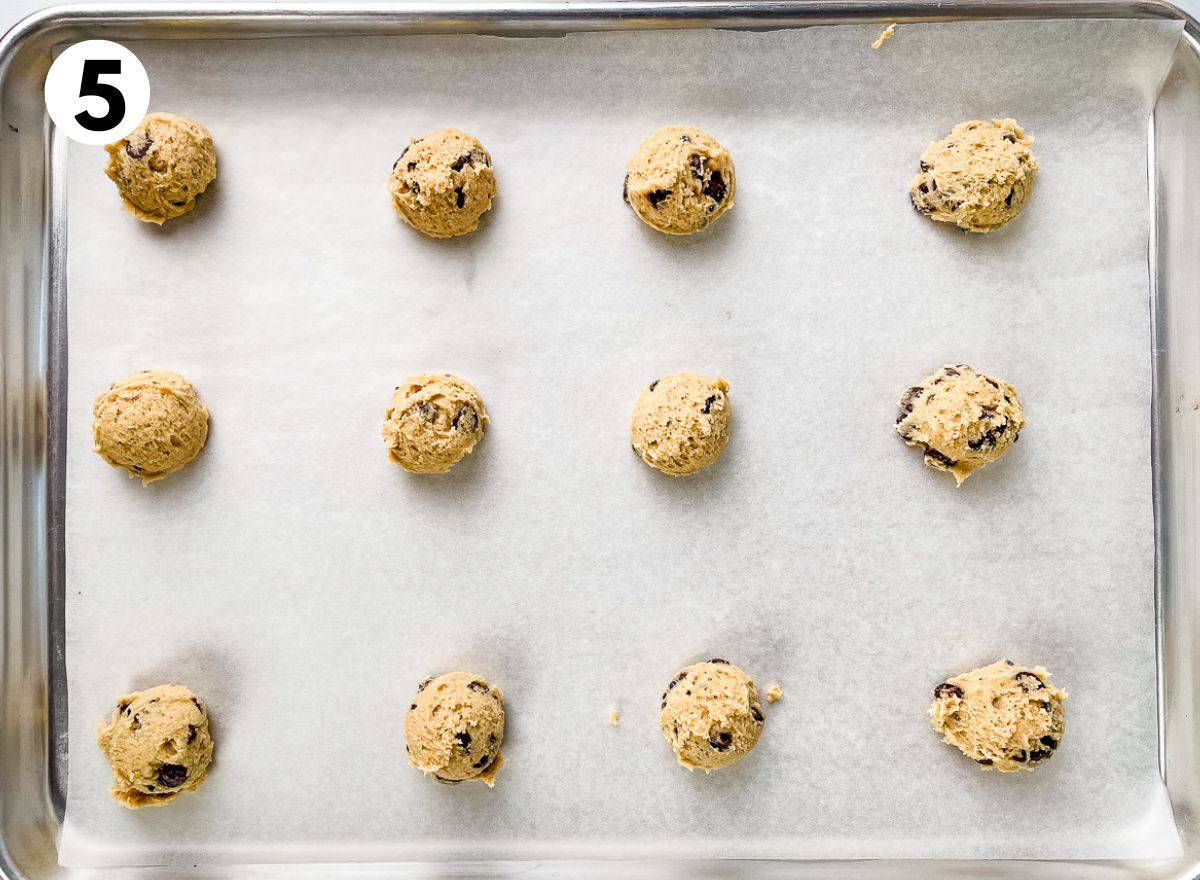
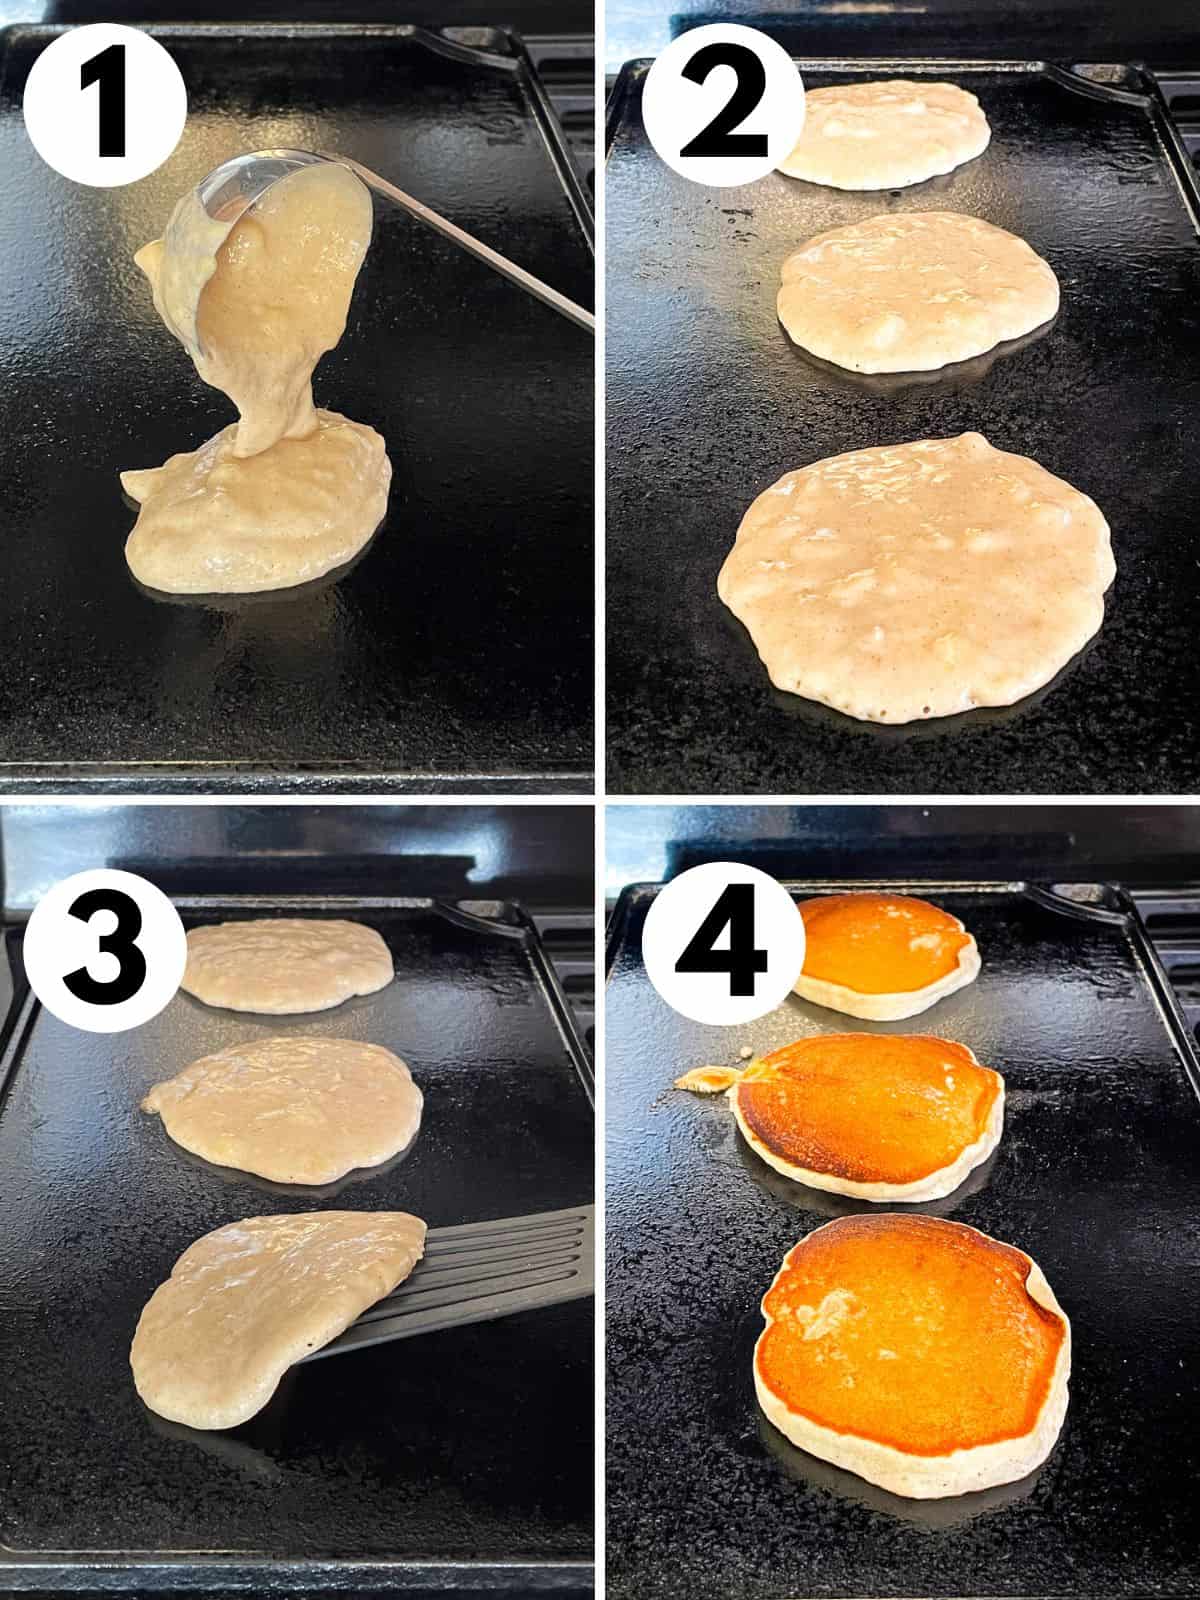
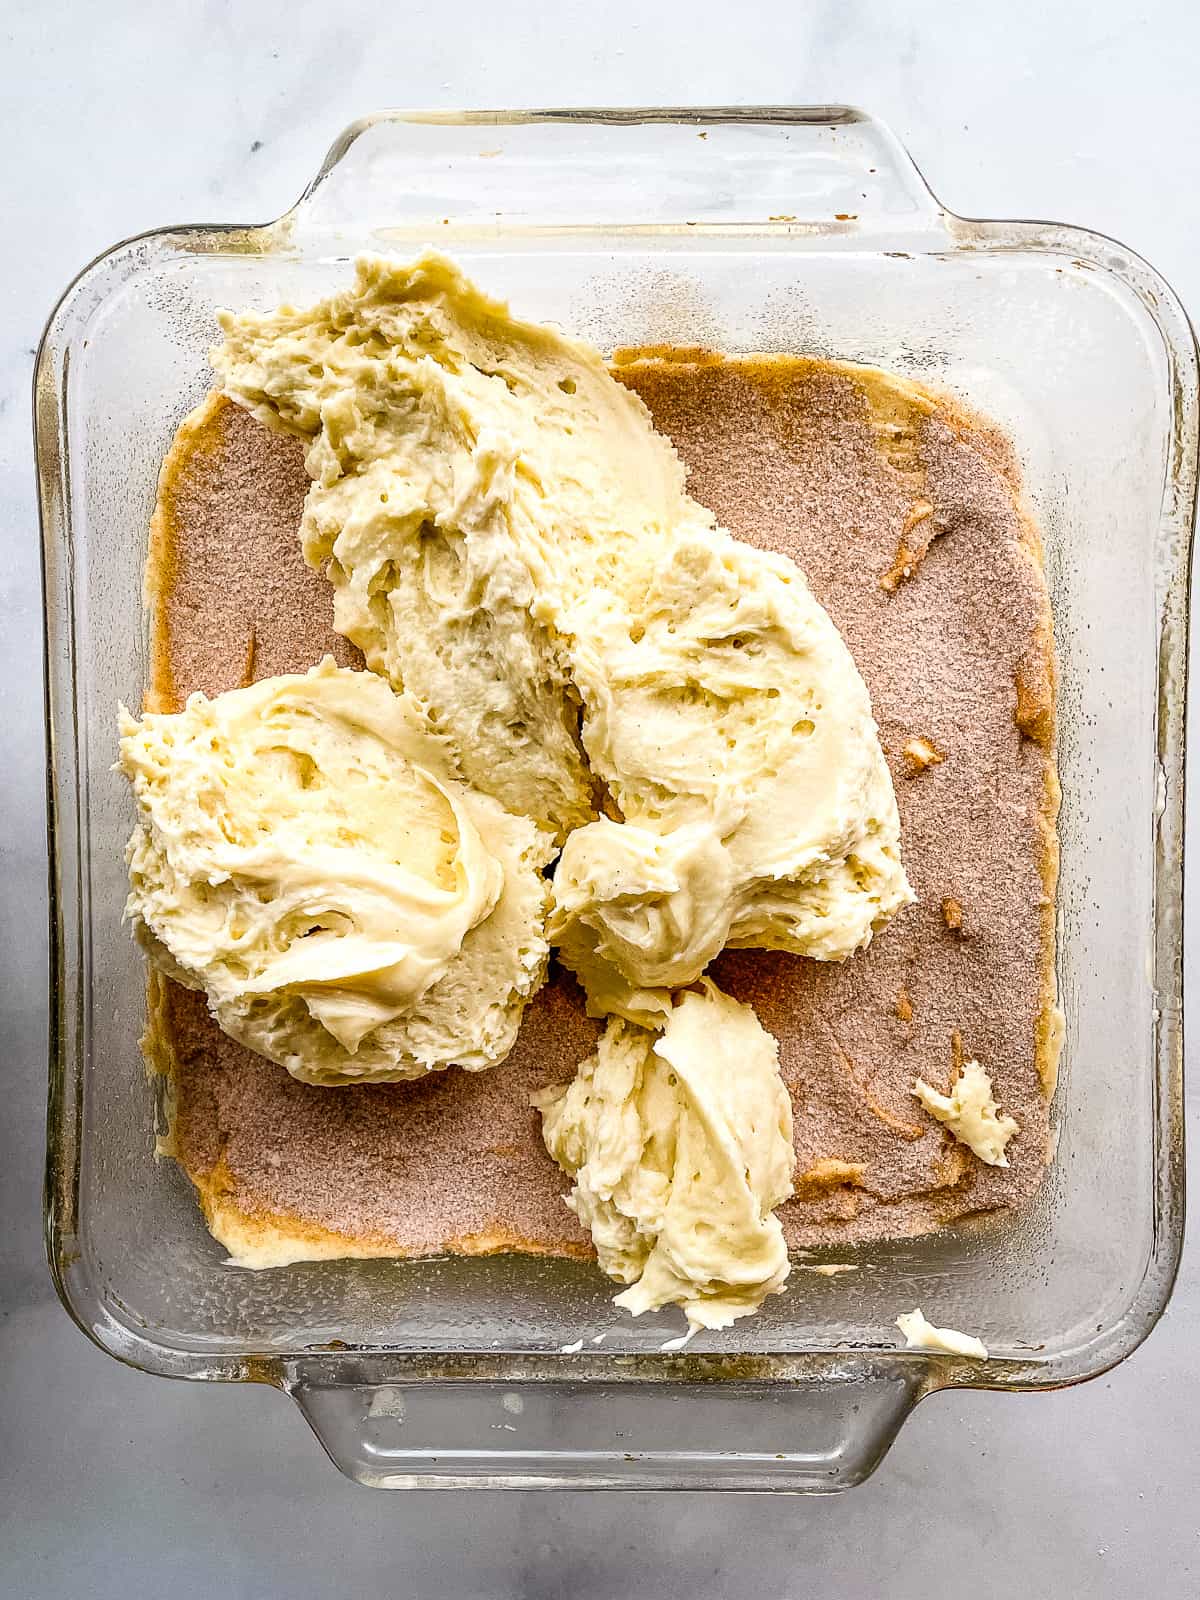
Fill the Pans.
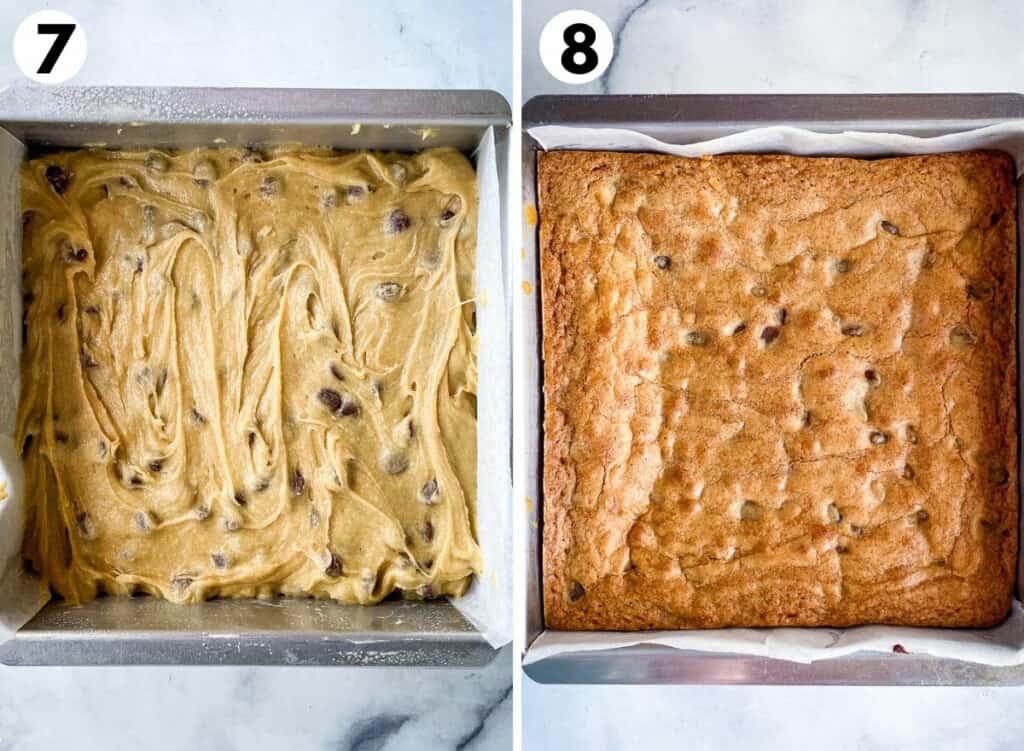
Spread the batter into your prepared cake pans. This is a thick batter. Use the back of a spoon or an angled spatula to spread the batter evenly into the pans.
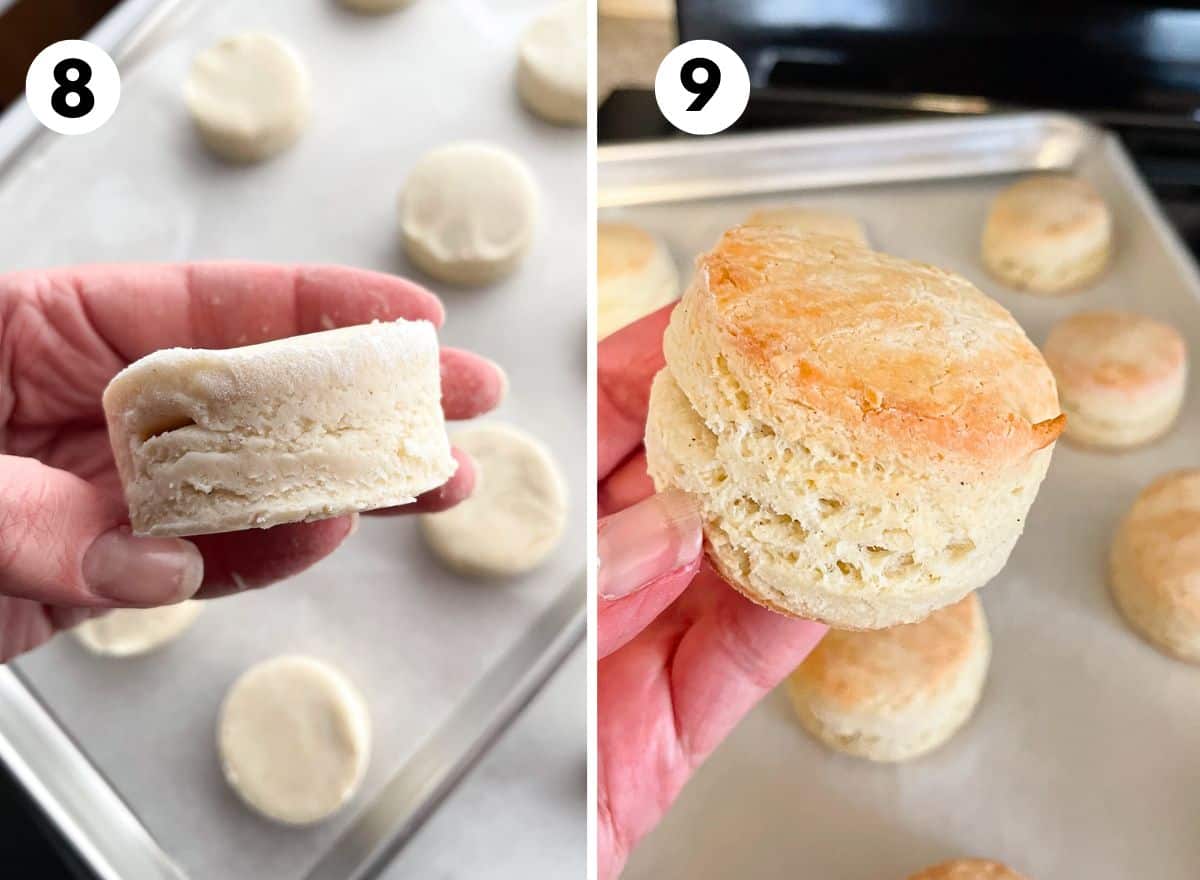
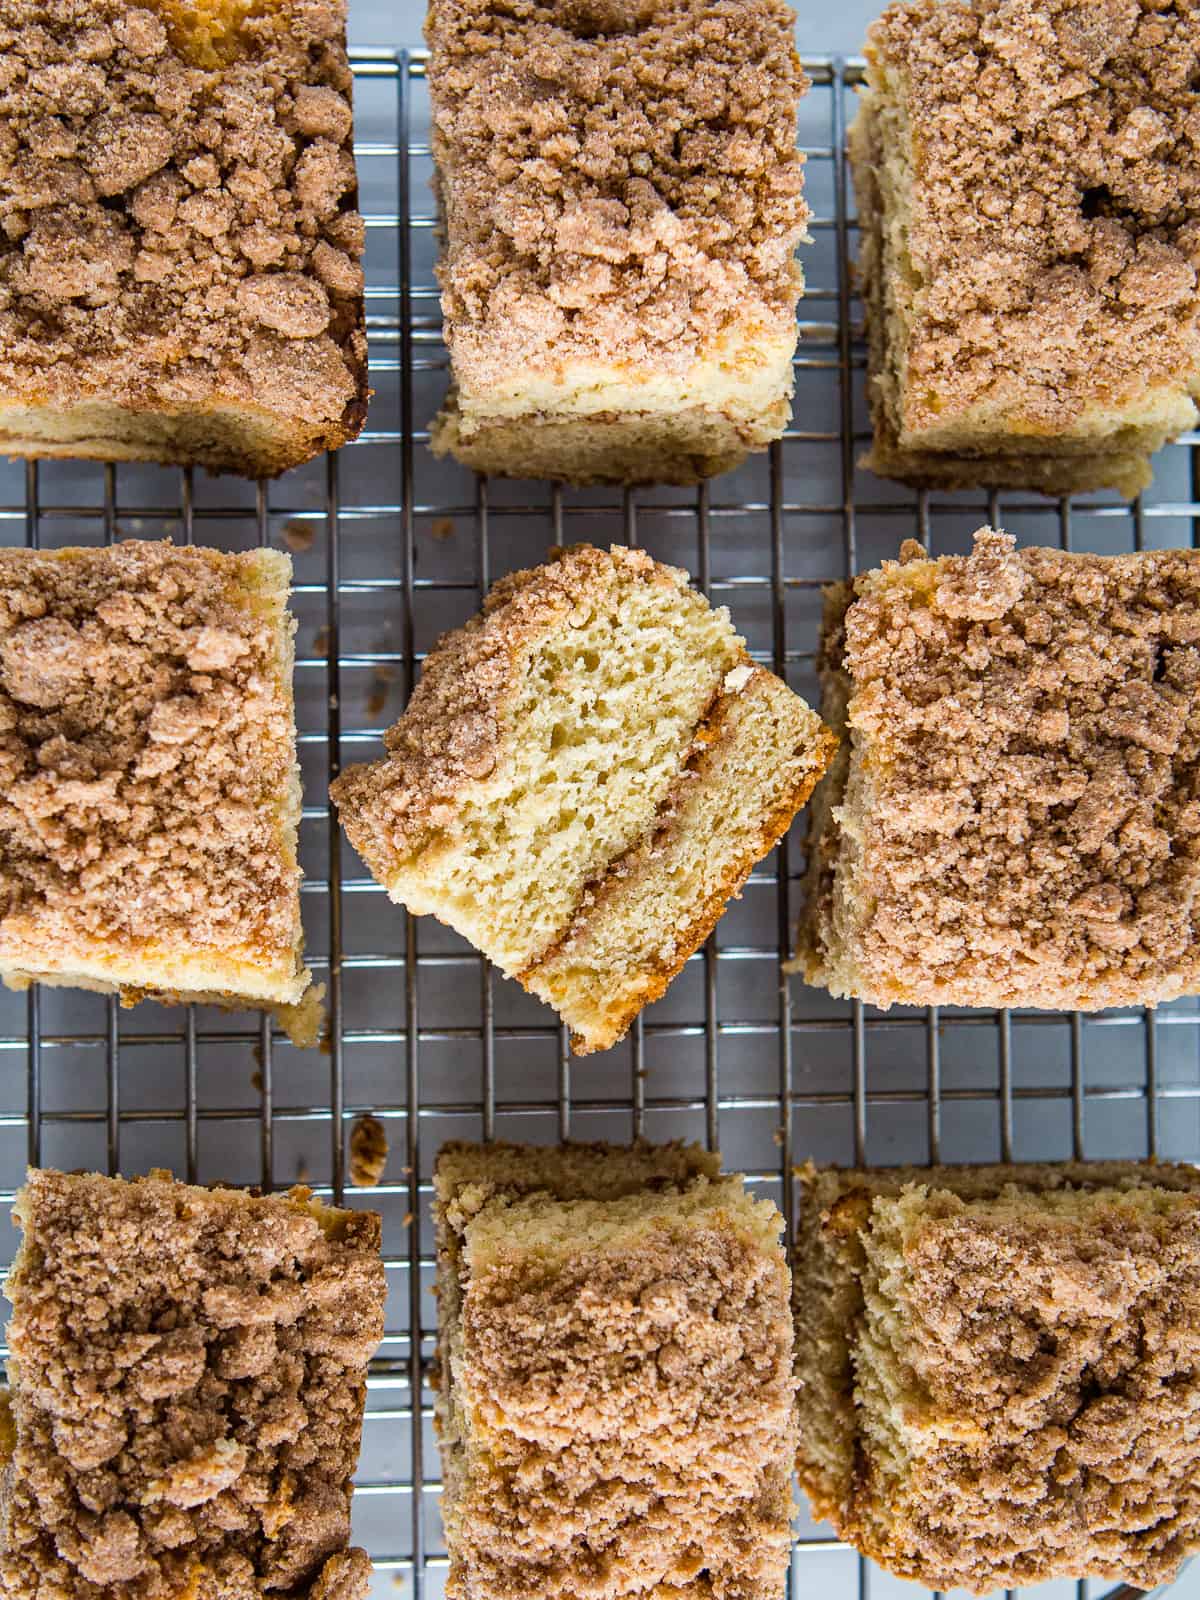
Bake Until Golden Brown.
This cake takes about 35 minutes to make. Test for doneness by inserting a cake tester or toothpick into the center of the cake. It should come out clean or with a few moist crumbs clinging to it.
Tips for a Perfect Gluten-Free Vanilla Cake
Use soft butter. You want your butter to be about 65°F. At this temperature, it mixes easily with the sugar.
Take Your Time. Don’t rush making the batter. Let the butter and sugar mix until it’s light. Then add the gluten-free flour and milk in stages. Your time will be rewarded with a perfect gluten-free vanilla cake.
Frost only when cool. It’s hard to wait to frost a cake! But if you frost a still-warm cake, the frosting melts right off. Wait until the cake is totally cool before you frost it.
Storage Tips
To store at room temperature: Cover the cake. Do this by covering it loosely with plastic wrap or use a covered cake dome.
To freeze unfrosted layers. Allow the cake layers to cool completely before freezing. Wrap each layer tightly with plastic wrap. Freeze for up to three months. Thaw the cake overnight in the refrigerator.
To freeze a frosted cake. Place the frosted cake in the freezer for two to three hours. You want the frosting to freeze. Once the frosting is set, remove the cake from the freezer. Wrap the cake quickly in plastic wrap. Freeze the cake for up to two months. When you’re ready to enjoy, thaw the cake on the counter or in the refrigerator overnight.
Note: This recipe was originally shared in May 2022. It was updated to include new photos and step-by-step information in April 2024.
Gluten-Free Vanilla Cake
This gluten-free vanilla cake recipe makes a cake that's moist, rich, and very flavorful It’s a perfect cake for birthdays, weddings, or any celebration. Thanks to the gluten-free flour, butter, and sour cream, it remains soft and fresh for several days.
Ingredients
For the Gluten-Free Vanilla Cake
- 2 ½ cups gluten-free flour, Bob’s Red Mill 1:1 Gluten-Free Baking Flour, see note 1 (12 ounces; 340 grams)
- 2 teaspoons baking powder
- 1 teaspoon salt
- ½ teaspoon baking soda
- 1 cup milk (8 ounces; 226 grams)
- ½ cup sour cream (4 ounces; 113 grams)
- 2 teaspoons vanilla extract
- ¾ cup butter, softened , see note 2 (6 ounces; 170 grams)
- 1 ¾ cups granulated sugar (12 ¼ ounces; 346 grams)
- 3 large eggs (6 ounces; 170 grams)
For the Gluten-Free Vanilla Frosting
- 1 cup butter, softened (8 ounces; 226 grams)
- 4 cups confectioners’ sugar (16 ounces; 454 grams)
- ⅛ teaspoon salt
- ¼ cup milk or cream, plus more as needed (2 ounces; 56 grams)
- 2 teaspoons pure vanilla extract
Instructions
-
Preheat oven to 350℉. Grease two 8-inch or 9-inch round cake pans. (see note 3 for other pan size options.)
-
Whisk gluten-free flour, baking powder, salt, and baking soda together in a medium bowl. Set aside. In a small bowl, whisk together milk, sour cream, and vanilla extract until smooth. Set aside.
-
In a large bowl, mix the butter and sugar on high speed until light and fluffy, about two minutes.
Reduce the mixer to medium-high. Add the eggs, one at a time. Let each egg mix into the butter-sugar mixture before adding the next one.
After the last egg mixes into the butter-sugar, stop the mixer. Scrape down the bottom and sides of the bowl.
Turn the mixer back on to medium-high. Mix until light and fluffy, about two minutes. You want the butter-sugar mixture to look like frosting.
-
Stop the mixer. Add half the gluten-free flour mixture. Mix on low speed until blended.
Add half the milk-sour cream mixture. Increase mixer to medium. Blend until the batter is smooth.
Again, stop the mixer. Add the remaining flour. Turn the mixer to low and mix until blended.
Add the remaining milk-sour cream mixture. Increase mixer to medium speed and mix until the batter is smooth, about 45 seconds.
-
Divide the batter evenly between the two prepared cake pans. Use a small spatula or the back of a spoon to spread the batter into the pans.
-
Bake the cake until a cake tester inserted in the middle comes out clean, about 35 minutes.
-
Remove the cake from the oven. Place the pans on a wire rack. Let them cool in the pan for 10 minutes. Remove the cakes from the pan and let them cool completely directly on the rack.
-
Make the frosting: In a large bowl, using a hand-held mixer or stand mixer fitted with the paddle attachment beat the butter until smooth, about 30 seconds. Stop the mixer. Add the confectioners’ sugar and salt. Turn the mixer to low. Add the milk and vanilla. Mix on high speed until fluffy, about two minutes.
-
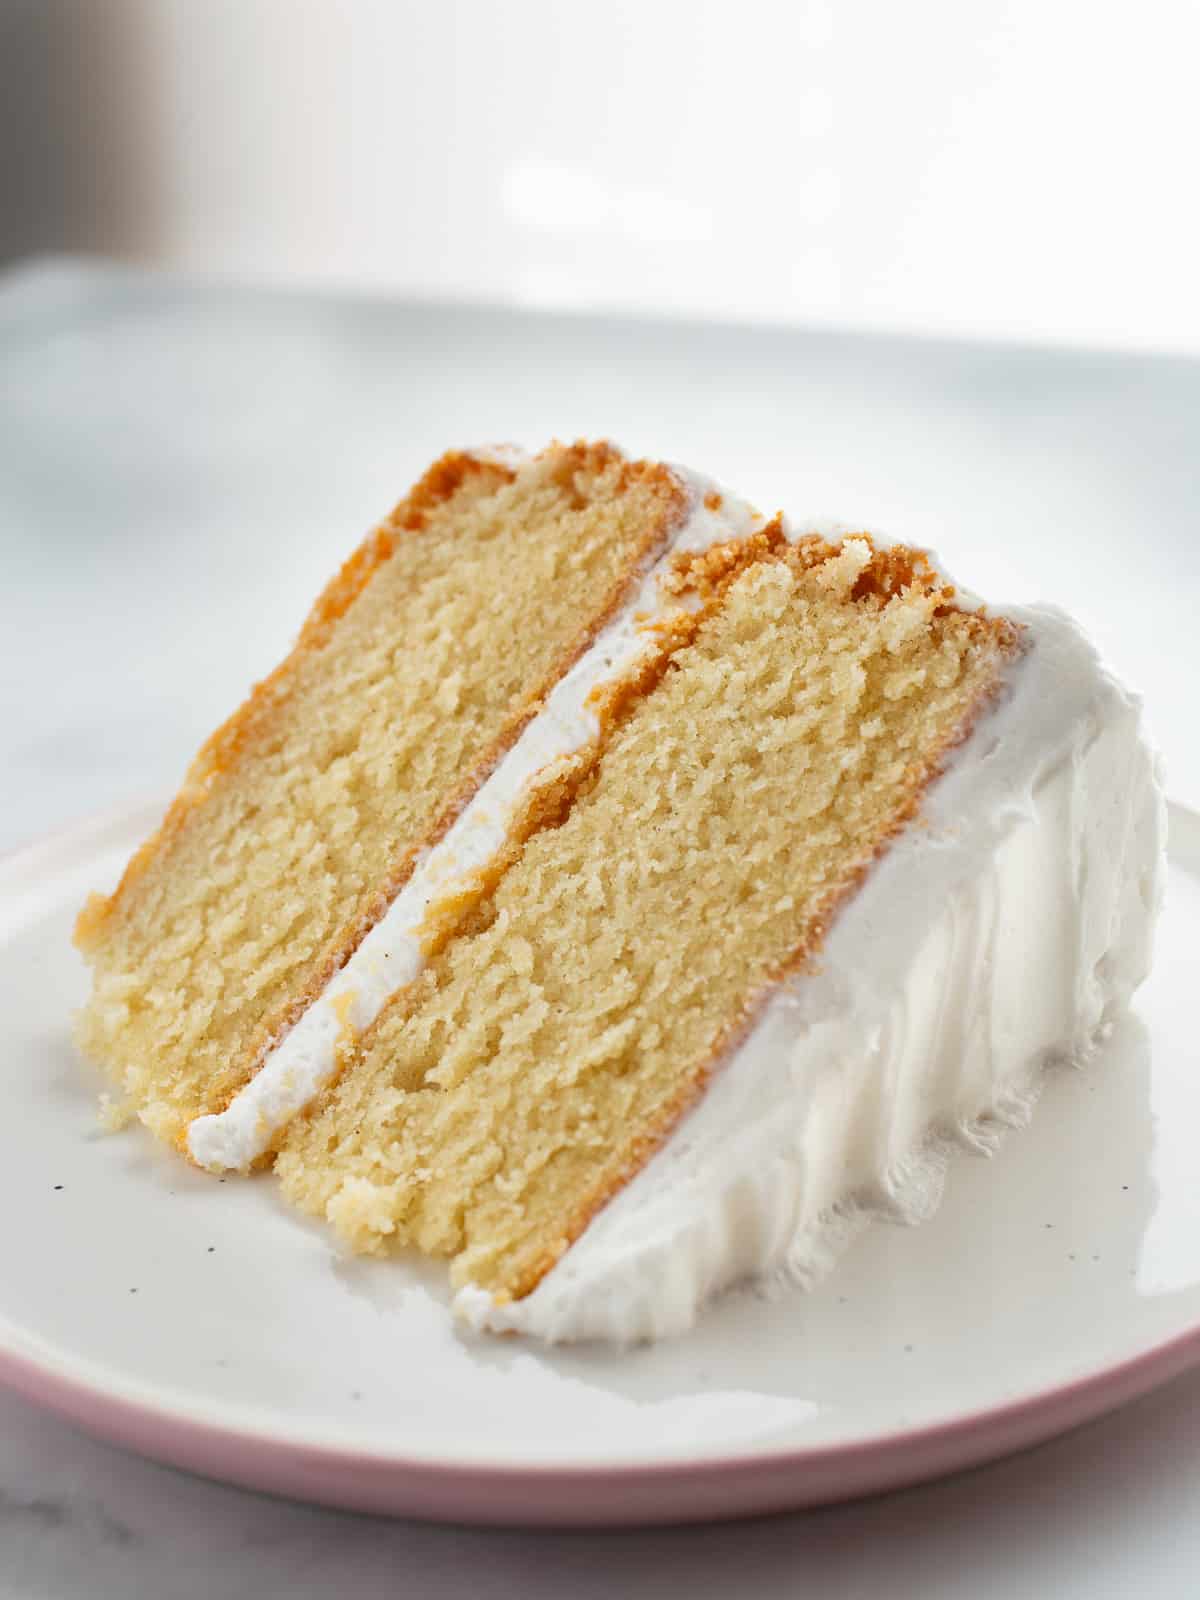
Place 1 cake layer on a serving plate, frost top of cake, about 1½ cups of frosting. Top with the second layer. Frost side and top of cake with remaining frosting.
-
Store cake loosely covered. Cake keeps at room temperature for about four days. Freeze cake, frosted or unfrosted, for up to three months. Wrap cake well in plastic wrap before freezing.
Recipe Notes
Note 1: Gluten-Free Flour Blend. This recipe was tested with Bob’s Red Mill 1:1 Gluten-Free Flour Blend. Replacing the flour with another brand might change the texture of the cake. Be sure to use a flour blend that contains xanthan gum. If it doesn’t, add 1 teaspoon of xanthan gum to the flour. Whisk to combine. Then use as directed.
Note 2: Butter Temperature Use softened butter, about 65°F. Cold butter turns into a paste. Warm/greasy butter doesn’t get fluffy.
Note 3: Pan Options.
Sheet Cake Directions
Lightly grease a 9 x13-inch pan. Bake the cake until golden brown, about 40. Allow the cake to cool in the pan. Frost cake when cool.
Cupcake Directions
Line two 12-cup muffin pans with cupcake liners. Spoon batter into muffin cups, about ⅔ full. Bake until a toothpick inserted into the center of the cake comes out clean, about 20 minutes. Prepare frosting and frost cupcakes when cool.