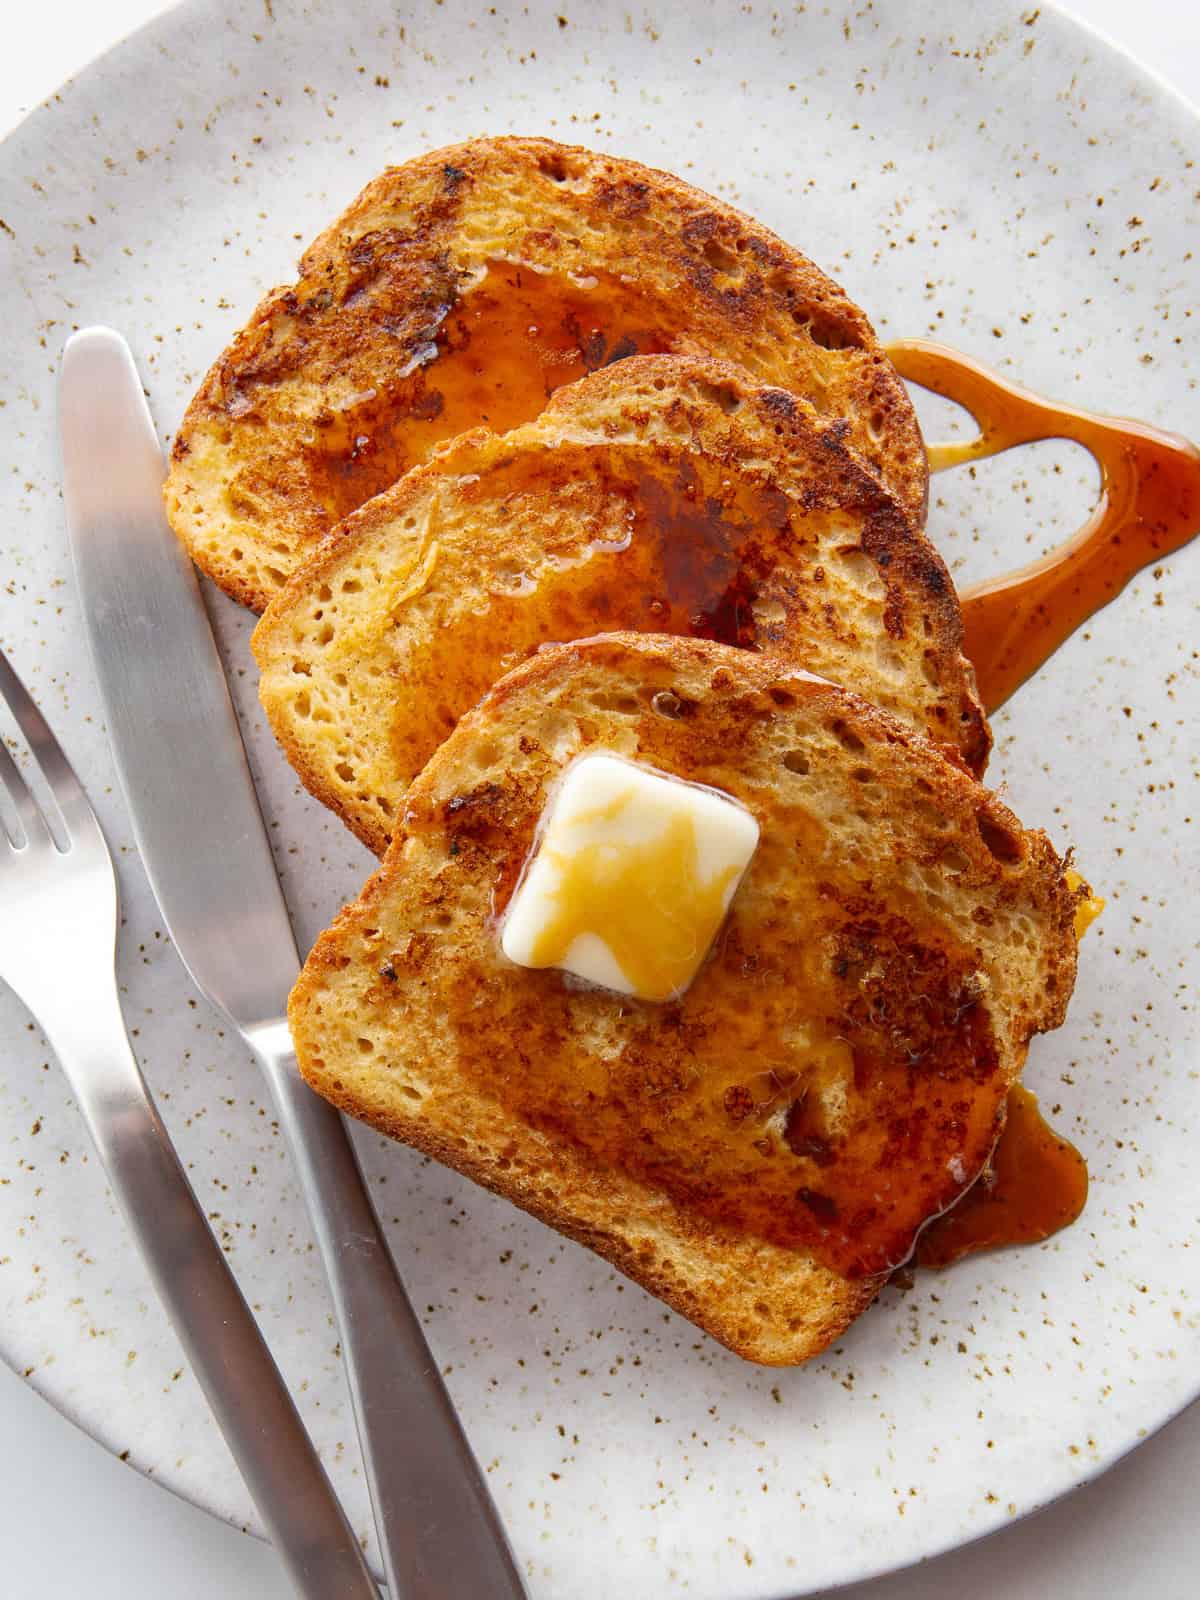
This easy recipe makes gluten-free French toast that’s moist, puffy, and a little crisp on the outside. Use your favorite gluten-free bread!
I make a special breakfast every Sunday morning, rotating between pancakes, waffles, and my favorite, French toast.
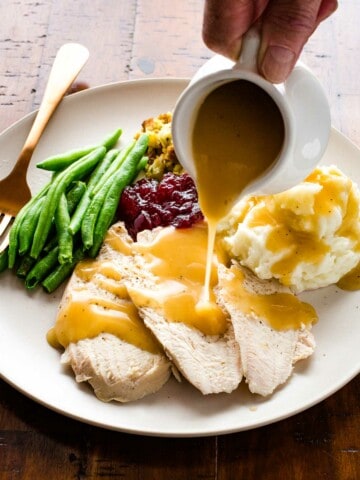
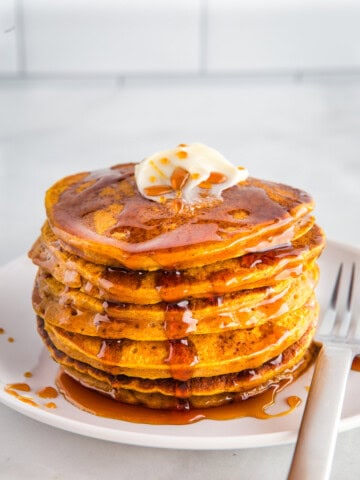
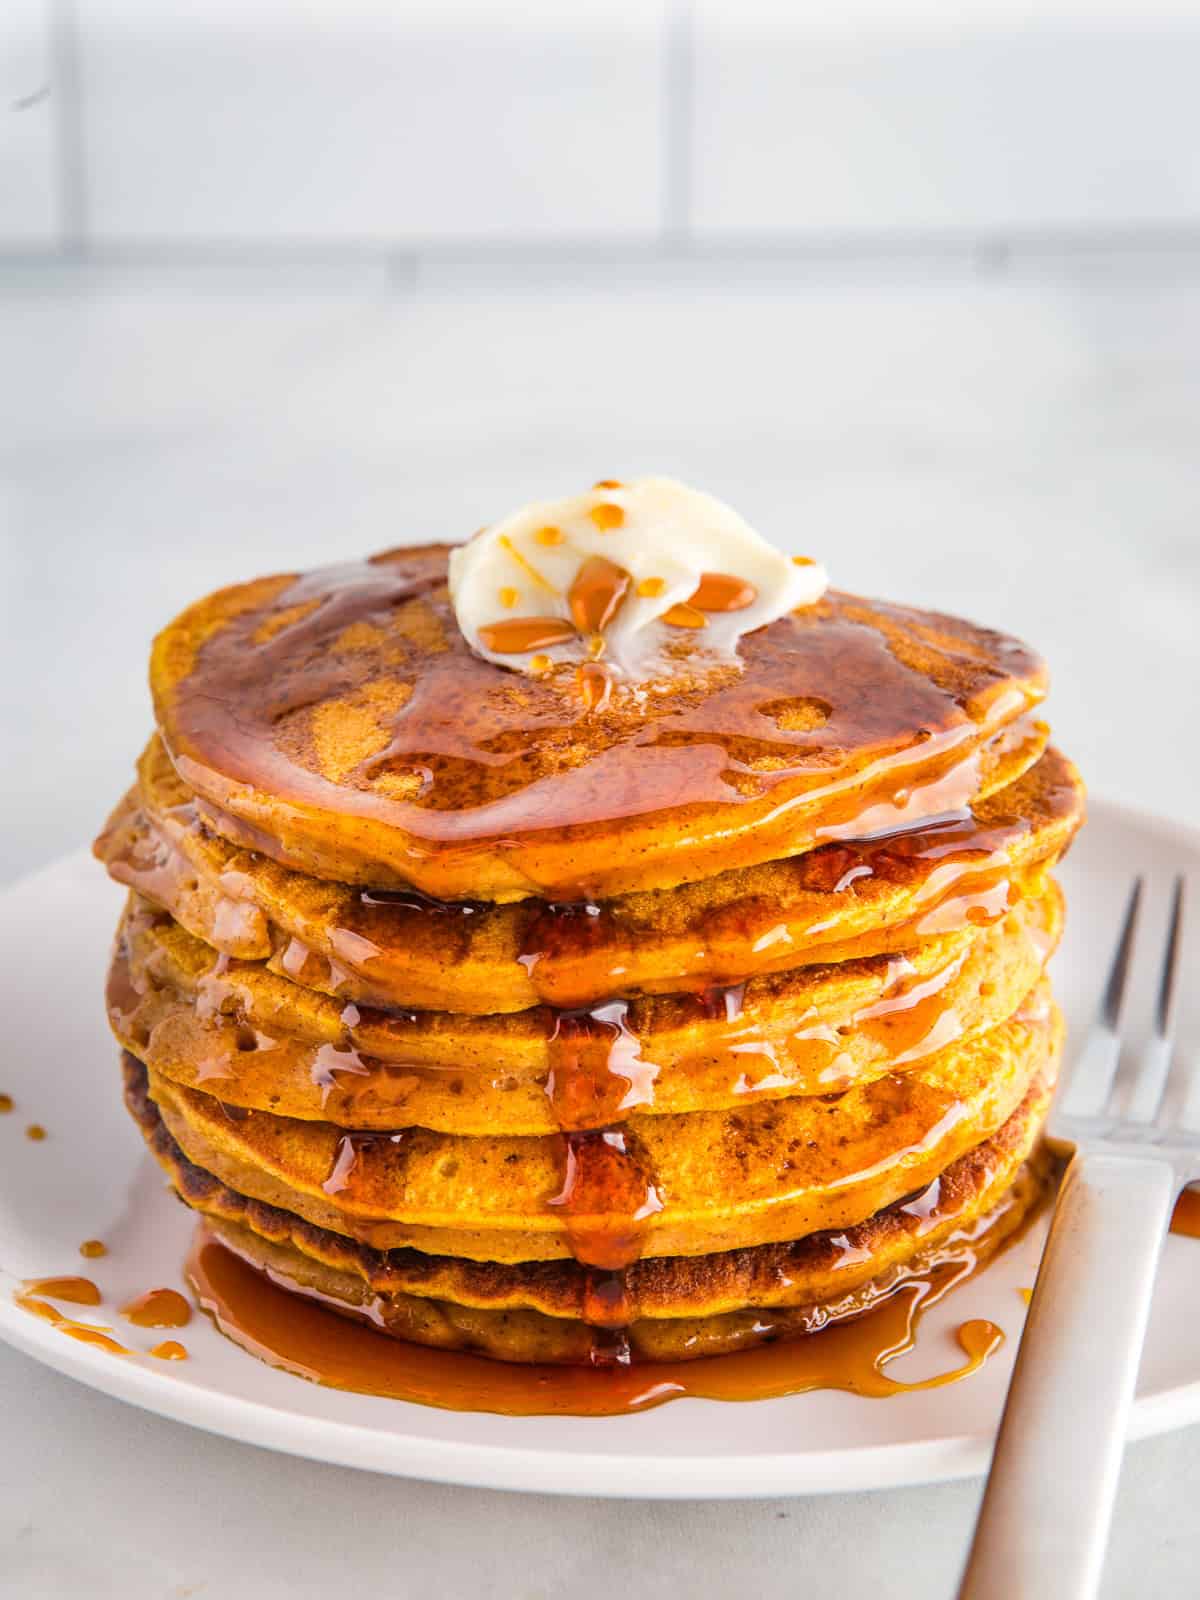
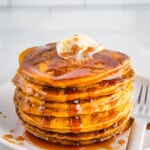
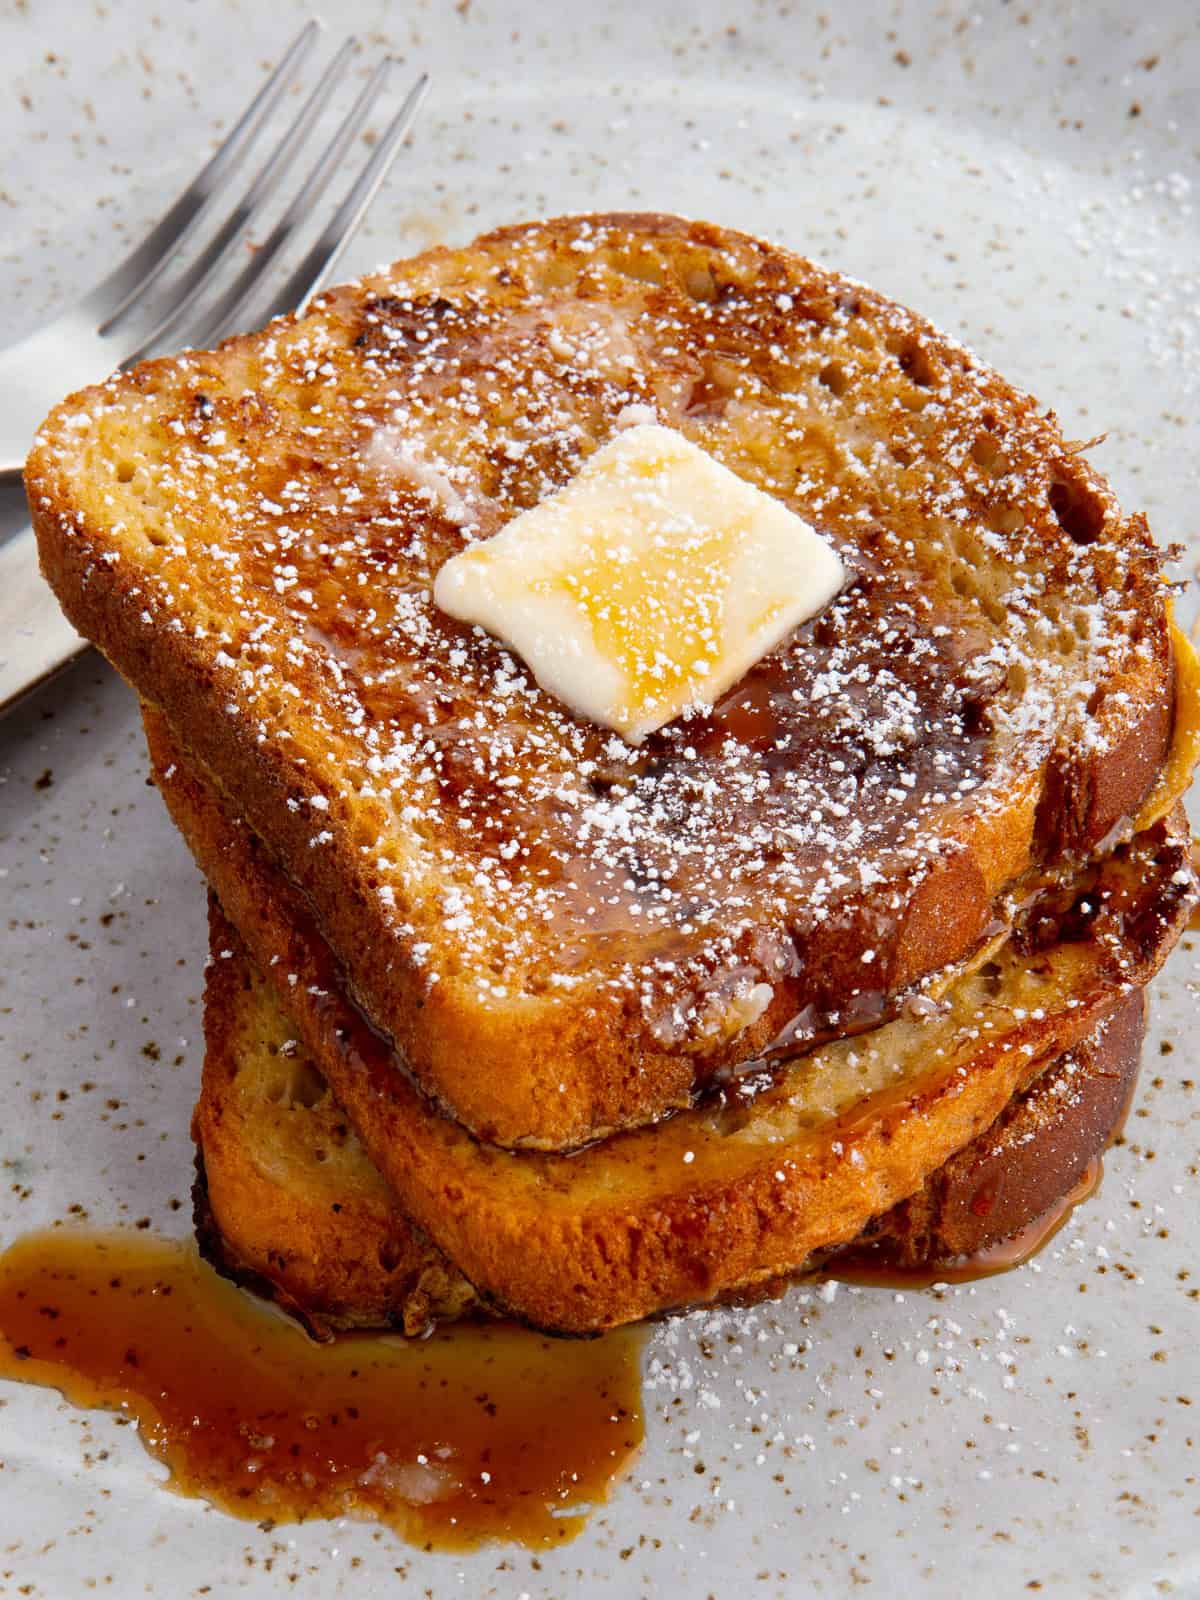
French toast is by far the easiest to make! You simply soak your favorite gluten-free bread in a basic custard, then cook it on a buttered griddle until the slices are puffy and golden brown. I serve it with maple syrup and a little butter, but if you have whipped cream or berries on hand, feel free to use them–they make breakfast even more delicious.
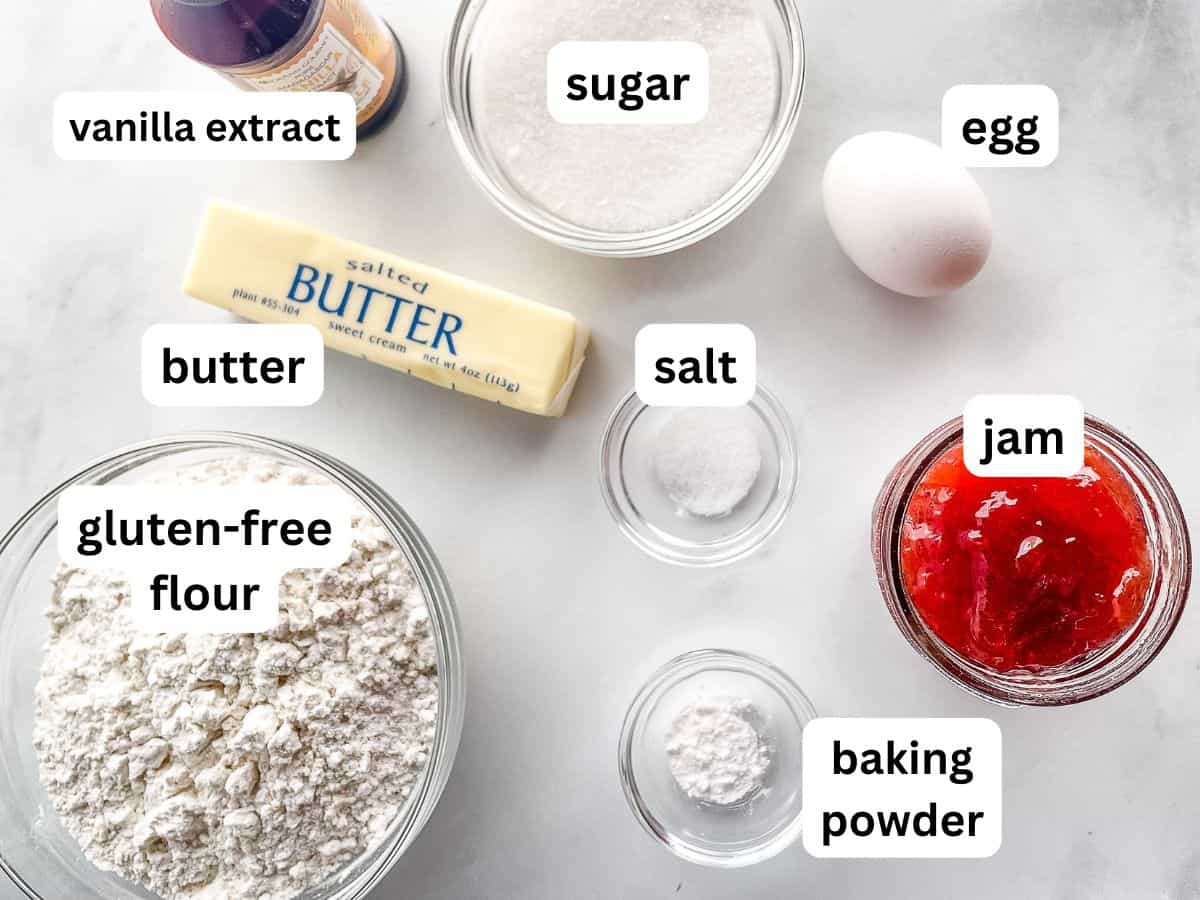
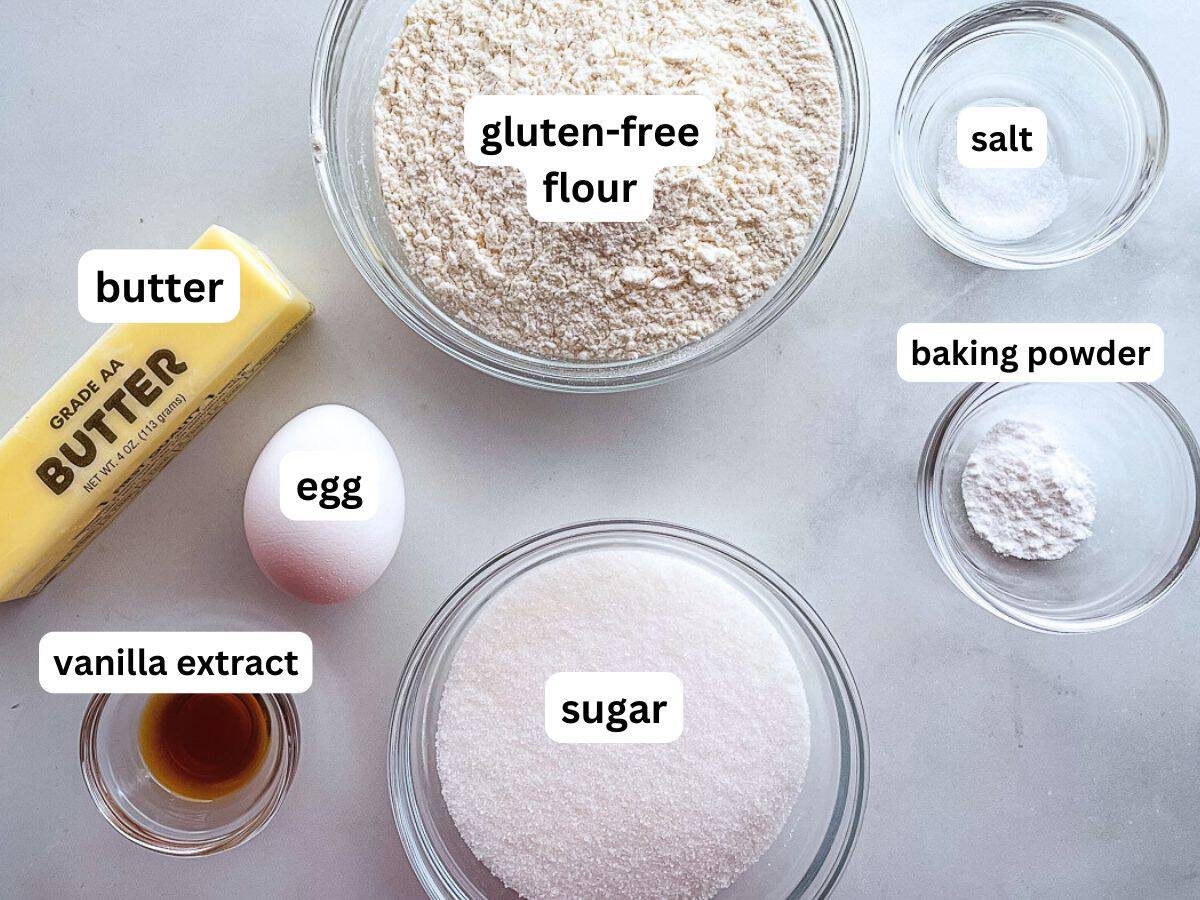
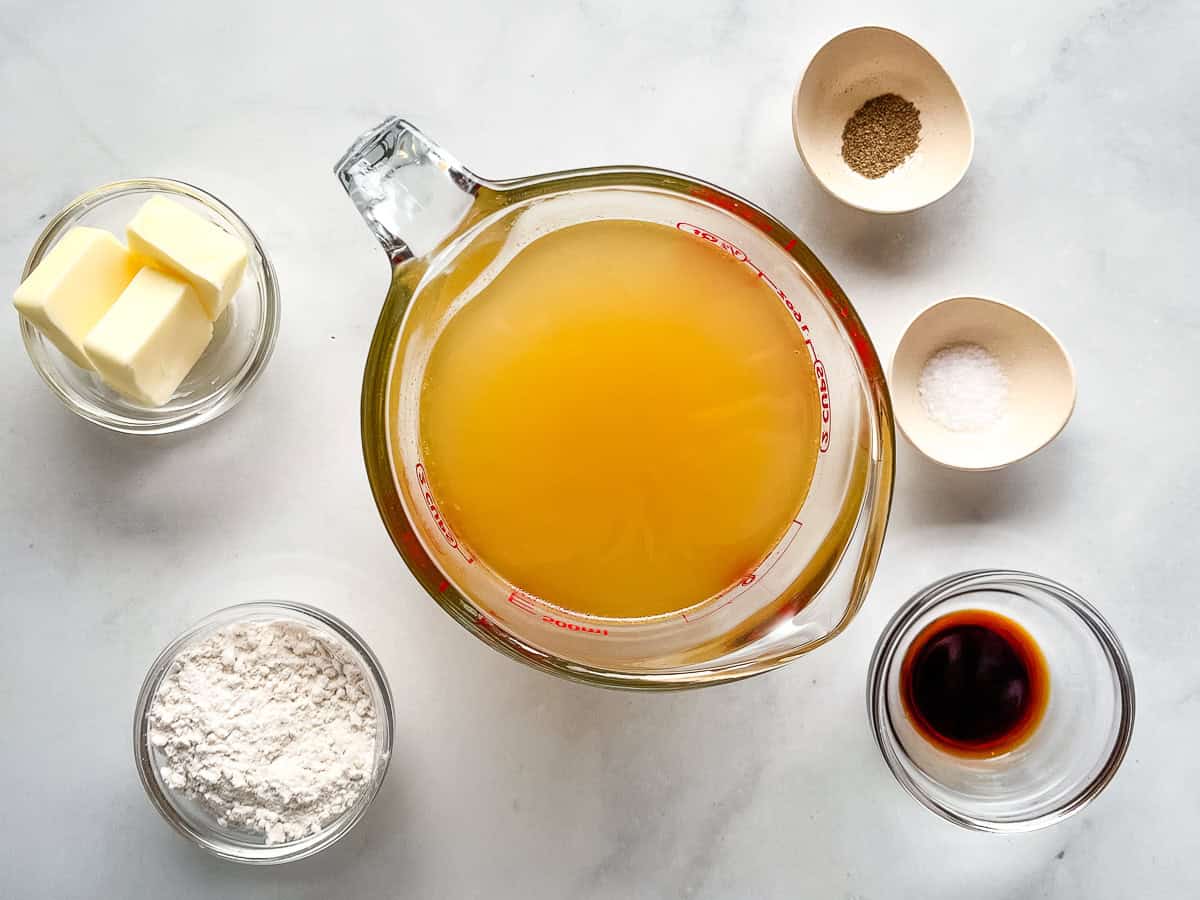
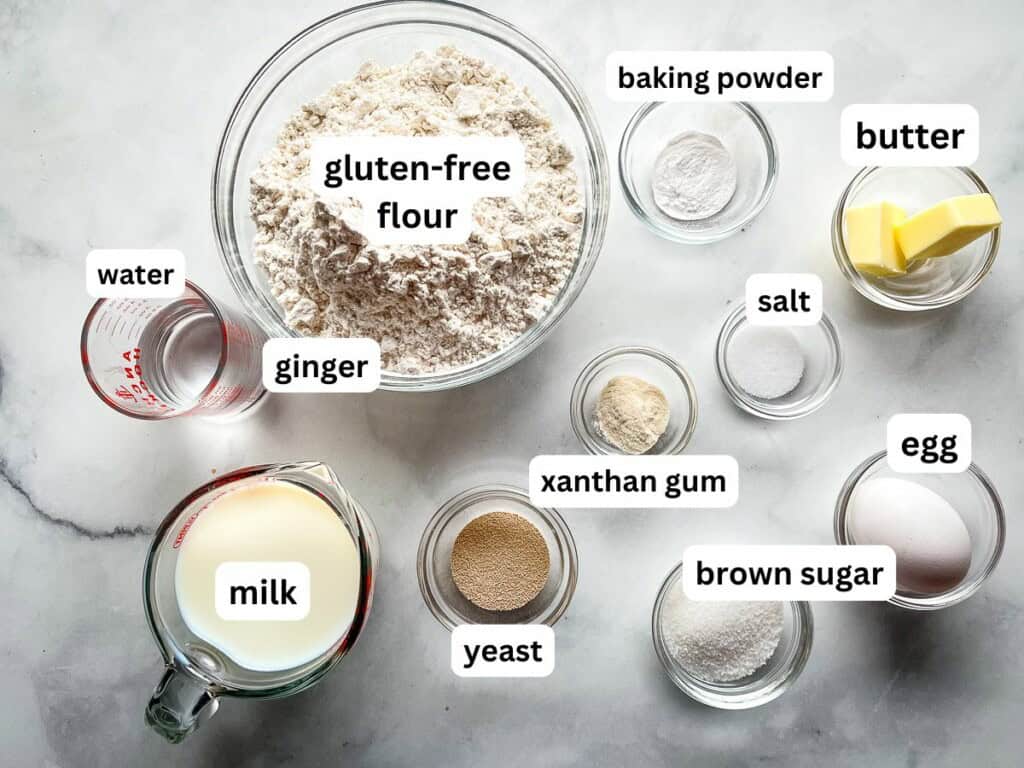
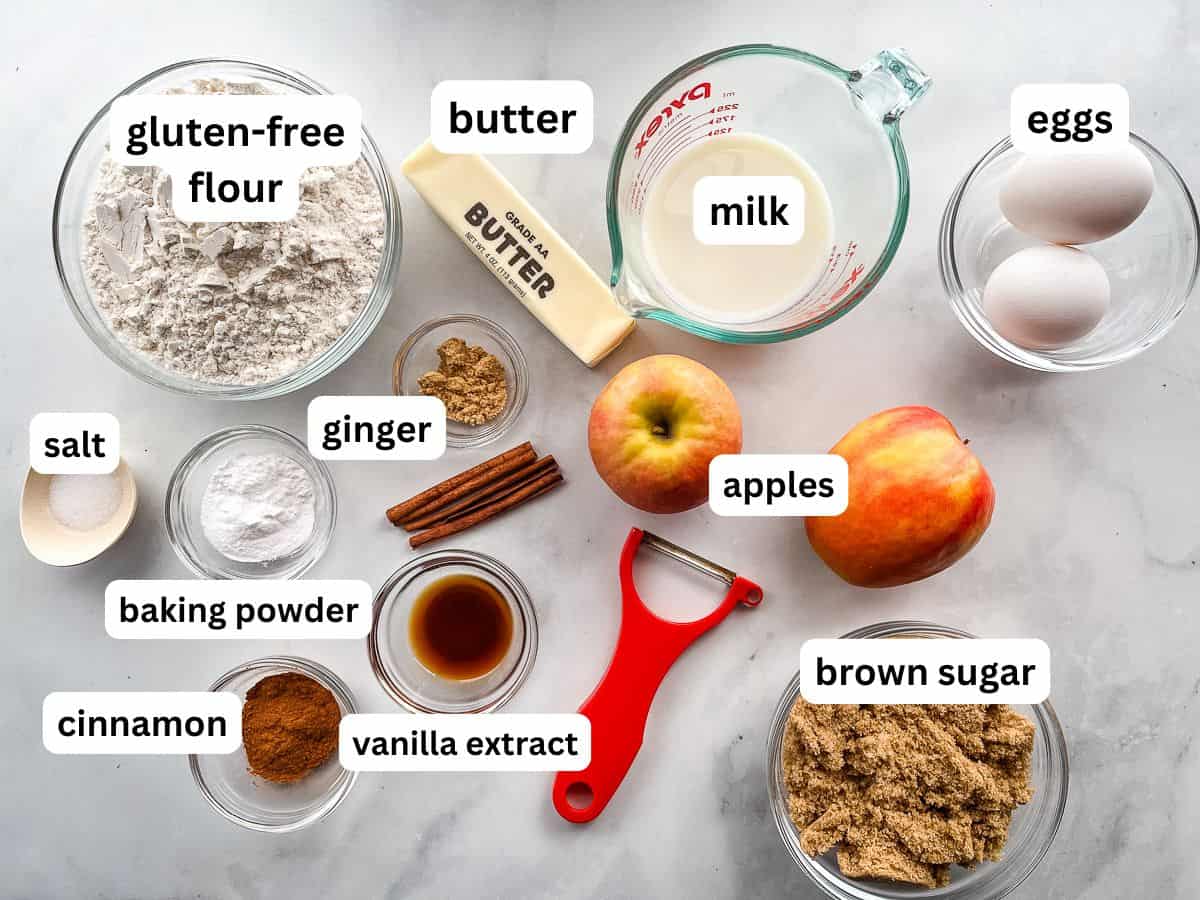
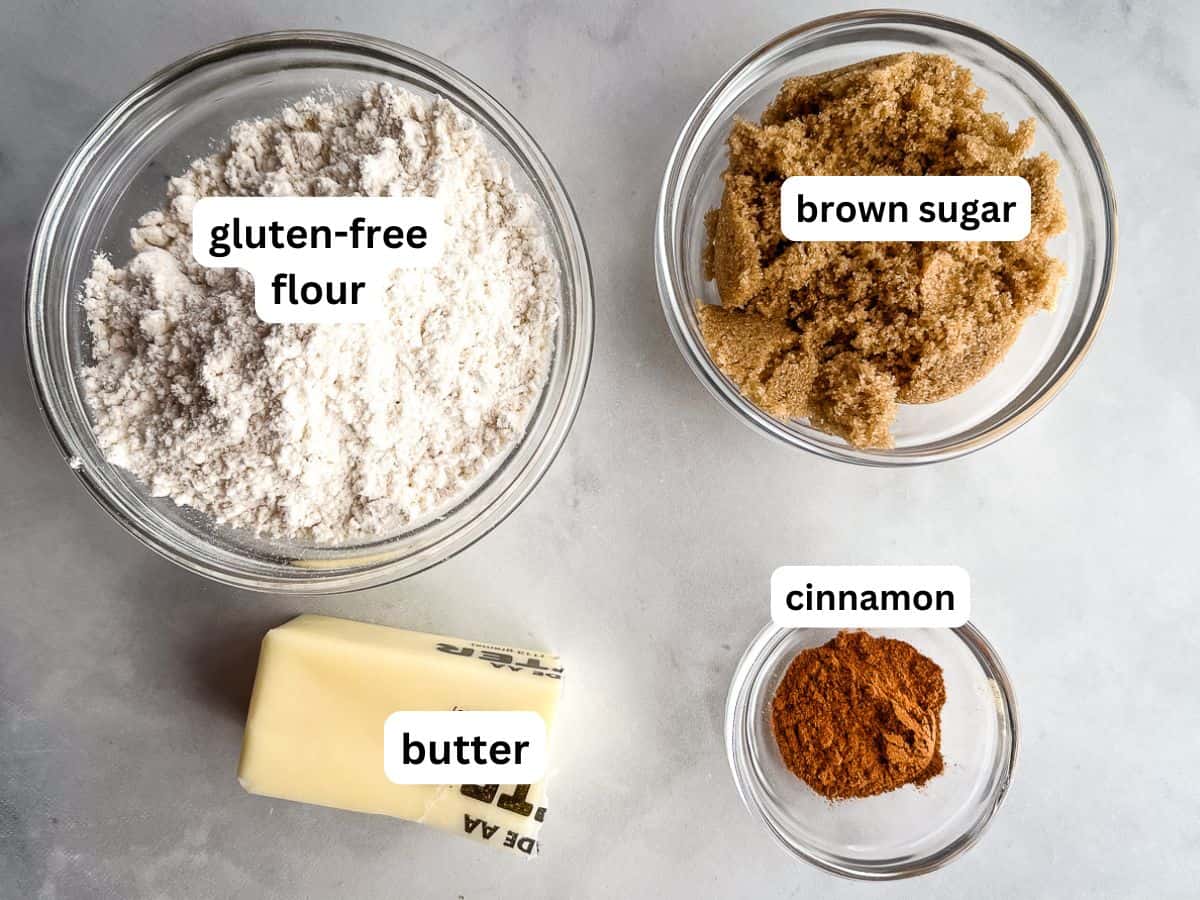
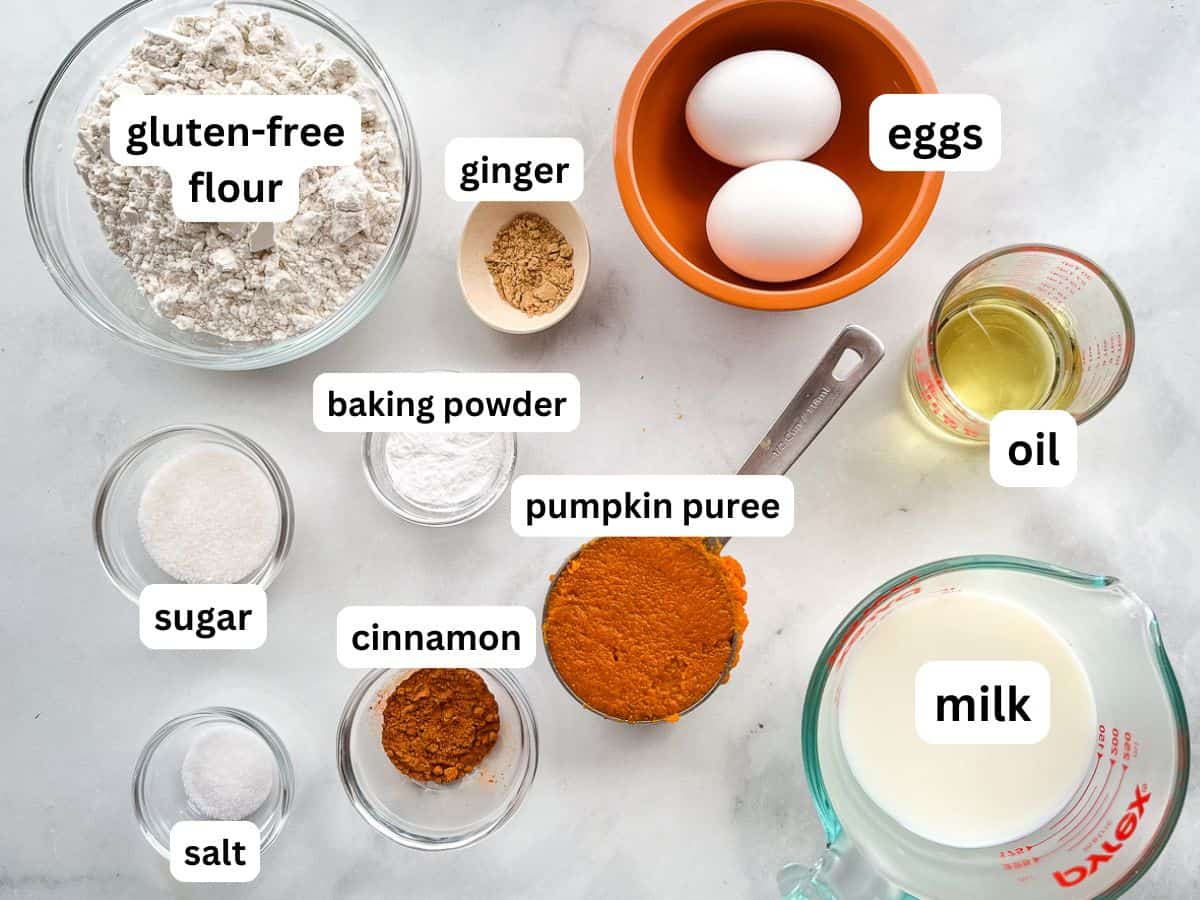
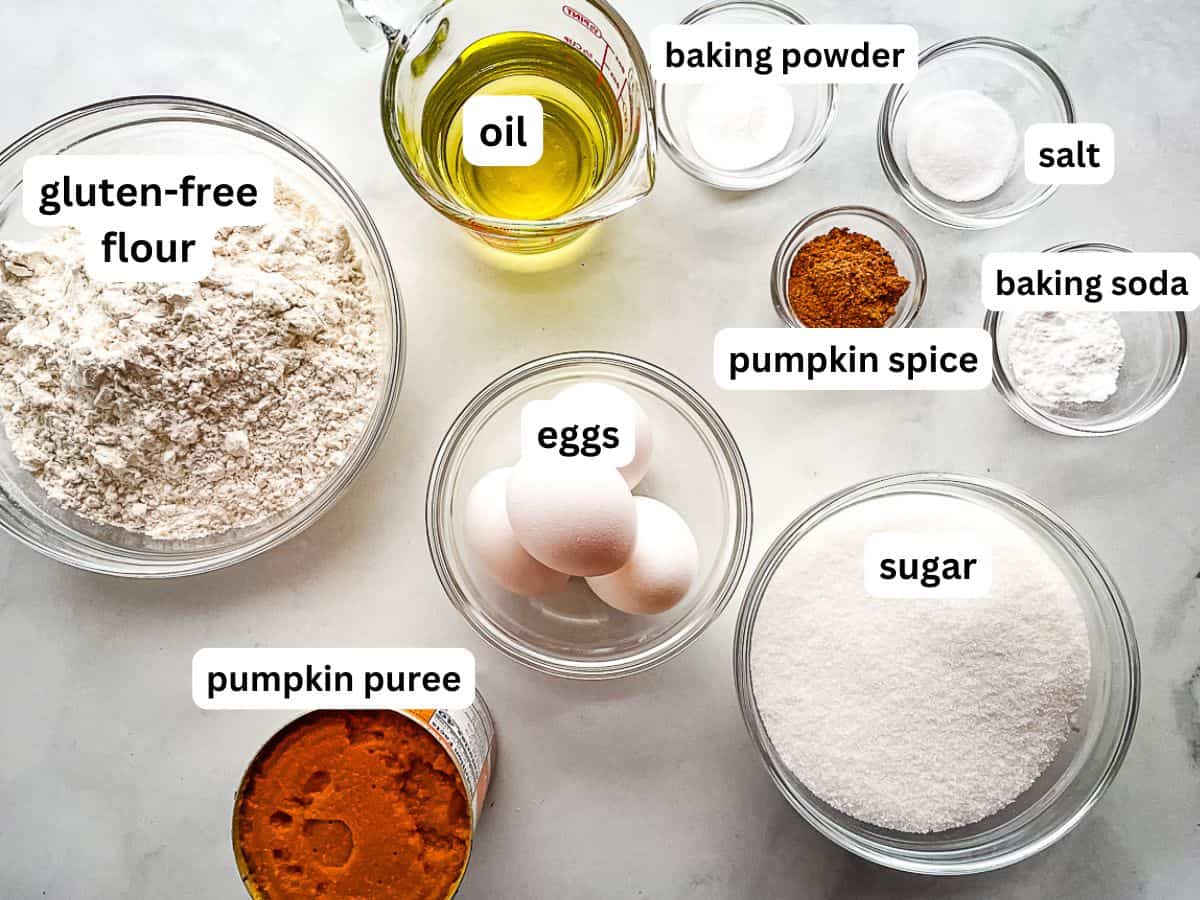
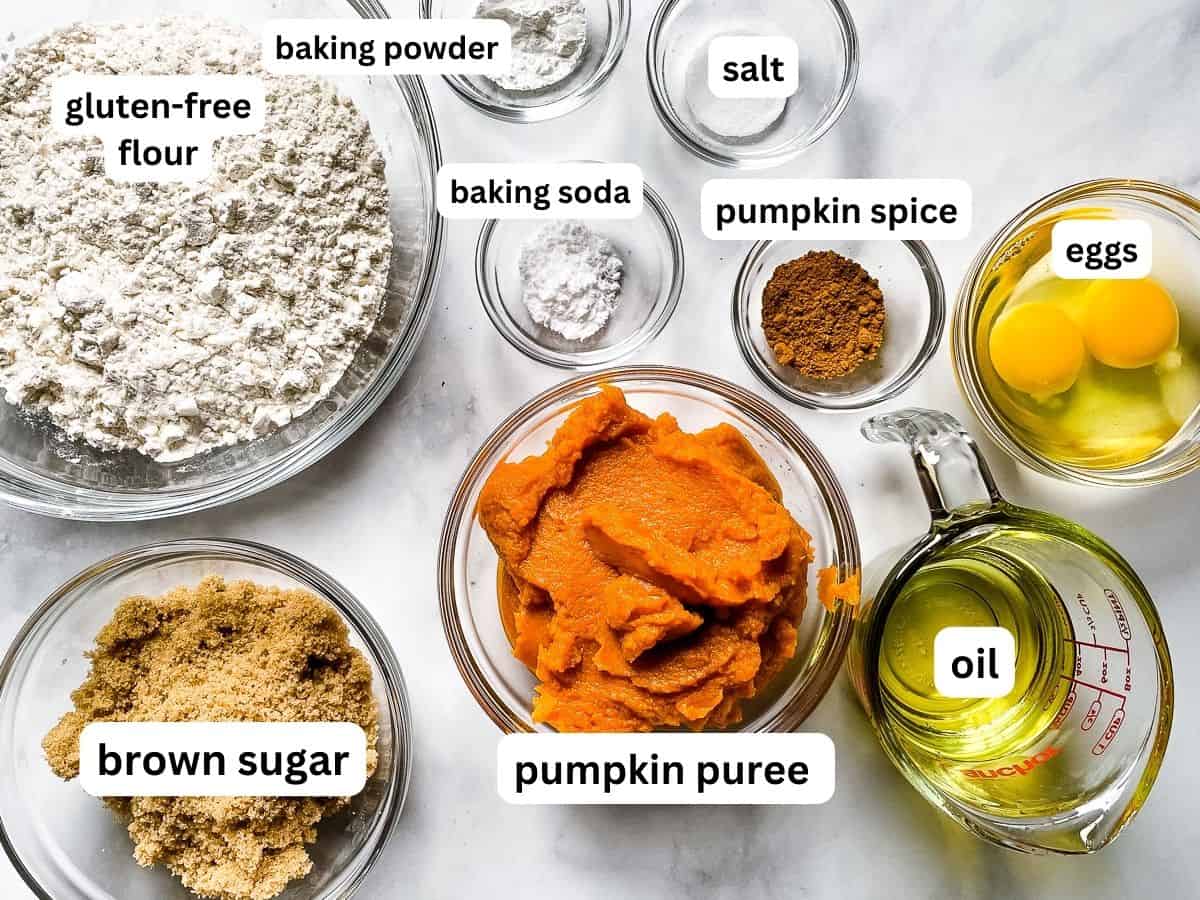
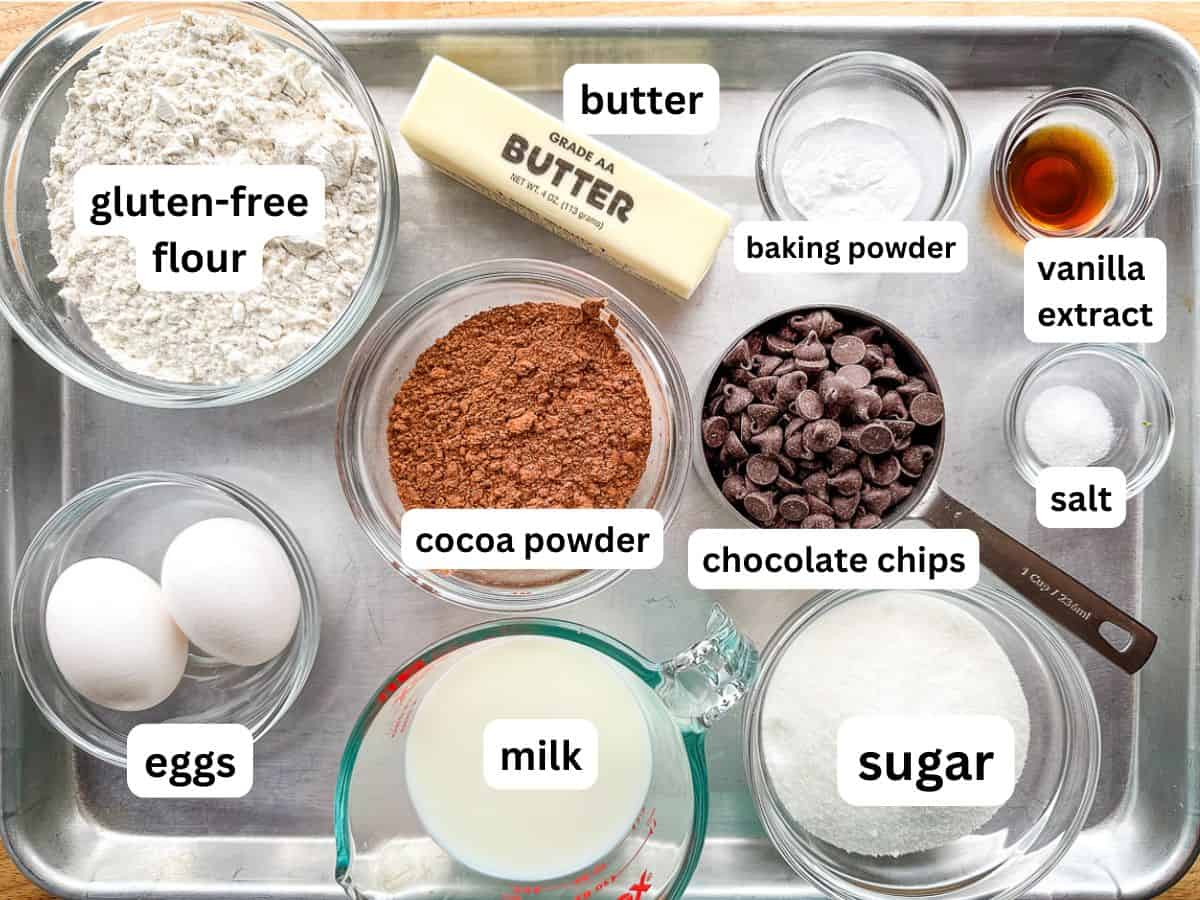
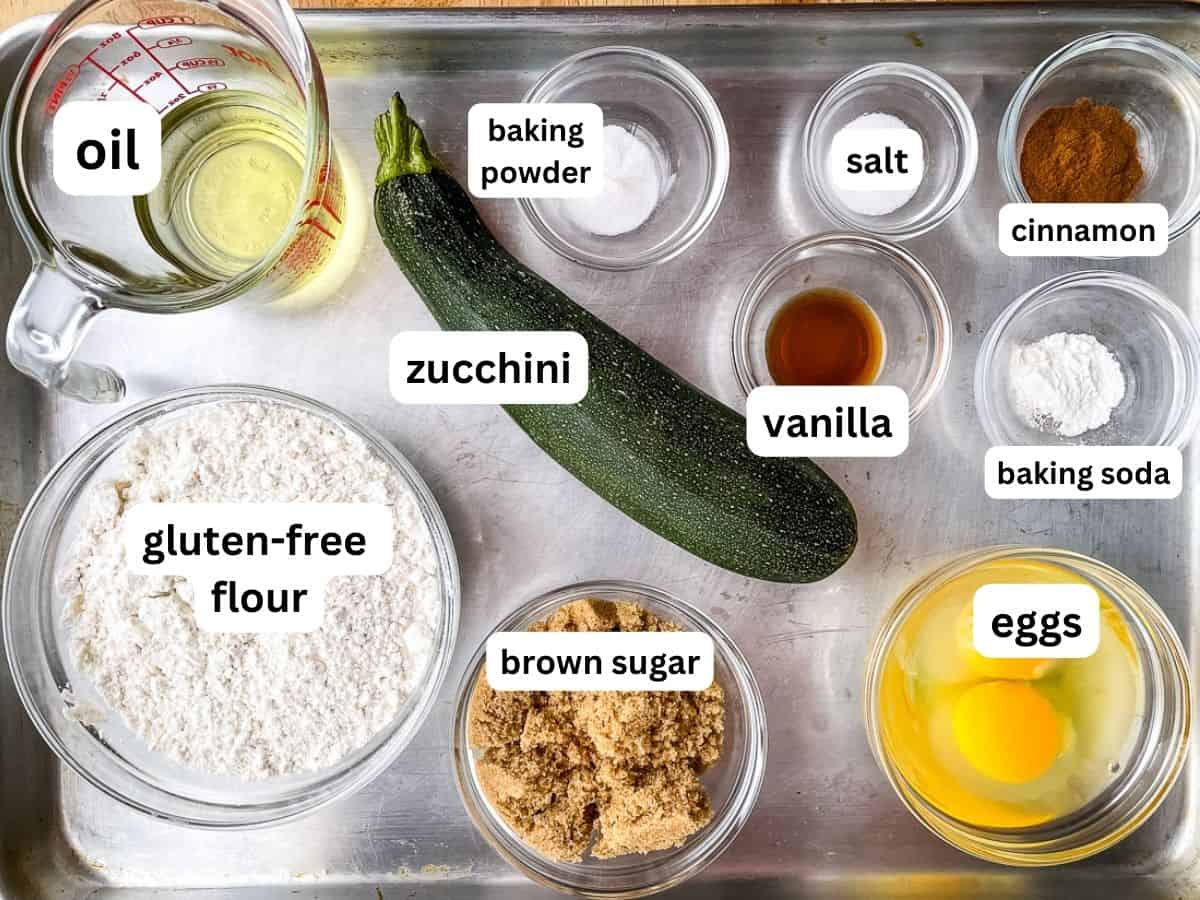
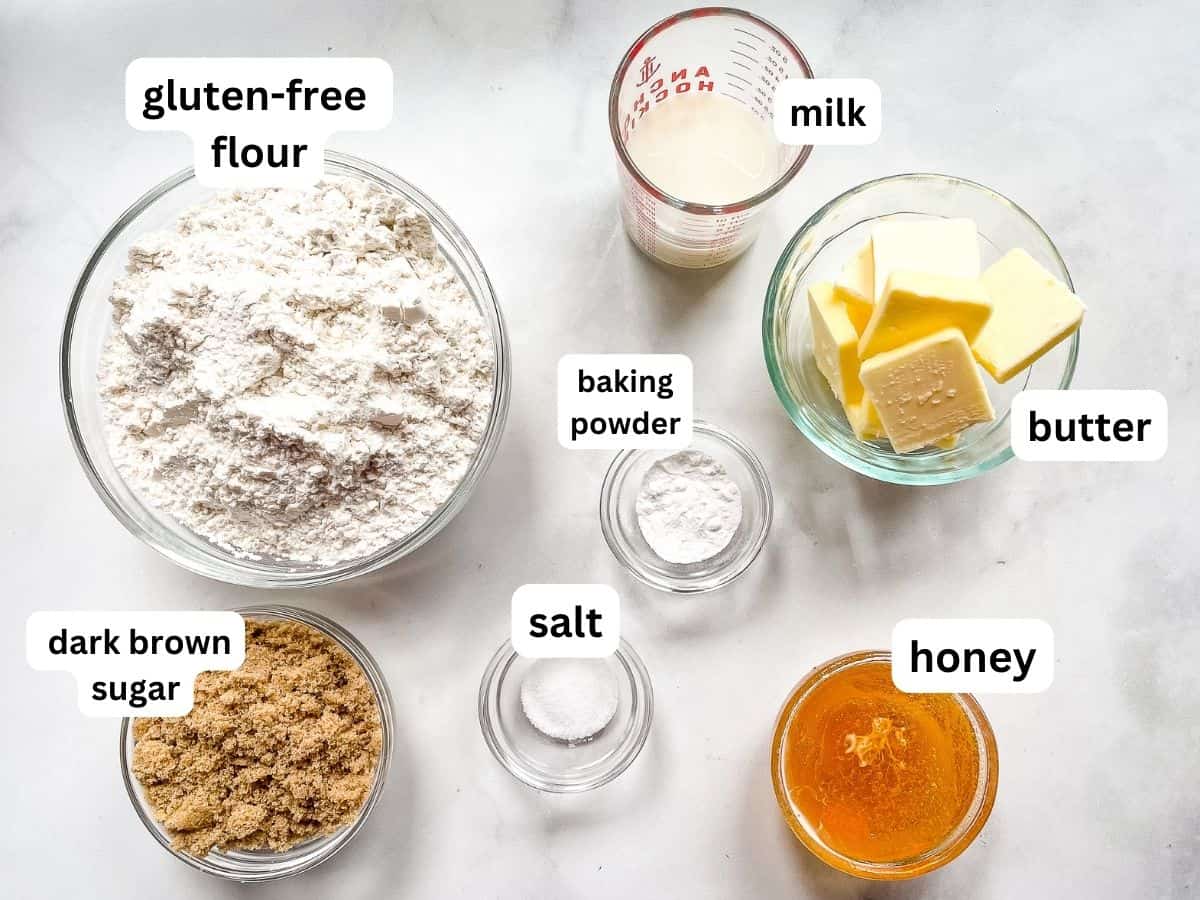
Ingredients
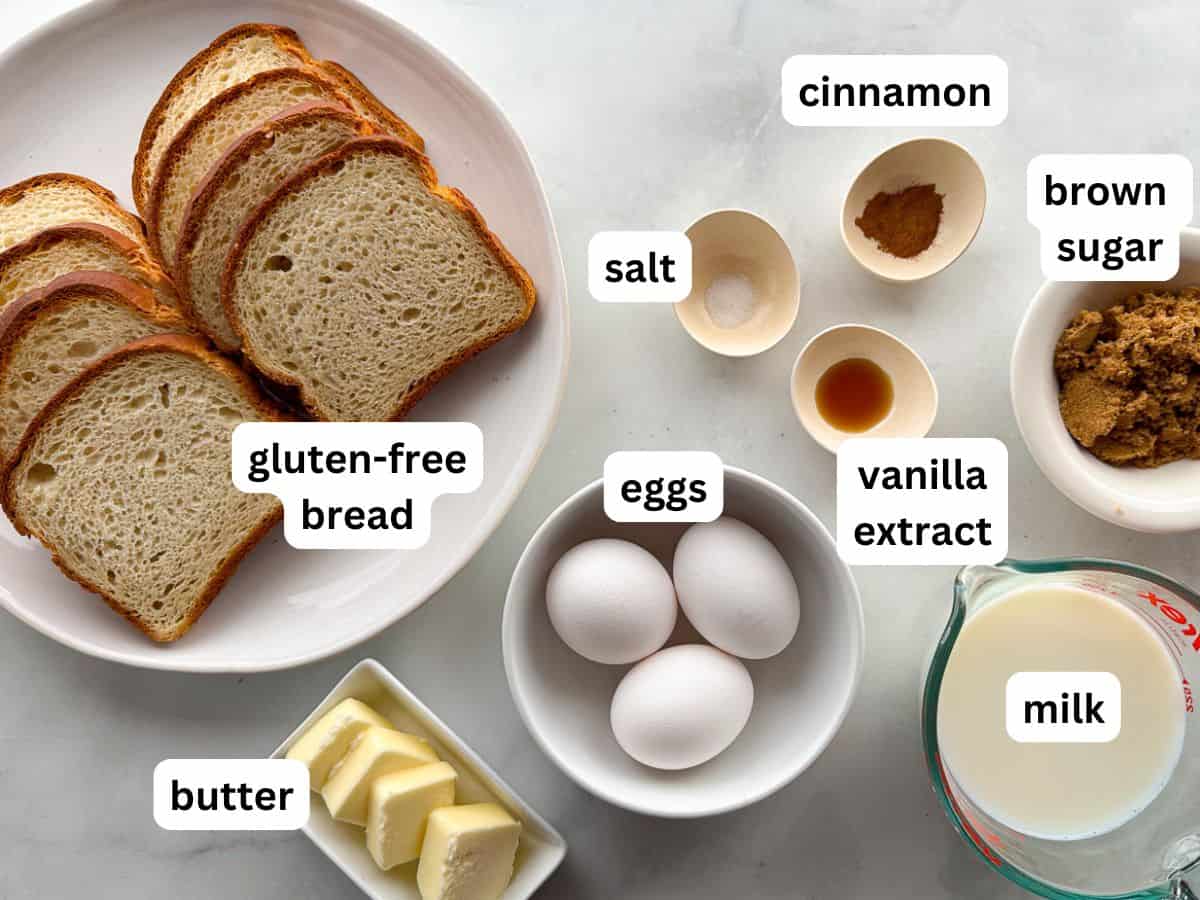
- Gluten-Free Bread. Slightly dry gluten-free bread works best. It soaks up the milk and egg mixture nicely.
- Milk. Use any milk you like. I usually add a splash of half and half for a little extra richness.
- Eggs. Three large eggs makes a tasty soak for the bread without being too eggy.
- Sugar. My French toast soak includes a little sugar. It add a nice sweetness without making it taste like dessert. I use brown sugar but white (granulated) sugar, honey, or maple syrup work great.
- Vanilla Extract and Cinnamon. Optional but I like the flavor they add.
- Salt. Enhances all the other flavors.
- Butter. Cook the French toast on a generously buttered griddle. Dairy-free butter works!
Ingredient Note: The Key to the Best Gluten-Free French Toast is Dry Bread!
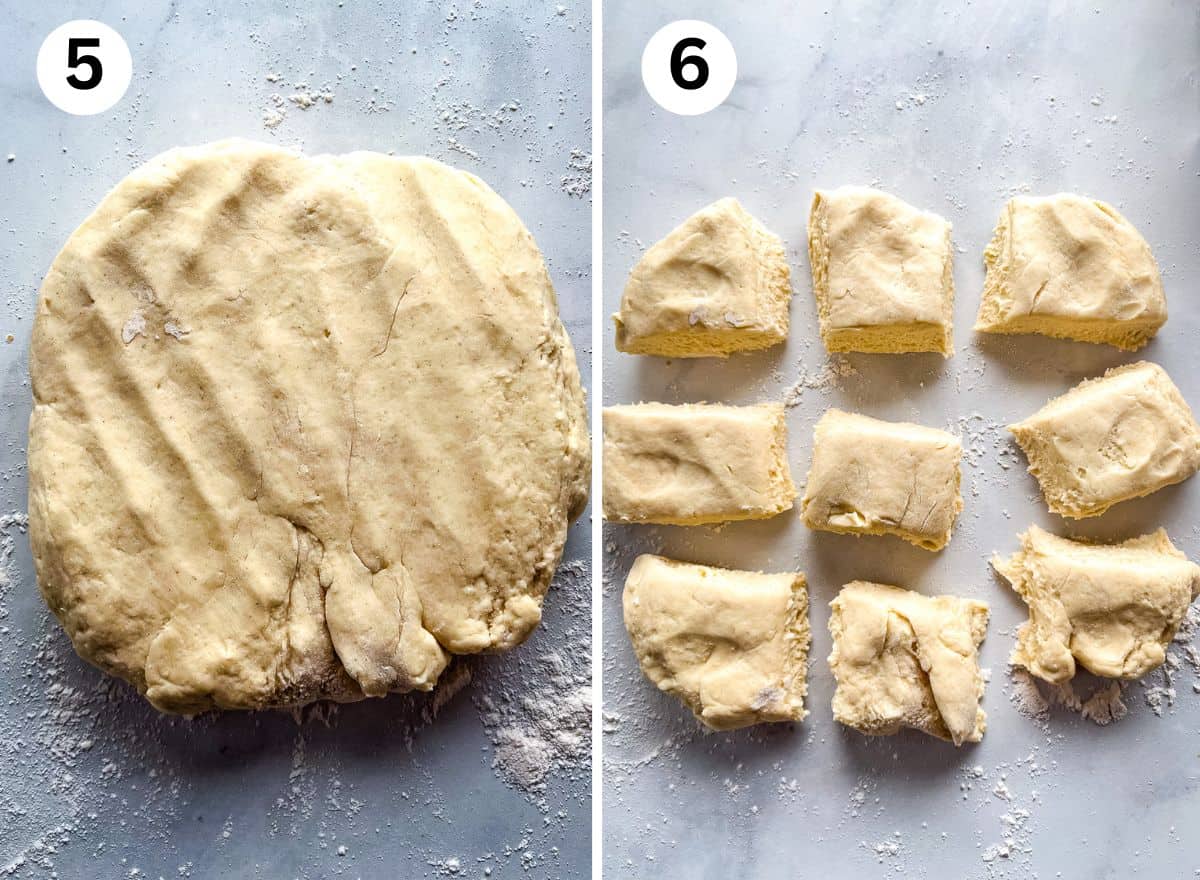
Dry bread makes the best gluten-free French toast– but you don’t need to wait for a stale loaf!
Simply slice your bread and place it onto a baking sheet. Dry it in a 250℉ oven for a few minutes, flipping it once. Let it cool before adding it to the custard and then cook as directed.
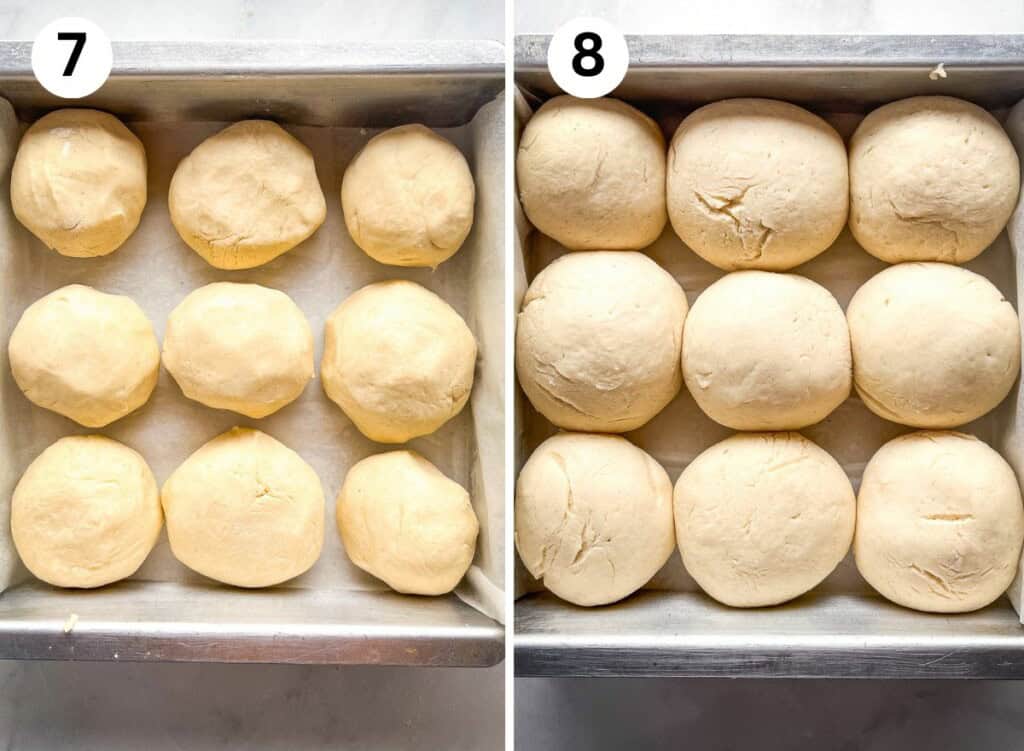
How to Make Gluten-Free French Toast
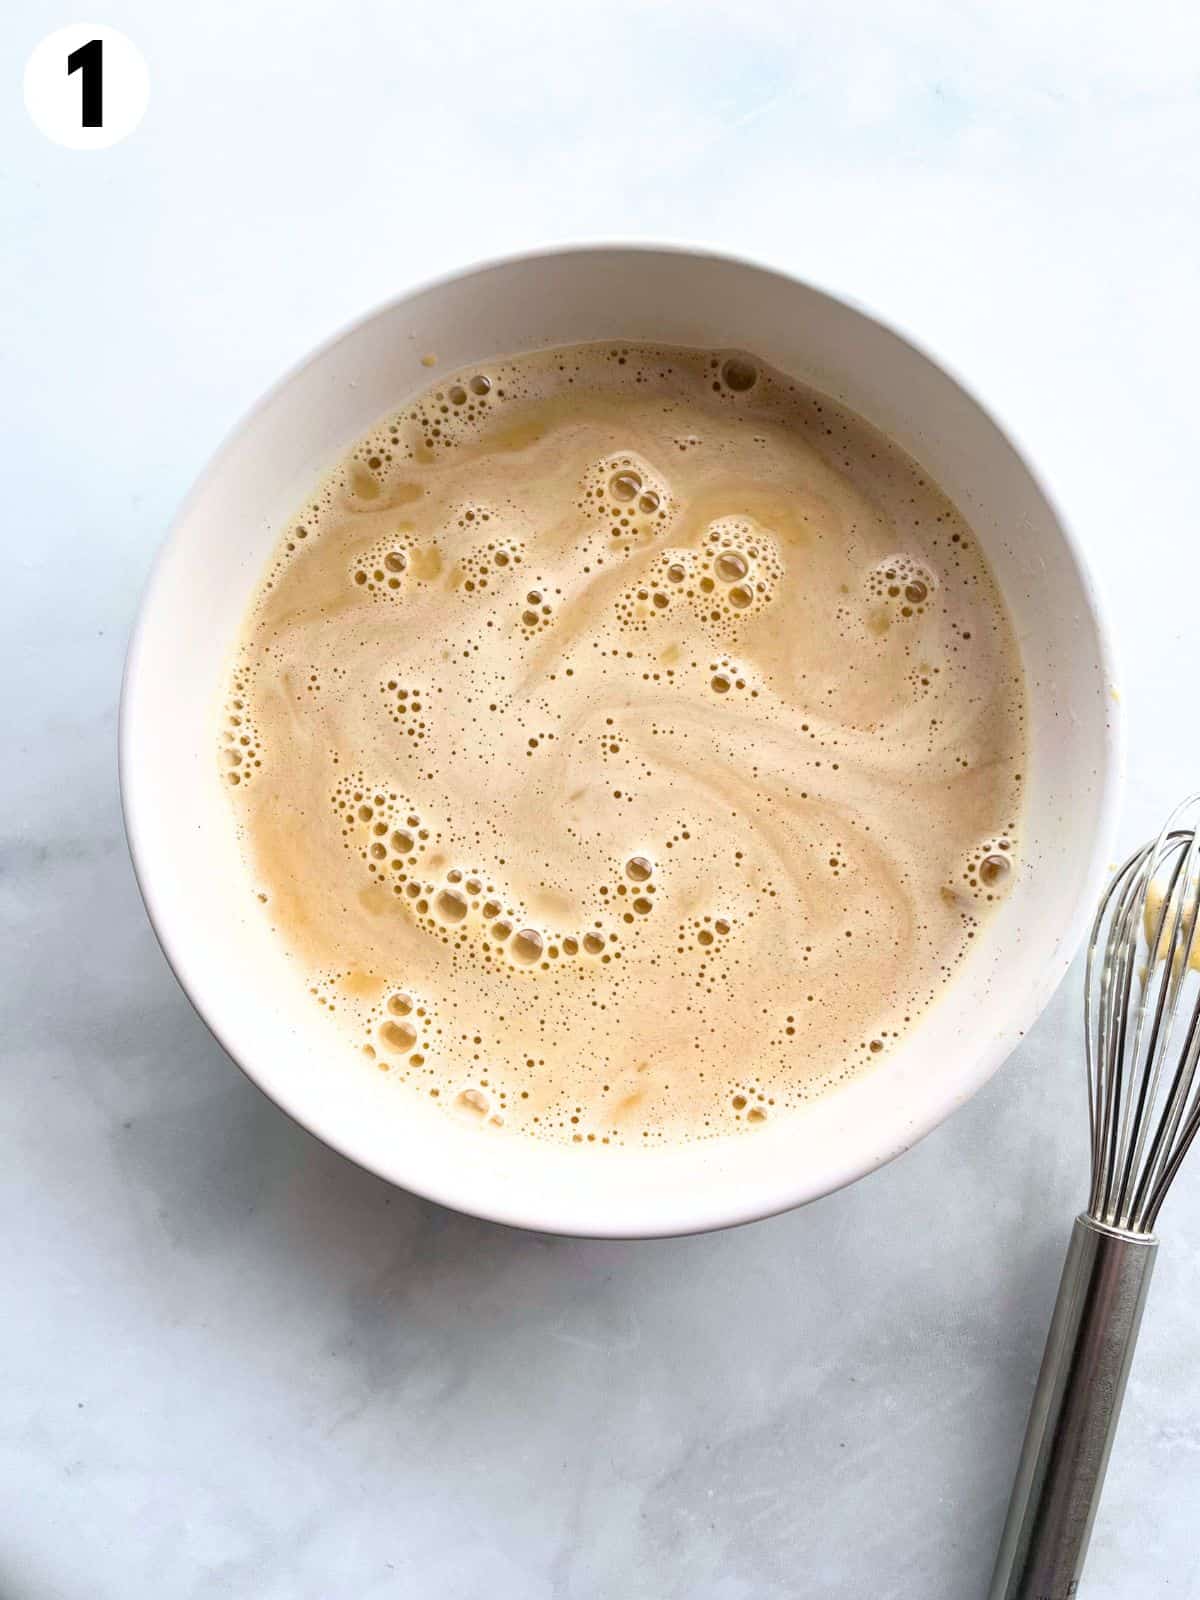
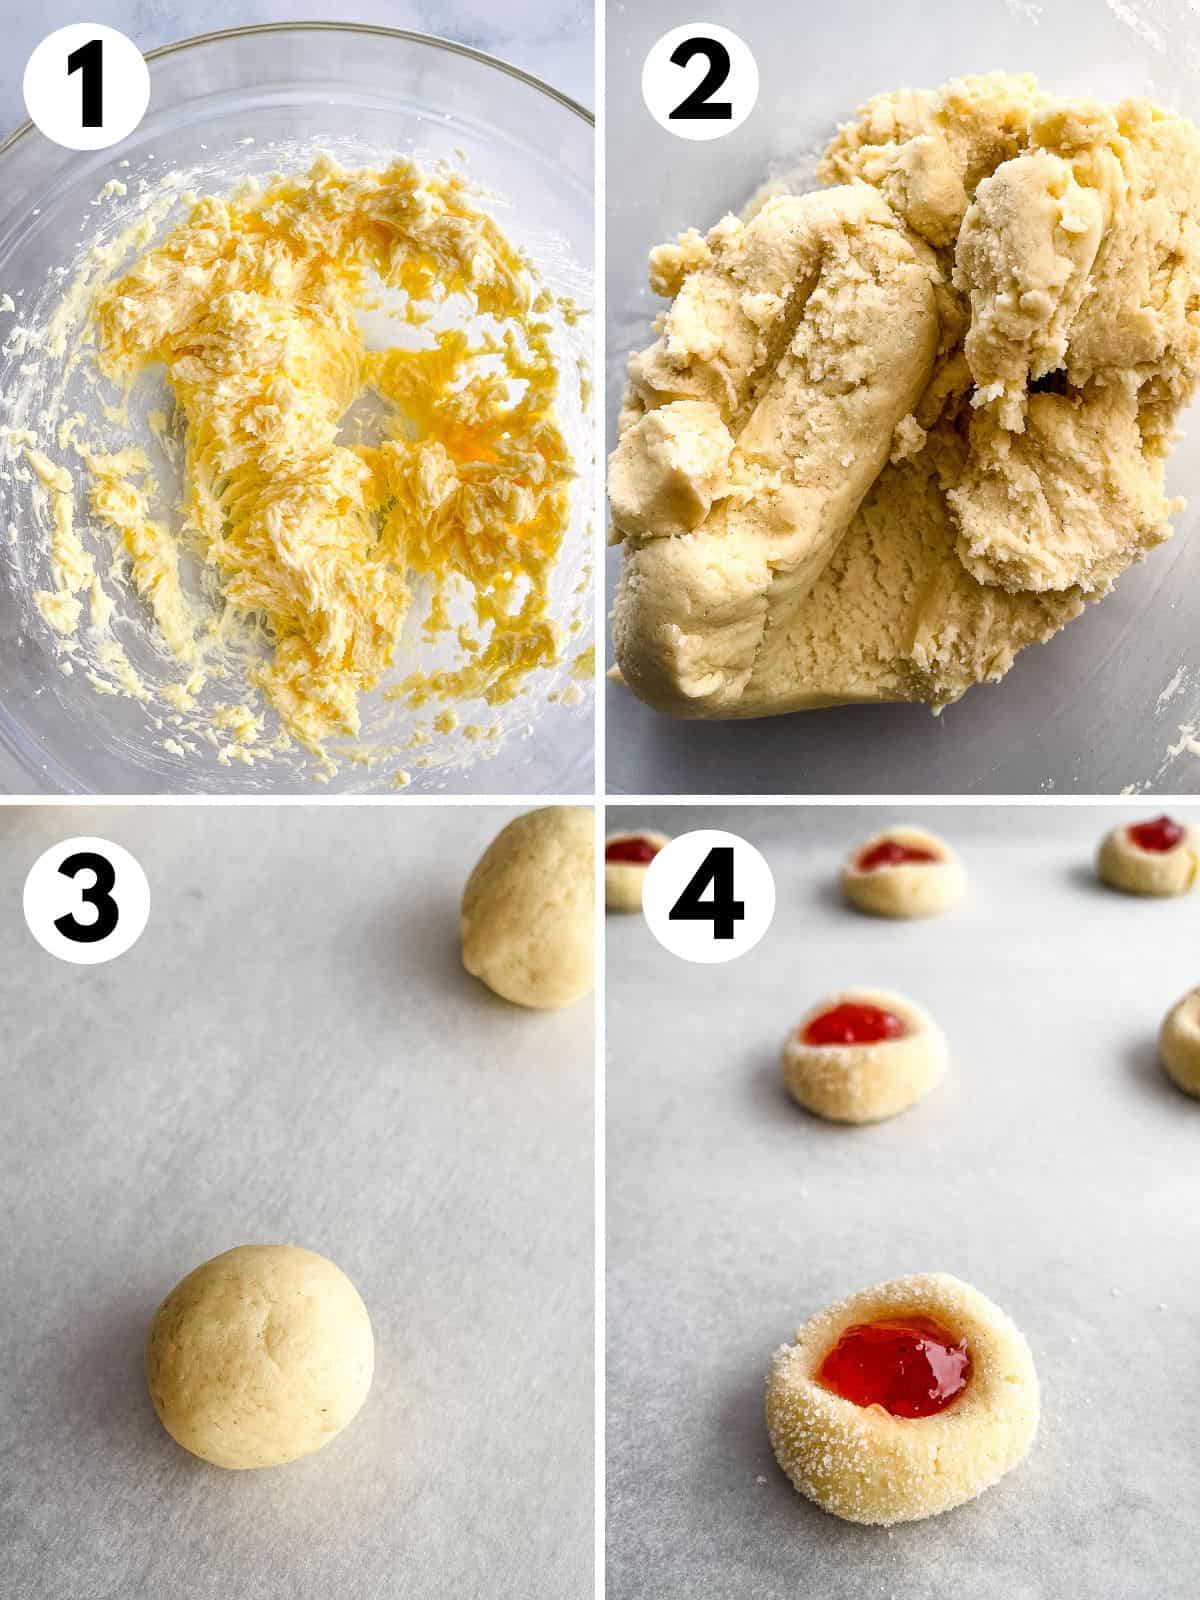
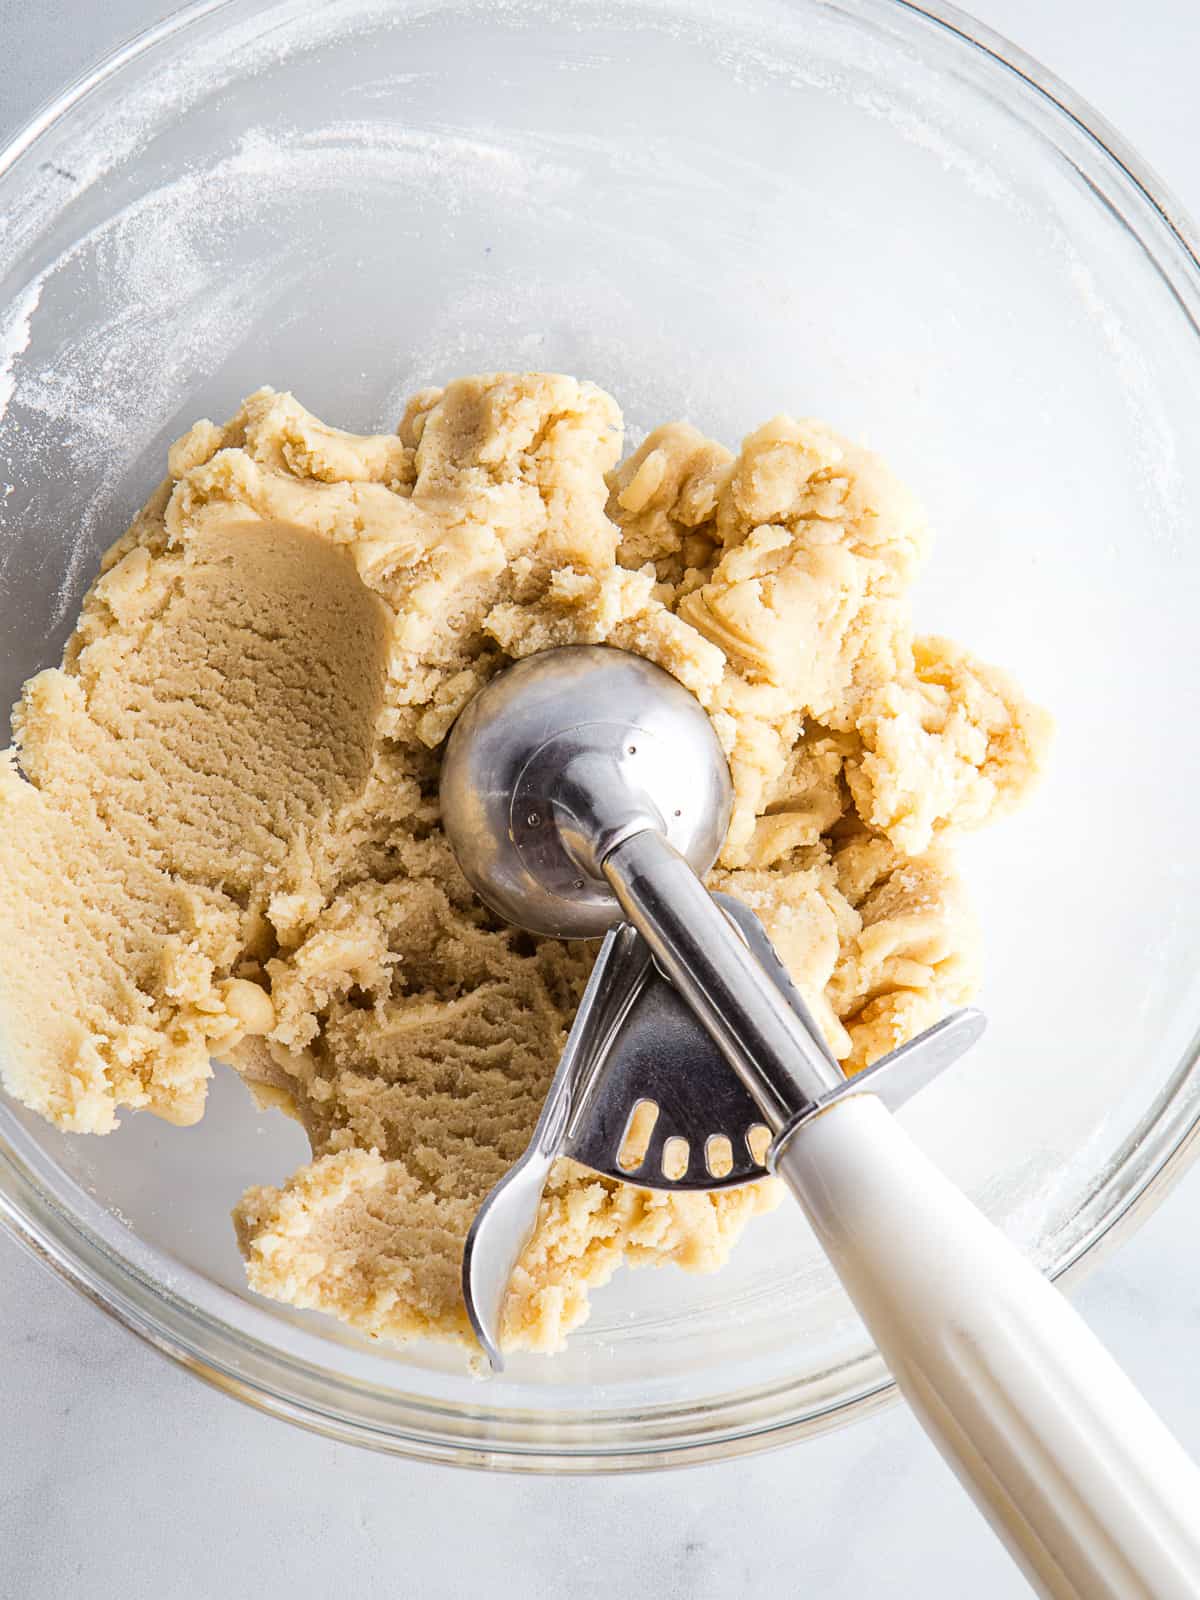
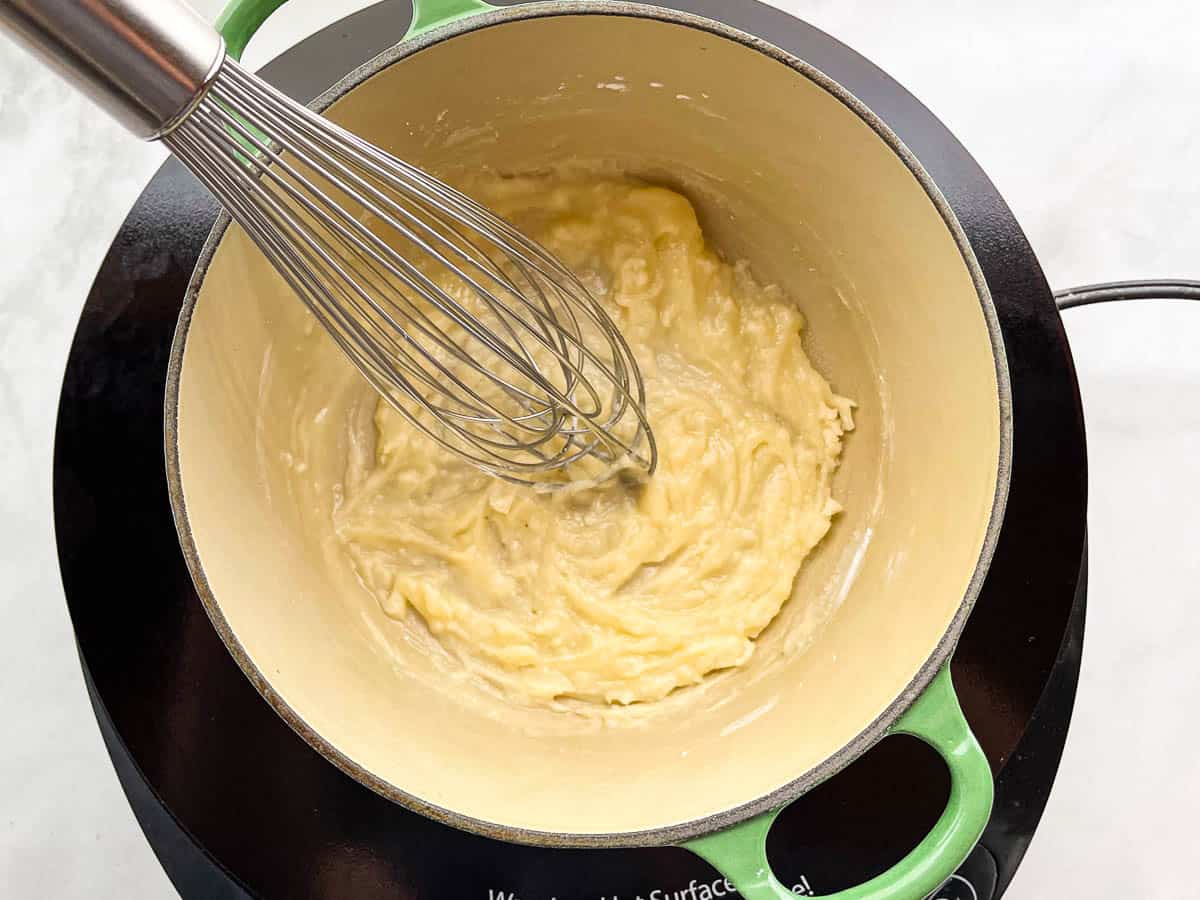
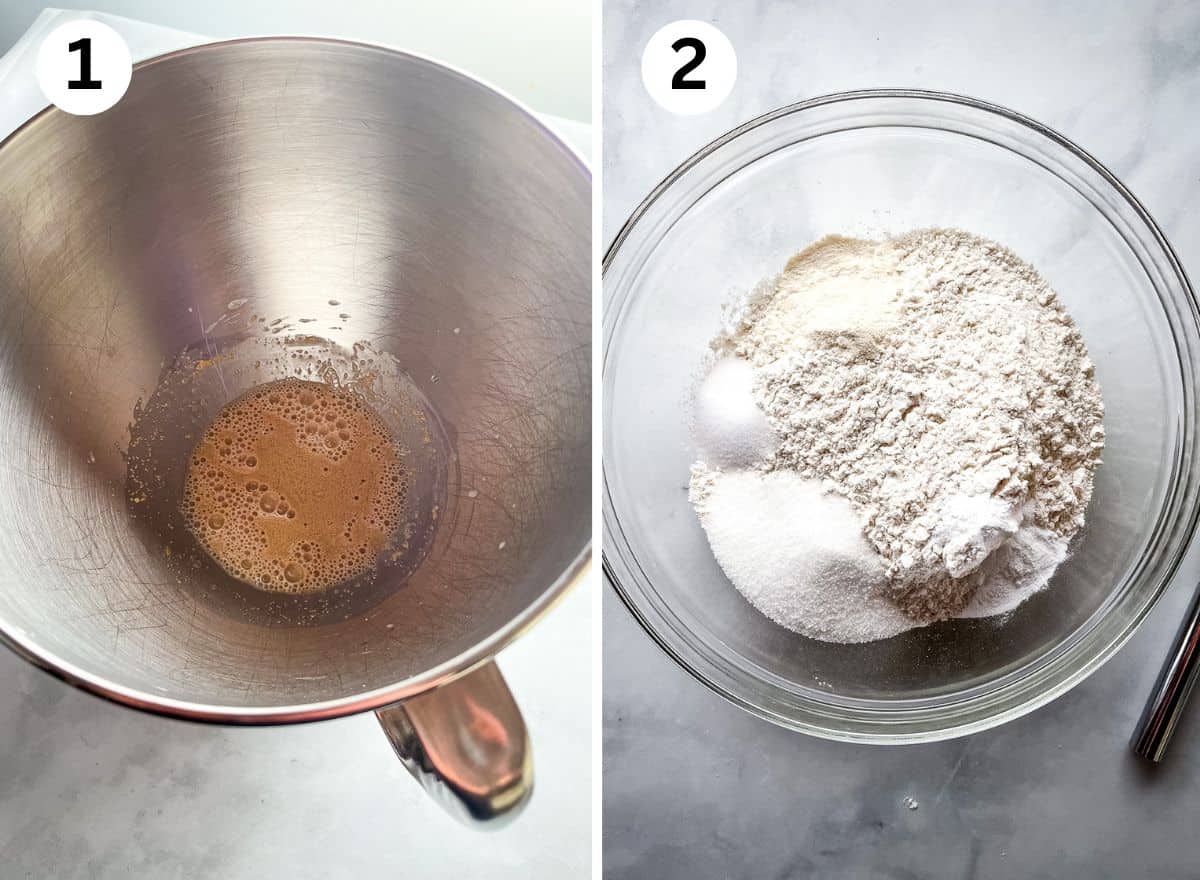
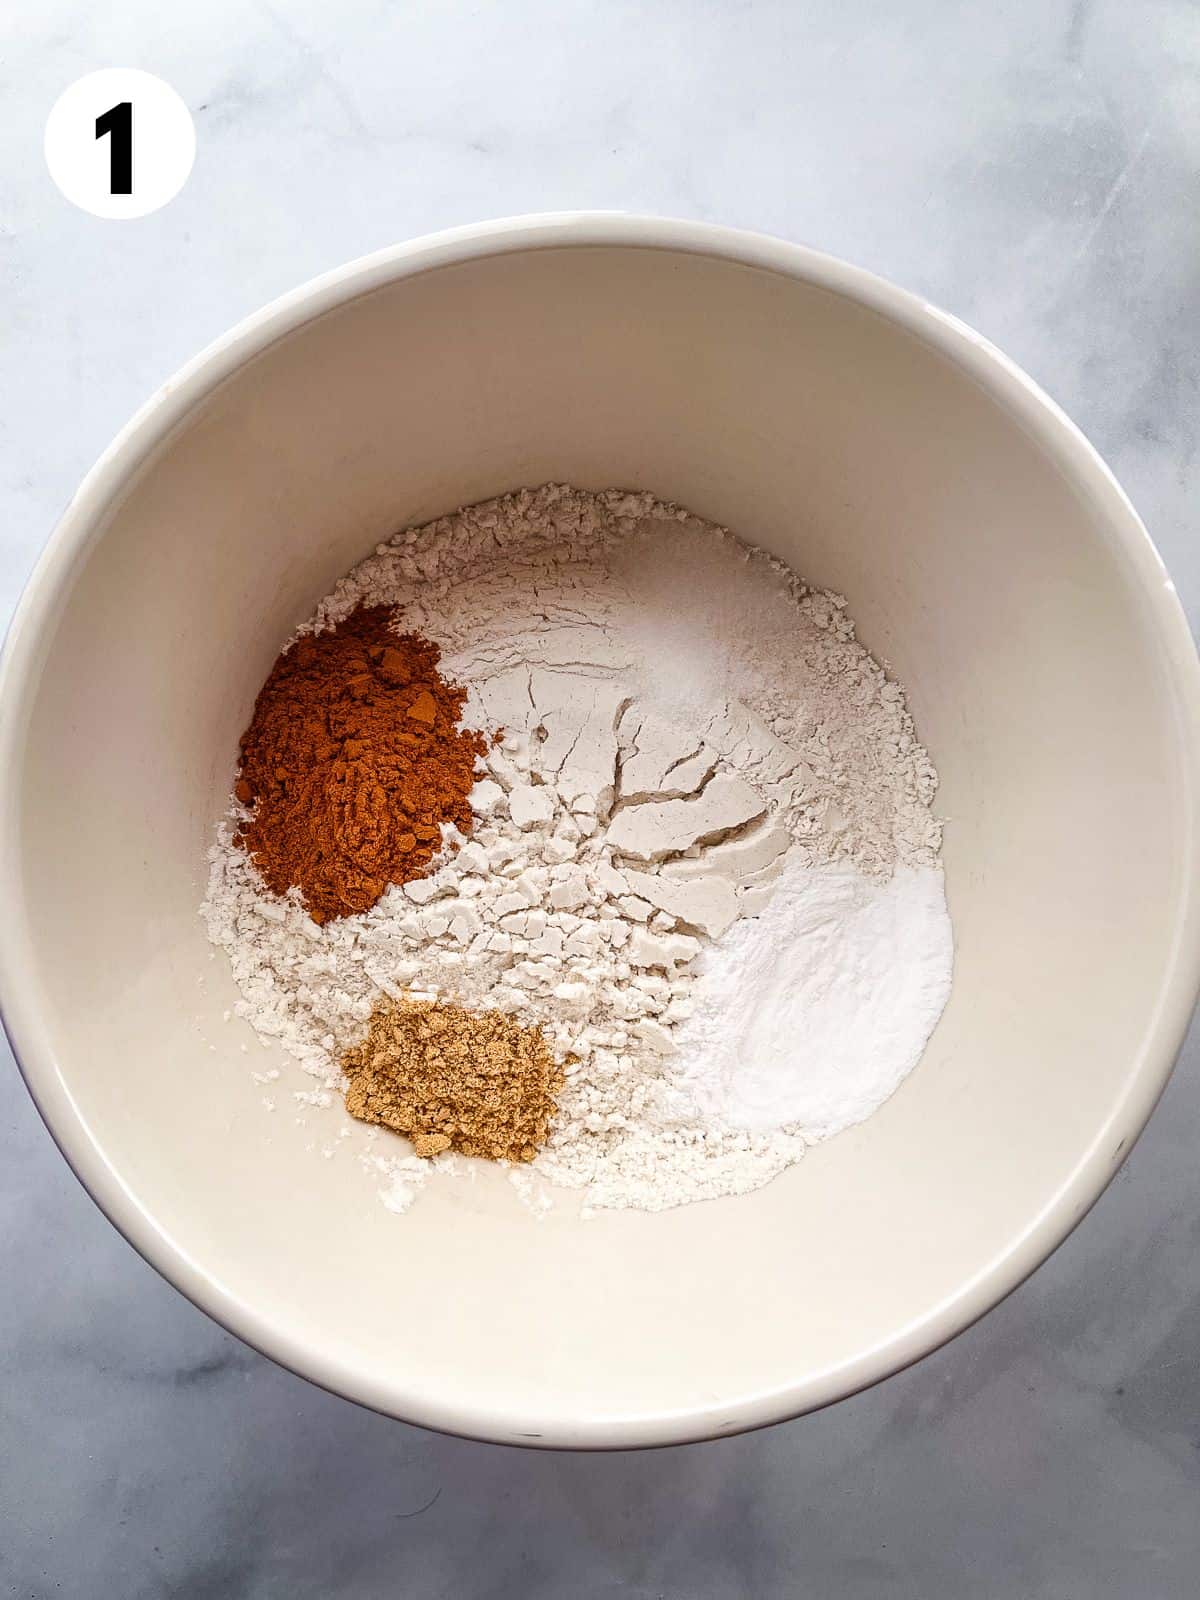
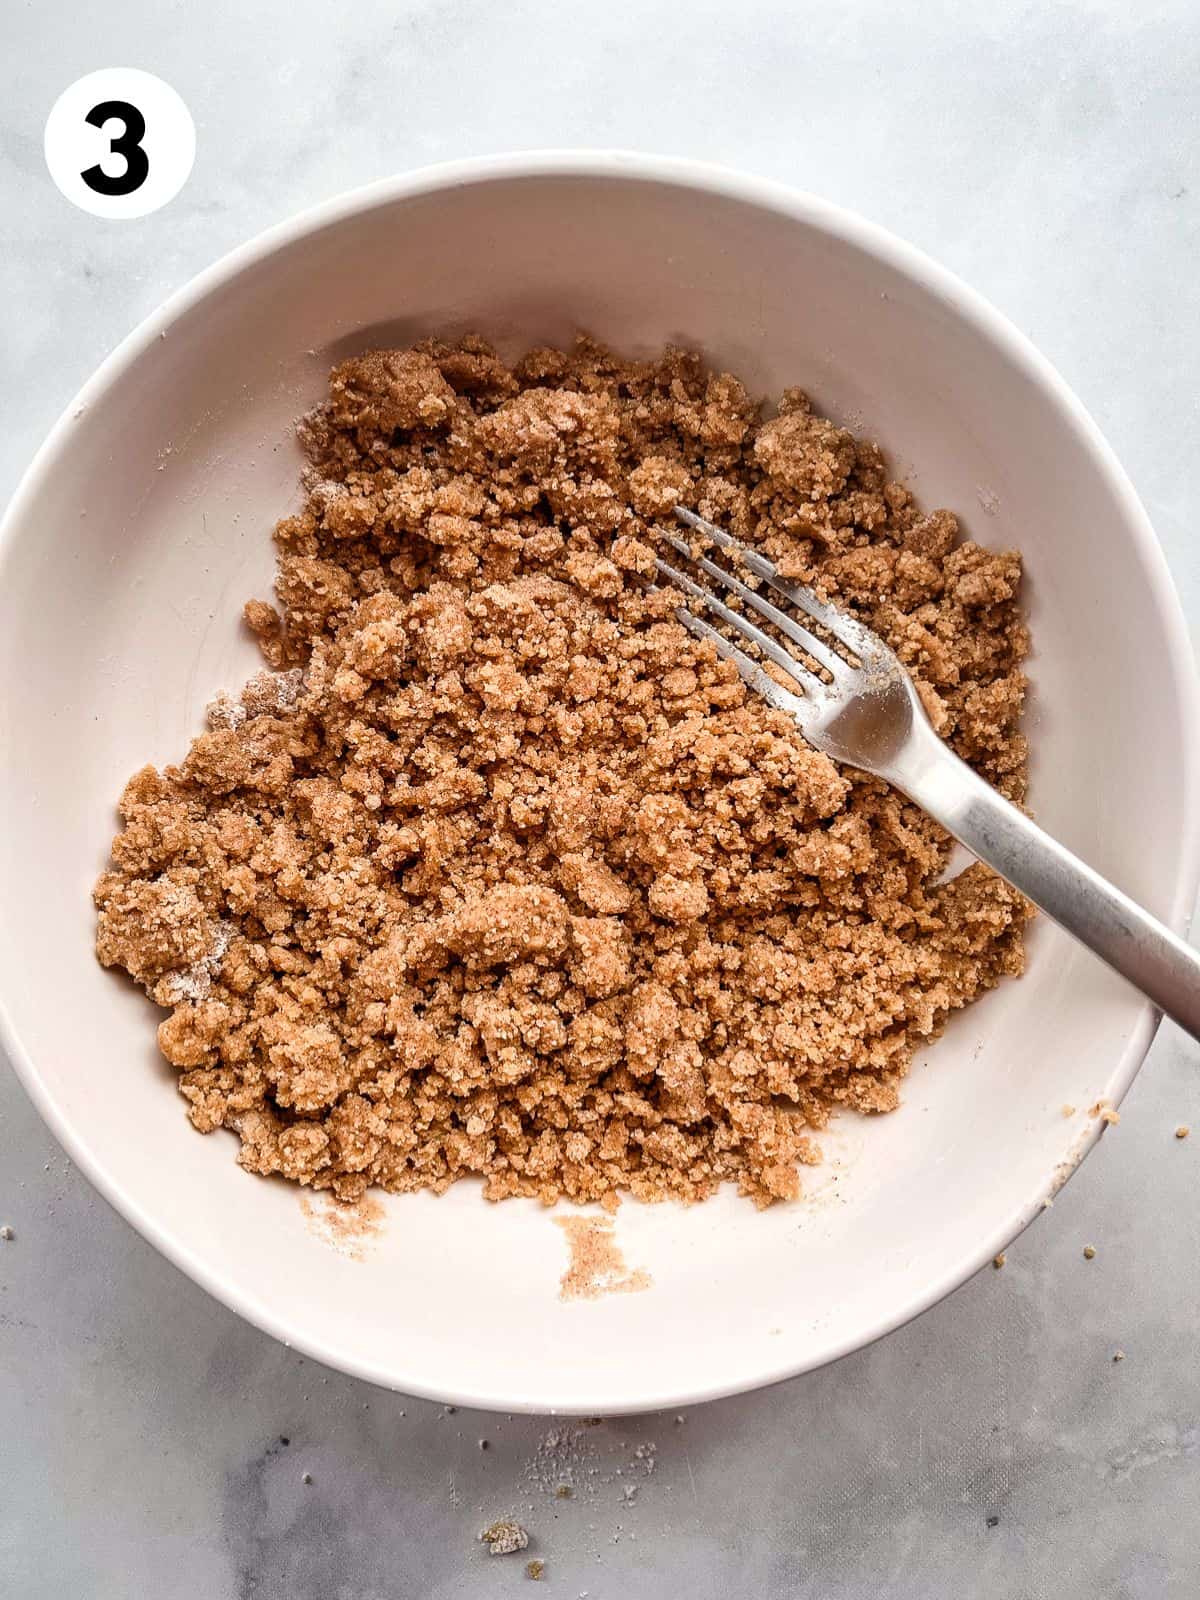
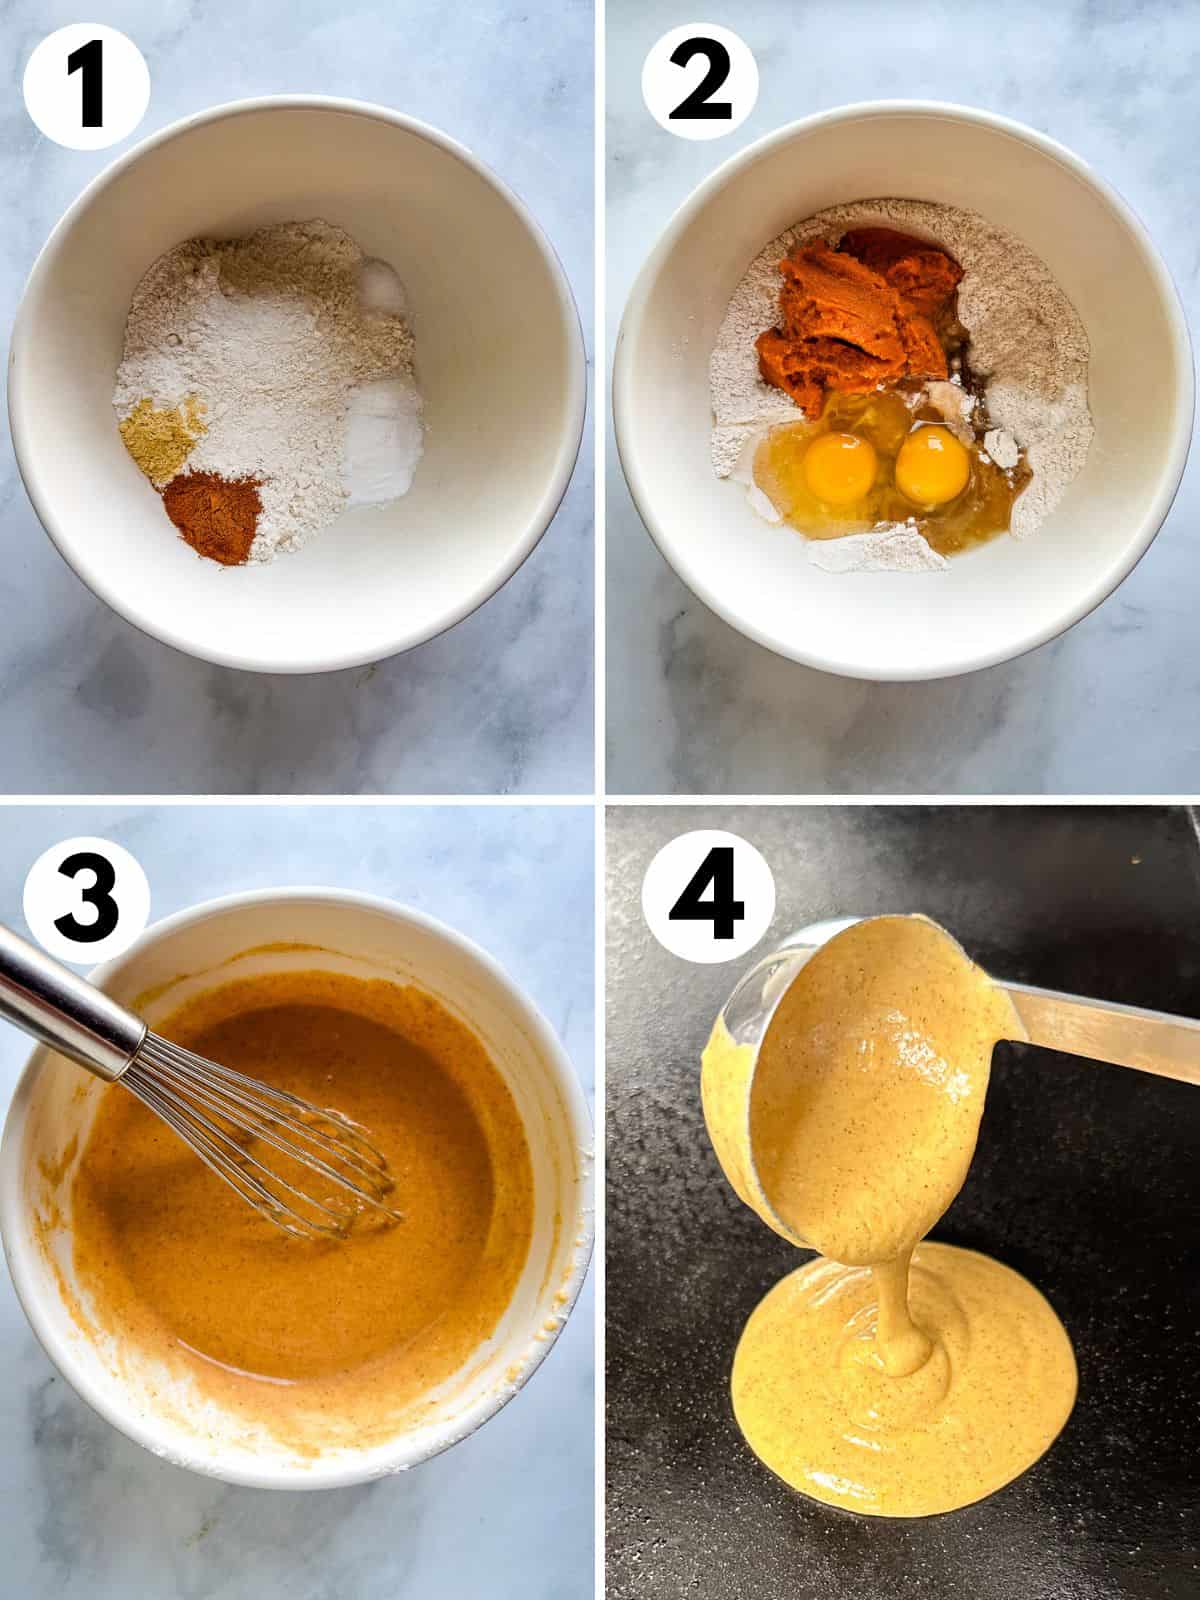
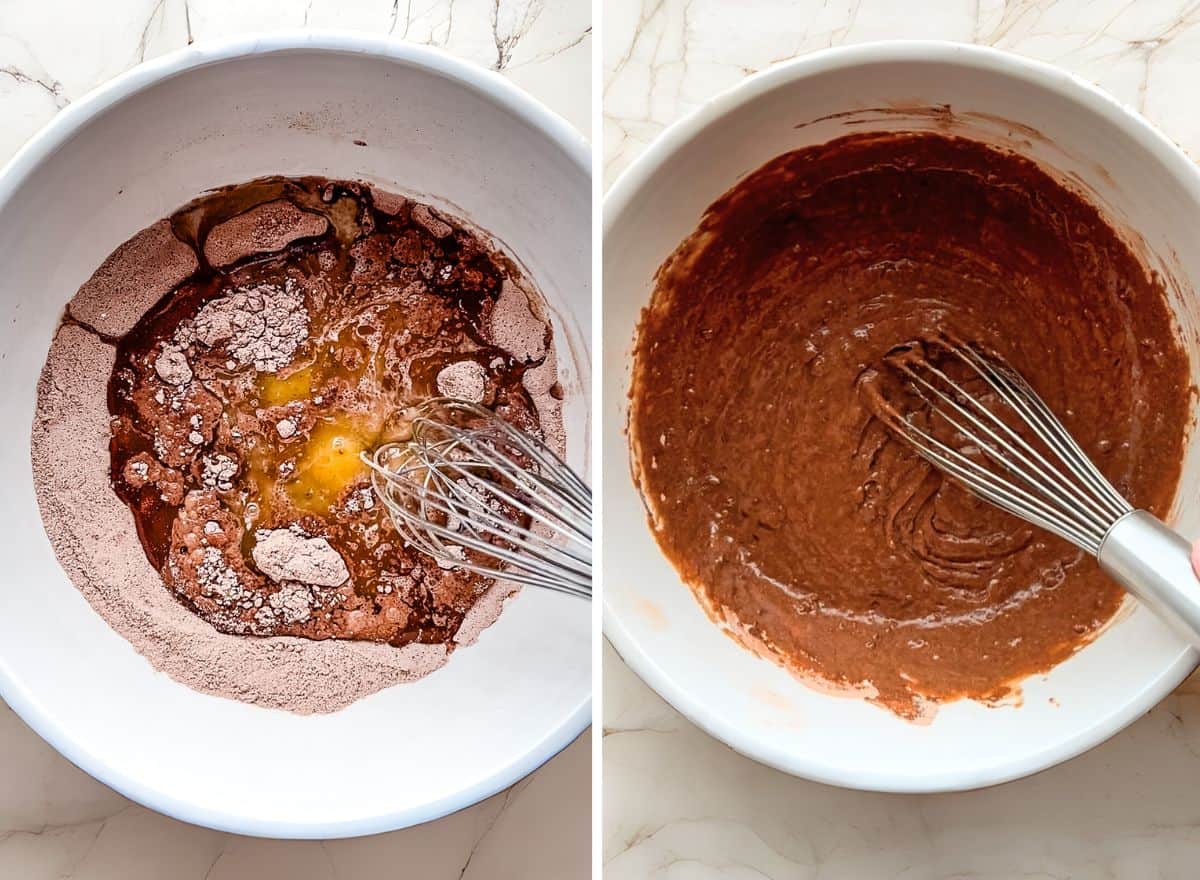
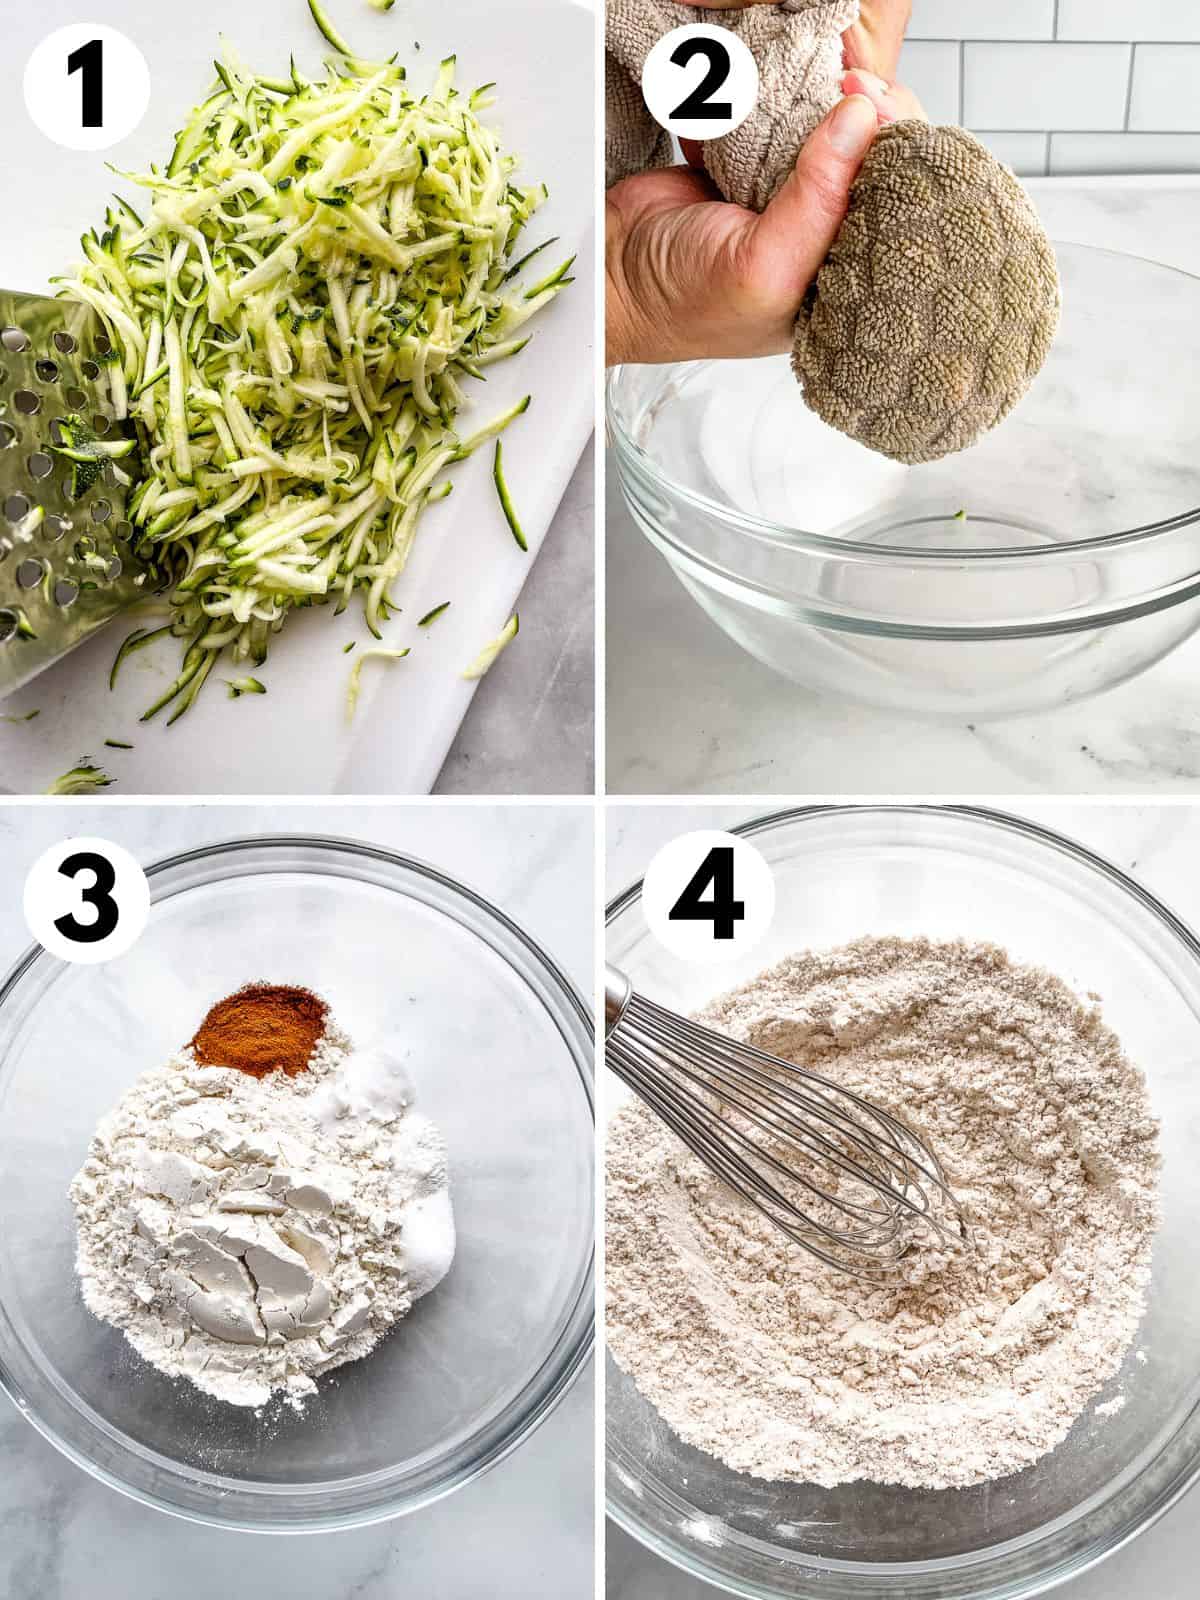
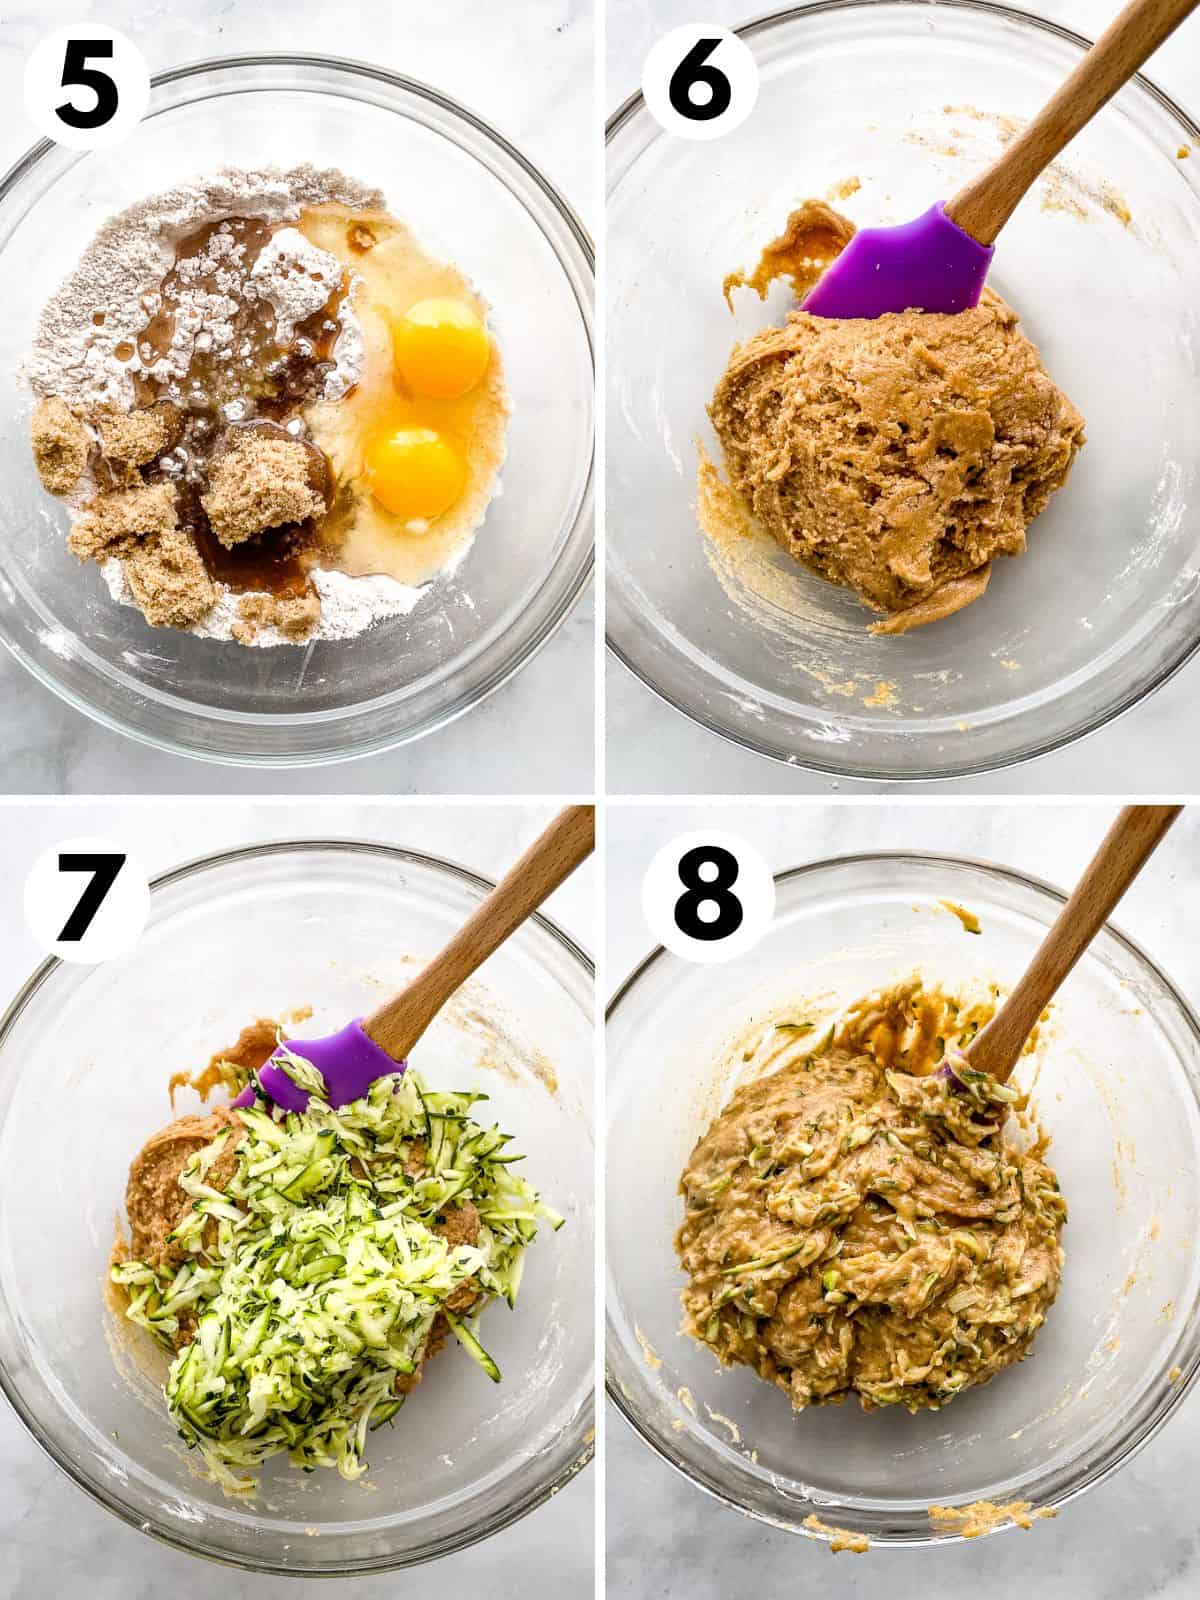
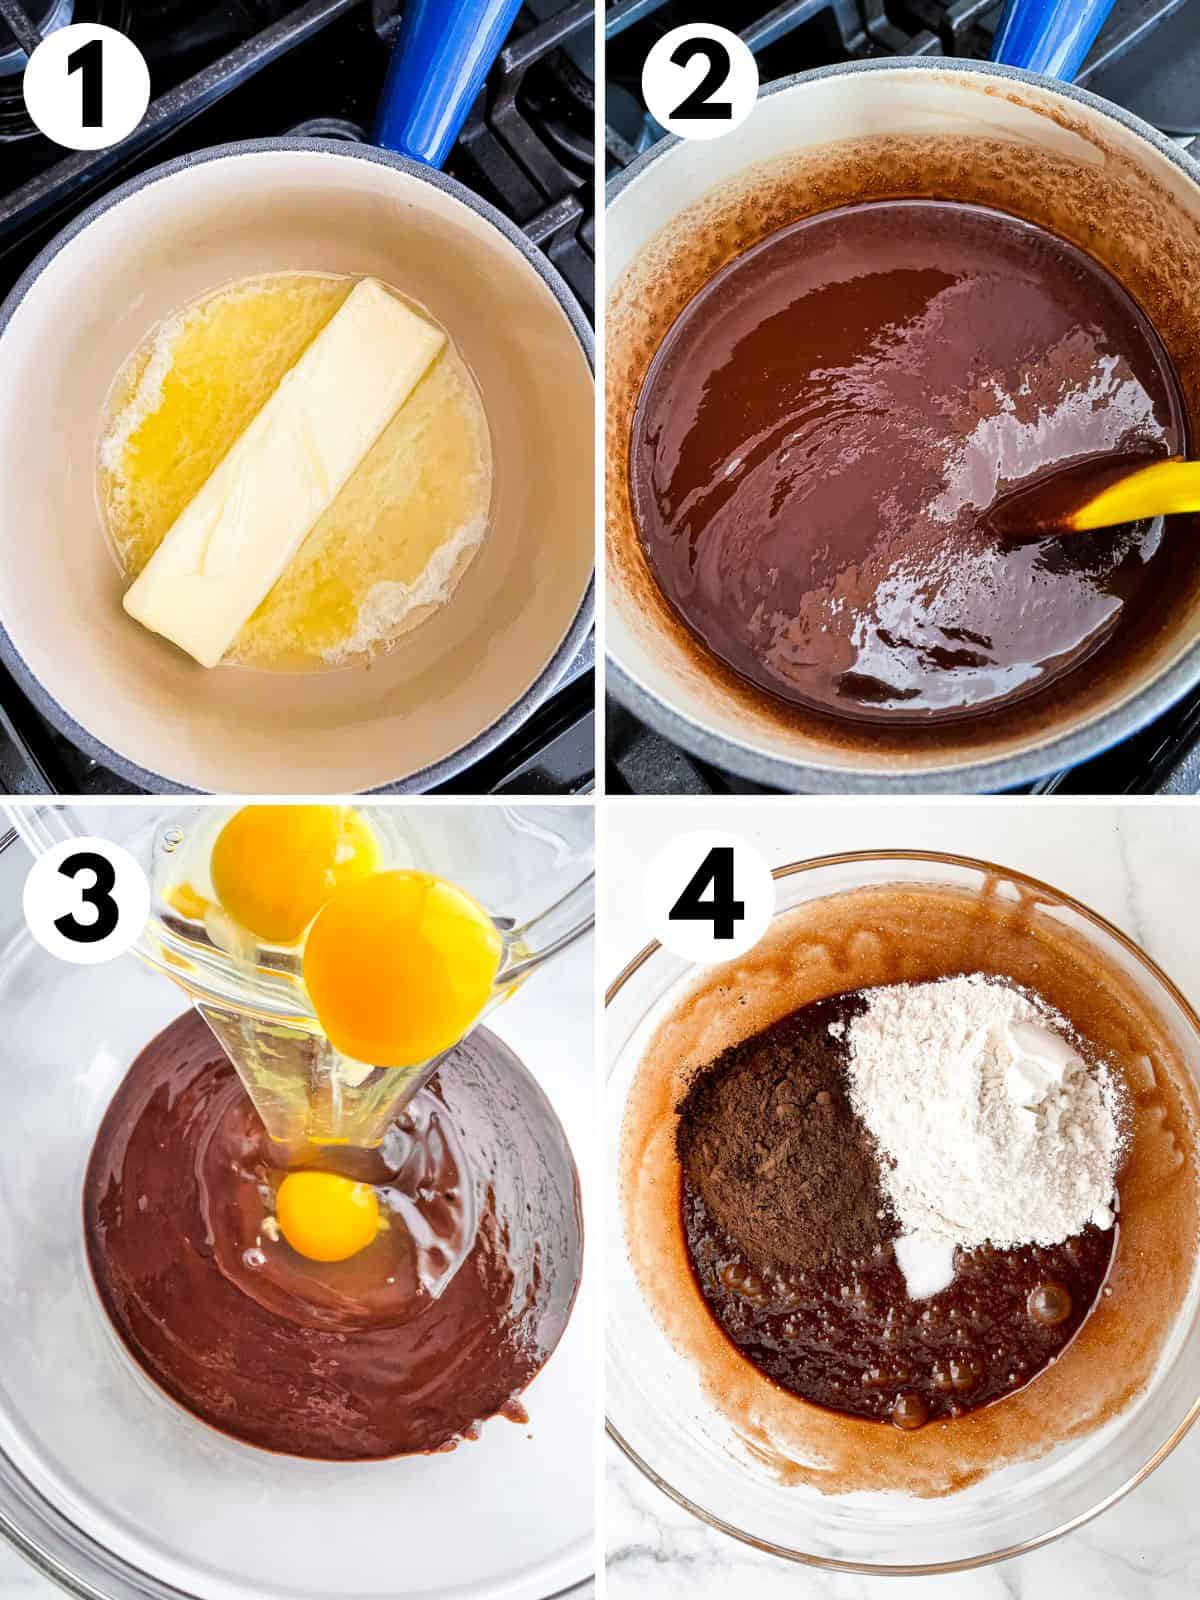
Make the custard in a small bowl. Whisk until it’s smooth. It’s fine if the cinnamon floats to the top.
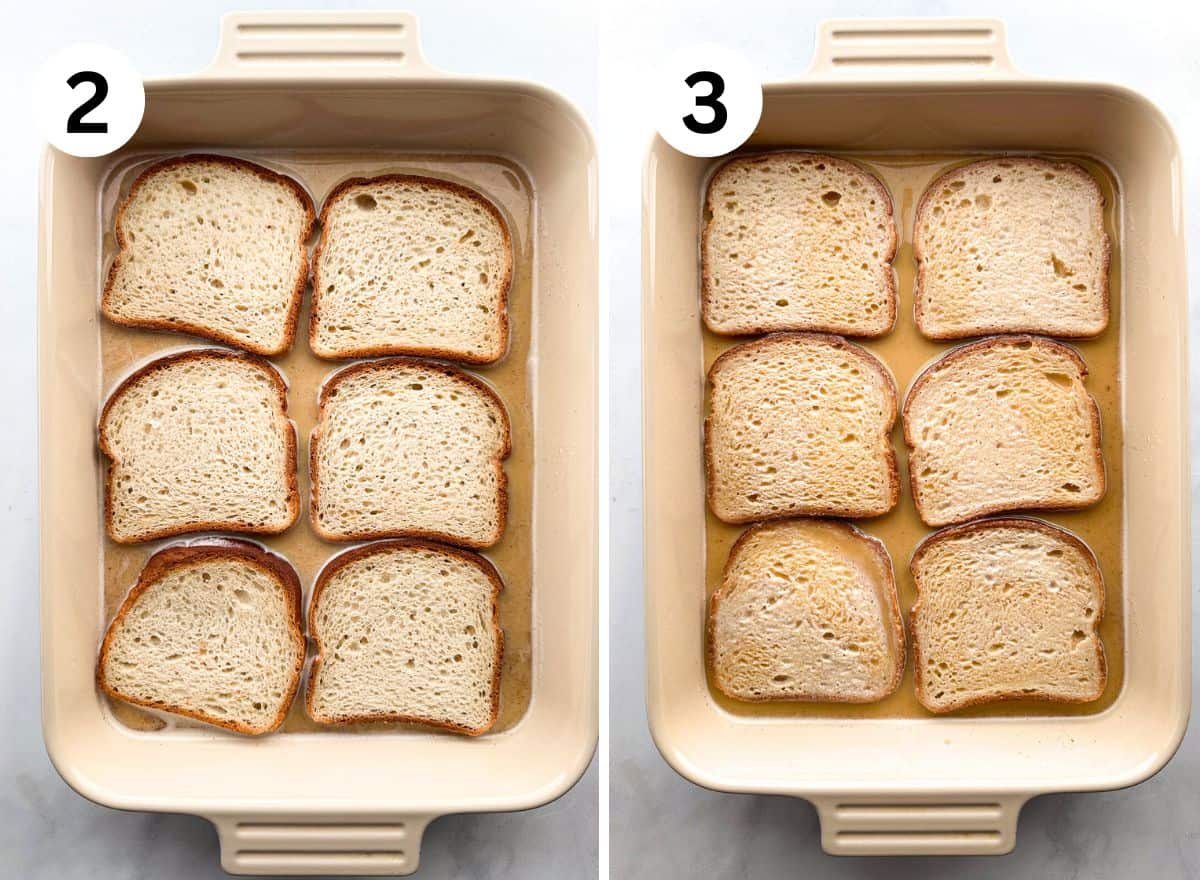
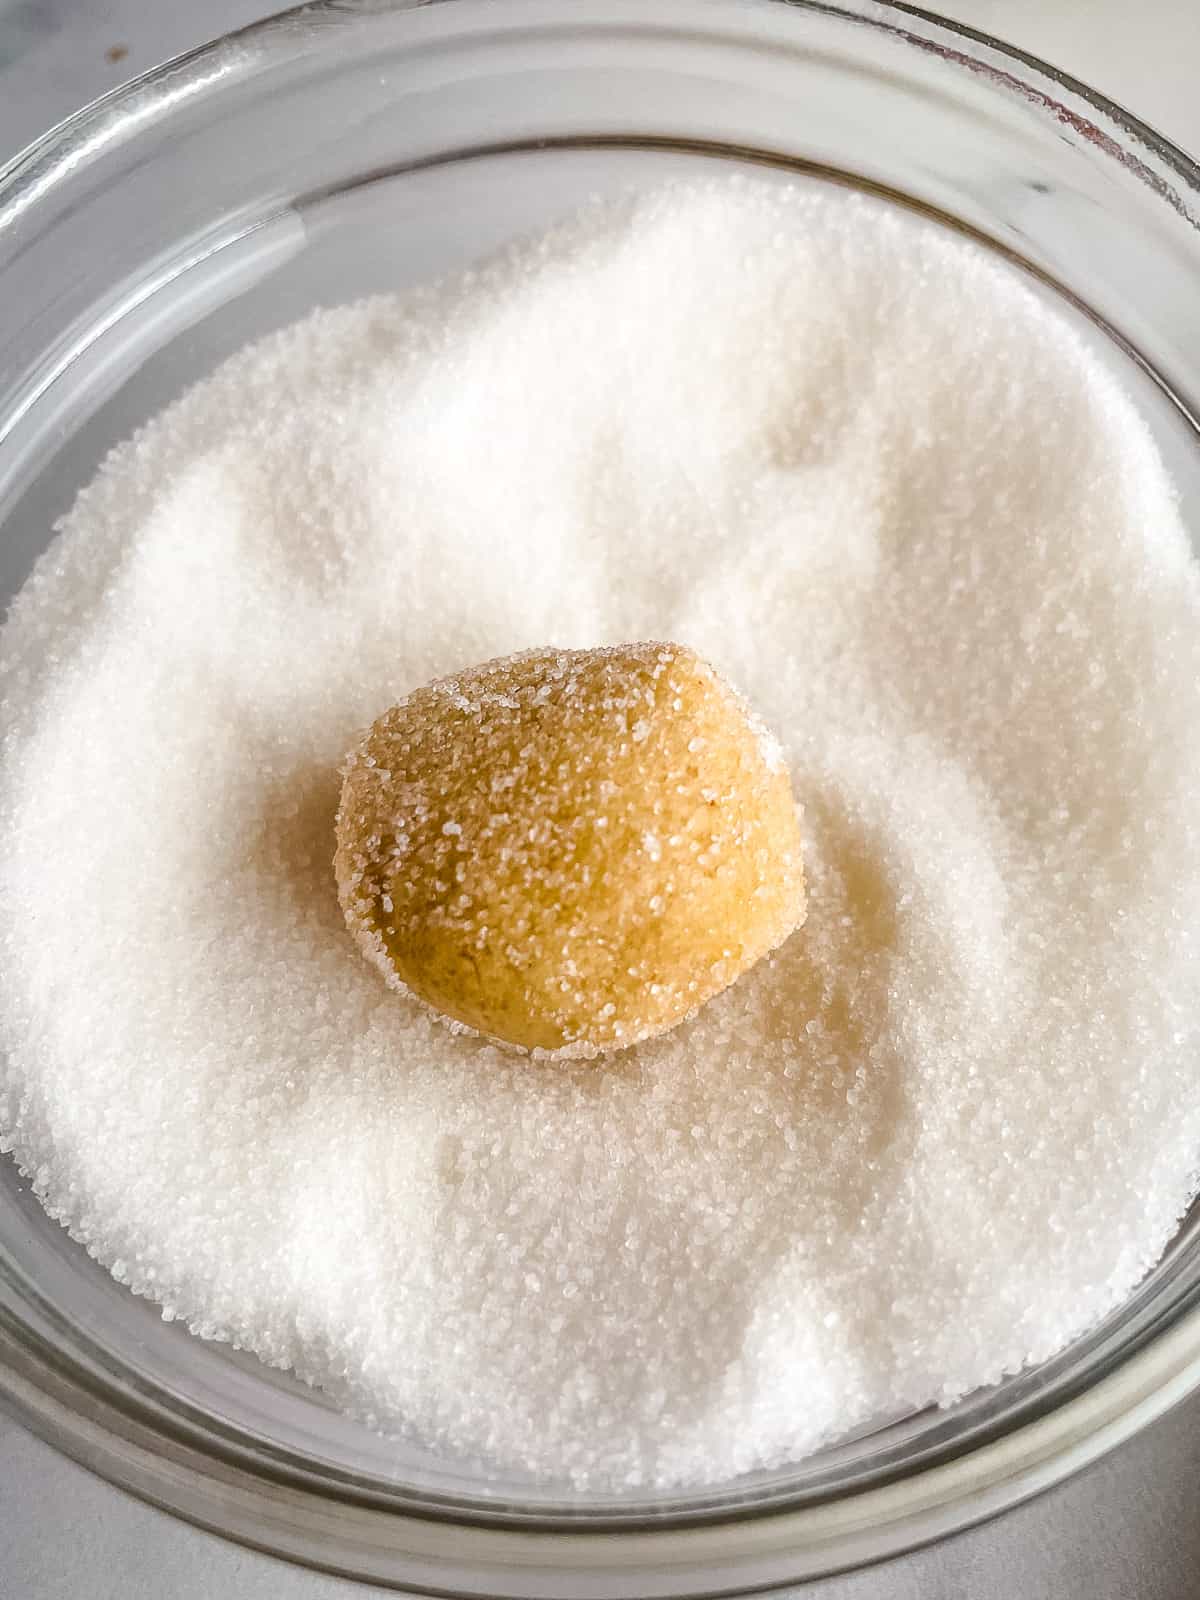
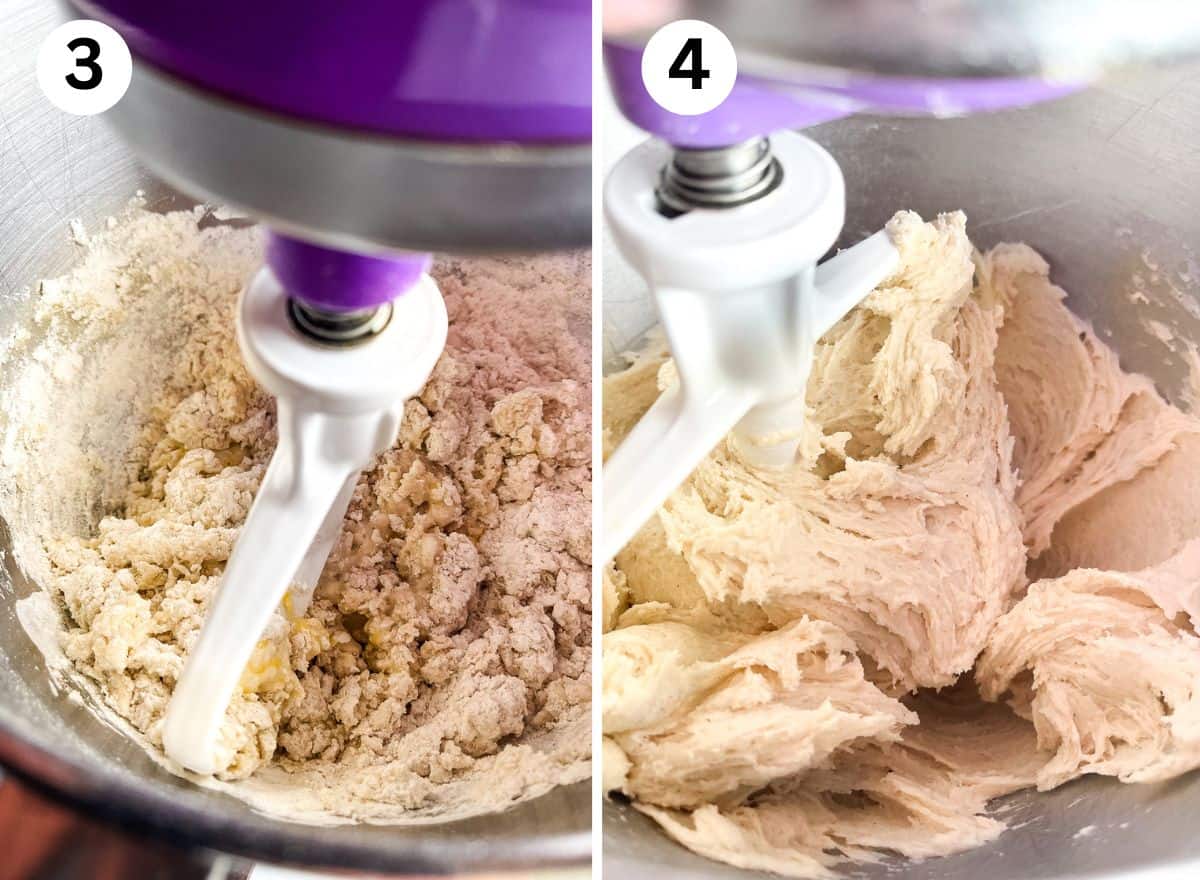
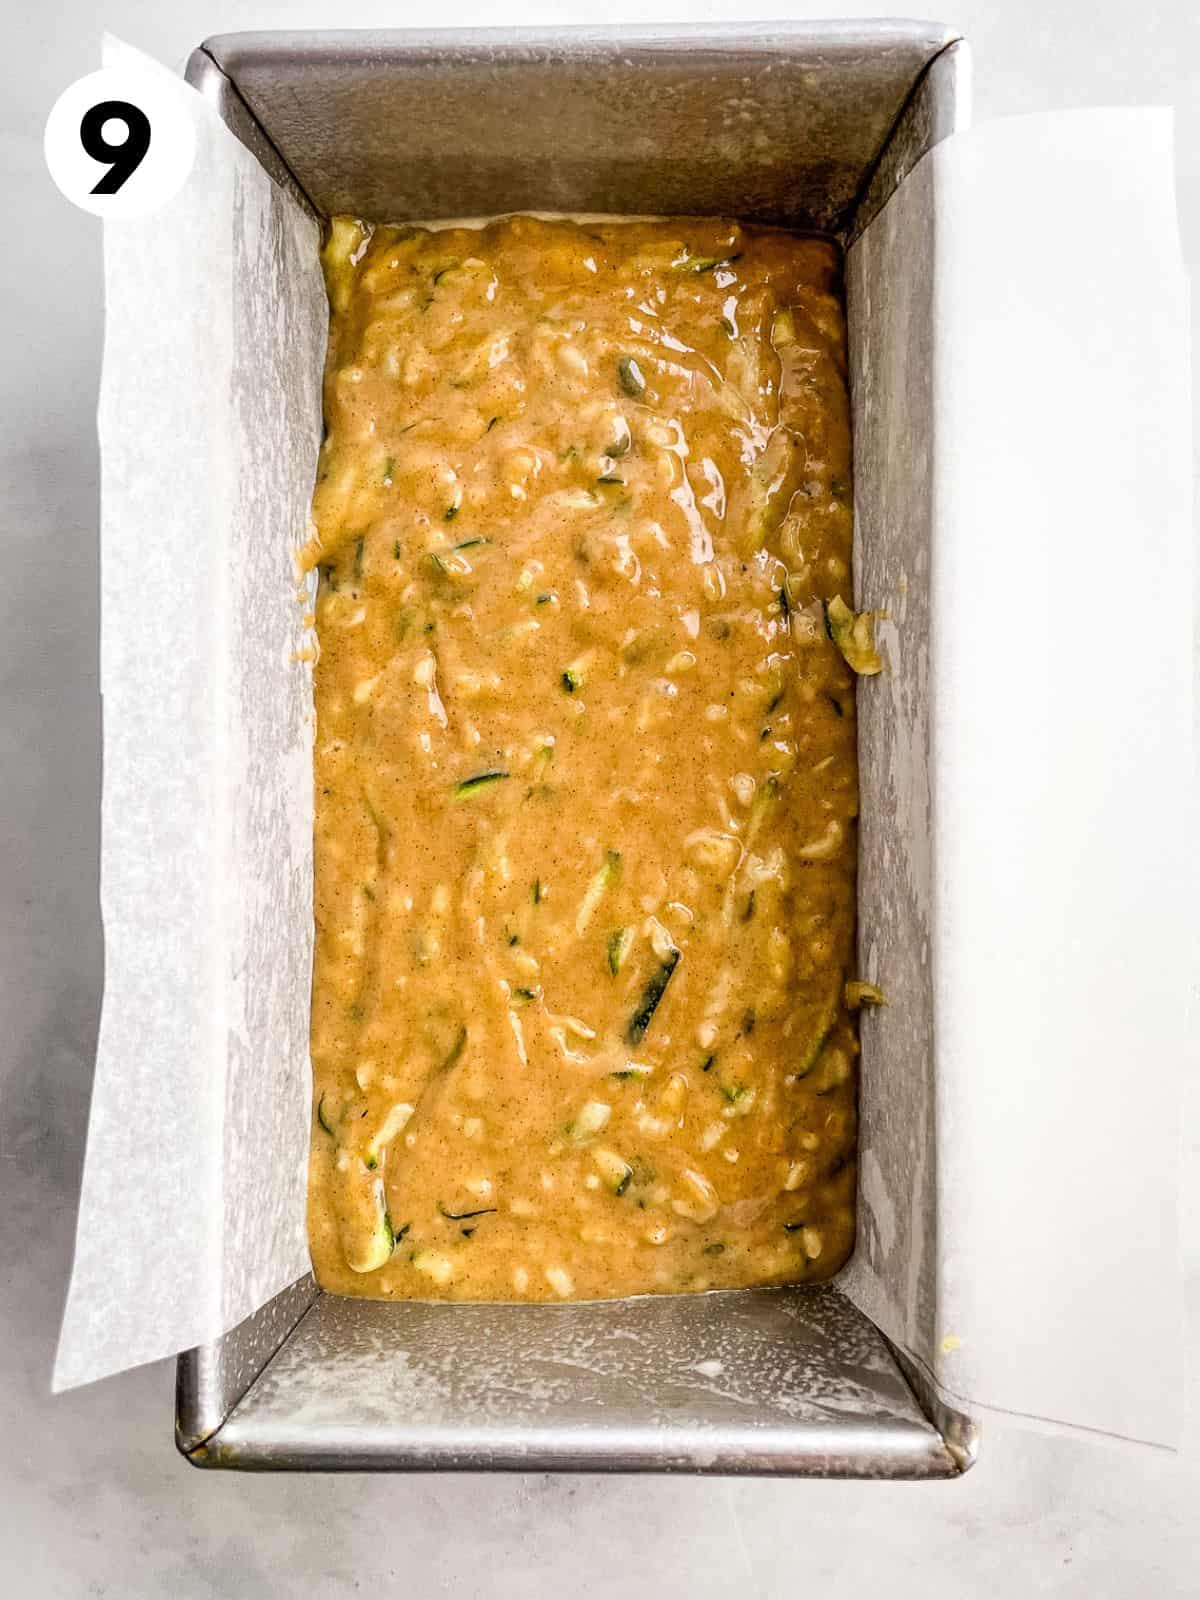
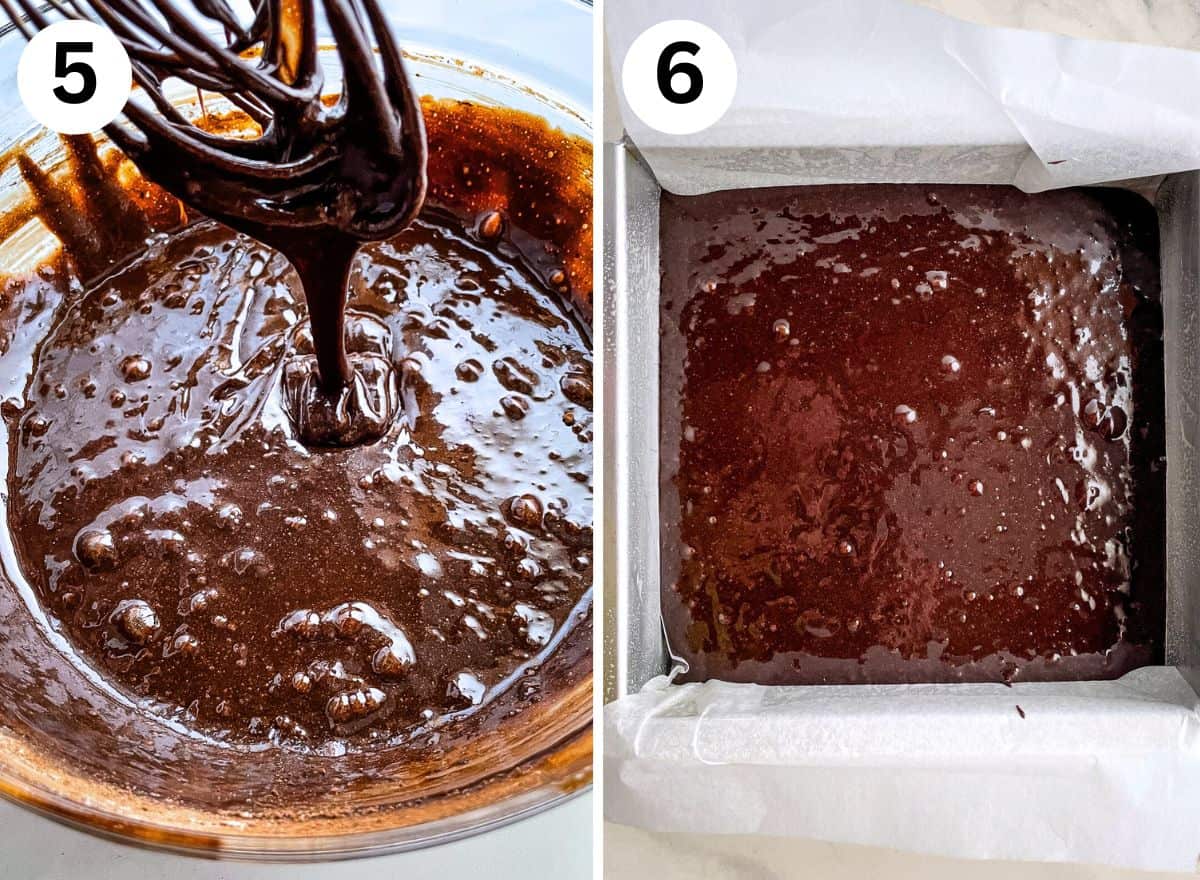
Soak the bread, about a minute per side, in the custard. If the bread feels dry, soak it for a little longer.

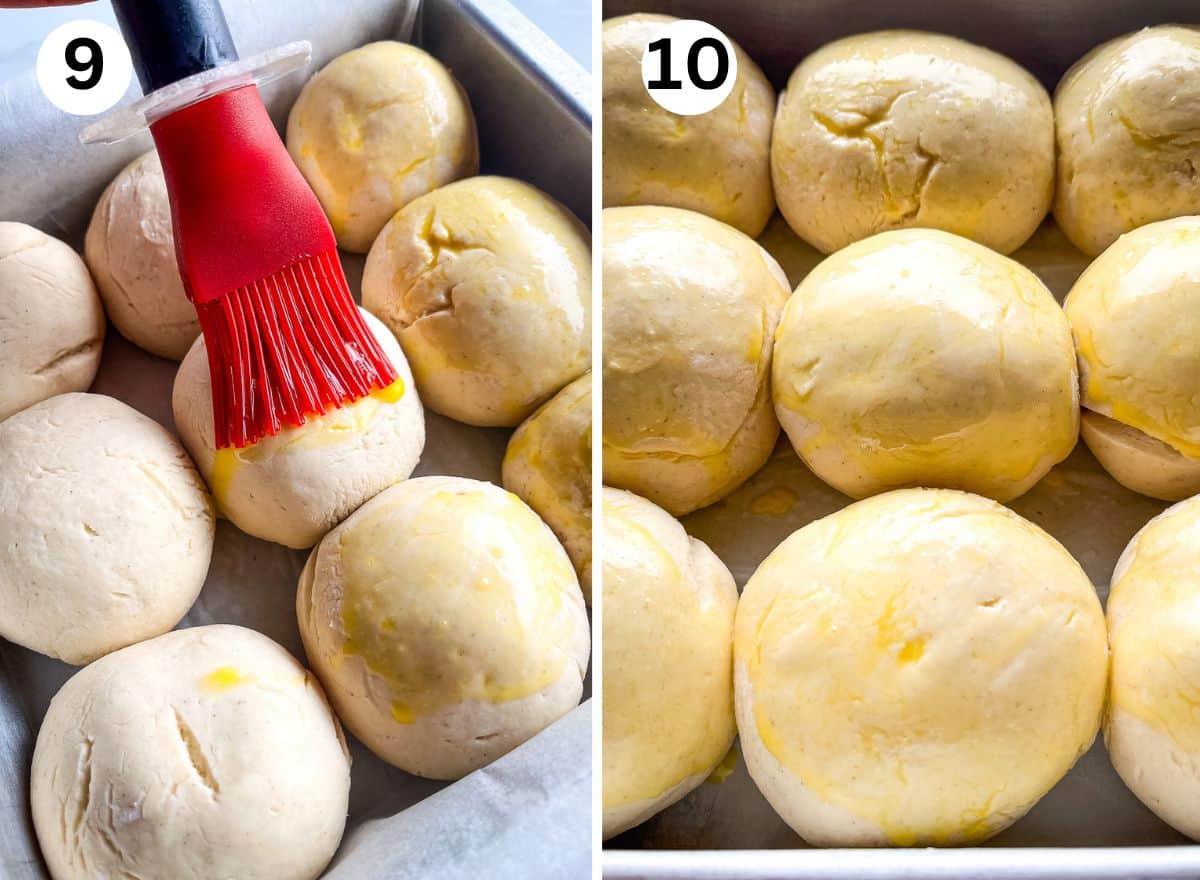
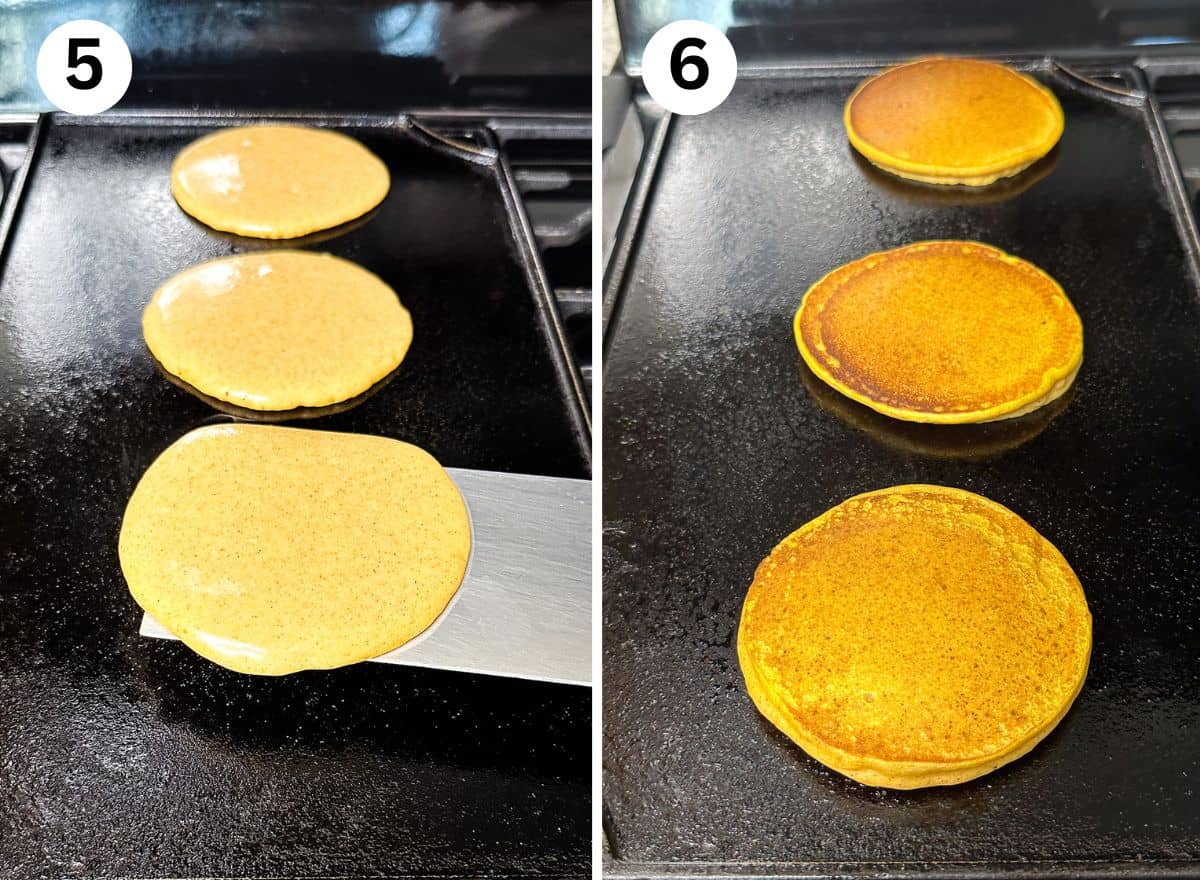
Heat a nonstick or cast iron griddle over medium heat. Add about a tablespoon of butter and let it melt. Brush the butter evenly over the griddle.
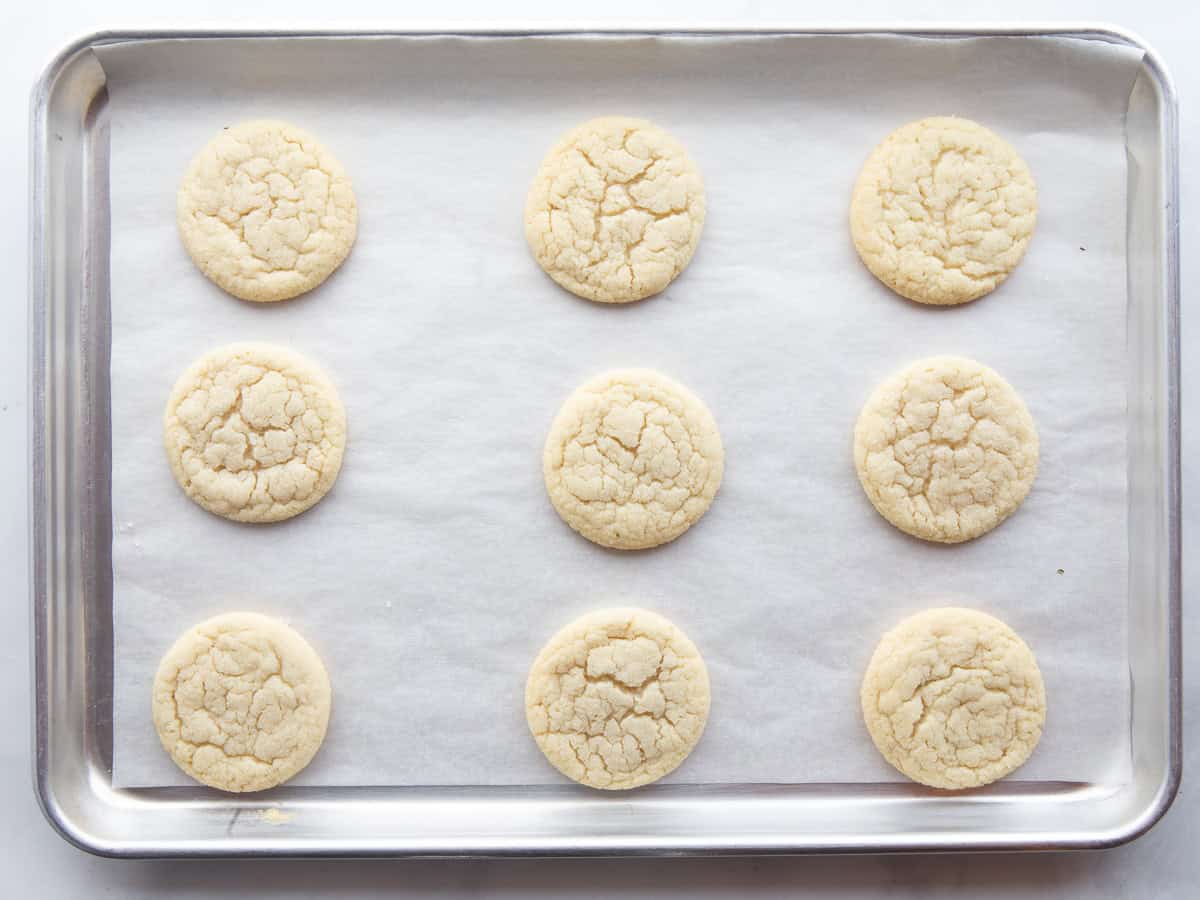
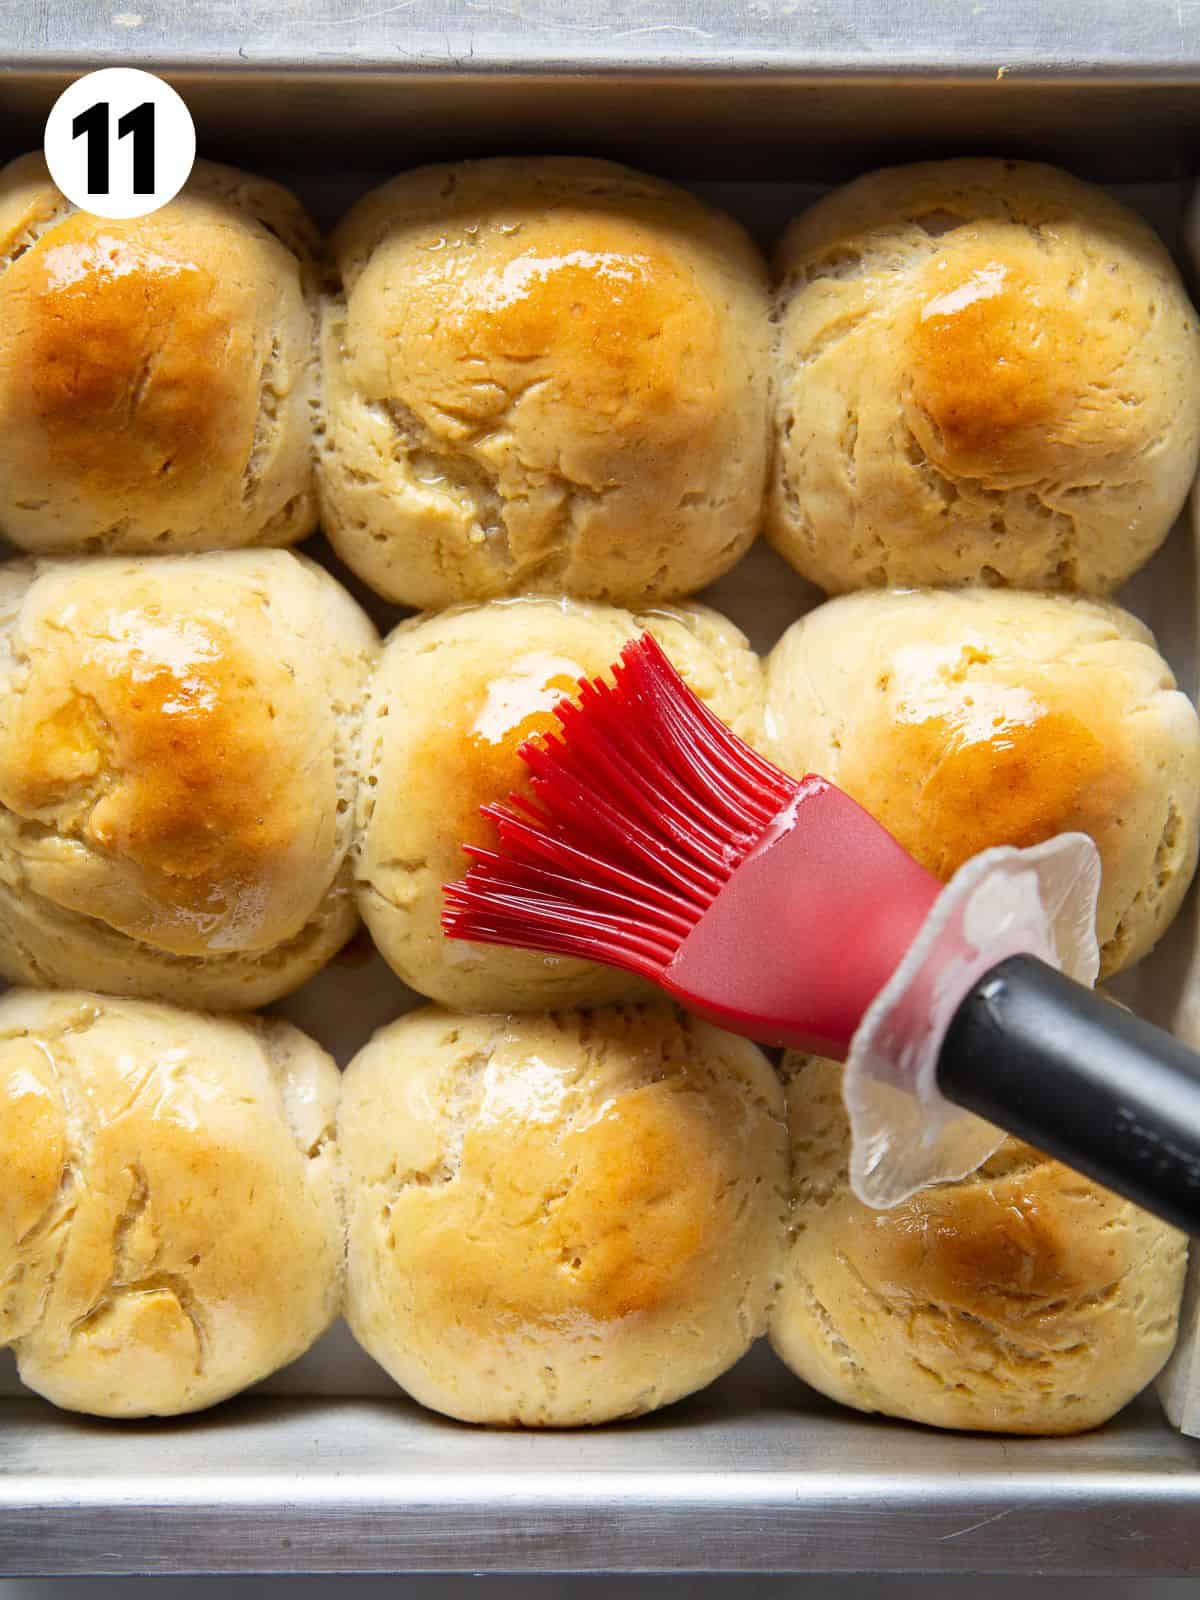
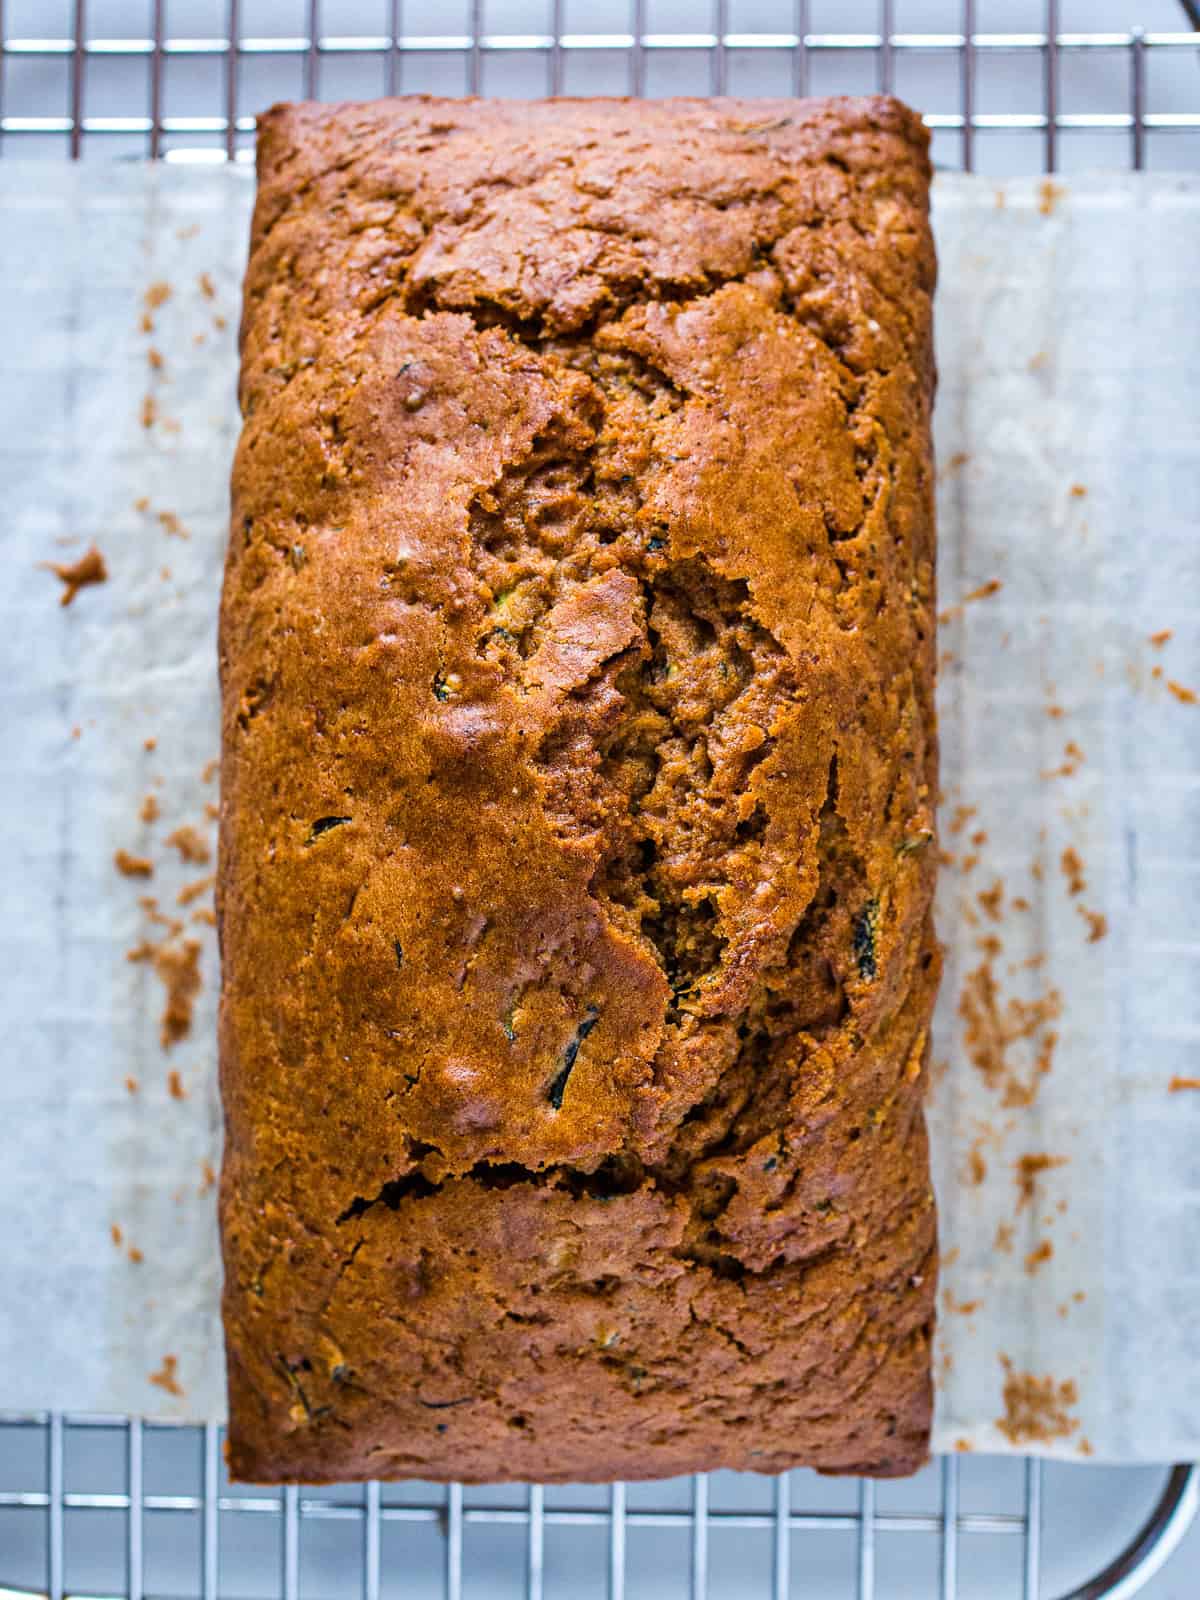
Cook the bread until it’s golden brown, about two minutes per side. If the pan is too hot, the outside will burn before the center cooks. Medium heat is the best!
Keeping French Toast Warm
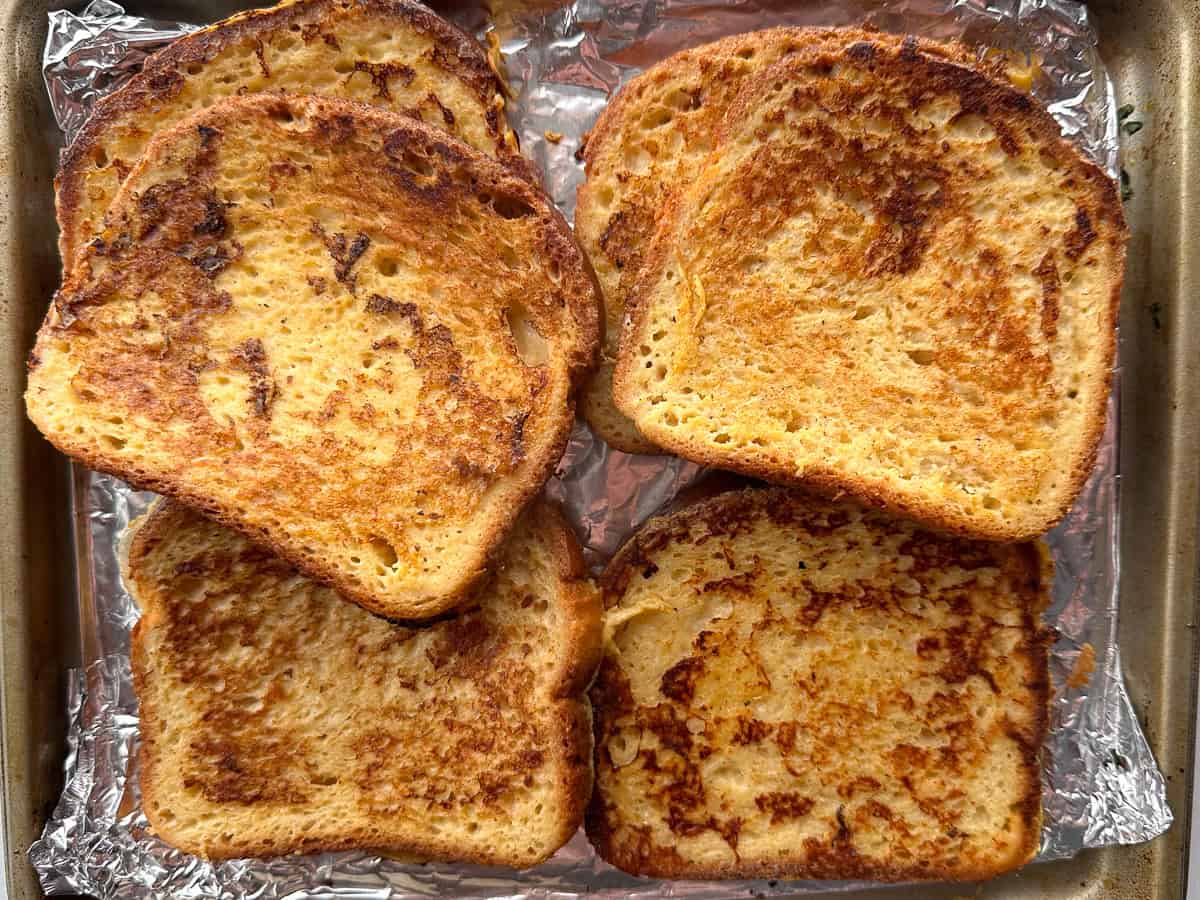
Before you start cooking, heat your oven to 200℉. Place the cooked French toast on a foil or parchment-lined–it’s fine if you stack it! If you like your French toast a little crispy, put it in a single layer on a wire rack. It keeps best for about an hour or so. After that, it starts to dry out.
Making French Toast in Advance
There are a few ways to make gluten-free French toast in advance.
- Make the custard. Mix together all the ingredients and refrigerate it overnight.
- Cook the French toast. Store it in the refrigerator for up to two days. Then heat it in a 325℉ oven until warm.
- Freeze cooked and cooled French toast. Thaw it overnight in the refrigerator. Heat it in a 325℉ oven until warm.

Gluten-Free French Toast Recipe
Ingredients
- 1 cup milk
- 3 large eggs
- 2 tablespoons brown sugar, see note 1
- ½ teaspoon vanilla extract
- ¼ teaspoon ground cinnamon
- ¼ teaspoon salt
- 8 slices gluten-free bread, see note 2
- 2-4 tablespoons butter, for the pan
Instructions
-
If you want to keep your French toast warm, preheat the oven to 200F.
-
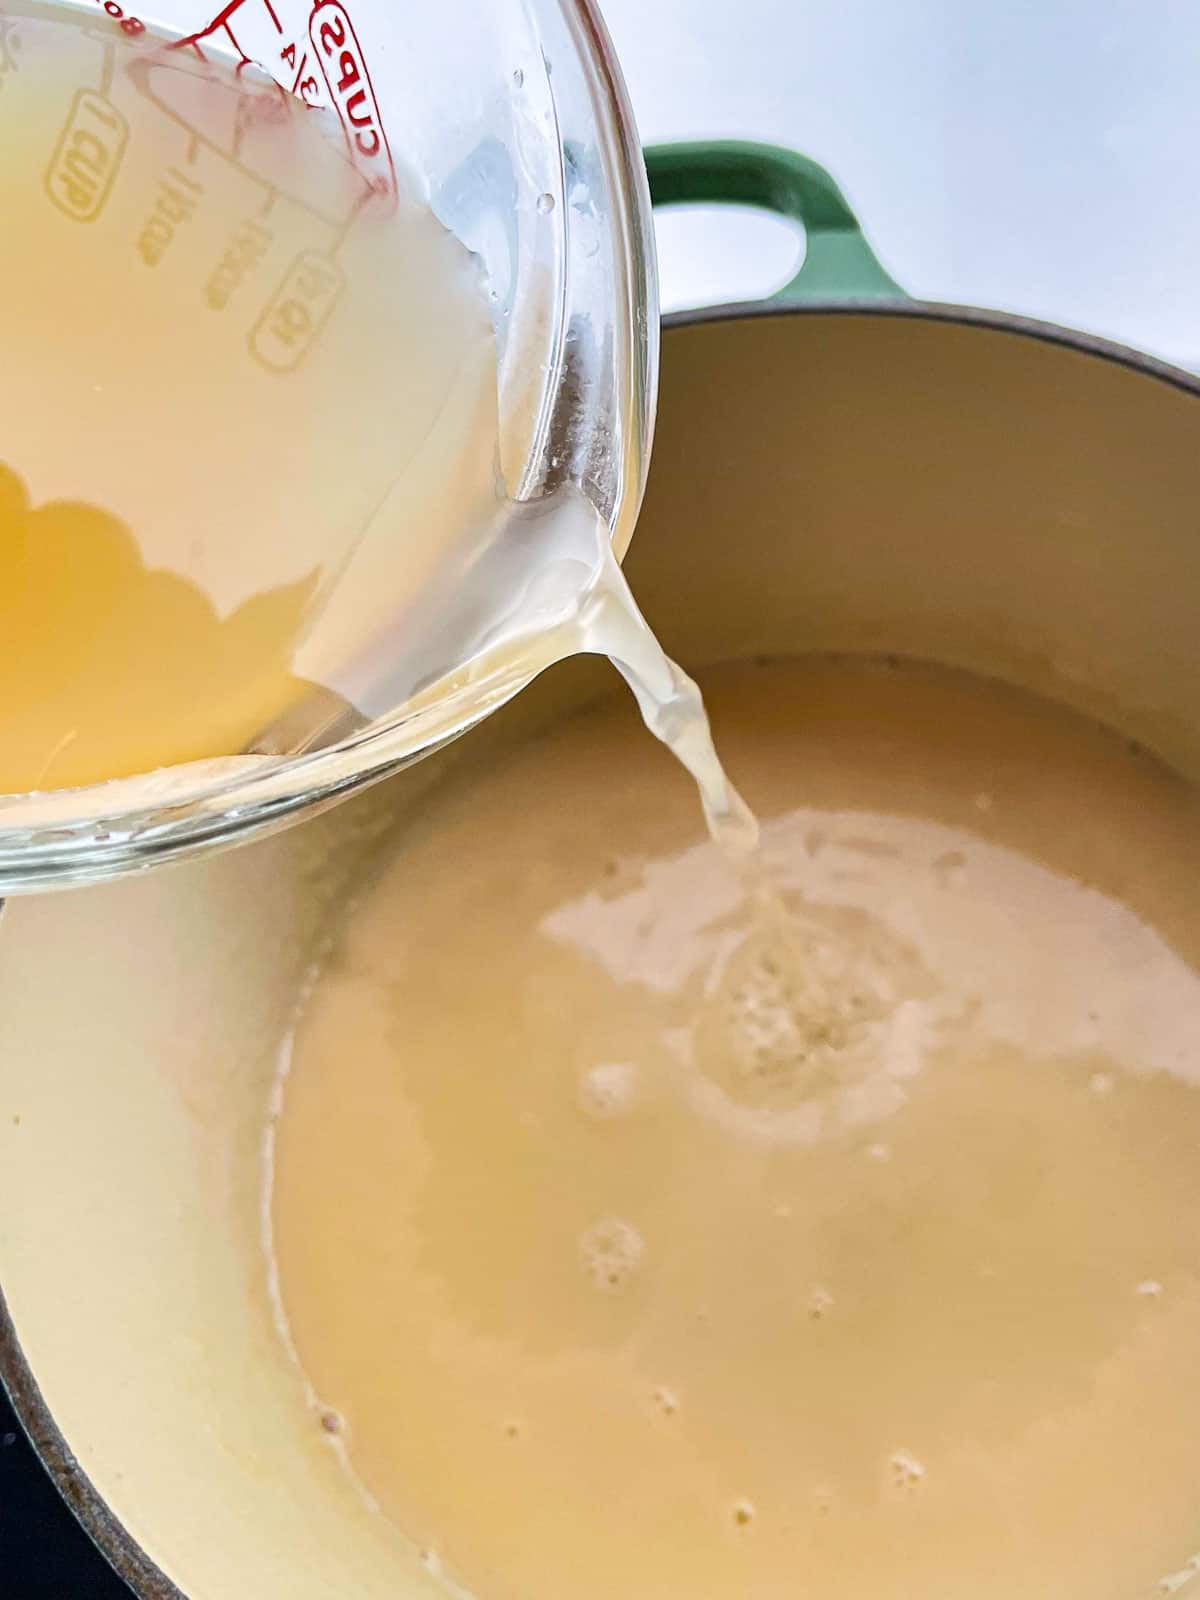
In a small mixing bowl, whisk together the milk, eggs, brown sugar, vanilla extract, cinnamon, and salt.
-
Pour the mixture into a large baking sheet. Place the bread slices into the pan and soak for about a minute on each side.
-
Heat a nonstick griddle or cast iron pan over medium heat. Melt about a tablespoon of butter on the griddle. Brush the butter evenly over the griddle.
-
Place bread, as many comfortably fit, and cook until golden brown, about 2 to 3 minutes per side.
-
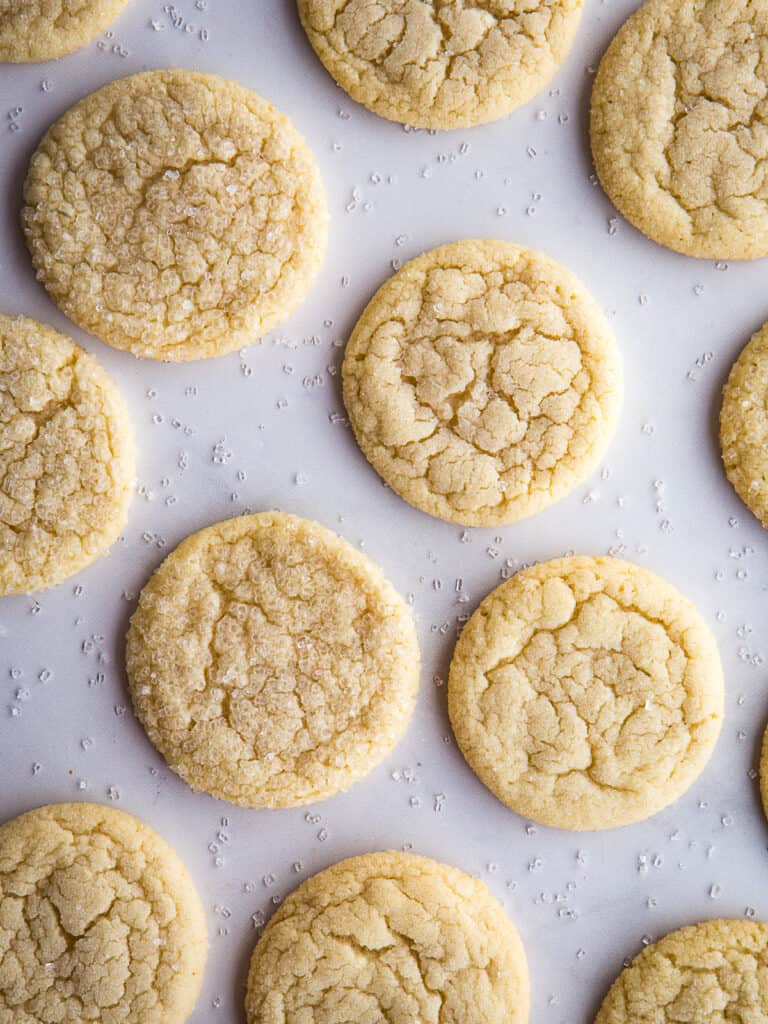
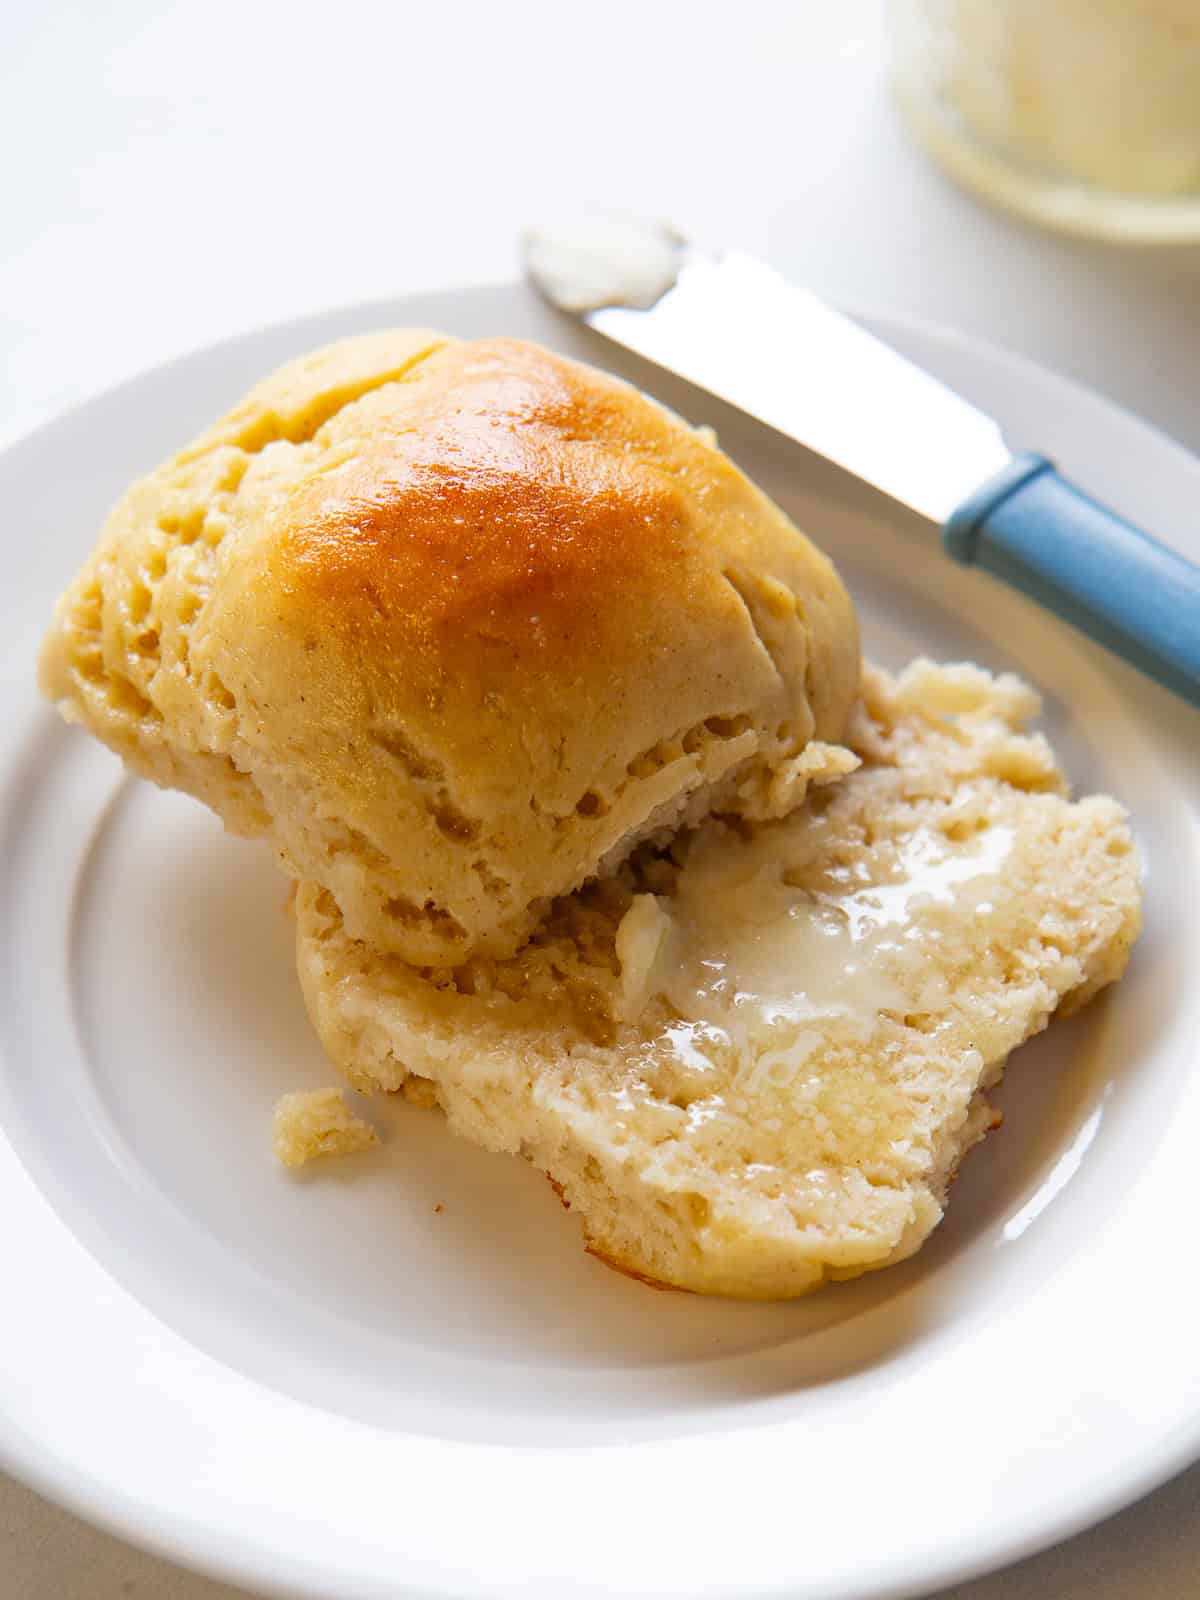
Serve immediately or place on a baking sheet and place in the preheated oven to keep warm. Repeat, buttering the pan each time, until all the bread is cooked. Serve with maple syrup, whipped cream or fruit.
Recipe Notes
Note 1. You can sweeten the custard with brown sugar, granulated sugar, honey, or maple syrup.
Note 2. Use your favorite gluten-free bread. It’s best if it’s slightly dry. You can do this by placing it into a 250℉ oven for a few minutes.