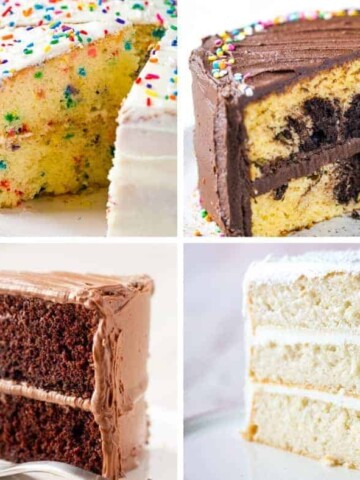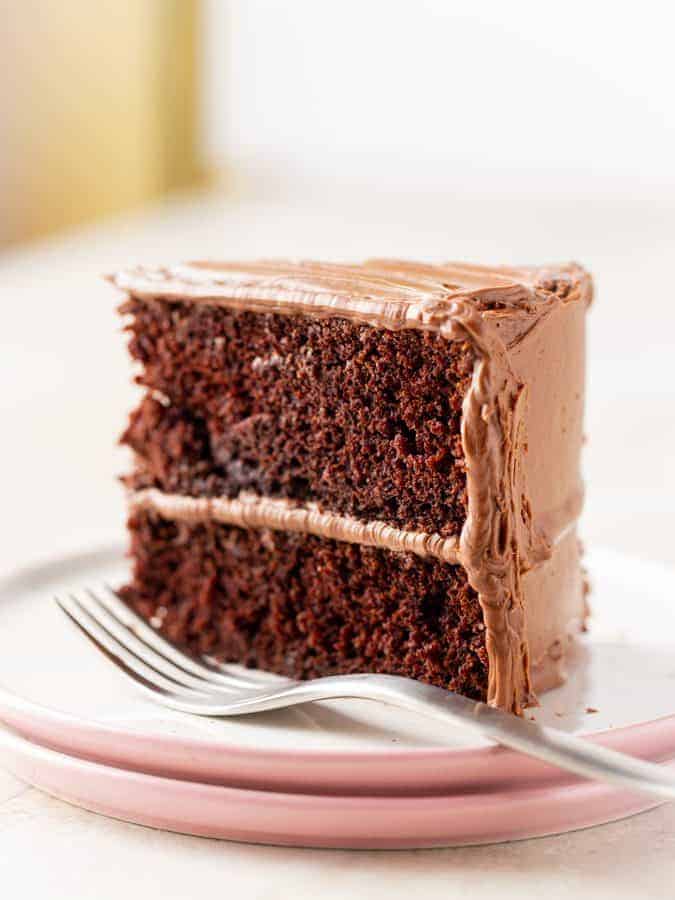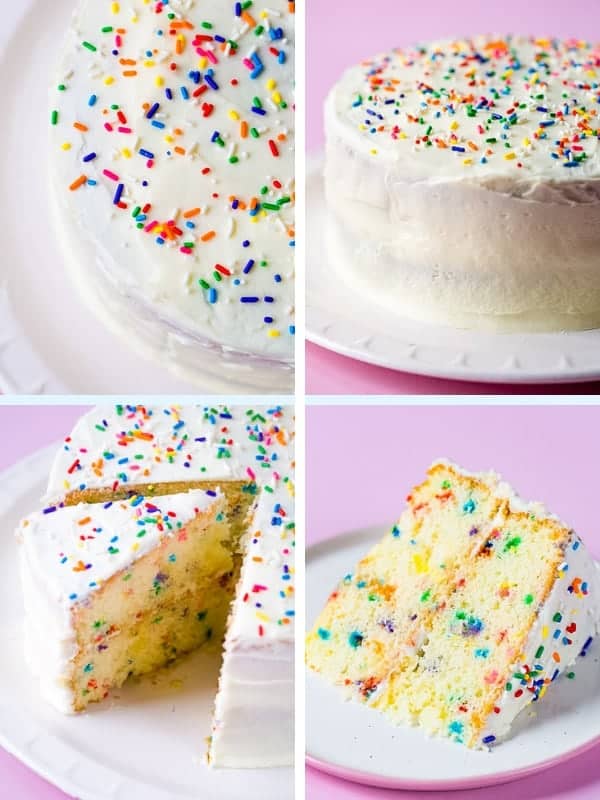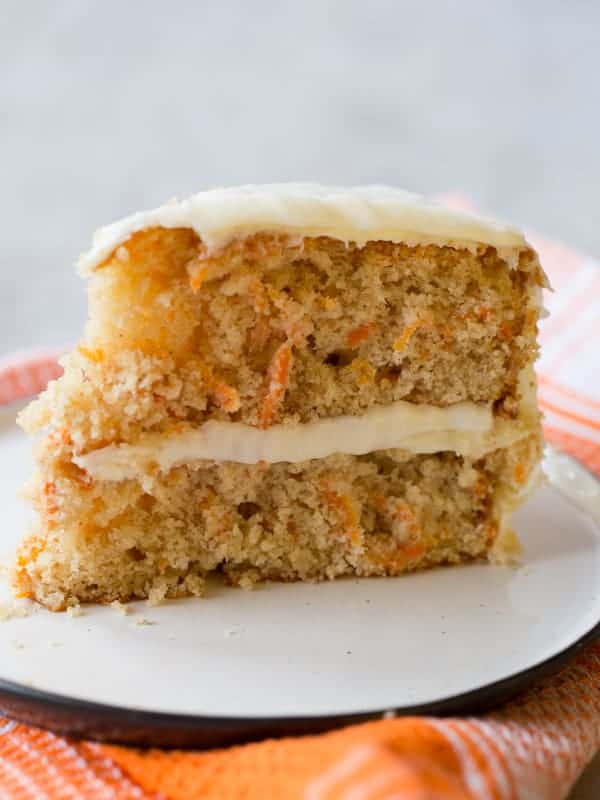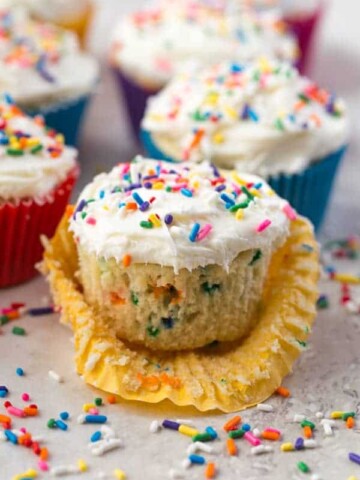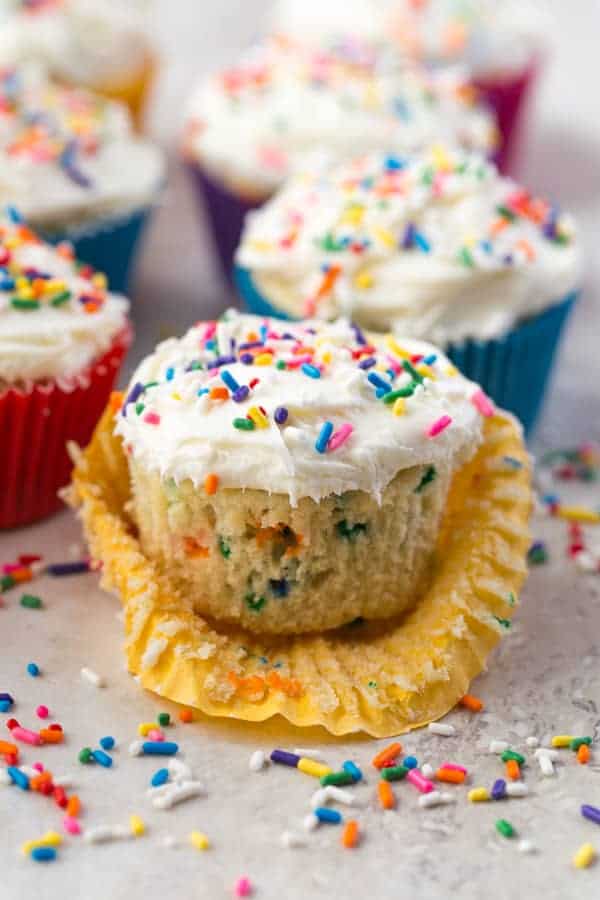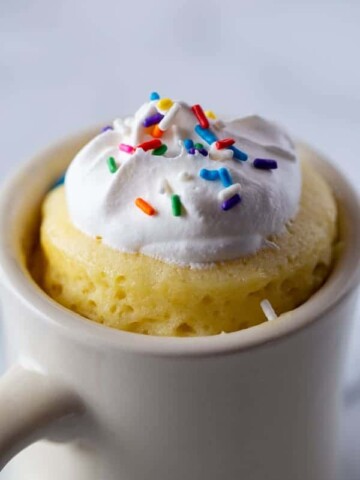
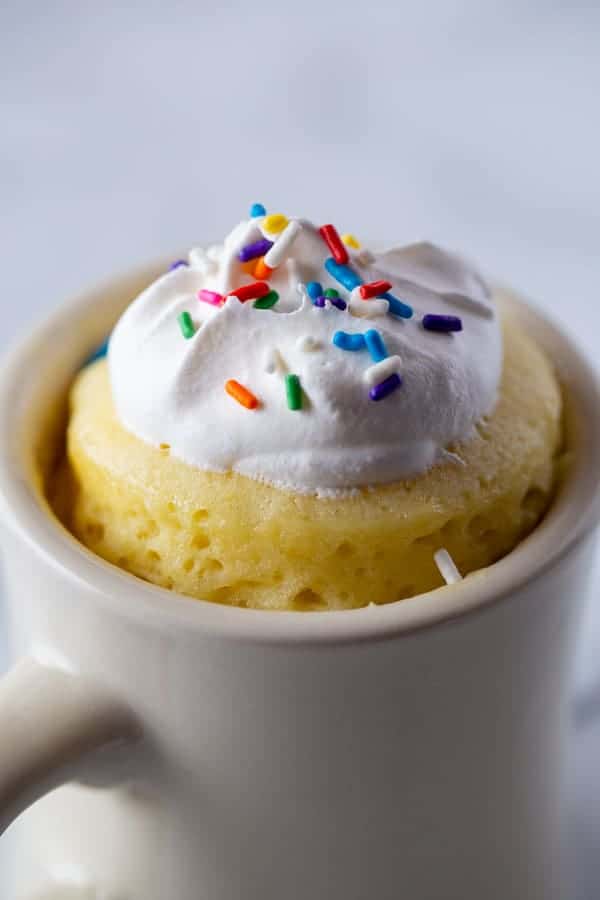
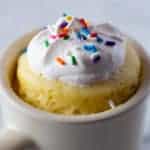
Want a quick gluten-free dessert for one? Make this mug cake. It’s soft, tender, and delicious. Add sprinkles to turn the simple vanilla cake into a gluten-free funfetti dream.
This Gluten-Free Mug Cake is
Easy to make
Sweet and tender
Dairy-free
Perfect for one or two
To Make a Gluten-Free Mug Cake, You’ll Need
One large or two small mugs
A fork
A microwave (or oven)
Sometimes you just want dessert. Not an apple slice or a dry cookie from a package but something warm and yummy and slightly over-the-top.
If that craving hits when you’ve got no time to bake, a simple gluten-free mug cake answers the craving nicely.
At first glance, mug cakes look like a fad recipe that should have died eons ago. But there’s a reason they’ve stuck around for as long as they have: they’re dead-simple to make and decidedly yummy.
If you’ve never made one before, you’re in for a treat. You simply whisk together a few ingredients and hit start on the microwave. That’s it. (If you don’t own a microwave, there’s an oven variation below). After a minute, you’re rewarded with a gluten-free cake that’s soft and tender–that tastes like it was baked with love.

FAQs: Gluten-Free Mug Cake
What’s the best flour to use for gluten-free mug cake?
For a recipe like this, it really doesn’t matter. Just don’t use a grain-free flour, like coconut flour or almond flour. Any gluten-free flour, such as your favorite blend or a finely ground white rice flour, works in this recipe.
Can you make this recipe without an egg?
No. Sorry. I’m working on a gluten-free/egg-free mug cake variation.
What size mug should I use?
Use a mug that comfortably holds about 1 1/2 cups (12 ounces) liquid.
What power setting should I use for mug cake?
High.
What topping goes best with mug cake?
Whipped cream, ice cream, or frosting.
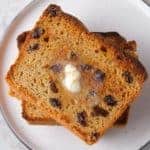
Gluten-Free Vanilla Mug Cake
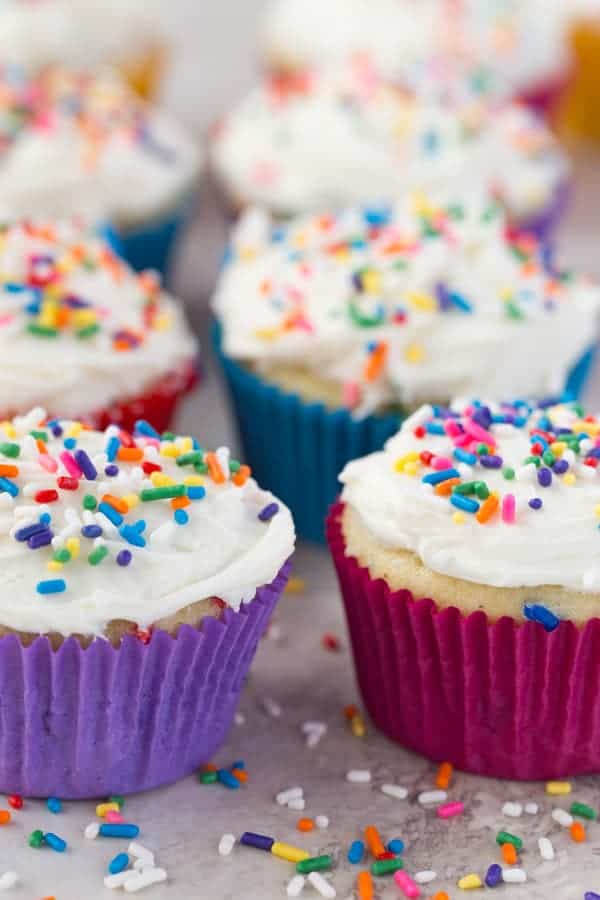
This gluten-free mug cake is soft, tender, and delicious. Add sprinkles to turn the simple vanilla cake into a funfetti dream.
Ingredients
- 1/4 cup all-purpose gluten-free flour
- 1/2 teaspoon baking powder
- 2 tablespoons granulated sugar
- 1 large egg
- 2 tablespoons vegetable oil or melted butter
- 1 tablespoon milk
- 1/4 teaspoon vanilla extract
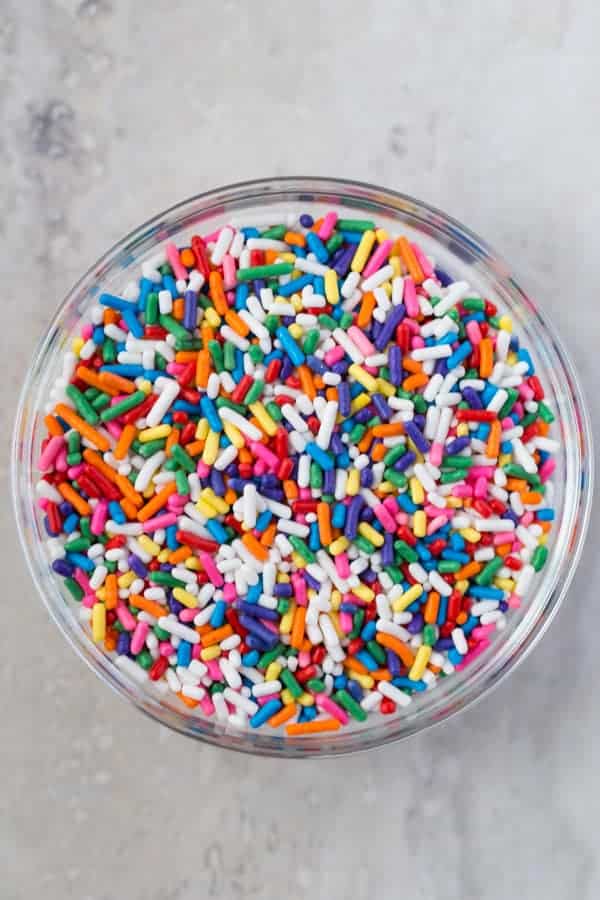
- sprinkles, optional
Frosting
- 2 tablespoons softened butter or dairy-free spread
- 3 tablespoons powdered sugar
- 1 teaspoon milk, traditional or dairy-free
Instructions
For the Microwave
-
Spray a large (12 ounces) mug with nonstick cooking spray. Stir together gluten-free flour, sugar, and baking powder in the mug. Add egg, oil, milk, and vanilla extract. Stir until smooth with a fork or mini whisk. Stir in sprinkles if using.
-
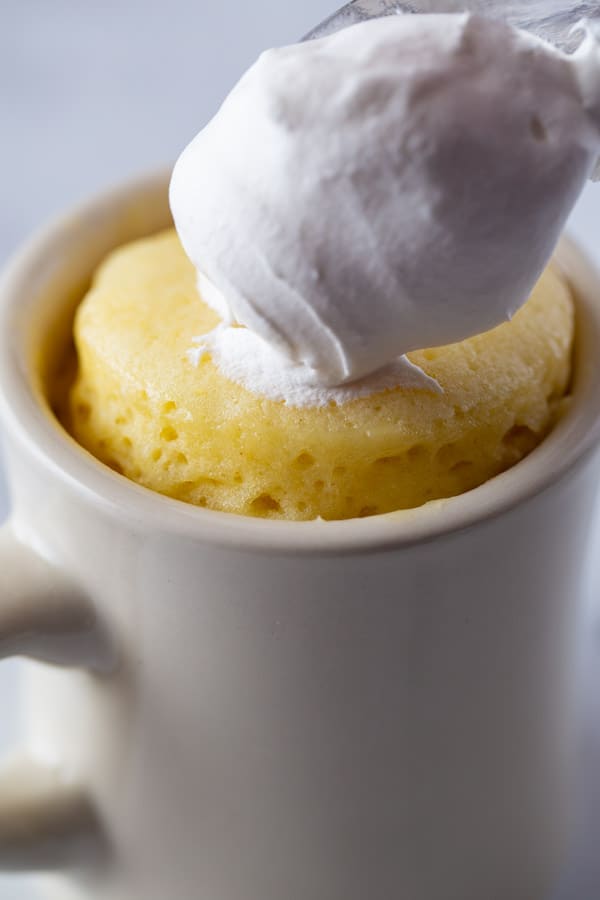
Microwave on high for 60-80 seconds or until cake pulls away from the sides of the mug and the top looks dry. Allow cake to cool in the mug. Top warm cake with vanilla ice cream or whipped cream, if desired. Or allow the cake to cool and frost.
For the Oven
-
Preheat oven to 350 degrees. Follow step one above. Be sure to use an oven-safe mug. Place mug on a baking sheet. Bake until set, about 20 minutes.
For the Frosting
-
Beat together the butter and powdered sugar until smooth with a spoon. Add milk. Mix until creamy. Spread frosting on cooled cake. If you put the frosting on the hot cake, it will melt.