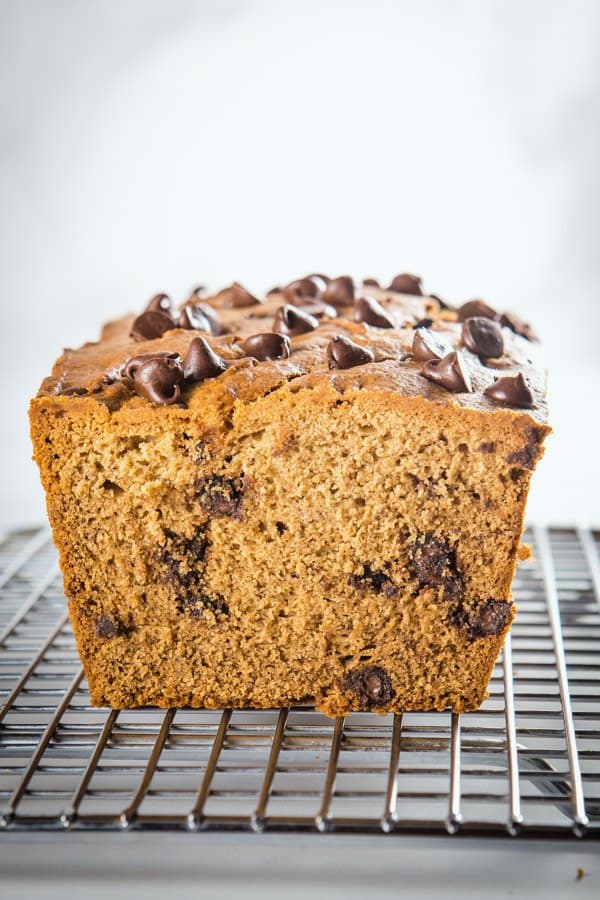
Thick and buttery gluten-free chocolate chip cookies.
Yesterday I tested a recipe for chocolate chip cookies. I’m working on a thin chocolate chip cookie recipe and…this isn’t it.
But these gluten-free chocolate chip cookies are undeniably good. They’re thick and buttery. So I thought I’d share the recipe with you today because I’m guessing you could use a good chocolate chip cookie recipe right about now.
Why You’ll Love These Easy Gluten-Free Chocolate Chip Cookies.
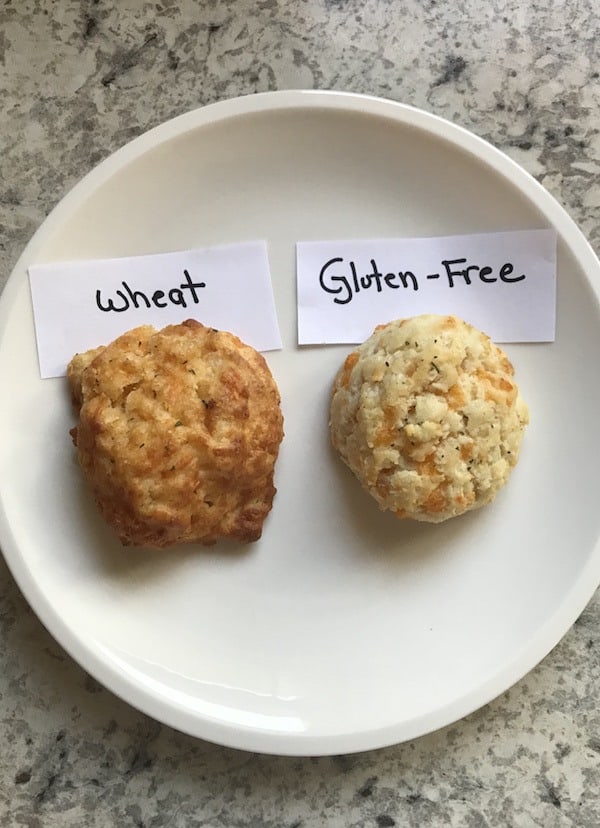
- Easy to Make. This recipe only uses rice flour and you can mix it together with a wooden spoon. You don’t need to pull out the electric mixer unless that’s easier for you. (Want a recipe that uses a gluten-free flour blend? You can either try it in this recipe or you can make a batch of my classic gluten-free chocolate chip cookies.)
- Thick and Buttery. The buttery flavor of these cookies and thick texture makes them a winner. They remind me of a thick version of Toll House cookies.
- Small Batch. This makes about 16 small-ish cookies.

Easy Gluten-Free Chocolate Chip Cookies: The Ingredients
White Rice Flour. I used finely ground white rice flour. If you use stone-ground white rice flour, you might notice a slightly coarse texture.
Xanthan Gum. This is why the cookies turned out thick. The recipe only contains 1/4 teaspoon of xanthan gum. Can you skip it? Probably but I haven’t tested the recipe without it.
Baking Soda. This helps give the cookies lift and aids in browning.
Salt. It enhances flavor and controls sweetness.
Butter. Use very soft butter. How soft? Almost melted. When removing the butter from the wrapper, it should stick a bit. We aren’t creaming the butter together with the sugar as we do in traditional chocolate chip cookie recipes.
Sugar in the Raw. This was a test recipe and I used sugar in the raw. It’s a coarse granulated sugar. It adds a nice caramel flavor and a light crunch. Don’t have it on hand? No problem. Use an equal amount of cane or granulated sugar.
Light Brown Sugar. There’s only a little brown sugar in this chocolate chip cookie recipe. It adds a nice flavor and delicate texture.
Egg. Just one. It keeps the cookies moist.
Vanilla. It’s here for the flavor.
Chocolate Chips. There are chocolate chips in every bite. If you want more chocolate chips, add them. Want less? Reduce the amount to three-quarters of a cup or less!

Easy Gluten-Free Chocolate Chip Cookies
Ingredients
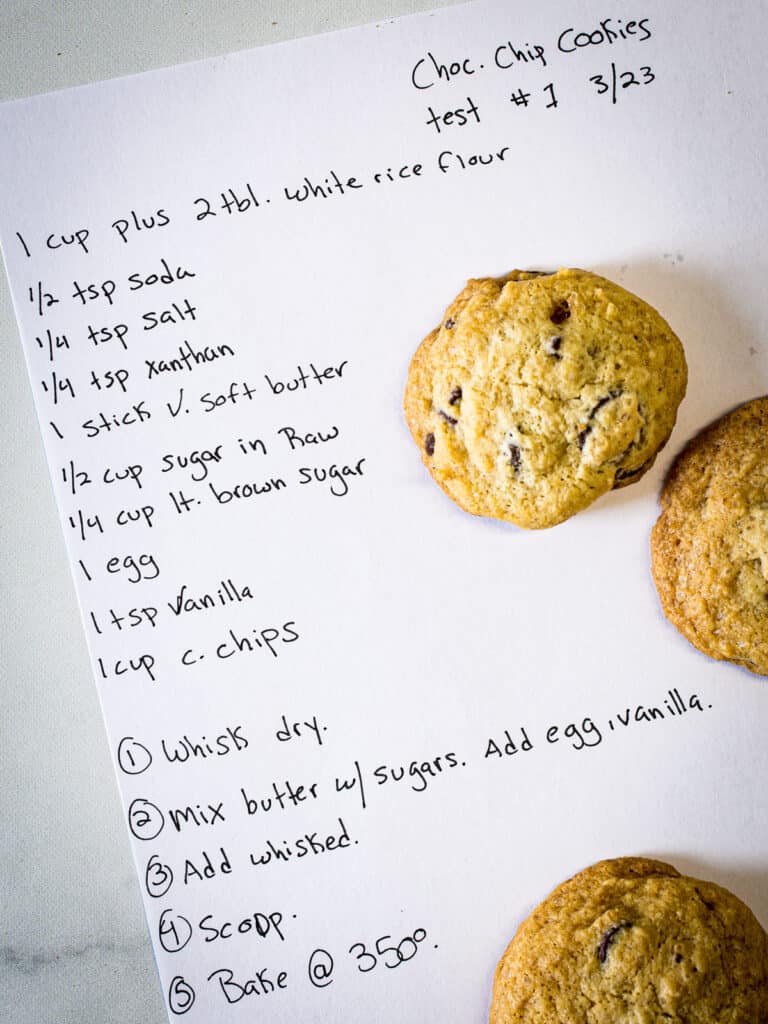
- 1 cup plus 2 tablespoons white rice flour (5 ounces; 142 grams)
- 1/2 teaspoon baking soda
- 1/4 teaspoon salt
- 1/4 teaspoon xathan gum
- 1 stick very soft butter (1/2 cup; 4 ounces; 113 grams)
- 1/2 cup sugar in the raw (coarse cane sugar), see note (3 3/4 ounces; 105 ounces)
- 1/4 cup light brown sugar (2 ounces; 56 grams)
- 1 large egg (about 2 ounces; 56 grams, out of shell)
- 1 teaspoon vanilla extract
- 1 cup chocolate chips (about 5 ounces; 142 grams)
Instructions
-
Heat Oven. Preheat oven to 350 degrees Line a baking sheet with parchment paper.
-
Whisk Dry Ingredients. In a small bowl, whisk together white rice flour, baking soda, salt, and xathan gum.
-
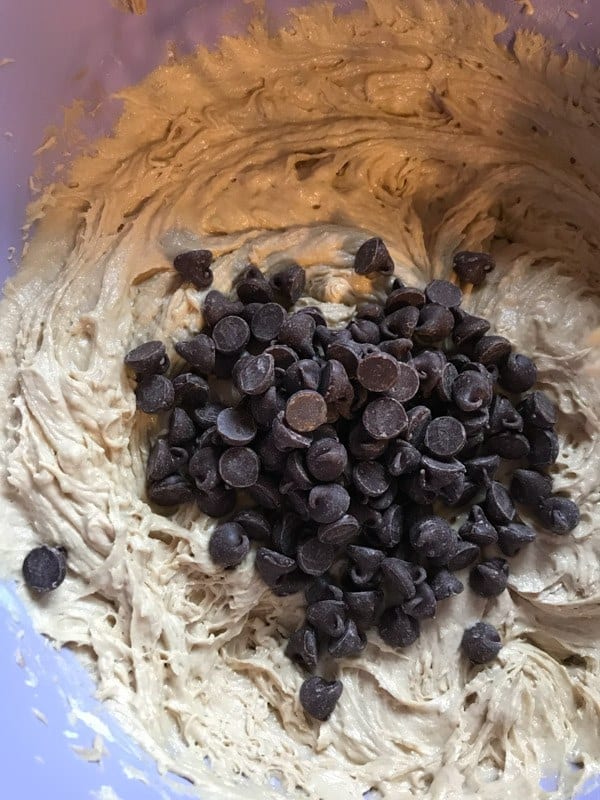
Make the Dough. In a medium bowl, beat together butter, sugar in the raw, and brown sugar until smooth. Add the egg and vanilla. Beat until smooth. Add whisked dry ingredients. Mix until a dough forms. Add chocolate chips. Mix to combine.
-
Bake the Cookies. Drop dough, about two tablespoons, onto the prepared baking sheet. Bake until cookies are golden brown and set, about 12 minutes.
-
Cool on a Rack. Remove pan from oven and allow to cool for five minutes. Transfer to a wire rack and allow to cool completely.
-
Store the Cookies. Keep the cookies wrapped on the counter for up to four days or freeze in a freezer bag for up to one month.
Recipe Notes
Sugar in the Raw
Don't have sugar in the raw (coarse cane sugar) on hand? No problem. Replace it with cane sugar or regular granulated sugar.