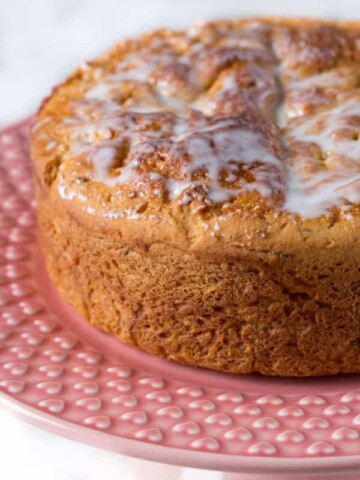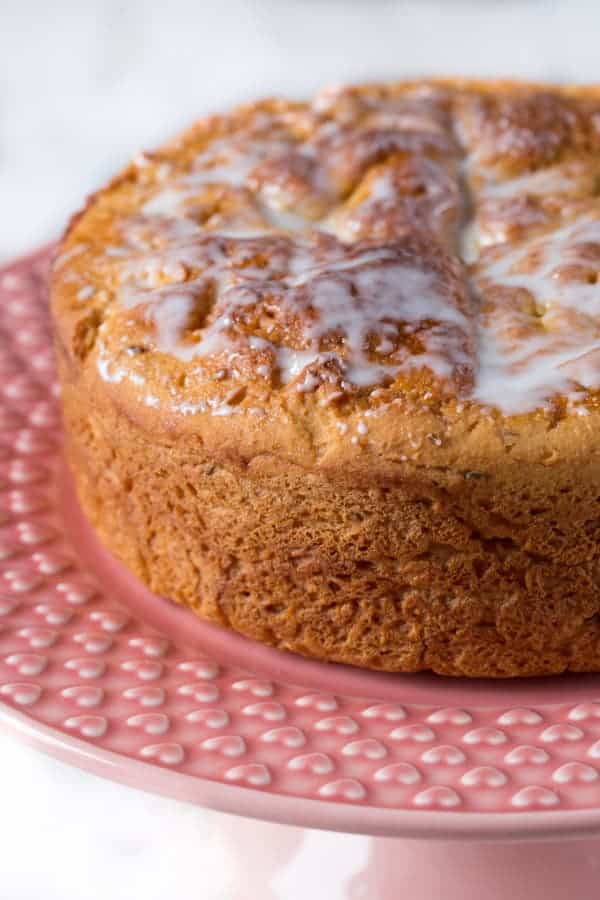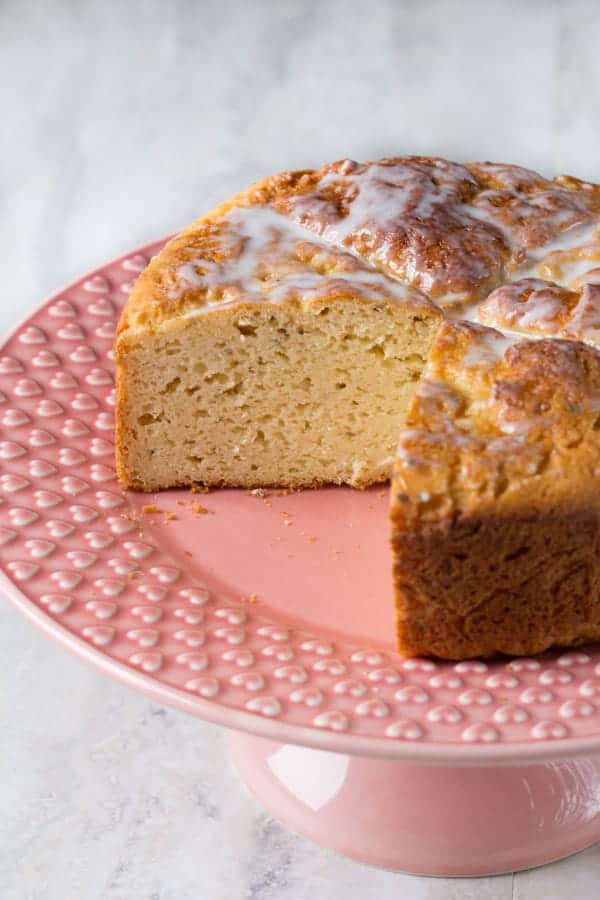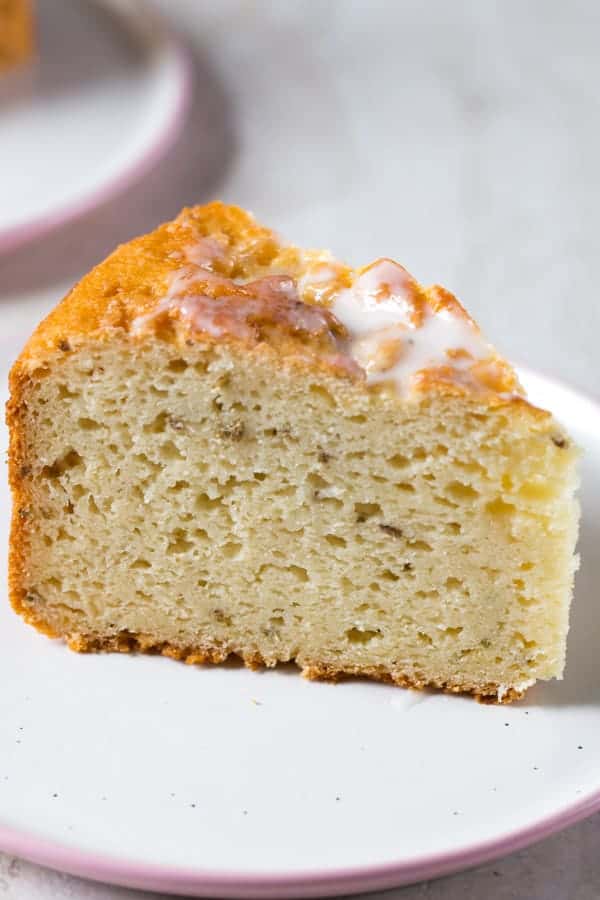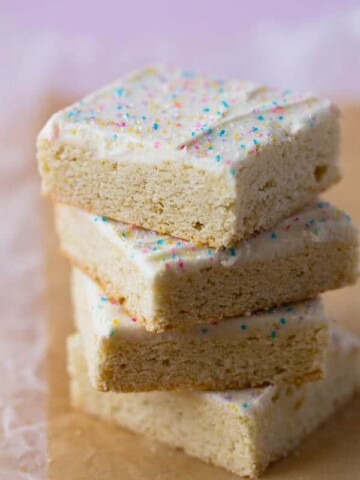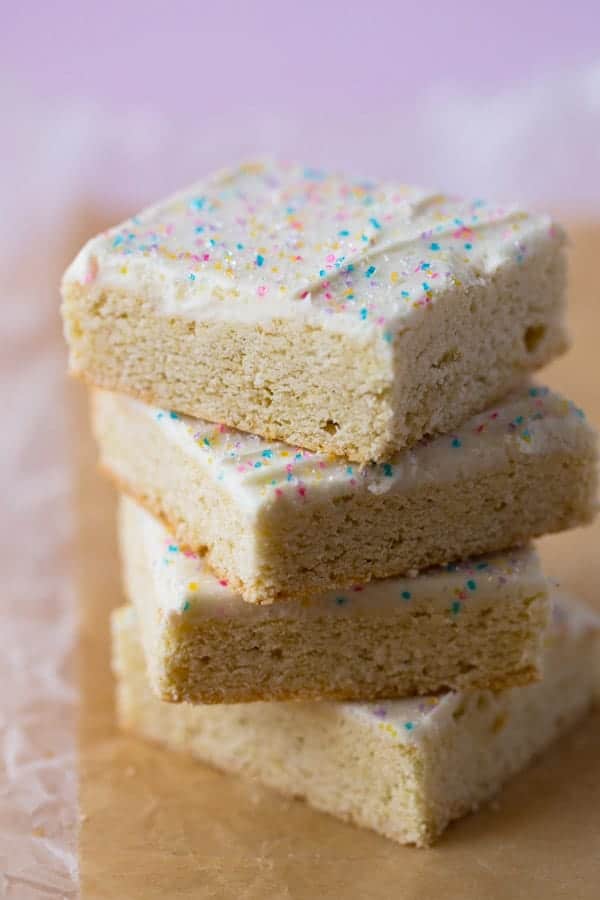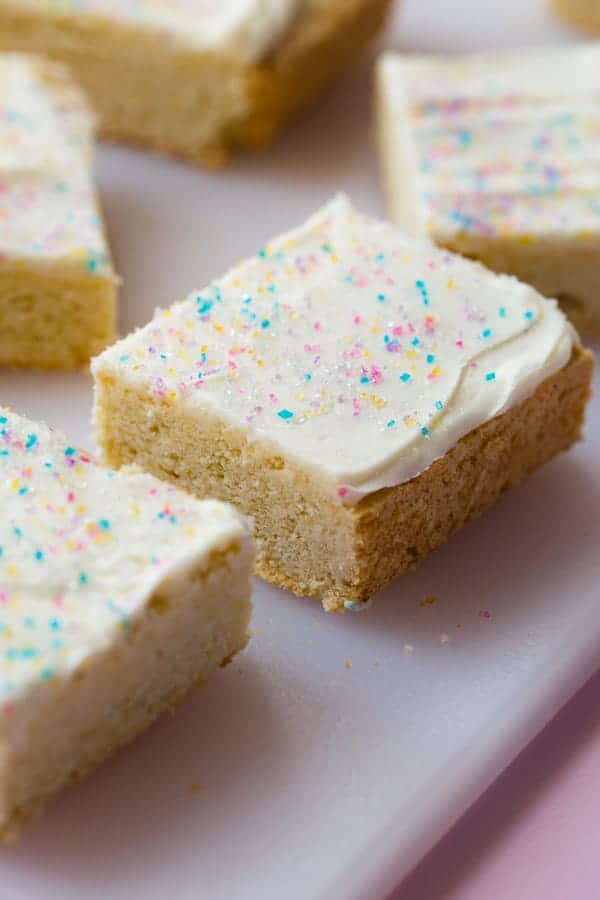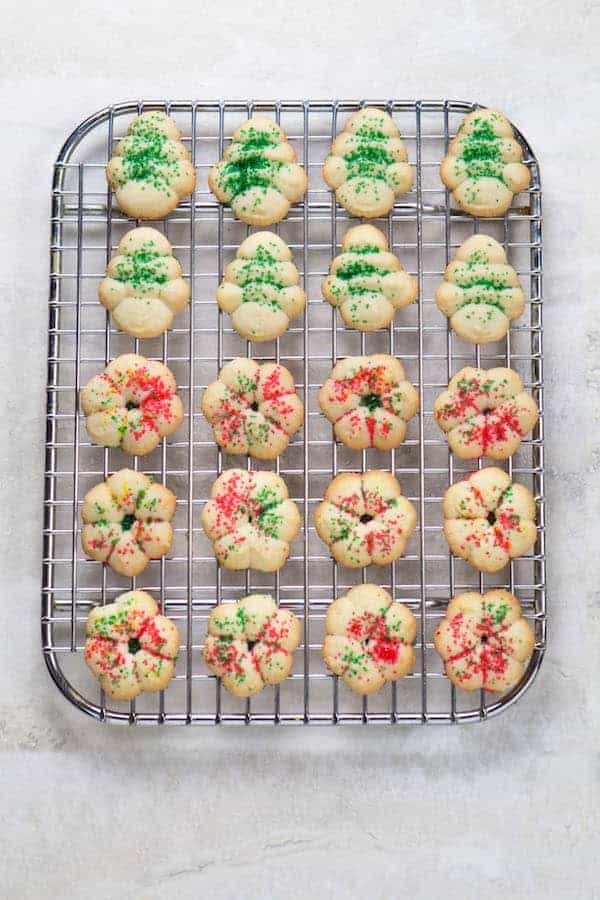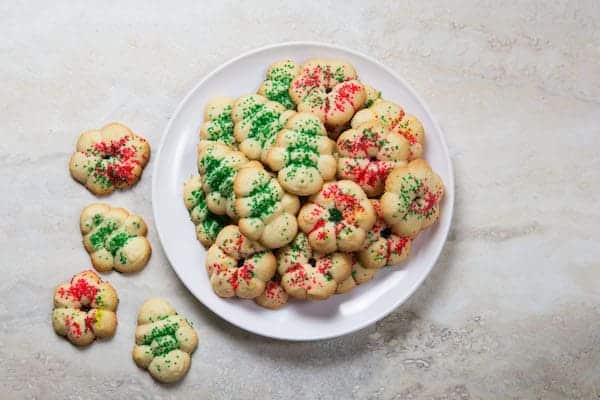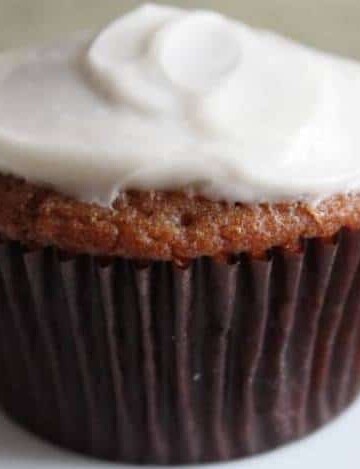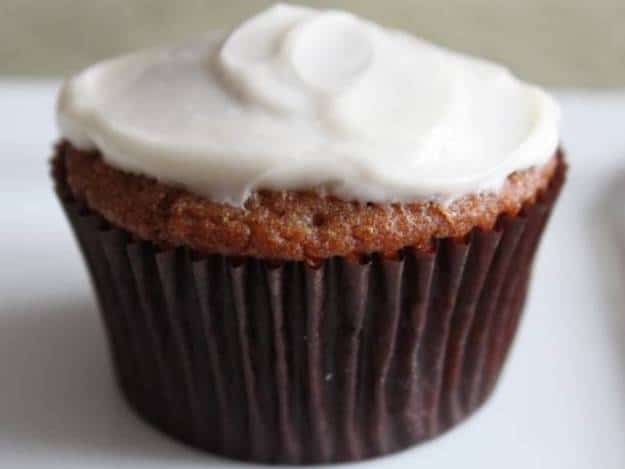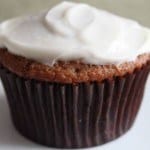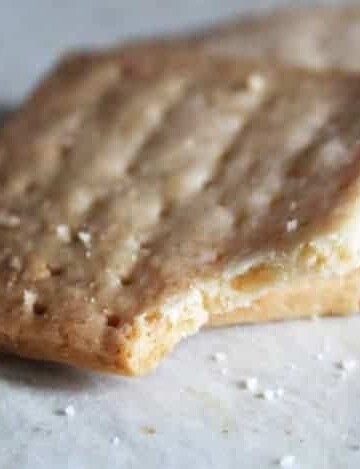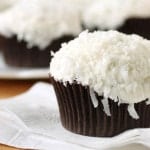
Gluten-Free Vanilla Buttercream Frosting is perfect for cakes and cookies. Simple one-bowl recipe.
Does buttercream frosting contain gluten?
The answer might surprise you!
Yes. Some frostings contain gluten.
There’s a classic buttercream recipe that calls for a wheat-milk paste and some national brands of canned frosting include gluten-containing ingredients.
Gah! What’s a baker to do? Make her own buttercream, that’s what.
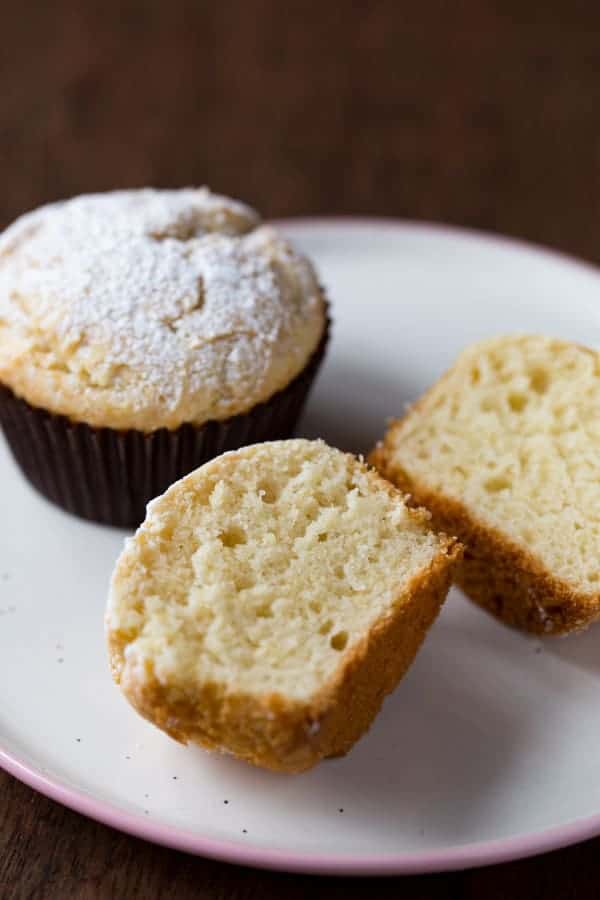
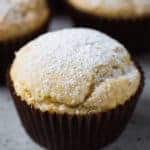
This recipe comes together in only minutes. And it makes a buttercream frosting that’s perfect for gluten-free cakes and cookies.
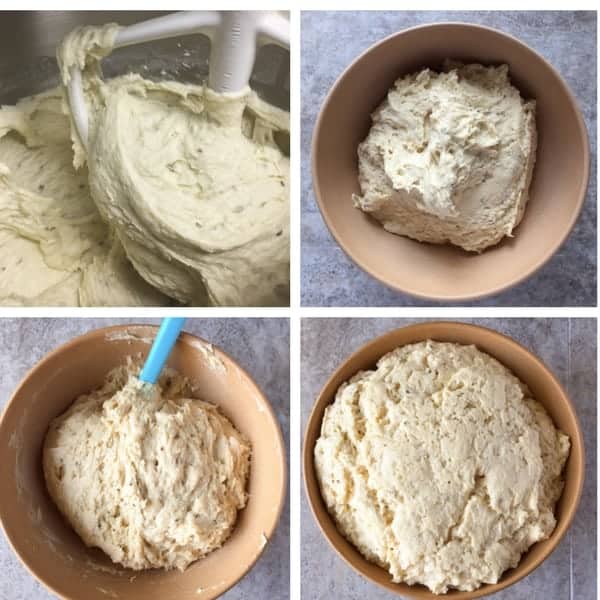
How to Make Gluten-Free Buttercream Frosting
- Start with Room Temperature Butter. If the butter is too cold, it won’t whip up light and fluffy. If it’s too soft, it can make a greasy frosting.
- Sift the Powdered Sugar. After measuring, or opening a one pound box, sift the powdered sugar for a smooth, lump-free frosting.
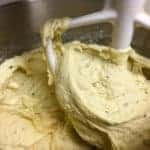
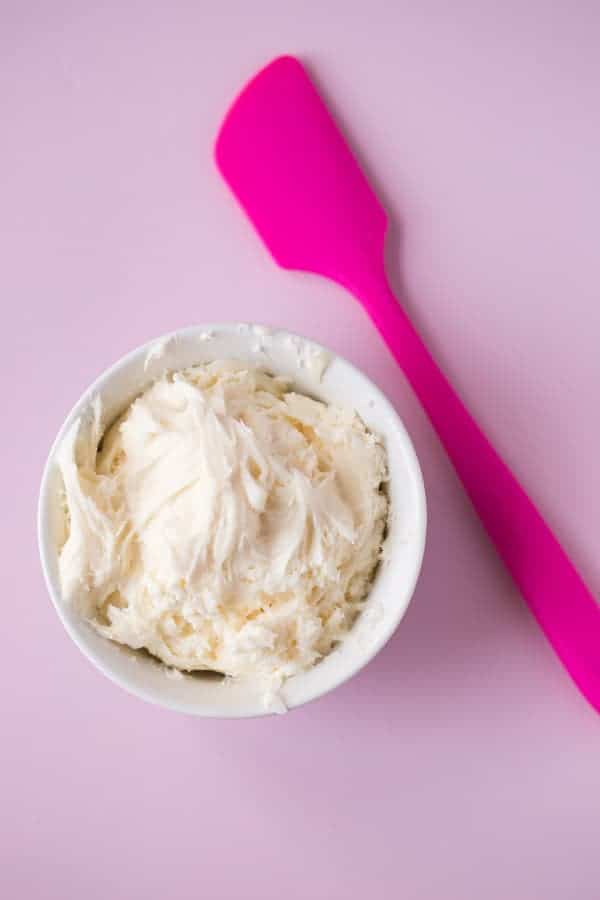
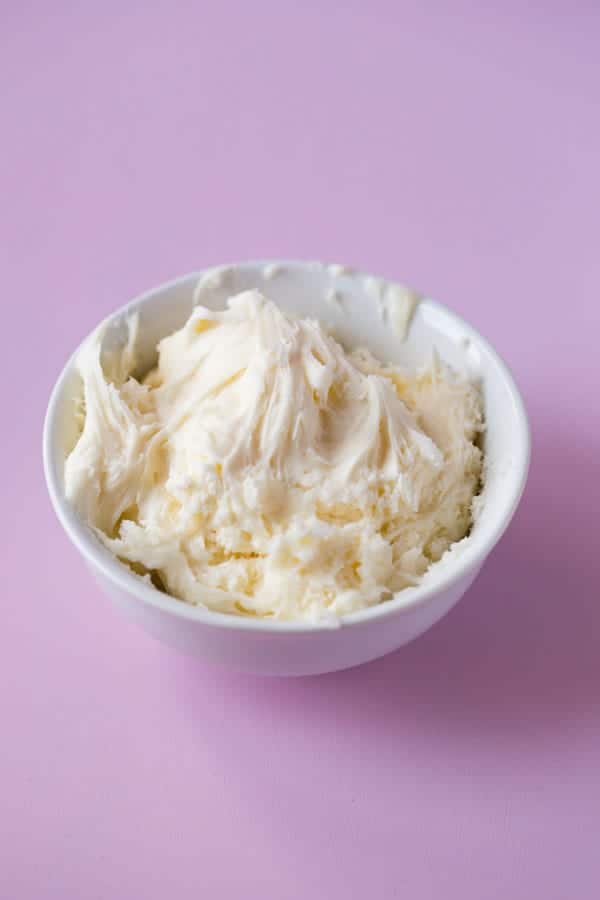
- Beat Until Light and Fluffy. Beat the frosting for a minute or two, this makes for a light and fluffy frosting. If you stop the mixer too soon, the frosting will taste great but it will have a heavy texture.
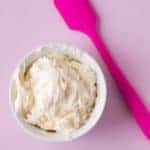
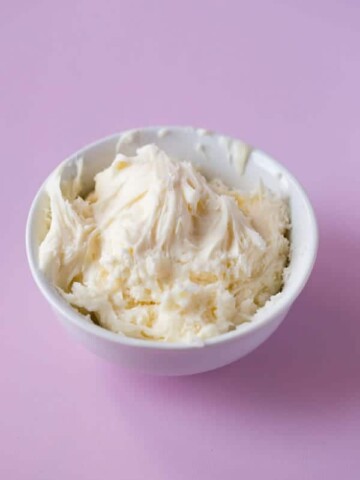
Gluten-Free Vanilla Buttercream Frosting
Simple vanilla buttercream frosting. Perfect for cakes and cookies.
Servings 2 cups frosting
Ingredients
- 2 sticks butter, softened (8 ounces; 226 grams)
- 4 cups powdered sugar, sifted (16 ounces; 170 grams)
- 4 tablespoons milk (2 ounces; 56 grams)
- 1 teaspoon vanilla extract
Instructions
-
Cream butter until smooth in a medium mixing bowl. Add powdered sugar, milk, and vanilla extract. Mix, on low speed, until smooth. Use as directed.