If you have a gluten-free pie crust in the freezer, this tomato and ricotta pie takes only minutes to make. If you don’t have a pie crust on hand, make one. This pie is worth it!

Gluten-Free Tomato Pie: The Crust
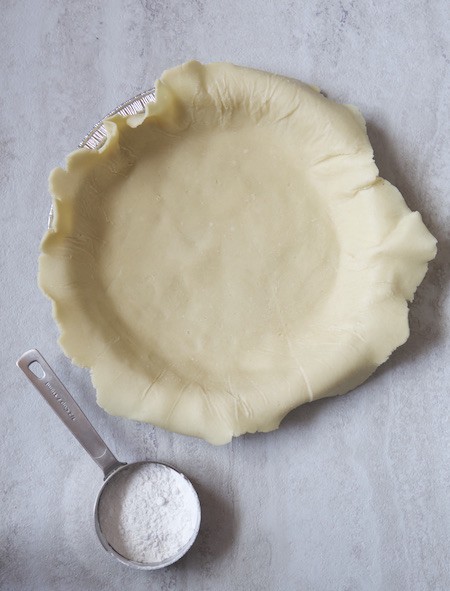
A pie is only as good as its crust.
Elizabeth Barbone
A good pie crust is a thing of beauty. All those flaky layers holding a delicious filling. I mean, I love pie crust so much, I make “cookies” from the darn thing.
For this pie, use a standard pie crust. You don’t need anything fancy. (Here’s my guide on how to make gluten-free pie crust. I used the recipe for a single crust at the bottom of the page.)
If you have a favorite gluten-free pie crust mix, go ahead and use it. You can even pick up a premade frozen gluten-free pie crust at some grocery stores.
No matter what recipe you use, you want to blind bake the crust. This step keeps the crust nice and flaky since the filling for a tomato pie is somewhat wet.
Some methods for blind baking pie crusts call for lining the crust with foil and then filling it with beans.
You don’t need to do this. I find filling the crust with beans can make a gluten-free crust heavy. Just prick the crust a few times with a fork and you’re good to go.
Gluten-Free Tomato Pie: The Filling
Apologies to my dairy-free friends, this gluten-free tomato pie can’t be made dairy-free. (I’m sorry!) It uses three cheeses: ricotta, Parmesan, and mozzarella. (Yes. Three cheeses. 🙂 )
While that sounds like it might be heavy, I promise it isn’t. Thanks to two eggs, the filling bakes up as light and creamy.
Let me tell you, it’s really easy to eat two slices of this pie. Really easy.
Gluten-Free Tomato Pie: The Tomatoes

Before you make this recipe, you need to promise me one thing: you will only use vine-ripened, summer tomatoes. The entire success of the recipe depends on it.
No hard-as-rocks supermarket tomatoes.
No white-inside tomatoes.
You want flavorful, summer tomatoes. If you grow your own, great! If you don’t, pick up some at the local farmers’ market. If they have heirloom tomatoes, get some. Those are always extra delicious!
The other ingredient that makes a big impact is fresh basil. If you don’t grown your own, pick some up at the store. It’s totally worth it.
Gluten-Free Tomato Pie: Putting It All Together
This tomato pie comes together in only a few minutes. While the crust bakes, I mix together the filling and slice my tomatoes.
After the crust bakes, all you need to do is spread the filling into the pie, top with tomatoes, and bake. In about 20 minutes, you’ll have a perfect summer tomato pie that’s begging to be finished with a sprinkle of fresh basil.
I like to serve this with a large salad and a glass of something bubbly while I enjoy the waning days of summer.
Shop the Recipe
Links listed below are affiliate links. GlutenFreeBaking.com earns a commission if you use them to shop.
Mixing Bowls
Gluten-Free Pie Mix
Pie Pan
Cooling Rack

Gluten-Free Tomato Pie
Ingredients
- 1 9-inch single gluten-free pie crust rolled out and in the pan
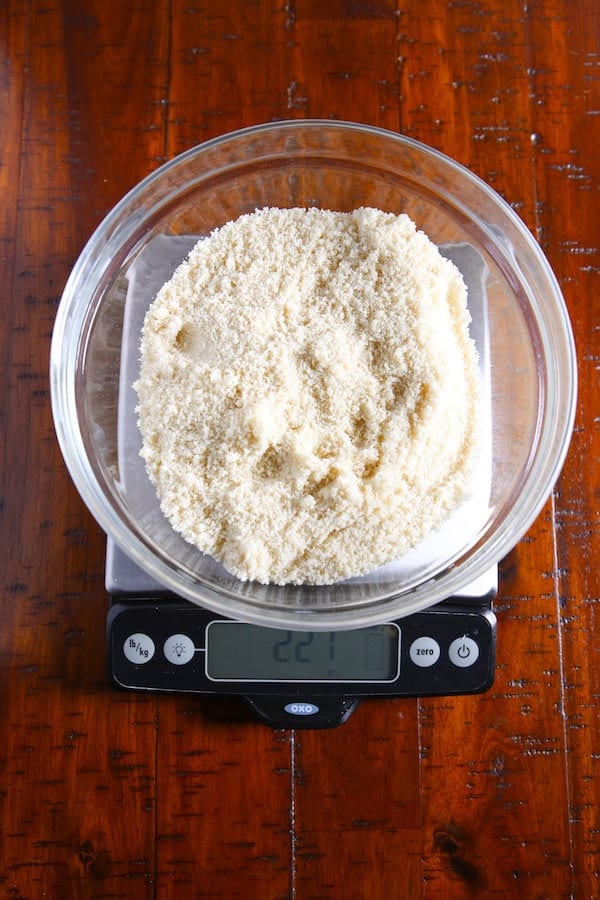
- 1 cup whole milk ricotta cheese (8 ounces; 227 grams)
- 1/2 cup + 1 Tablespoon freshly grated Parmesan cheese (1 3/4 ounces; 50 grams)
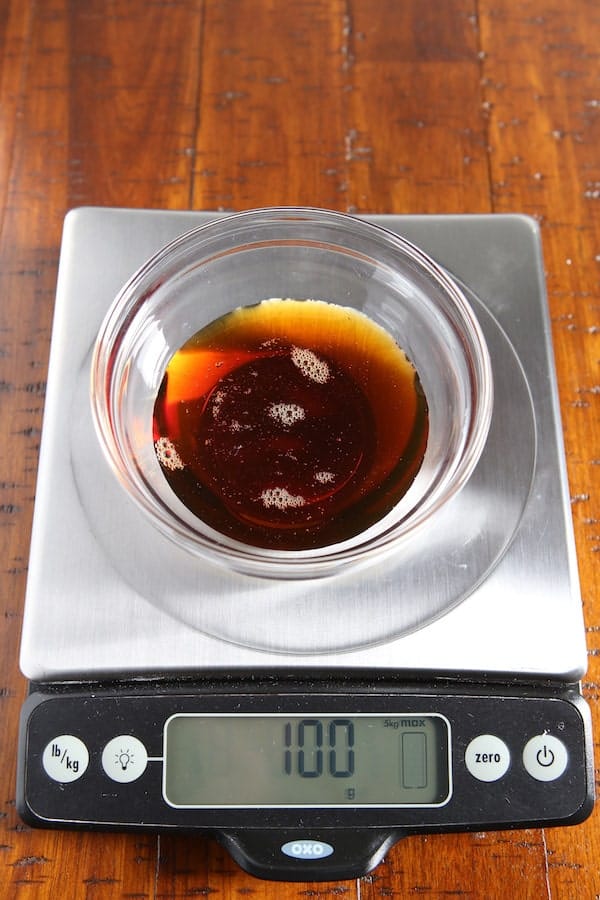
- 2 large eggs (about 3 ounces; 100 grams)
- 1 teaspoon dried basil
- 1/2 cup grated mozzarella, plus 2 tablespoons more for topping, if desired (2 ounces; 57 grams)
- 2 large tomatoes cut into 1/4-inch thick slices OR one cup grape tomatoes, halved (about 1 pound; 453 grams)
- 5-6 leaves fresh basil
Instructions
-
Prepare the Crust: Preheat oven to 400 degrees F.
-
Poke the bottom of the crust with a fork a few times. Chill crust for 15 minutes.
-
Bake until golden brown, about 15 minutes.
-
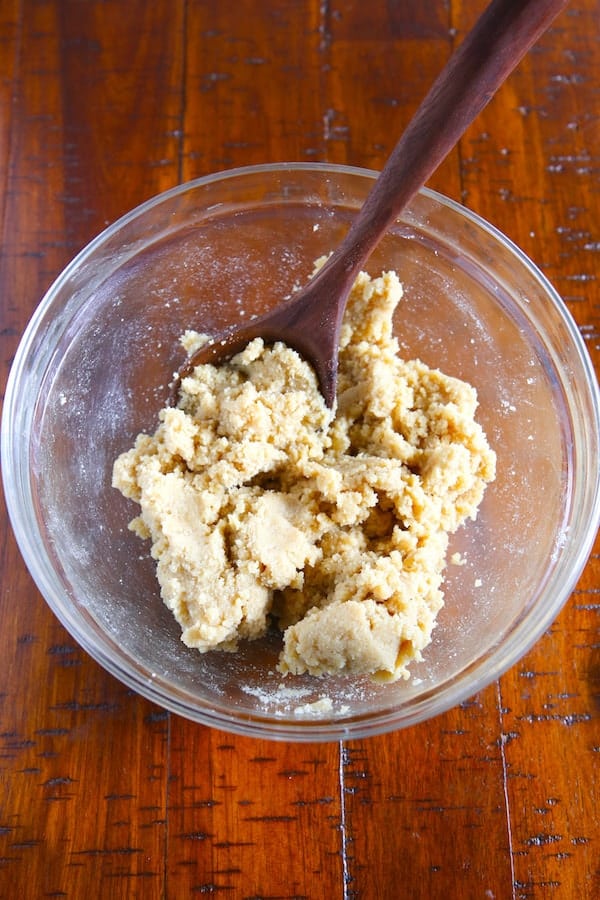
Make the filling: Stir together the ricotta, 1/2 cup Parmesan, eggs, and basil until smooth.
-
Place the crust on a rimmed baking sheet. Spread the filling into the crust. Top with 1/2 cup grated mozzarella. Place tomatoes onto the cheese, pressing down lightly. Sprinkle with remaining cheese, if desired.
-
Bake until set and bubbling, about 20 minutes.
-
Allow the pie to cool for 10 minutes before serving.
-
Store wrapped leftovers in the refrigerator for up to three days.