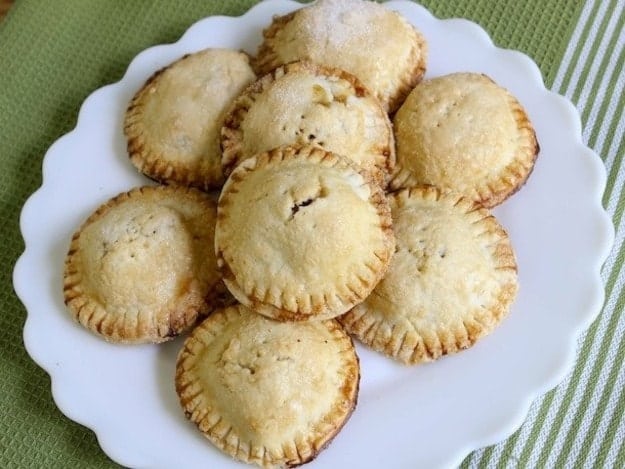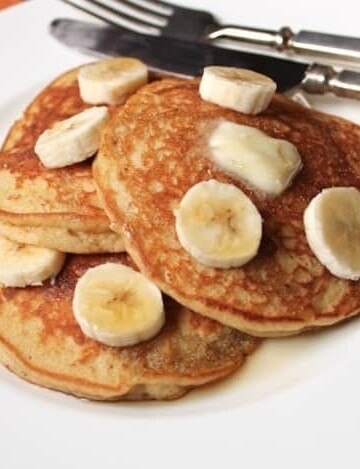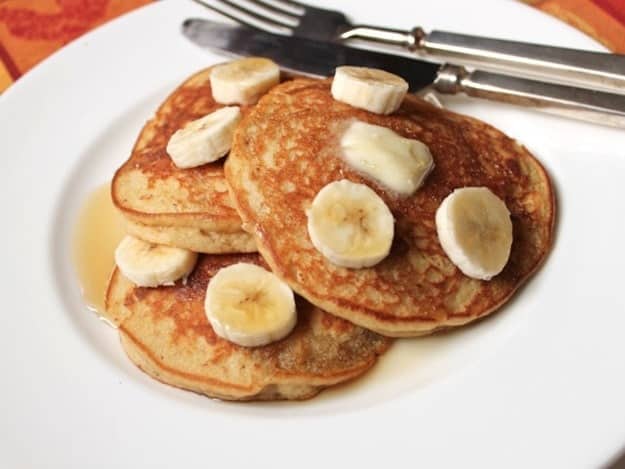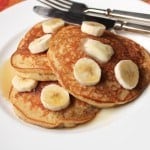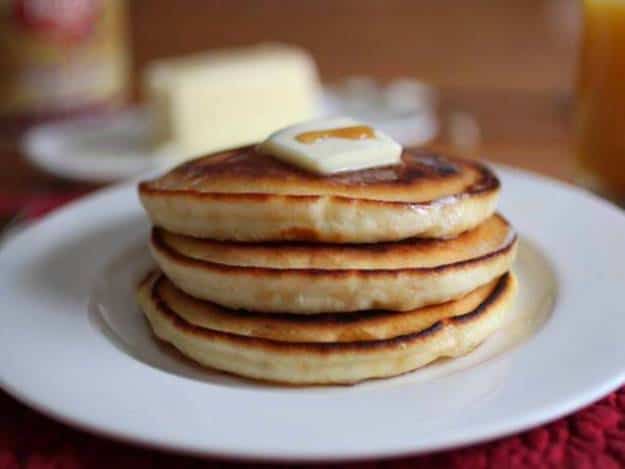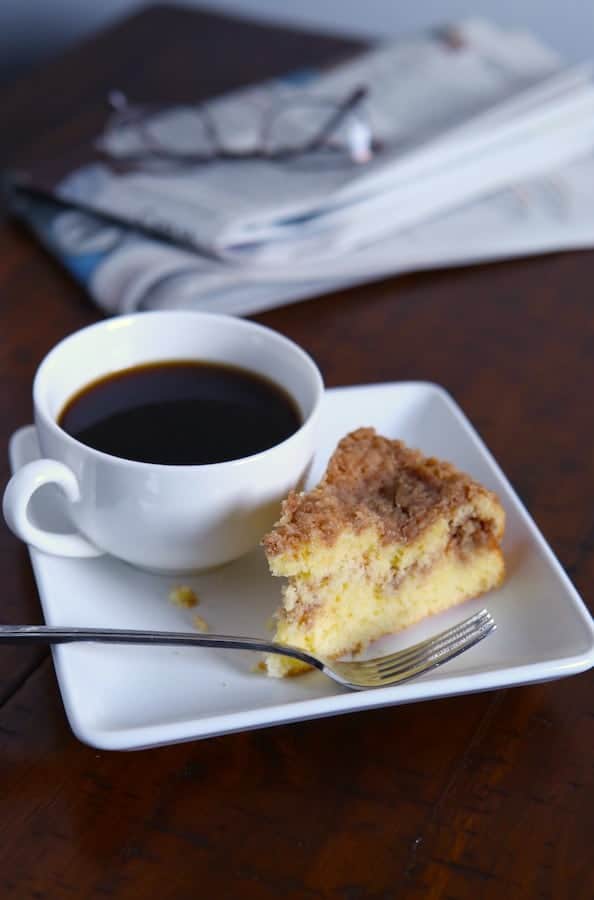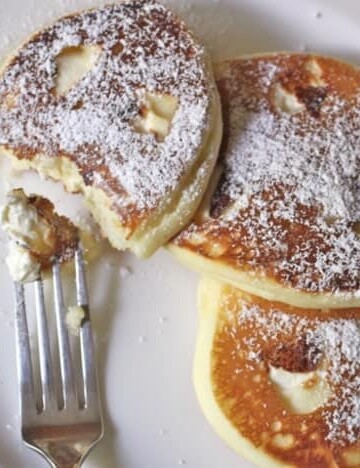
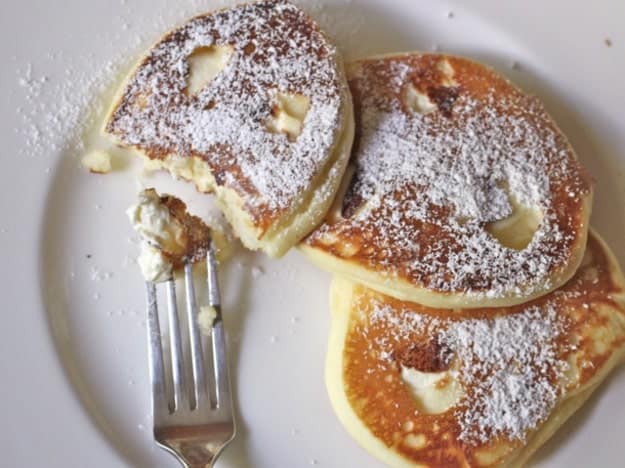
Dotted with small piece of cream cheese, these gluten-free cheesecake pancakes are a decadent way to begin a lazy weekend morning. These pancakes would make a great savory side dish. Replace the cream cheese with soft goat cheese and add a some freshly ground black pepper. For savory pancakes, reduce the sugar from 1/4 cup to 2 tablespoons.
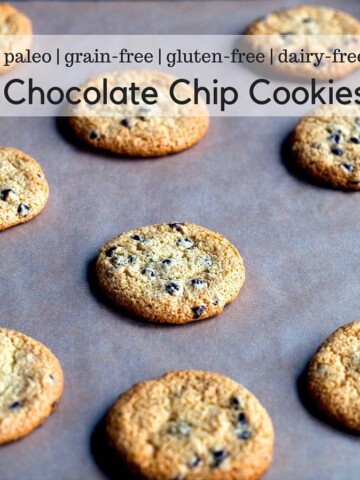
Gluten-Free Cheesecake Pancakes
Ingredients
- 1 cup white rice flour (4 ounces; 113 grams)
- 1/2 cup cornstarch (2 ounces; 57 grams)
- 1/2 cup sweet rice flour (2 ounces; 57 grams)
- 1/4 cup granulated sugar (1 3/4 ounces; 50 grams)
- 1 tablespoon baking powder
- 1/2 teaspoon salt
- 1/4 teaspoon xanthan gum
- 2 large eggs (about 4 ounces, 100 grams)
- 1 cup milk (8 ounces; 226 grams)
- 1/4 cup vegetable oil (1 3/4 ounces; 50 grams)
- 1 teaspoon vanilla extract
- 2 ounces cream cheese, cut into 1/2 teaspoon size pieces
Instructions
-
In a medium bowl, whisk together white rice flour, cornstarch, sweet rice flour, granulated sugar, baking powder, salt, and xathan gum. Add eggs, milk, vegetable oil, and vanilla extract. Whisk until smooth.
-
Lightly oil a flat griddle pan. Heat griddle over medium-high heat. Pour batter, approximately 1/4 cup, onto griddle. Batter should "sizzle" when it hits the pan. Dot the surface of each pancake with a few pieces of cream cheese.
-
Cook for approximately 3 minutes. Flip pancakes when bubbles appear all over the surface of the pancake and begin to pop. The pancake should begin to look almost dry. Flip and cook another 1-1 1/2 minutes.
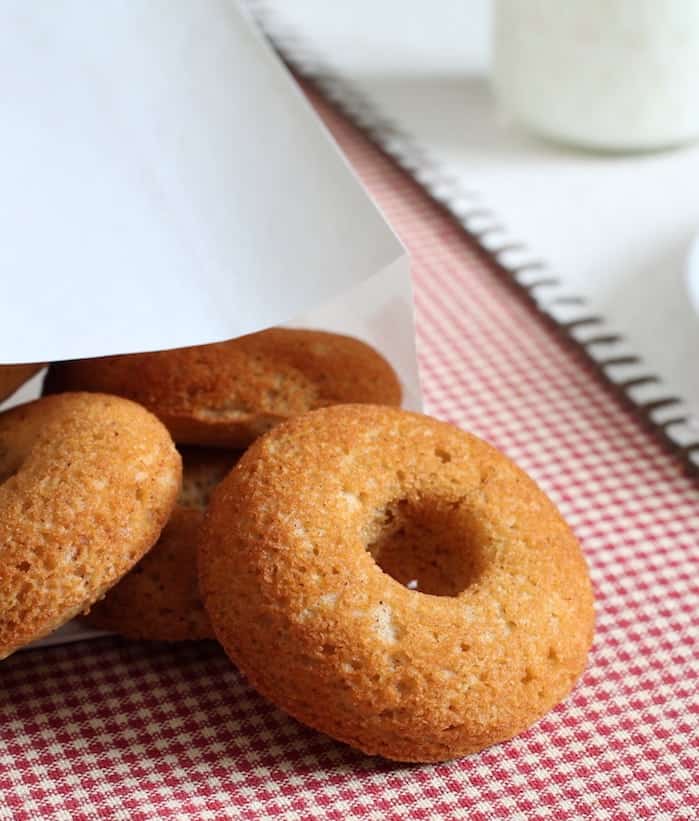
Gluten-Free Cream Cheese Pancakes: How bad cheese turned into a beautiful breakfast.
One morning, in an attempt to use some leftover ricotta cheese, I decided to make ricotta pancakes. My ricotta turned out to be well past its prime. Basically, it had turned into a mini-science experience. Even though I ditched the ricotta, I didn’t let the idea of a cheese-studded pancake go. Instead I grabbed some cream cheese.
Unlike ricotta, which melts gently into pancakes, dense cream cheese holds its shape and creates lovely little pockets of warm, oozing cheese throughout the cooked pancakes. Since pancakes are sweet enough, especially when topped with syrup, you don’t need to add any sugar to the cream cheese. Simply cut cold cream cheese into cubes, place a few pieces on a cooking pancake, as you would do with berries or chocolate chips, and you’re done!