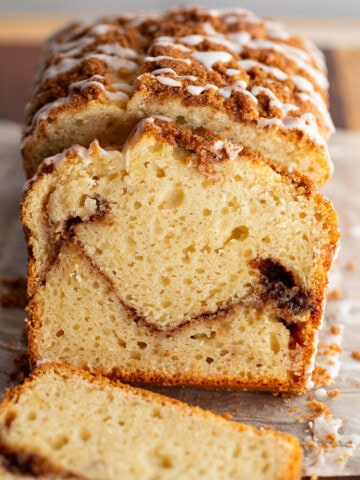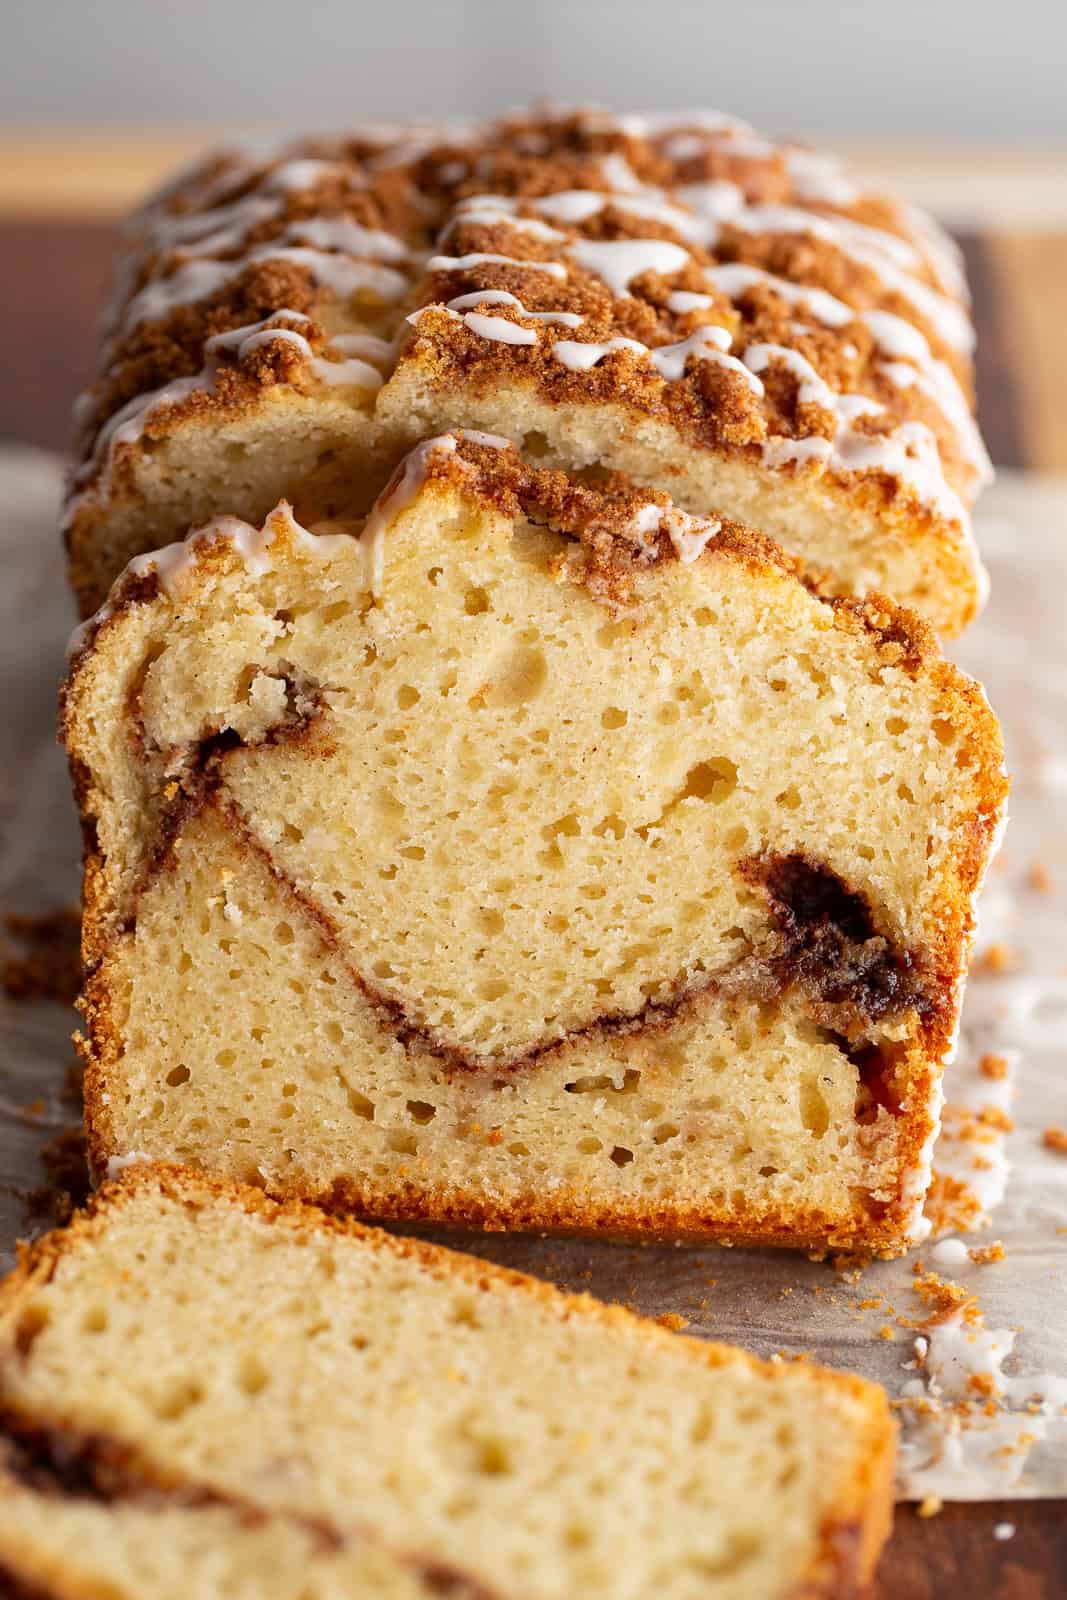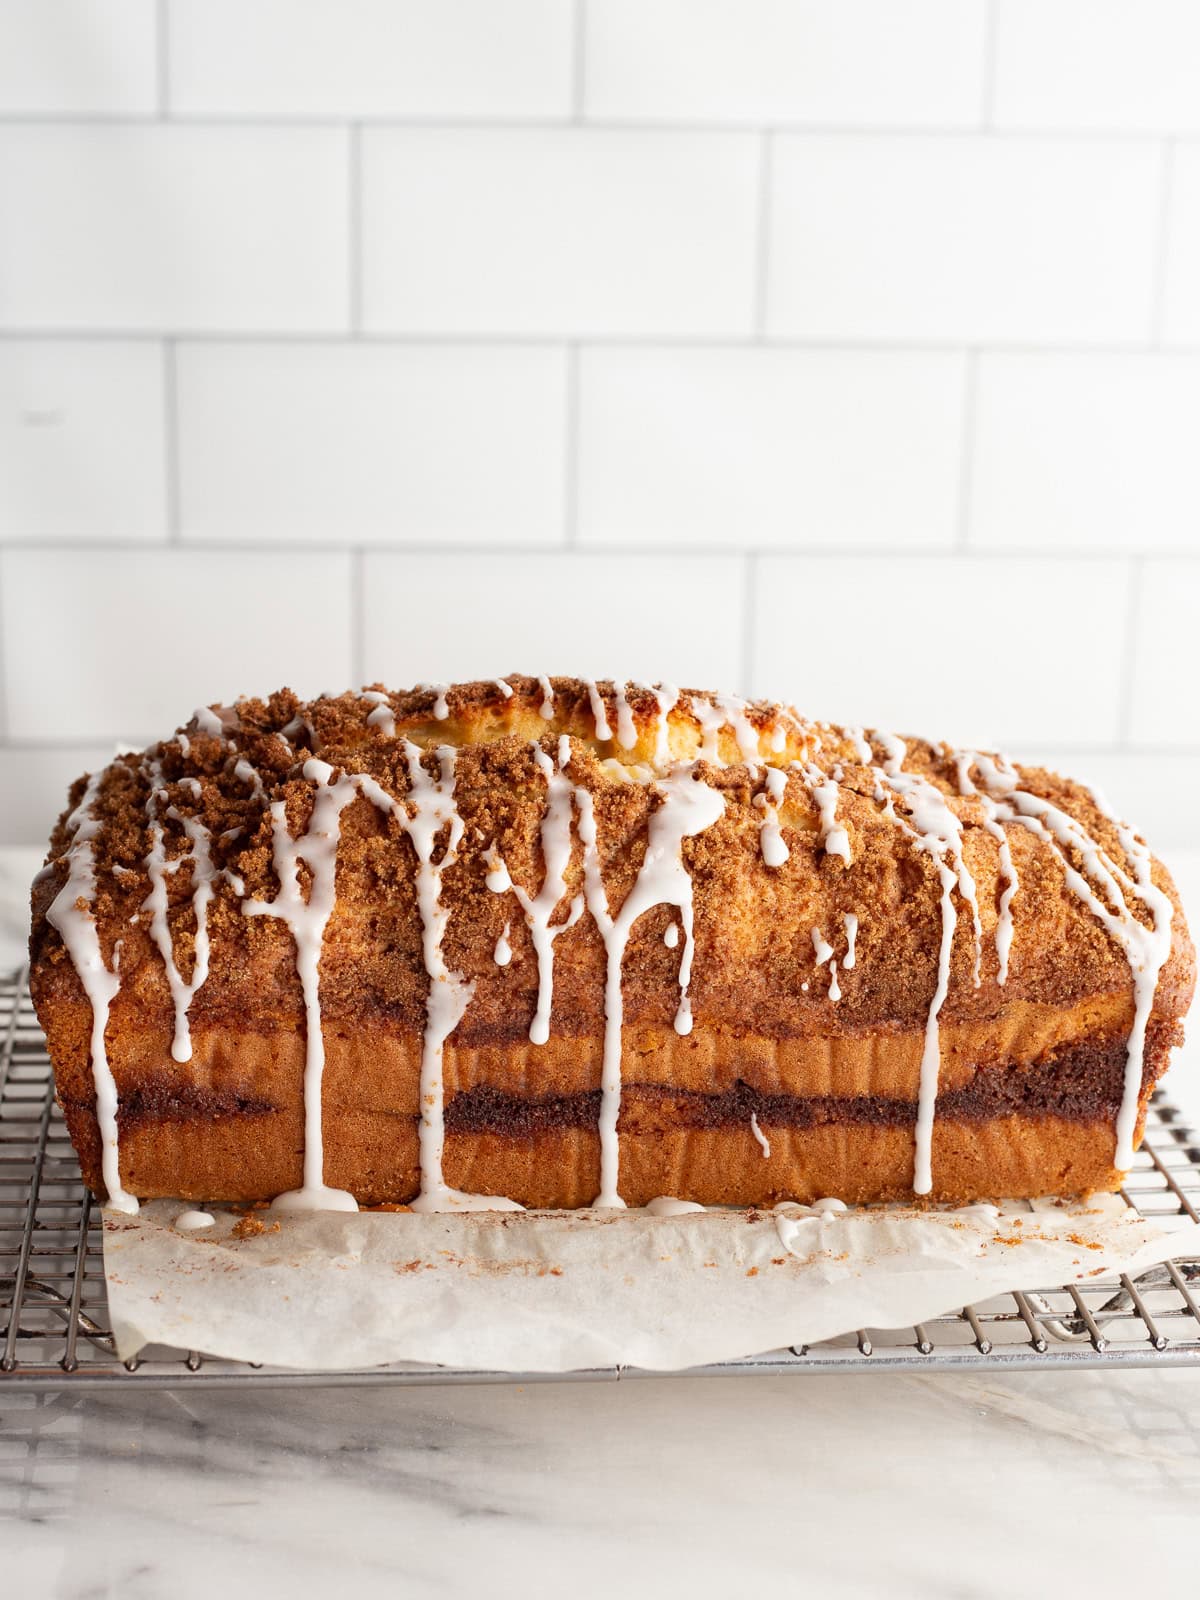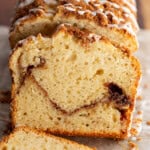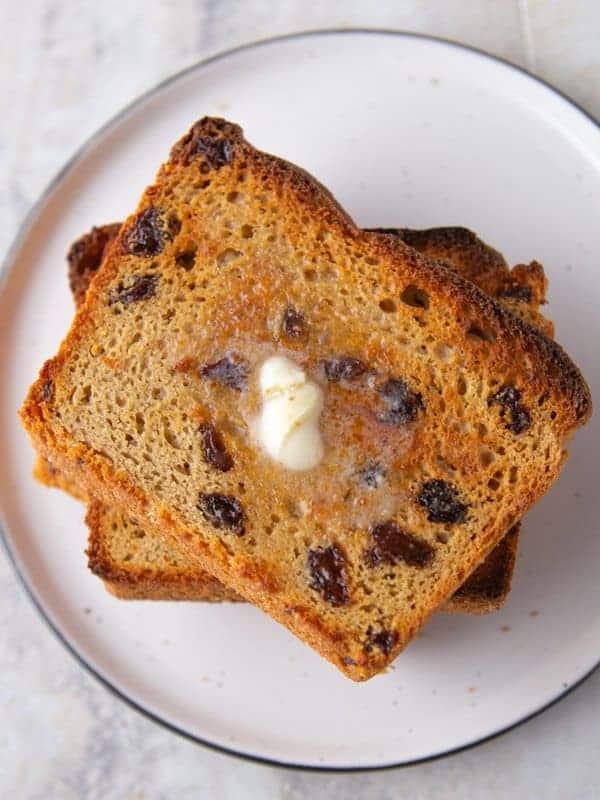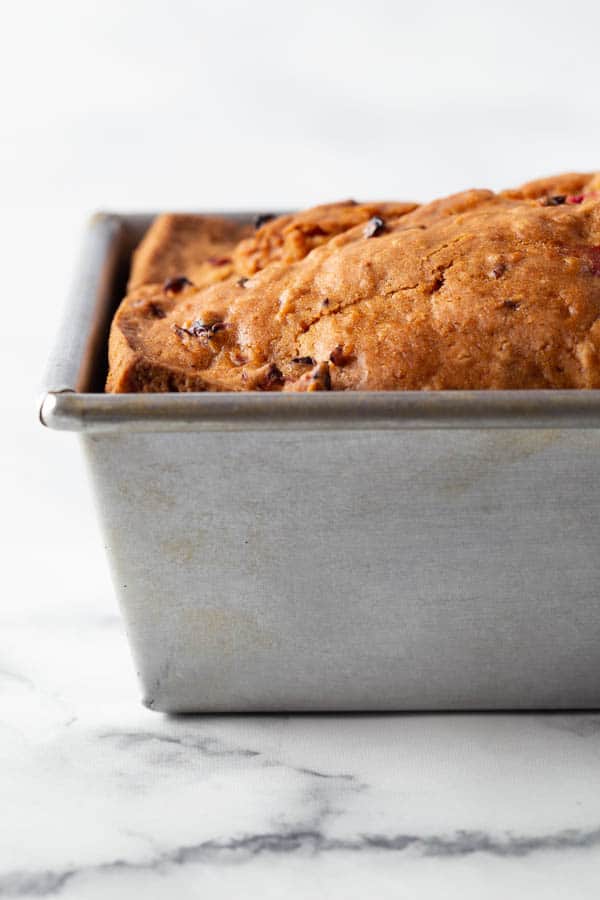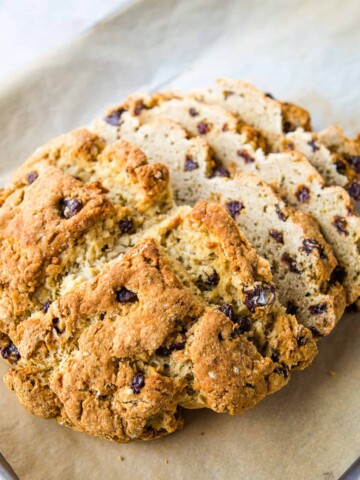
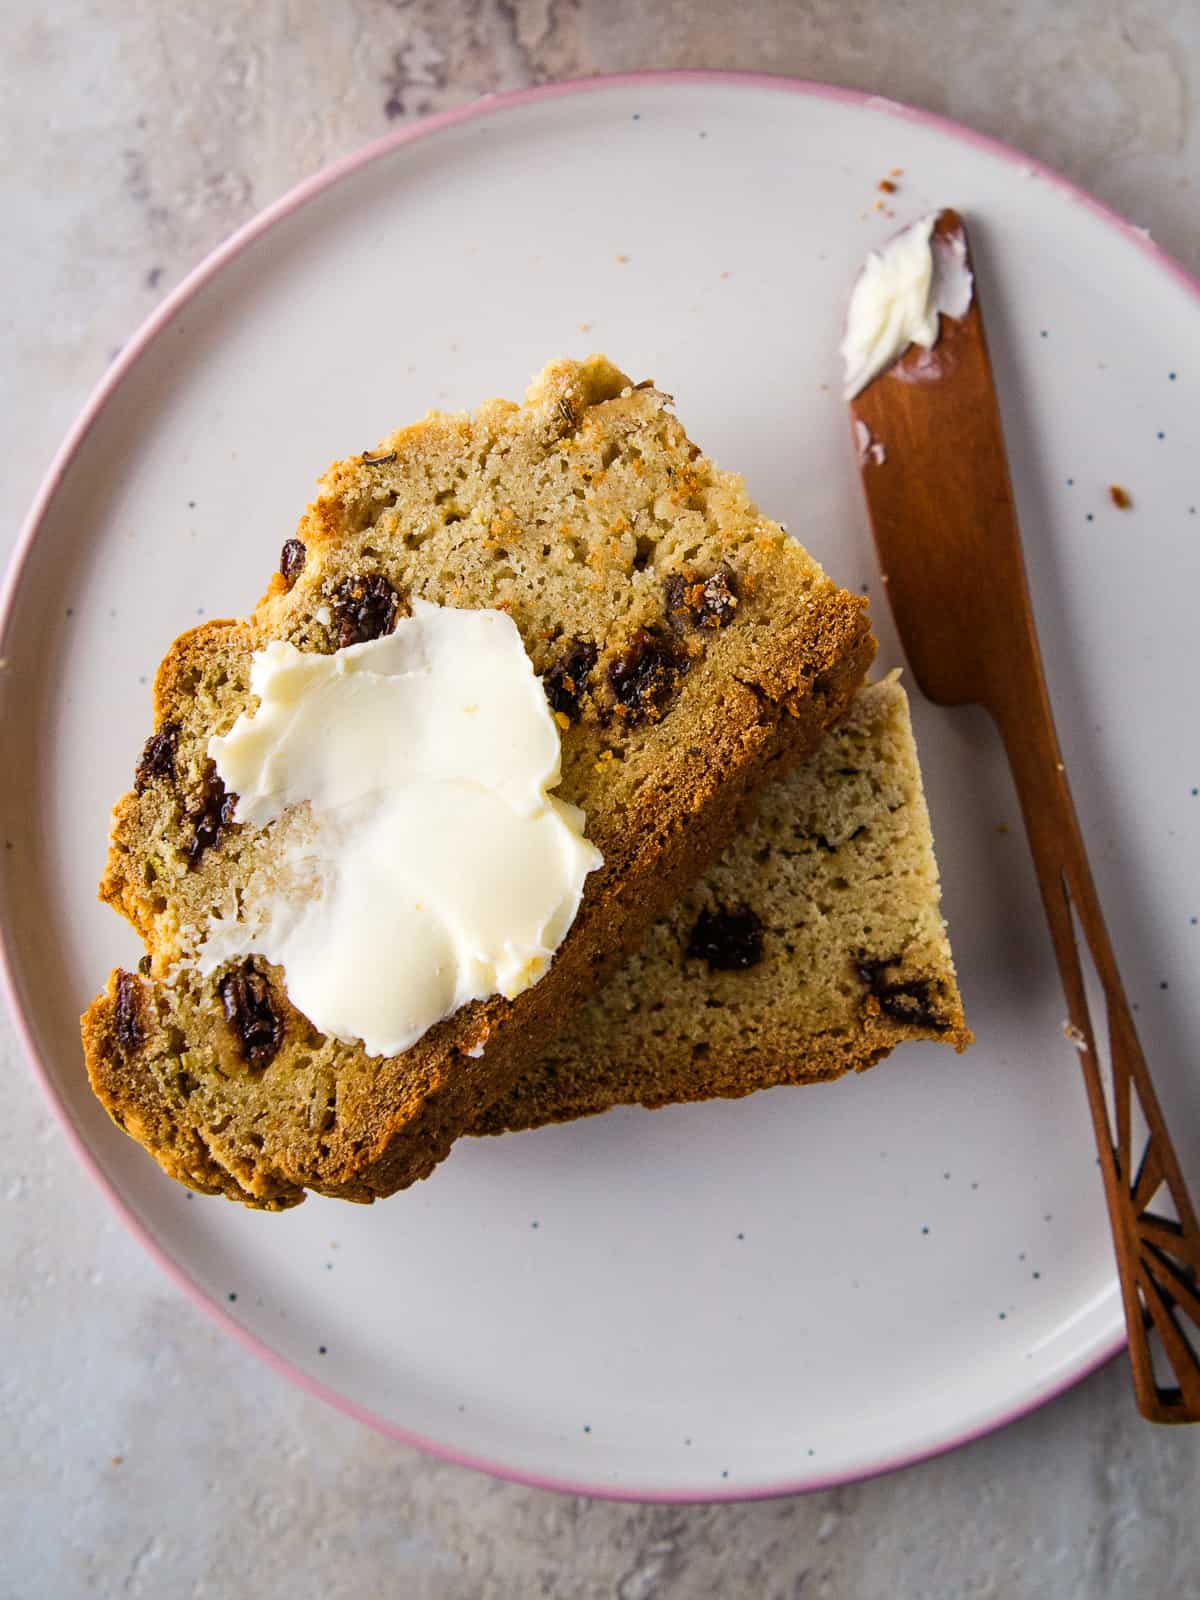
This gluten-free Irish soda bread recipe is fun and easy to make! It doesn’t require any yeast, so there’s no waiting for the dough to rise. Simply make the dough, shape it into a round, and bake. The bread comes out tender and full of flavor. The raisins and caraway seeds add a delicious touch but they’re completely optional. It’s a perfect recipe for St. Patrick’s Day or anytime you want a quick, tasty bread.
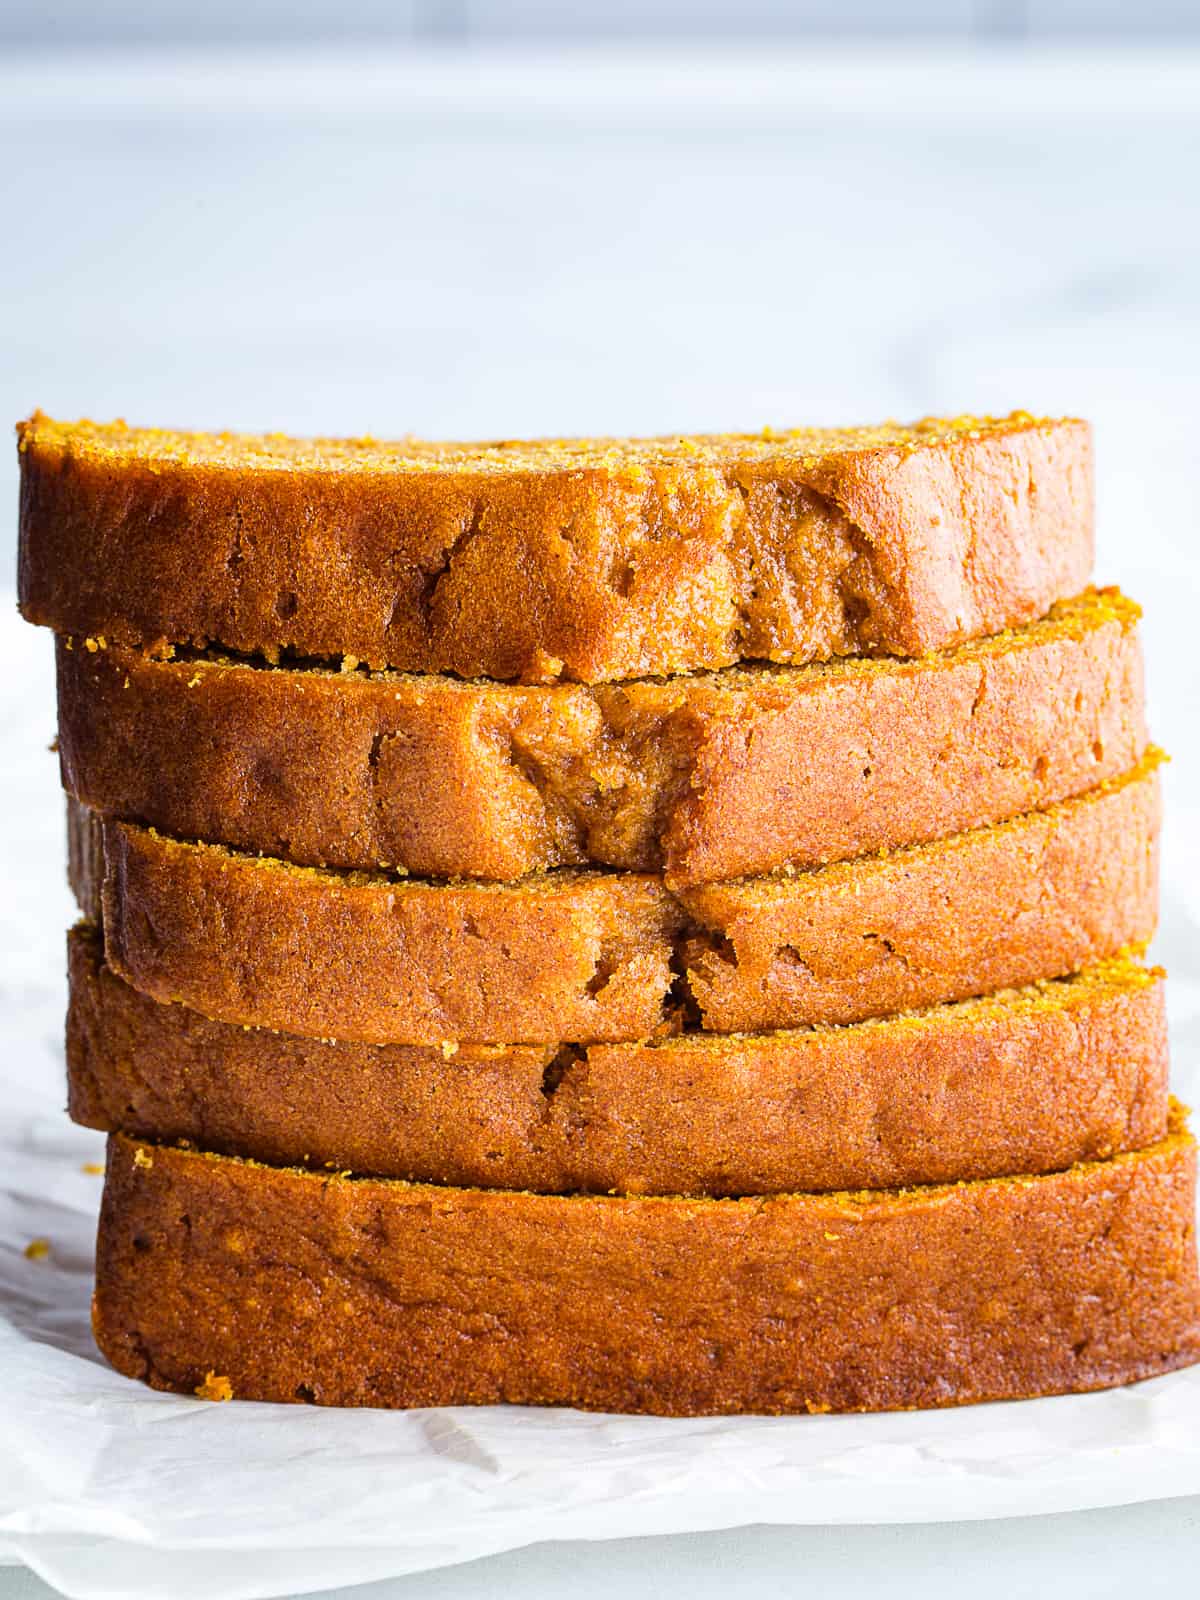
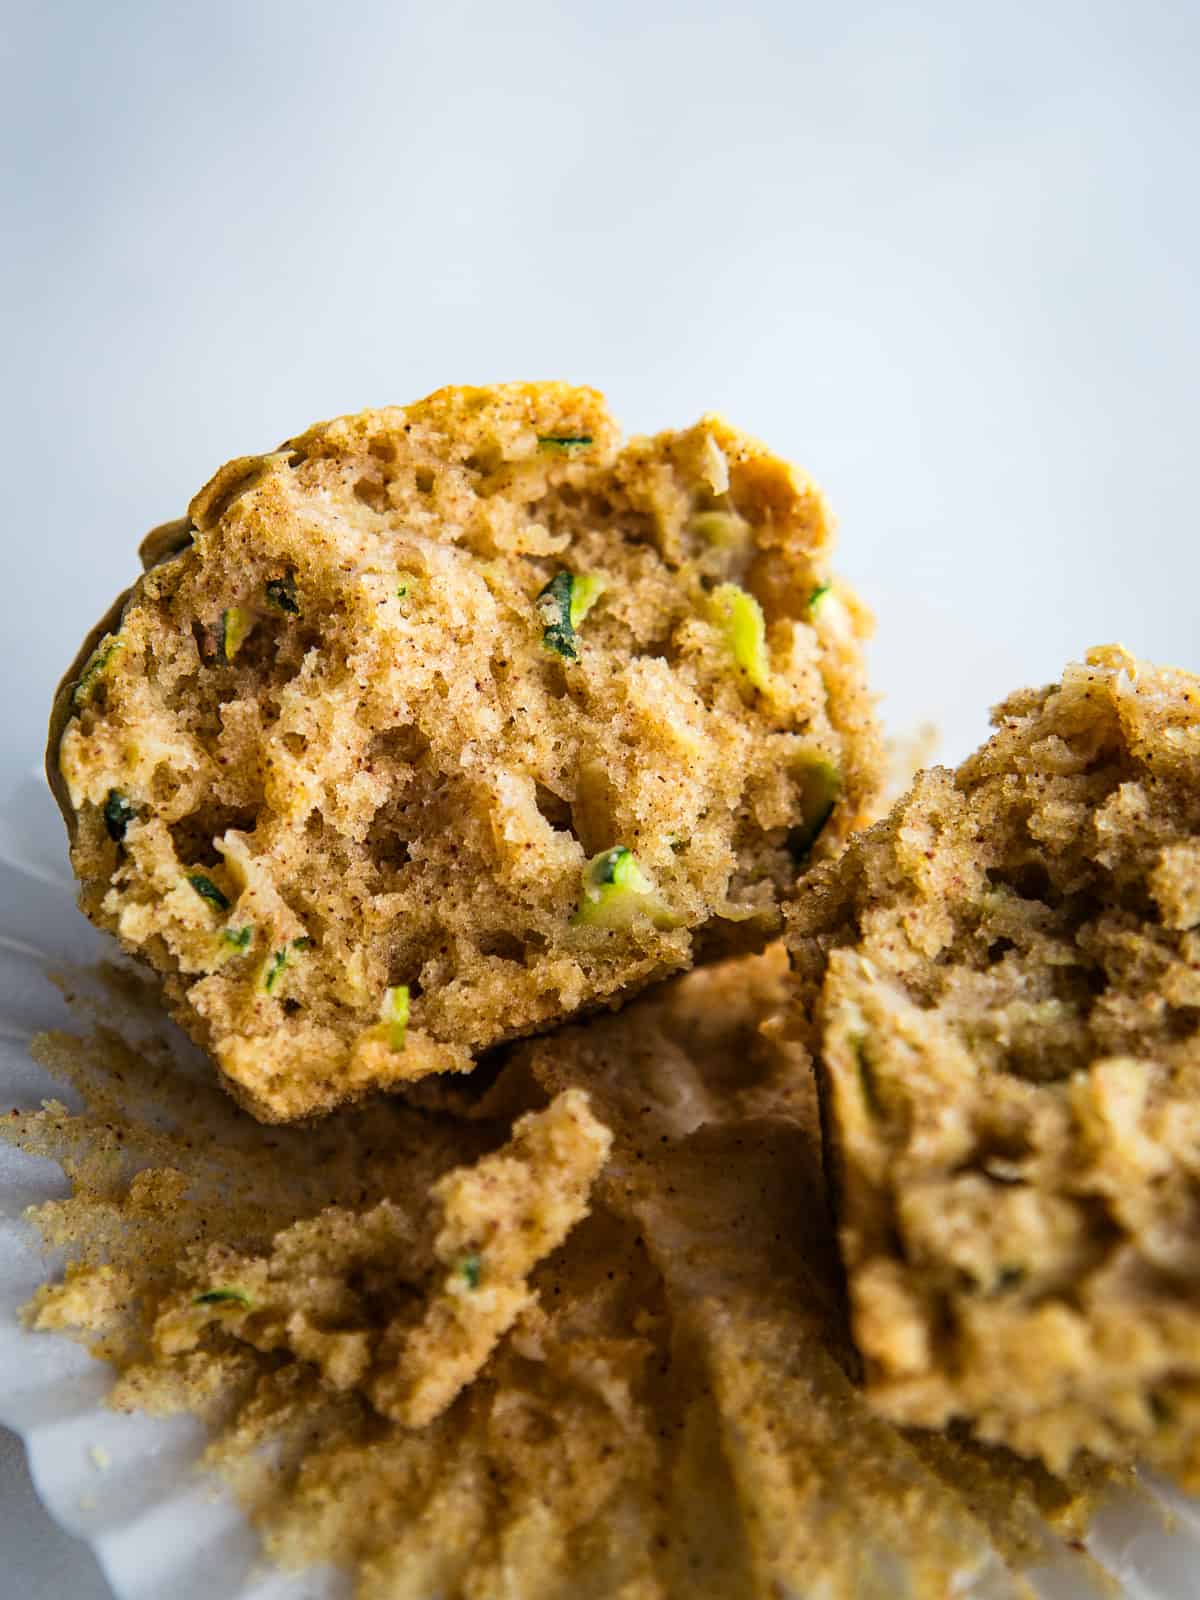
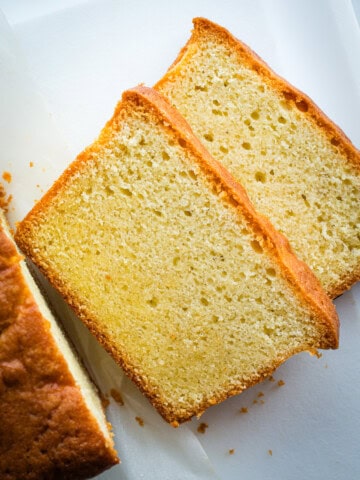
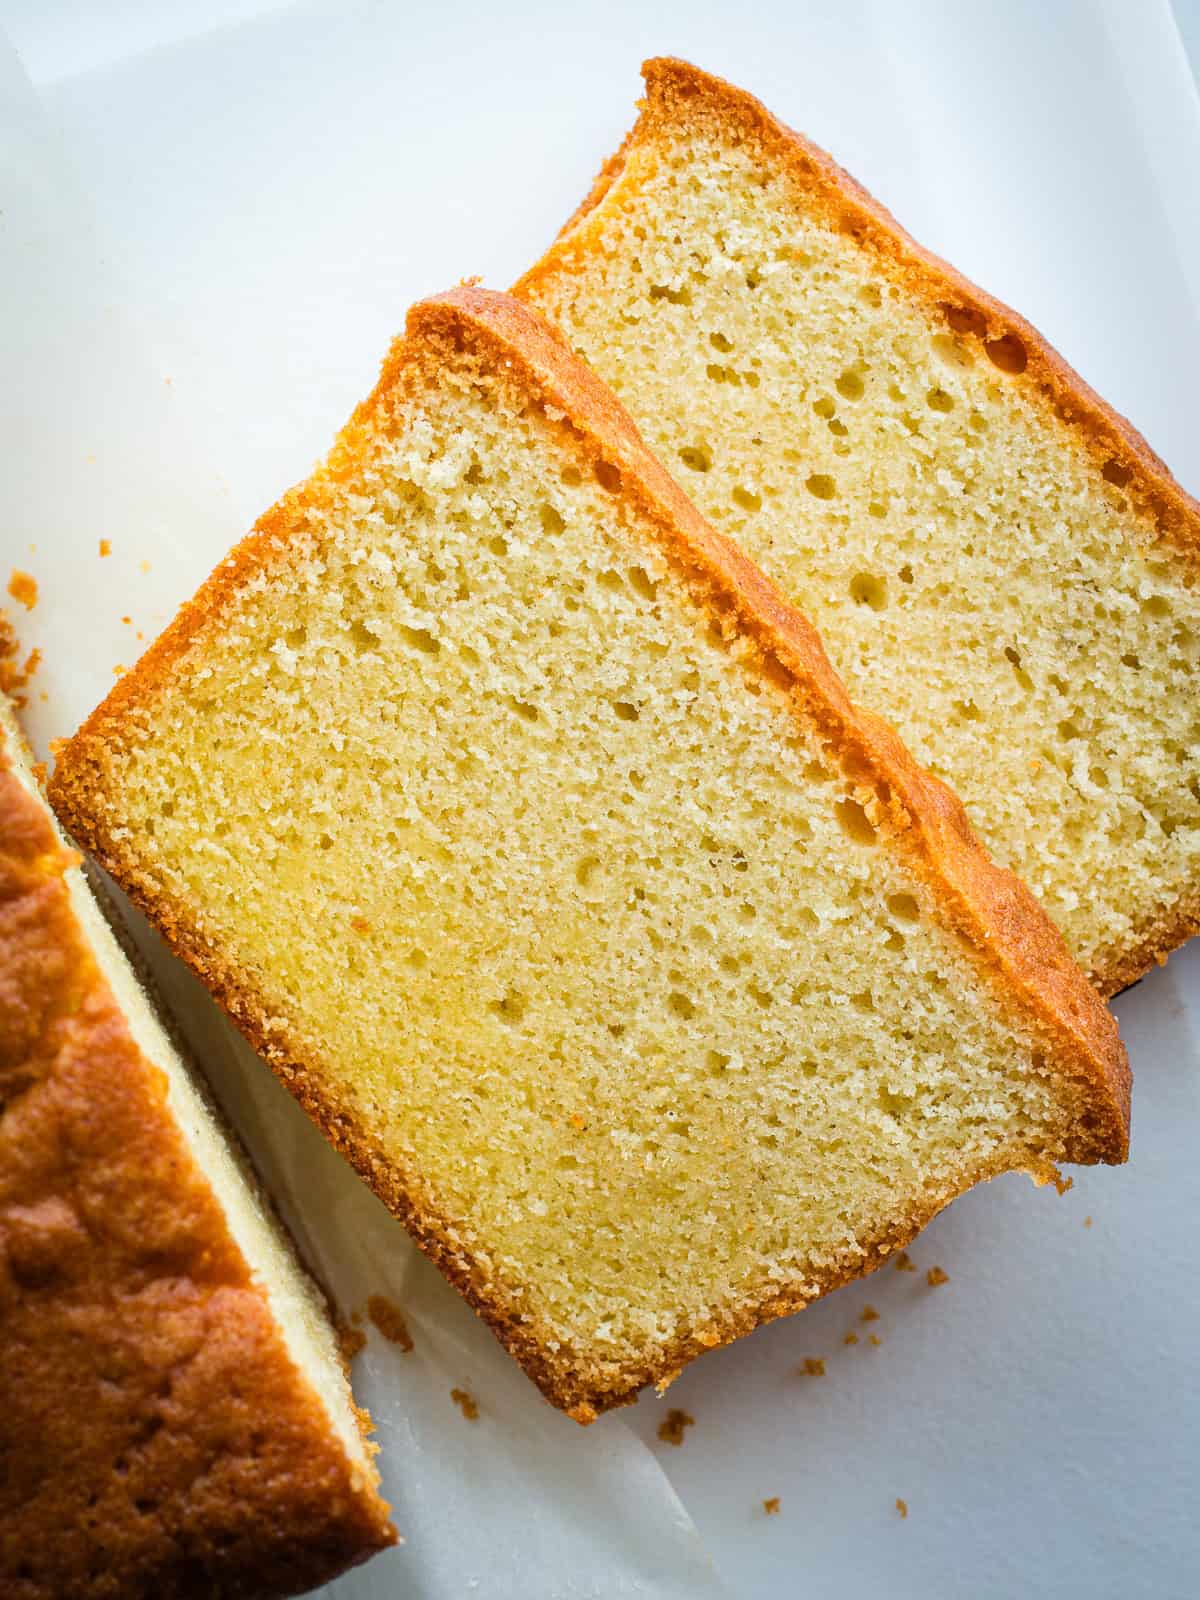
If you’ve never had Irish soda bread, you’re in for a treat. Although it has “bread” right in the name, it’s nothing like gluten-free sandwich bread or gluten-free pumpkin bread. Irish soda bread is more like a giant scone or biscuit. And that’s what makes it so irresistible.
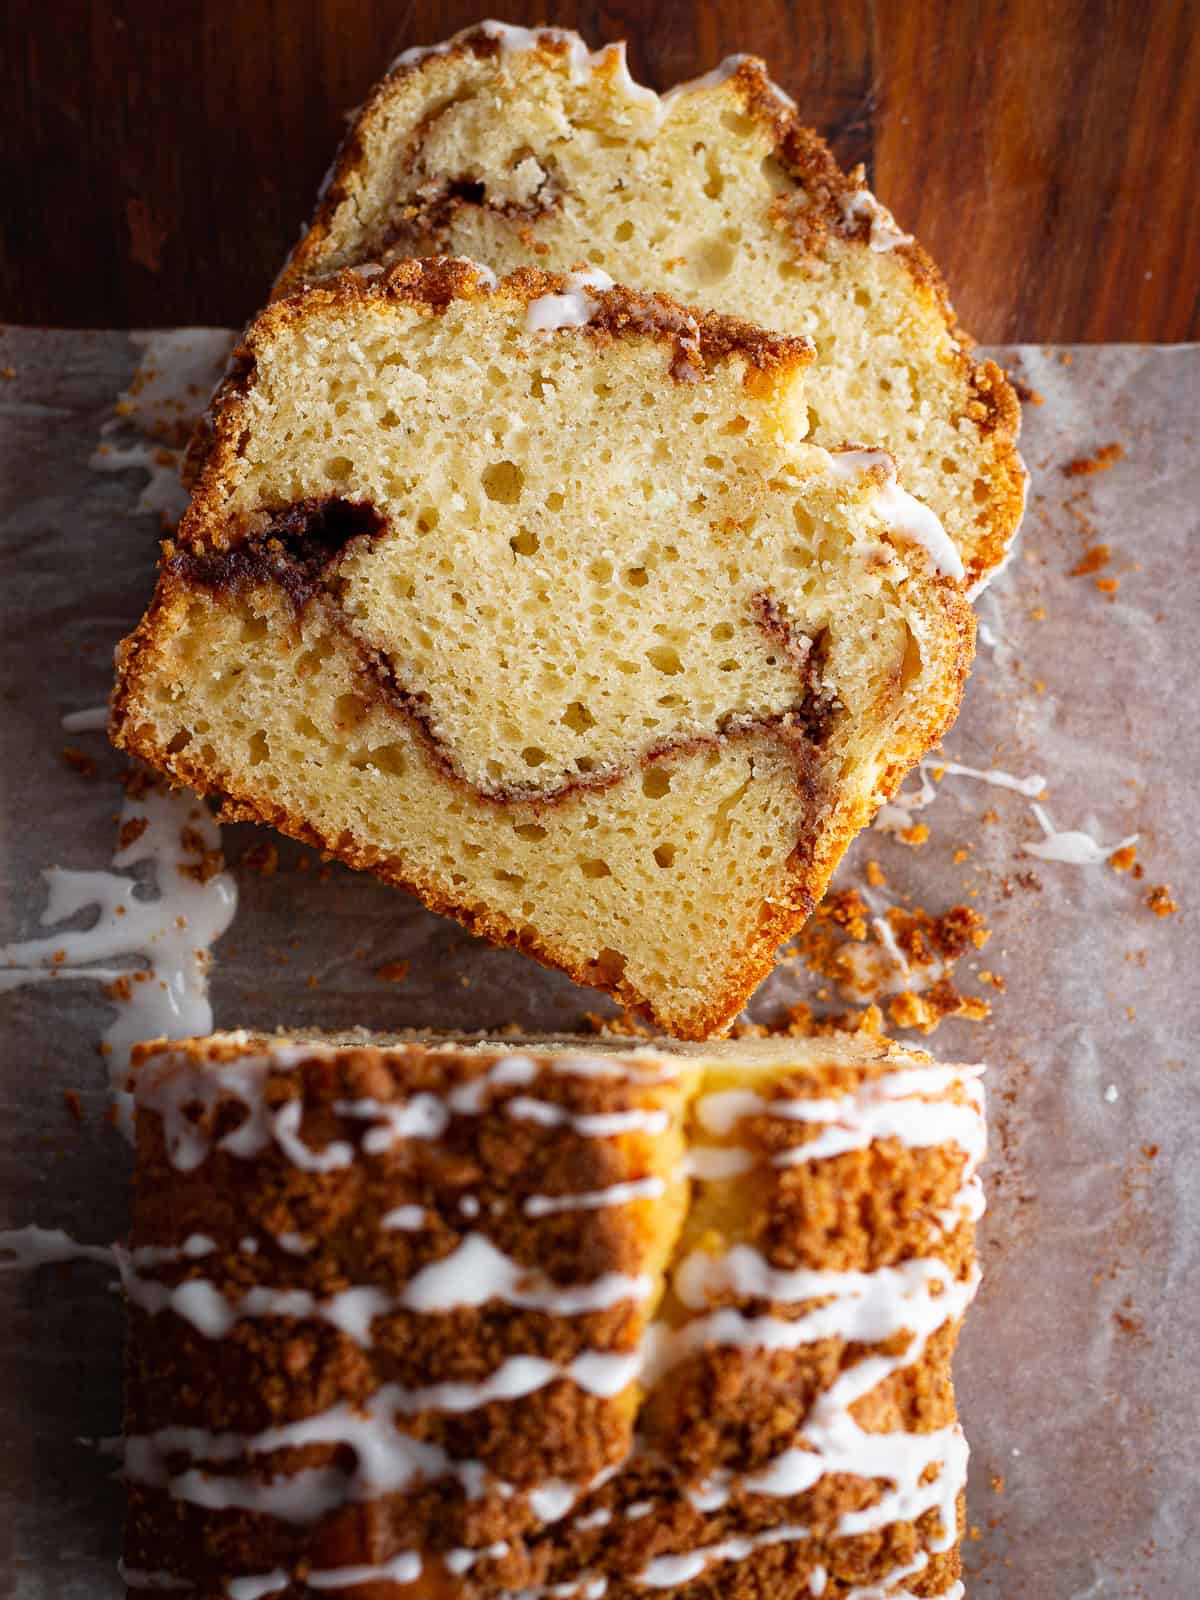
This recipe is inspired by the sweet, raisin, and caraway-filled loaves found in the United States around St. Patrick’s day. It’s such a treat to eat and really fun to make.
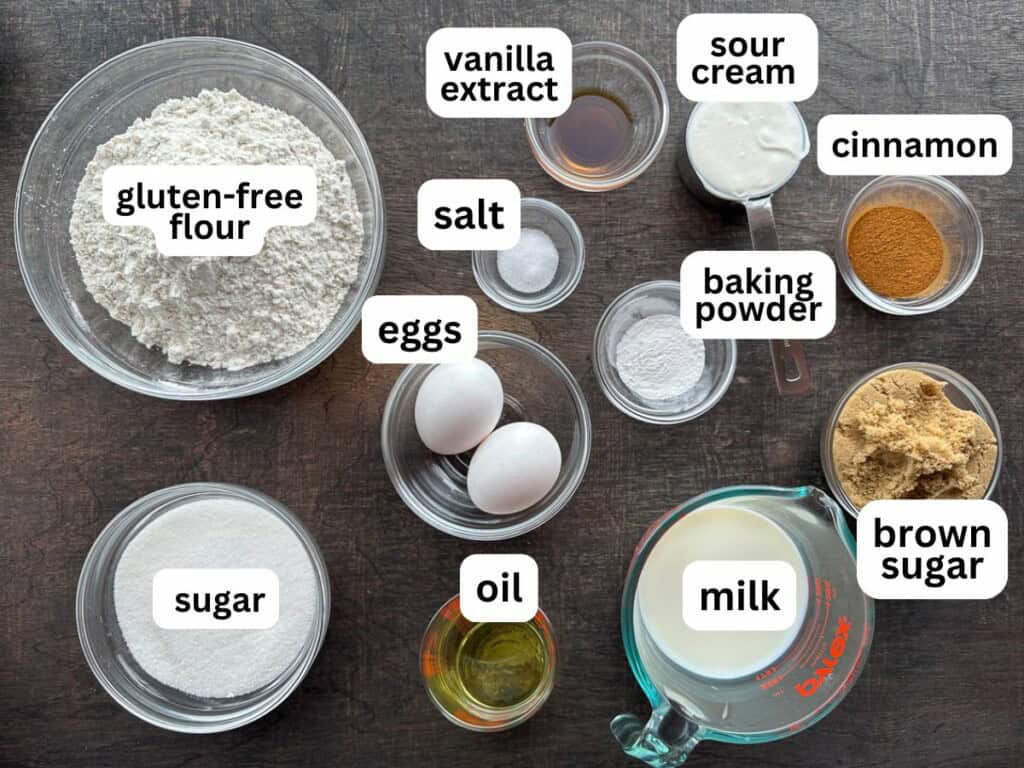
Ingredients You Need to Make a Perfect Gluten-Free Irish Soda Bread
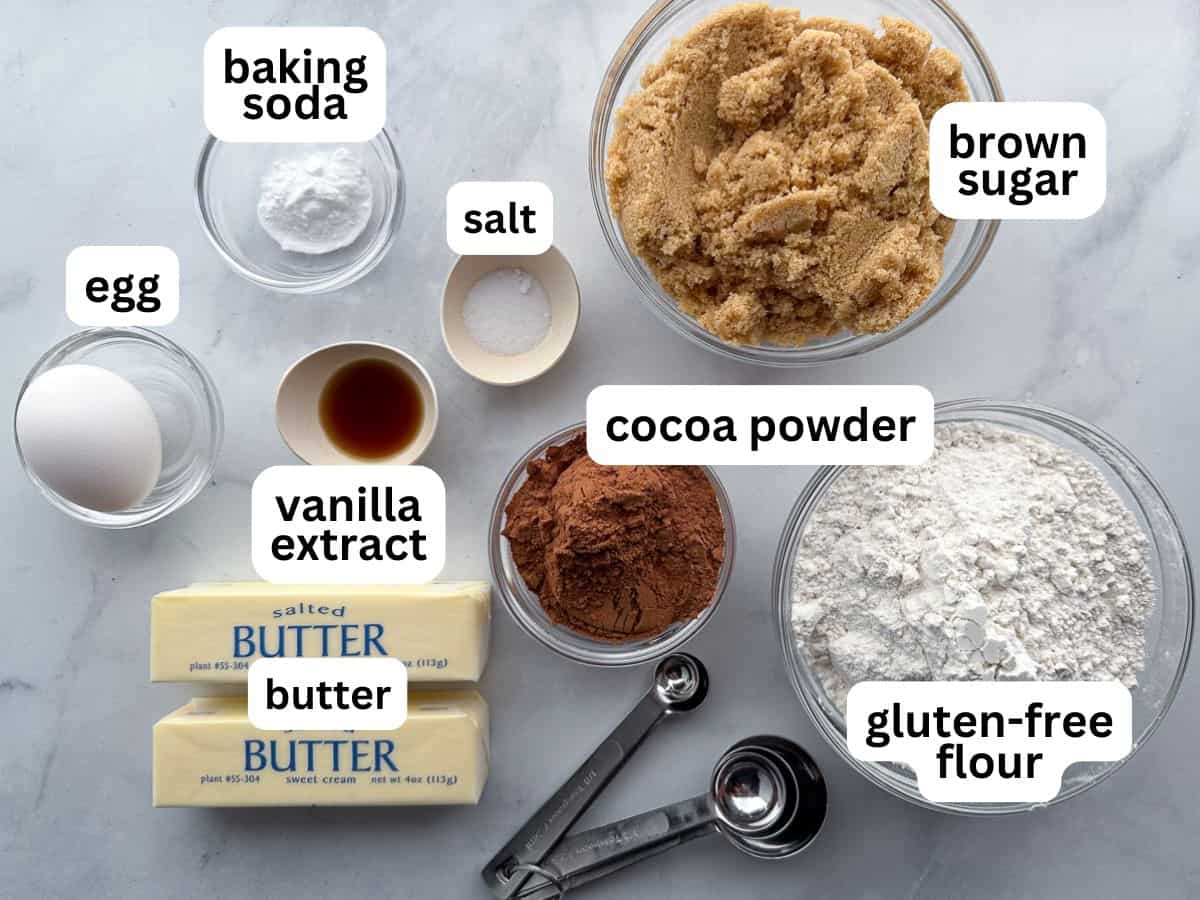
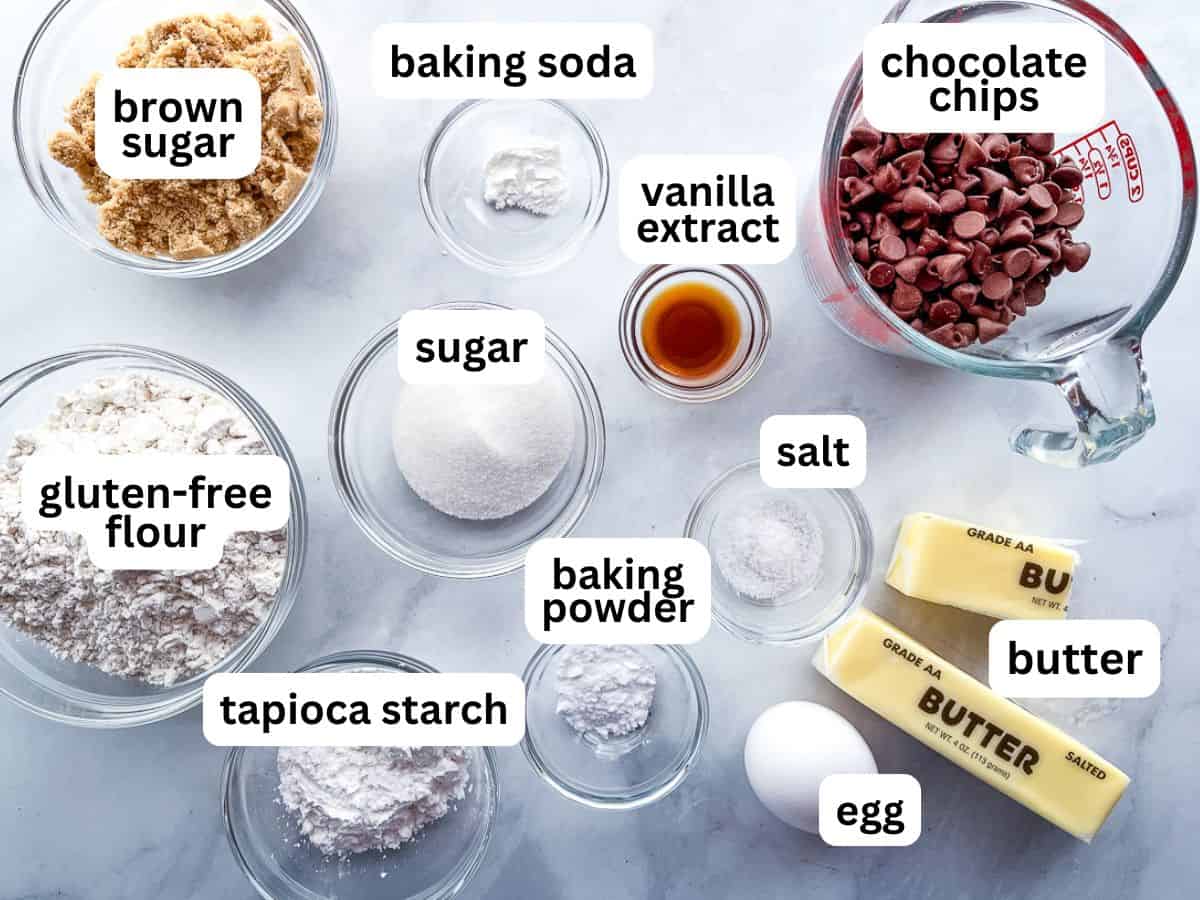
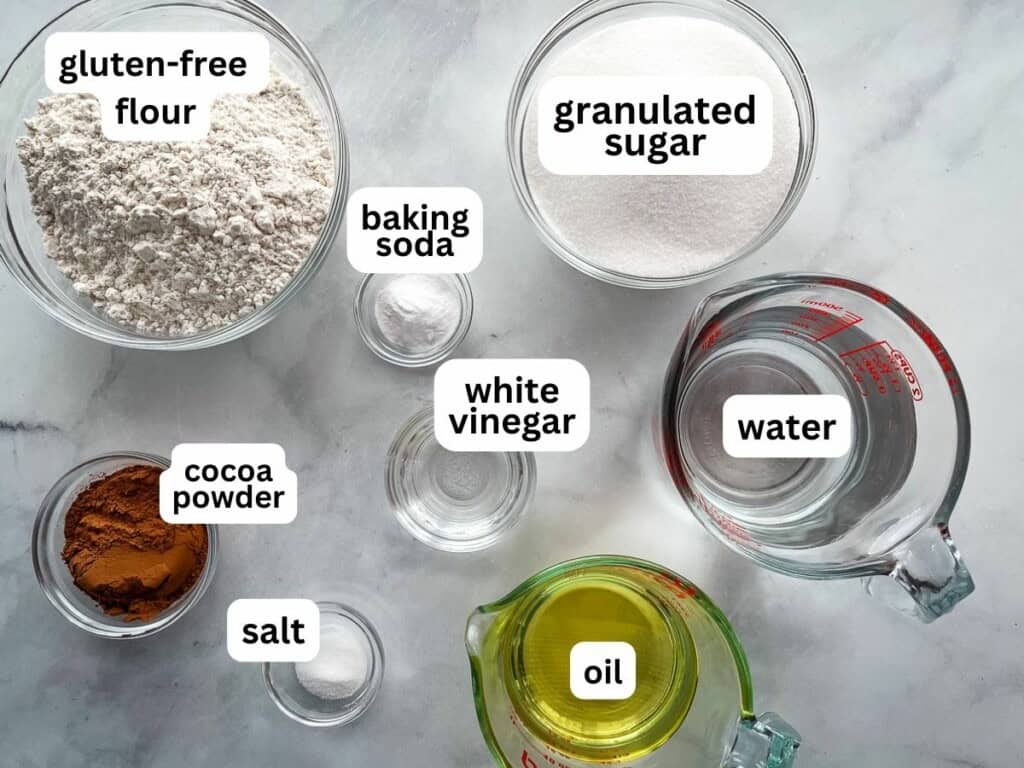
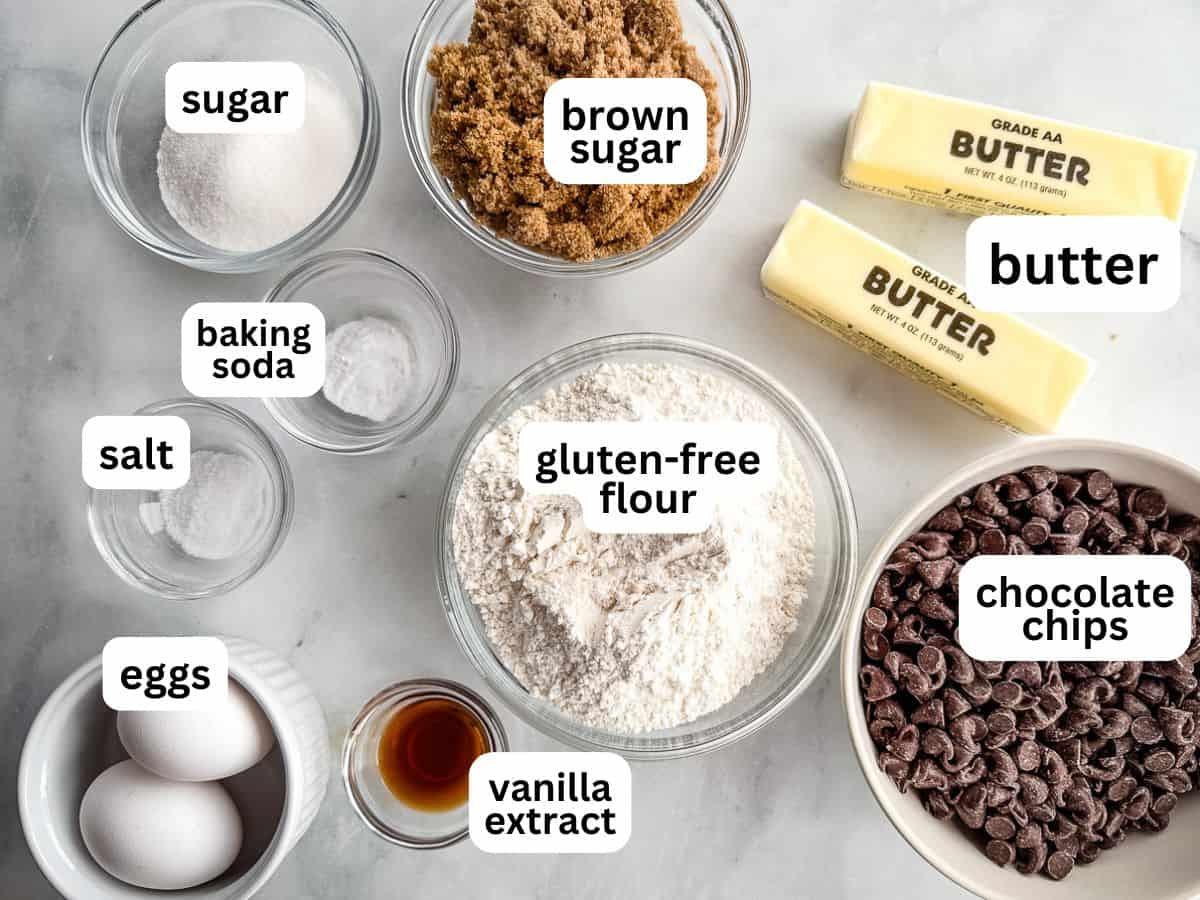
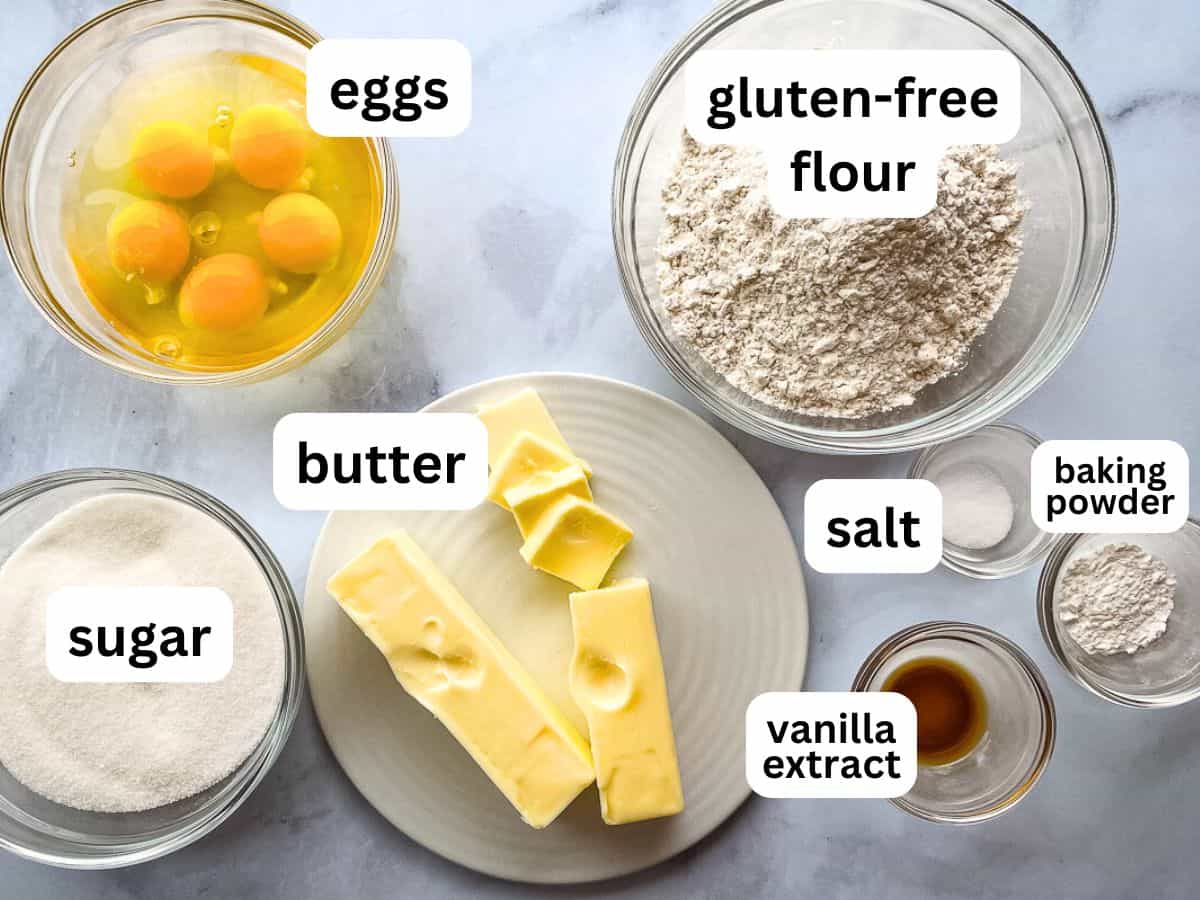
Here’s what you need to make this bread. As always, the full ingredient list and steps are included at the bottom of the post.
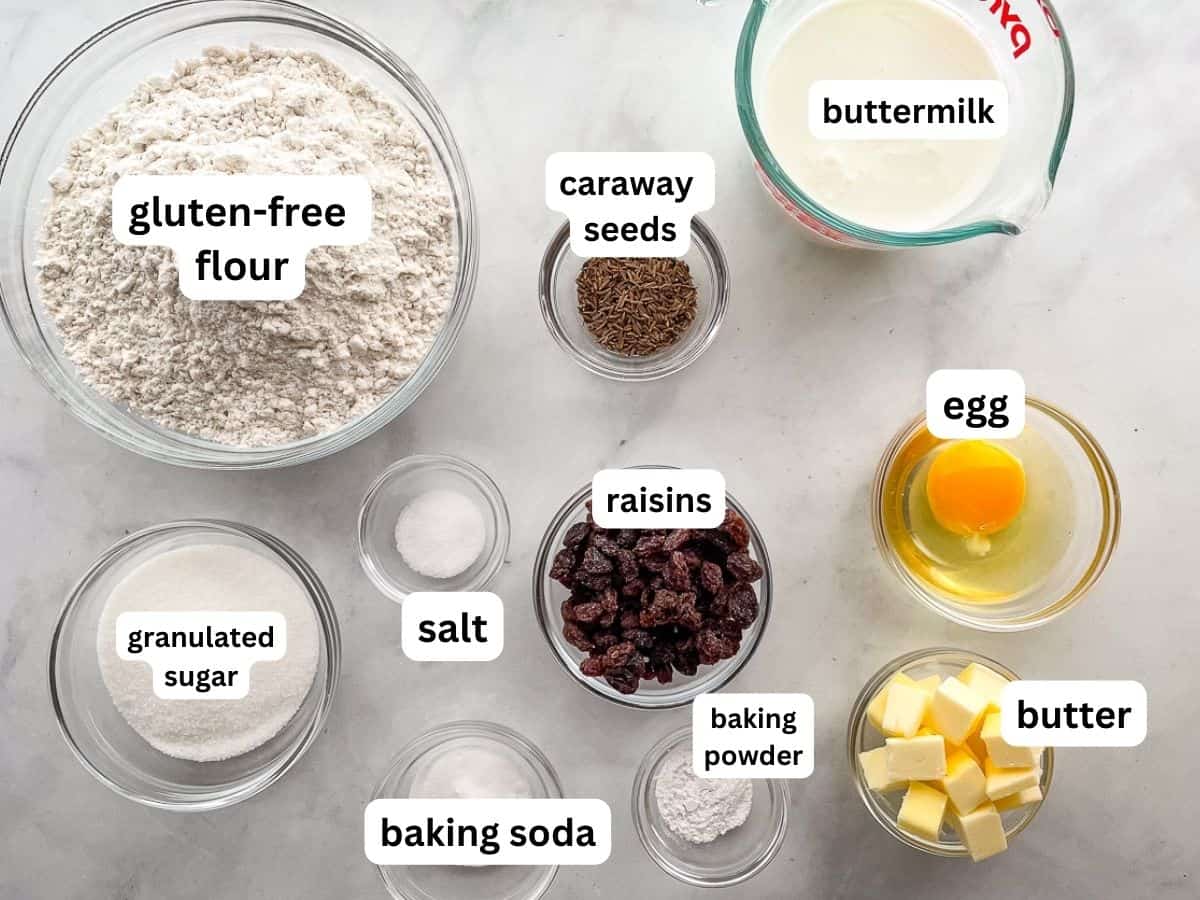
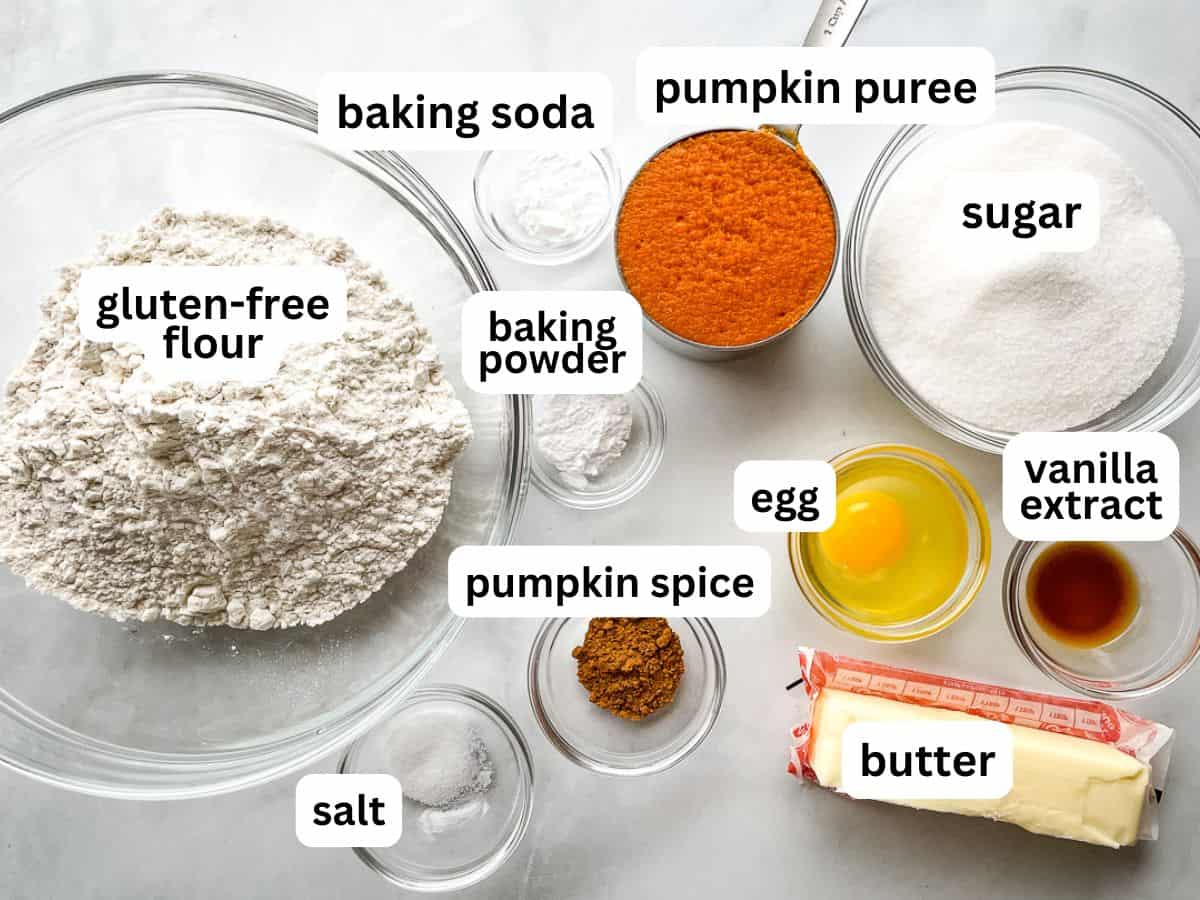
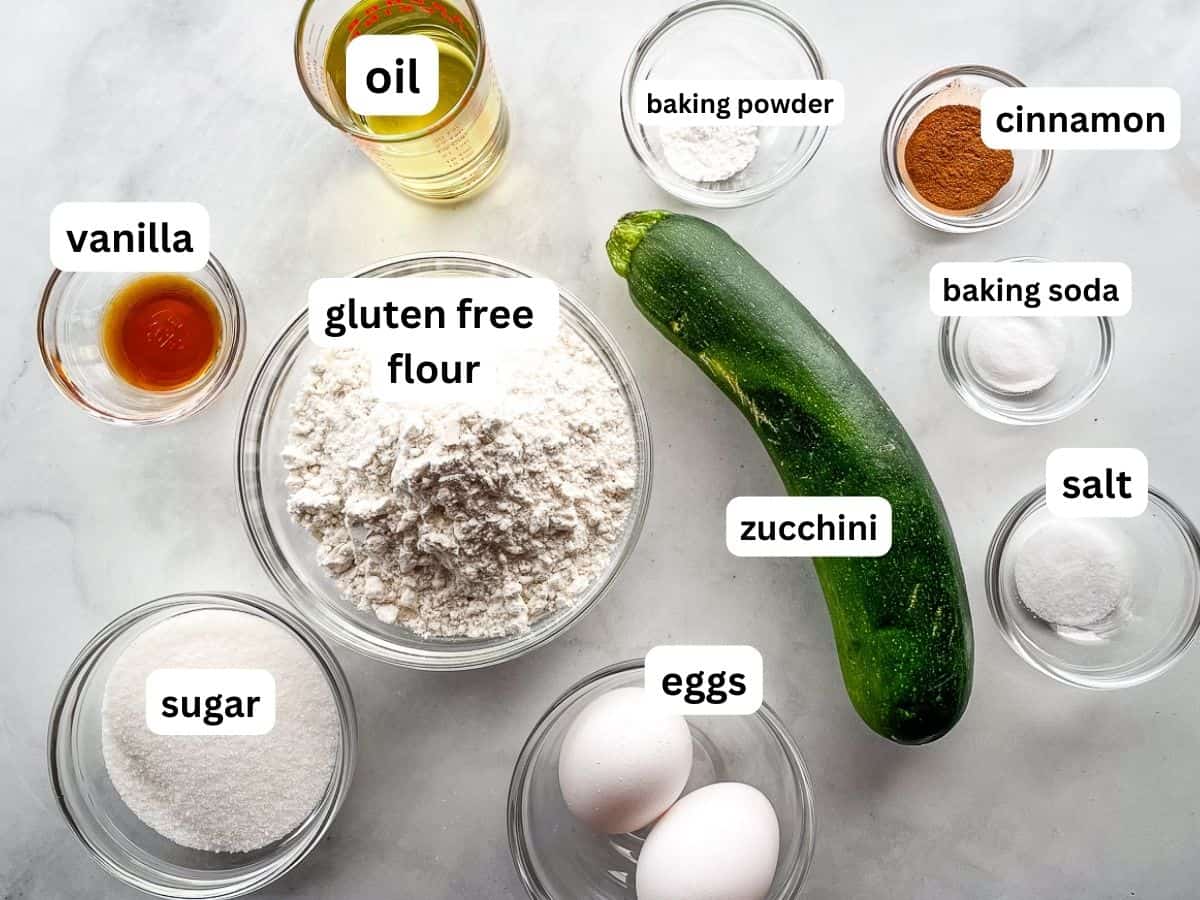
- Gluten-Free Flour. A gluten-free flour blend works great in this easy bread. The recipe was developed with Bob’s Red Mill 1:1 Gluten-Free Baking Flour. If you use a gluten-free flour blend that does not contain xanthan gum, add ½ teaspoon xanthan gum to the recipe.
- Granulated Sugar. Brings a subtle sweetness to the bread and helps it brown.
- Baking Soda and Baking Powder. The combination of baking soda and baking powder gives this bread a nice texture.
- Salt. Enhances all the other flavors. Use table salt. It blends easily into the dough.
- Butter. Gives the soda bread flavor and richness.
- Buttermilk. Adds great tangy flavor. When combined with the baking soda, it helps the bread to rise.
- Egg. The egg helps the gluten-free dough come together.
- Raisins. (Optional) This is American-style Irish soda bread. It contains both raisins and caraway seeds. Feel free to use both or…skip both. It’s up to you.
- Caraway Seeds. (Optional)Adds an anise-like flavor and a little crunch.
Variations.
Egg-free substitutions.
To make this bread without the egg, simply leave the egg out and add two tablespoons of additional buttermilk. When made without the egg, the bread doesn’t rise quite as high but still tastes great.
Dairy-free substitutions.
If you’re dairy-free, make the following adjustments.
- Replace the cold butter with your favorite dairy-free butter or margarine.
- Buttermilk. You can use dairy-free plain yogurt or combine 1 cup dairy-free milk with 1 tablespoon lemon juice. Stir the dairy-free milk with the lemon juice to combine. Let it sit for five minutes or until it’s slightly thick.
How to Make Gluten-Free Irish Soda Bread. Step-by-Step.
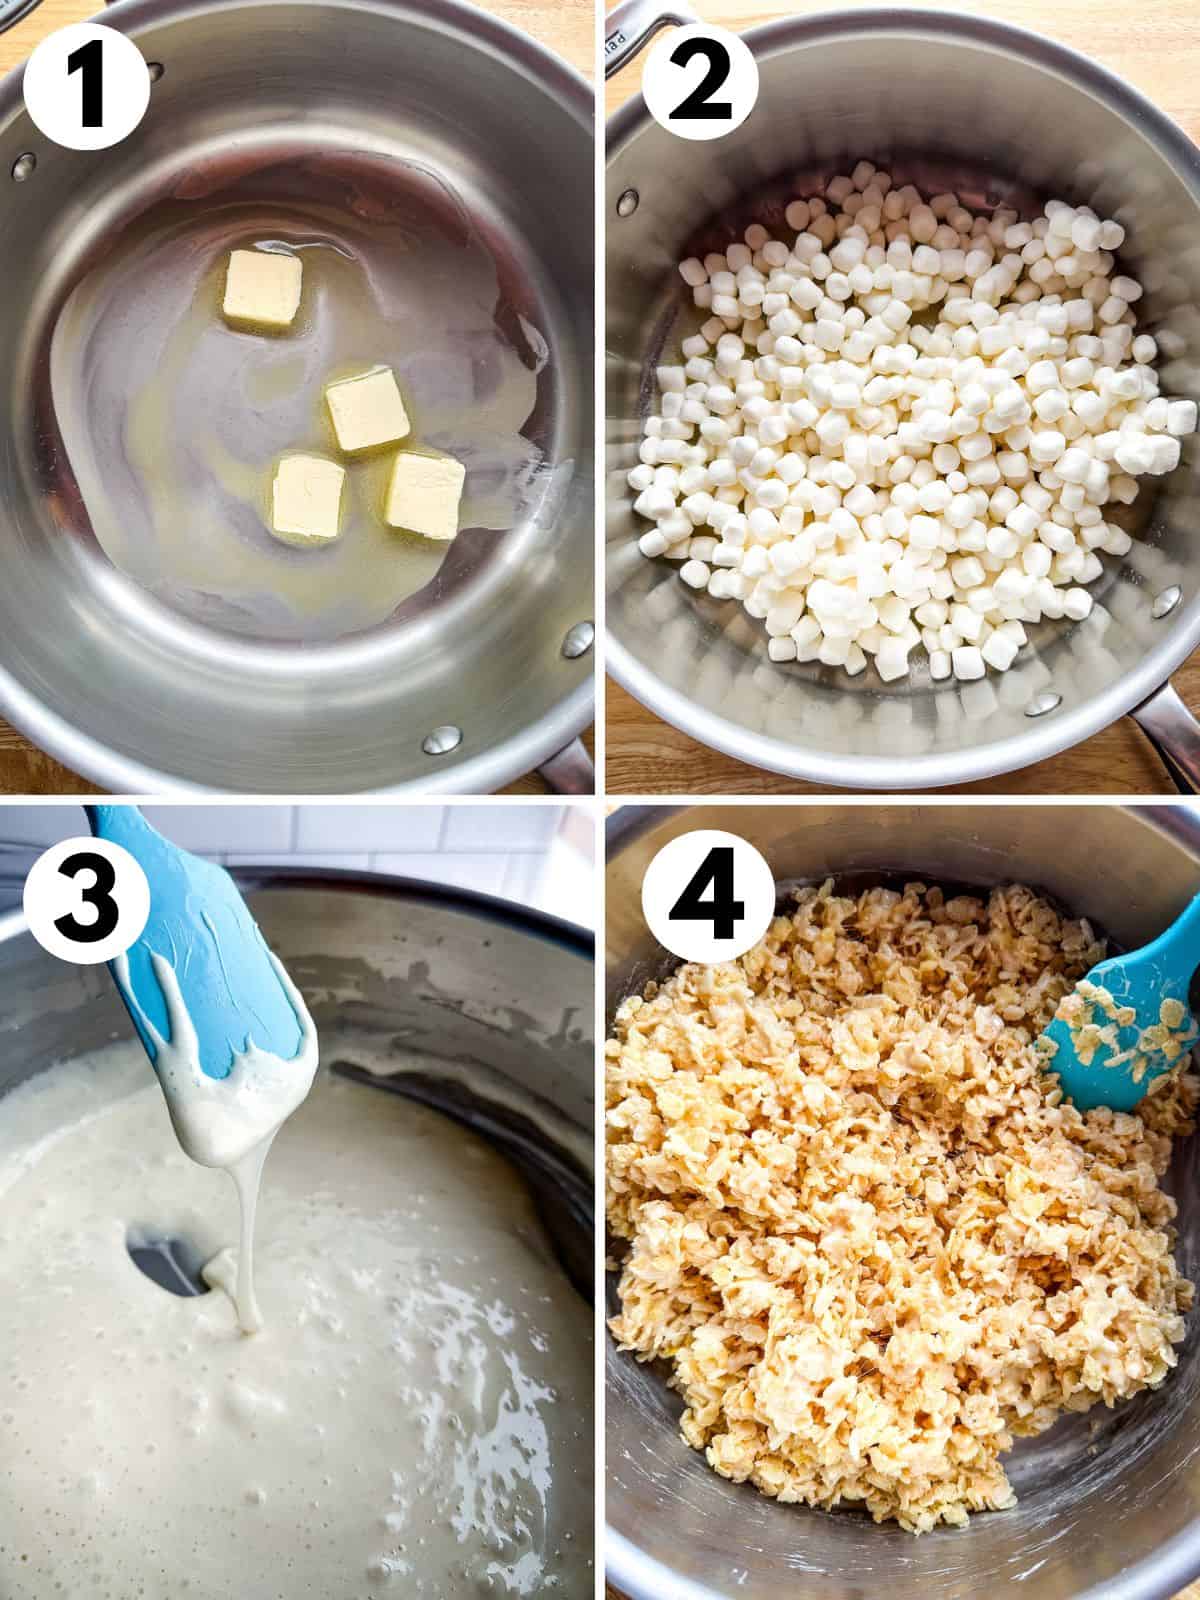
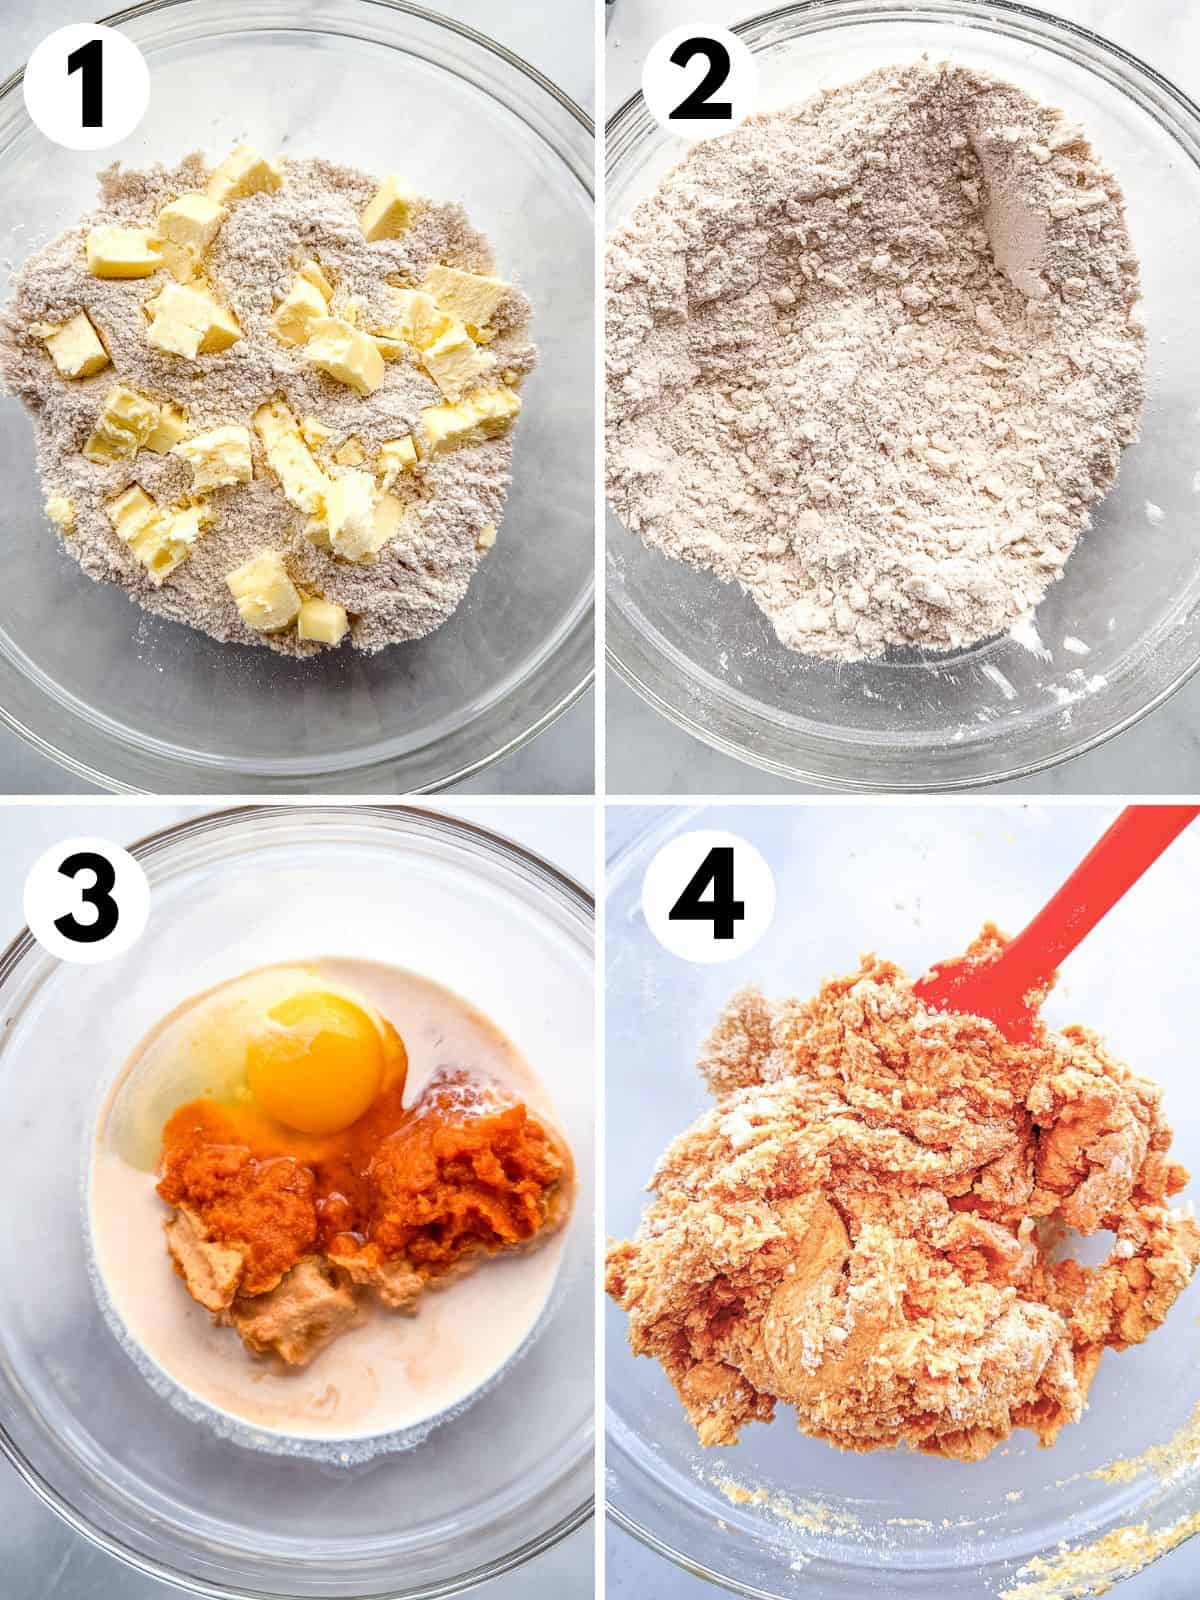
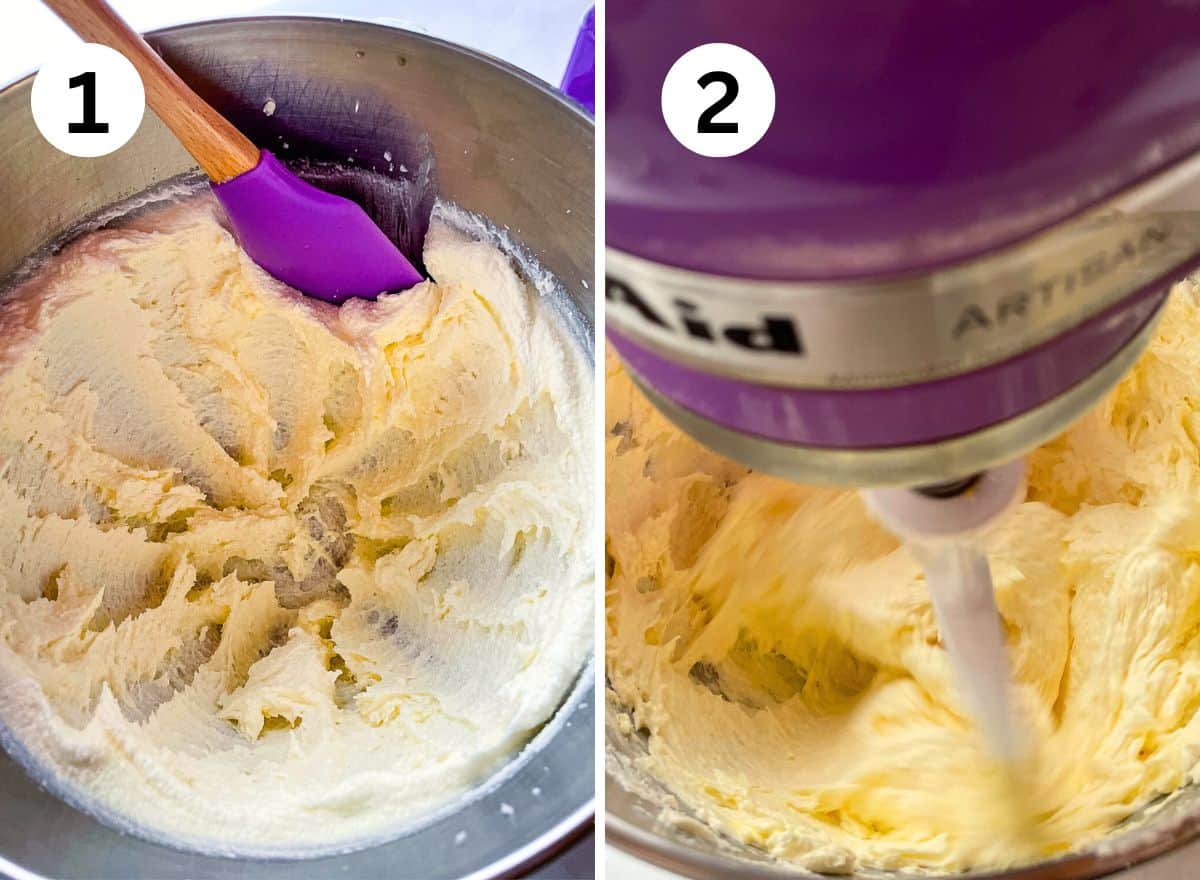
Irish soda bread is an interesting bread to make. The method is similar to making gluten-free biscuits. You start by working the cold butter into the gluten-free flour. This gives the bread a wonderful texture. Here’s what you need to do.
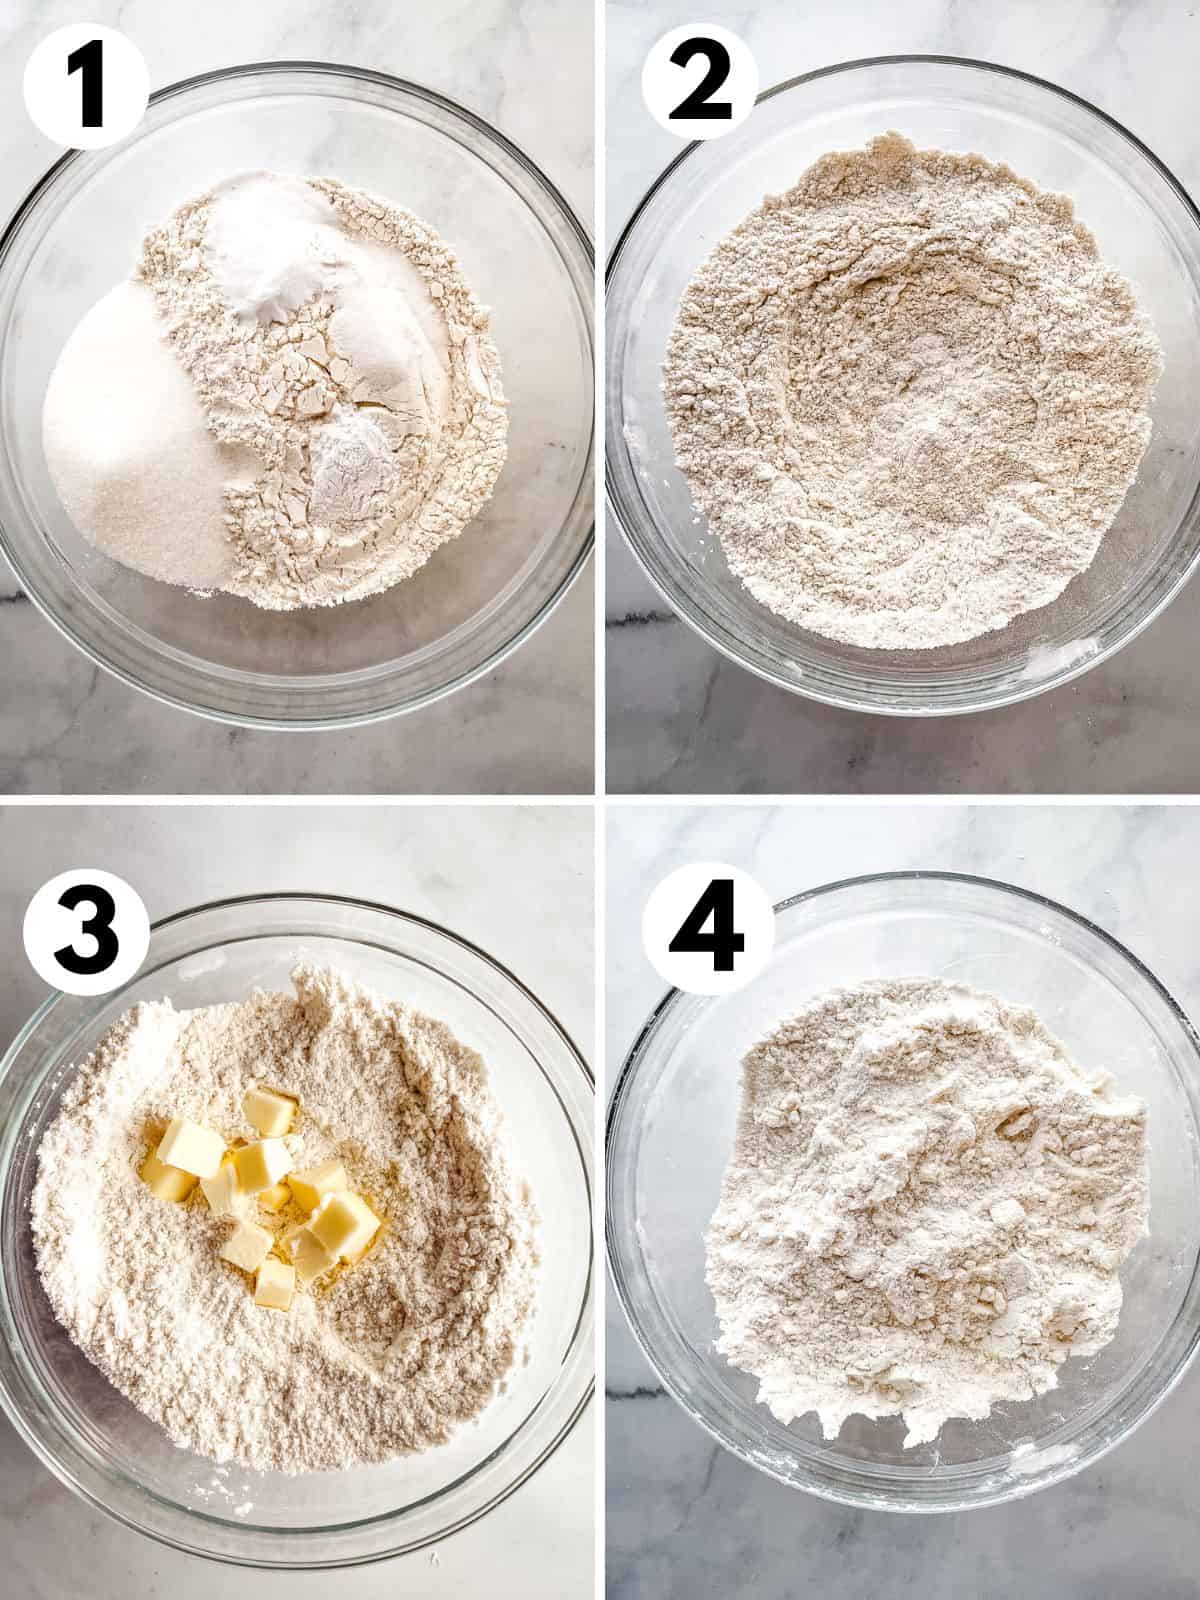
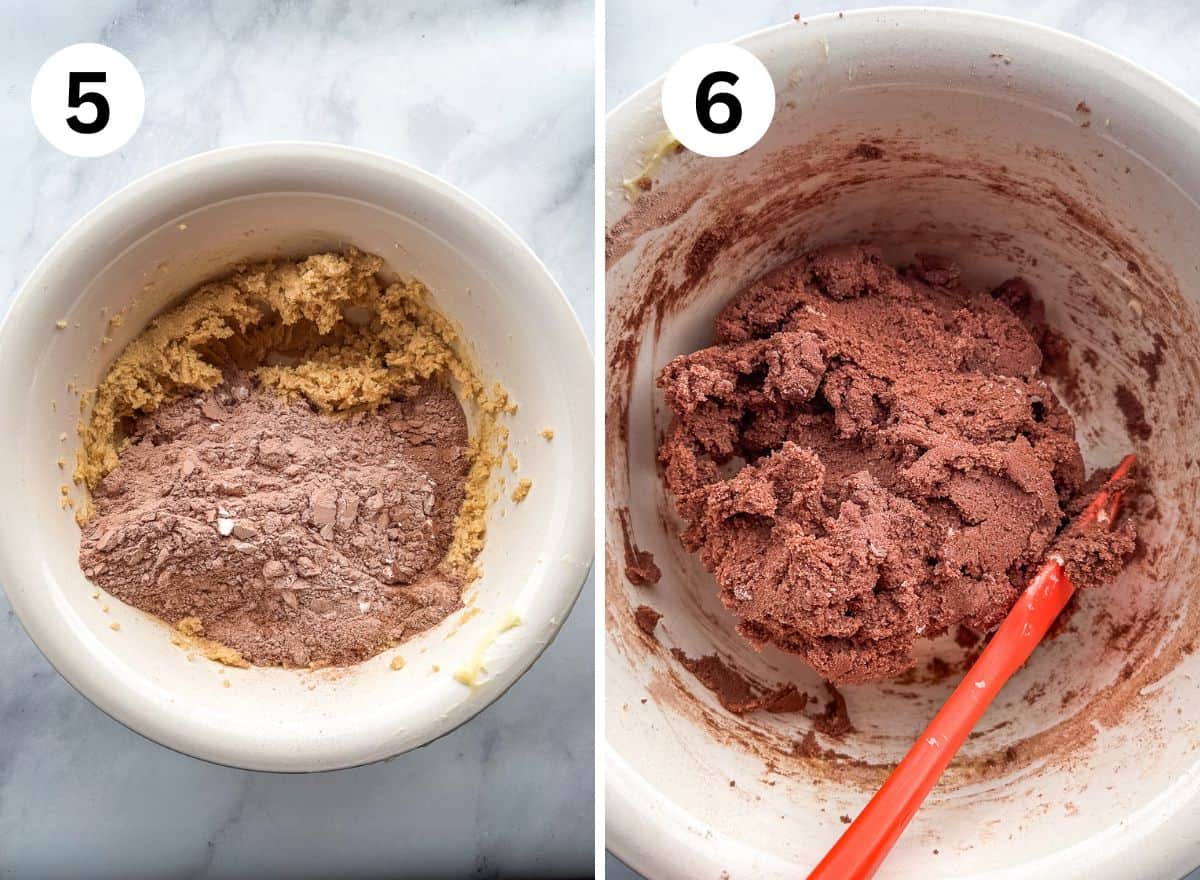
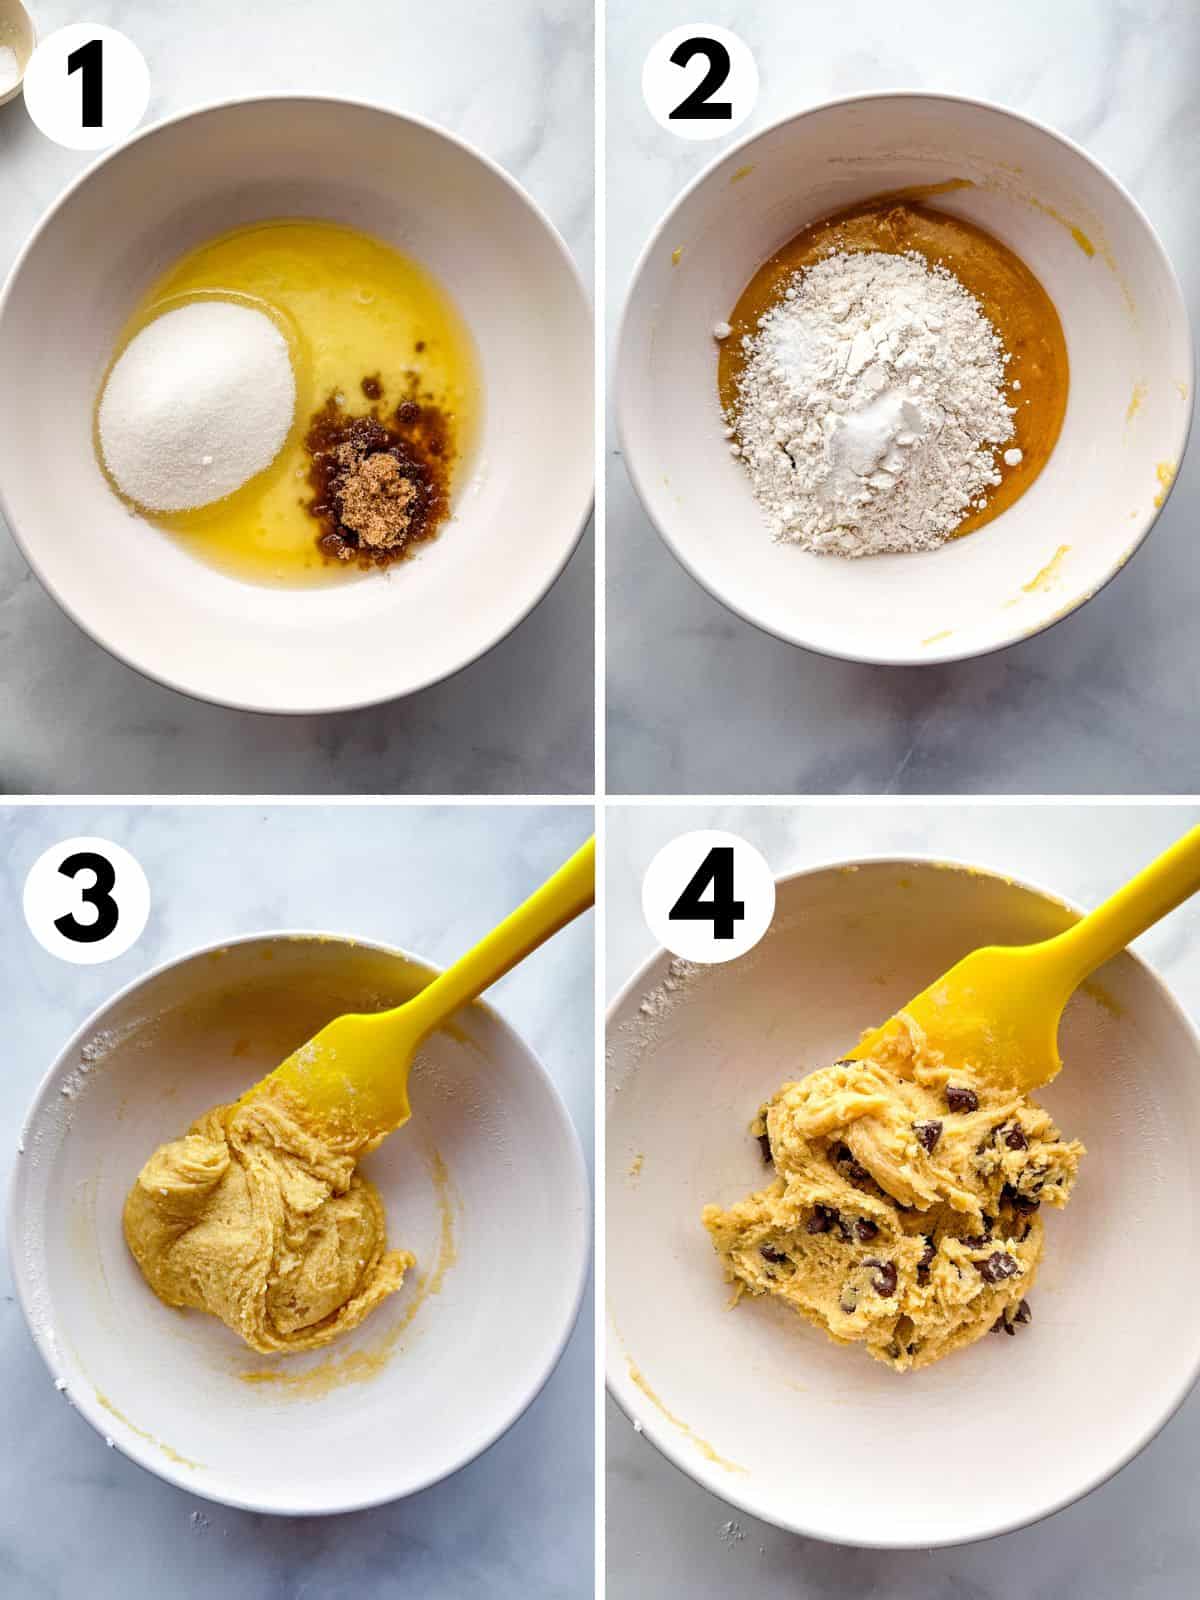
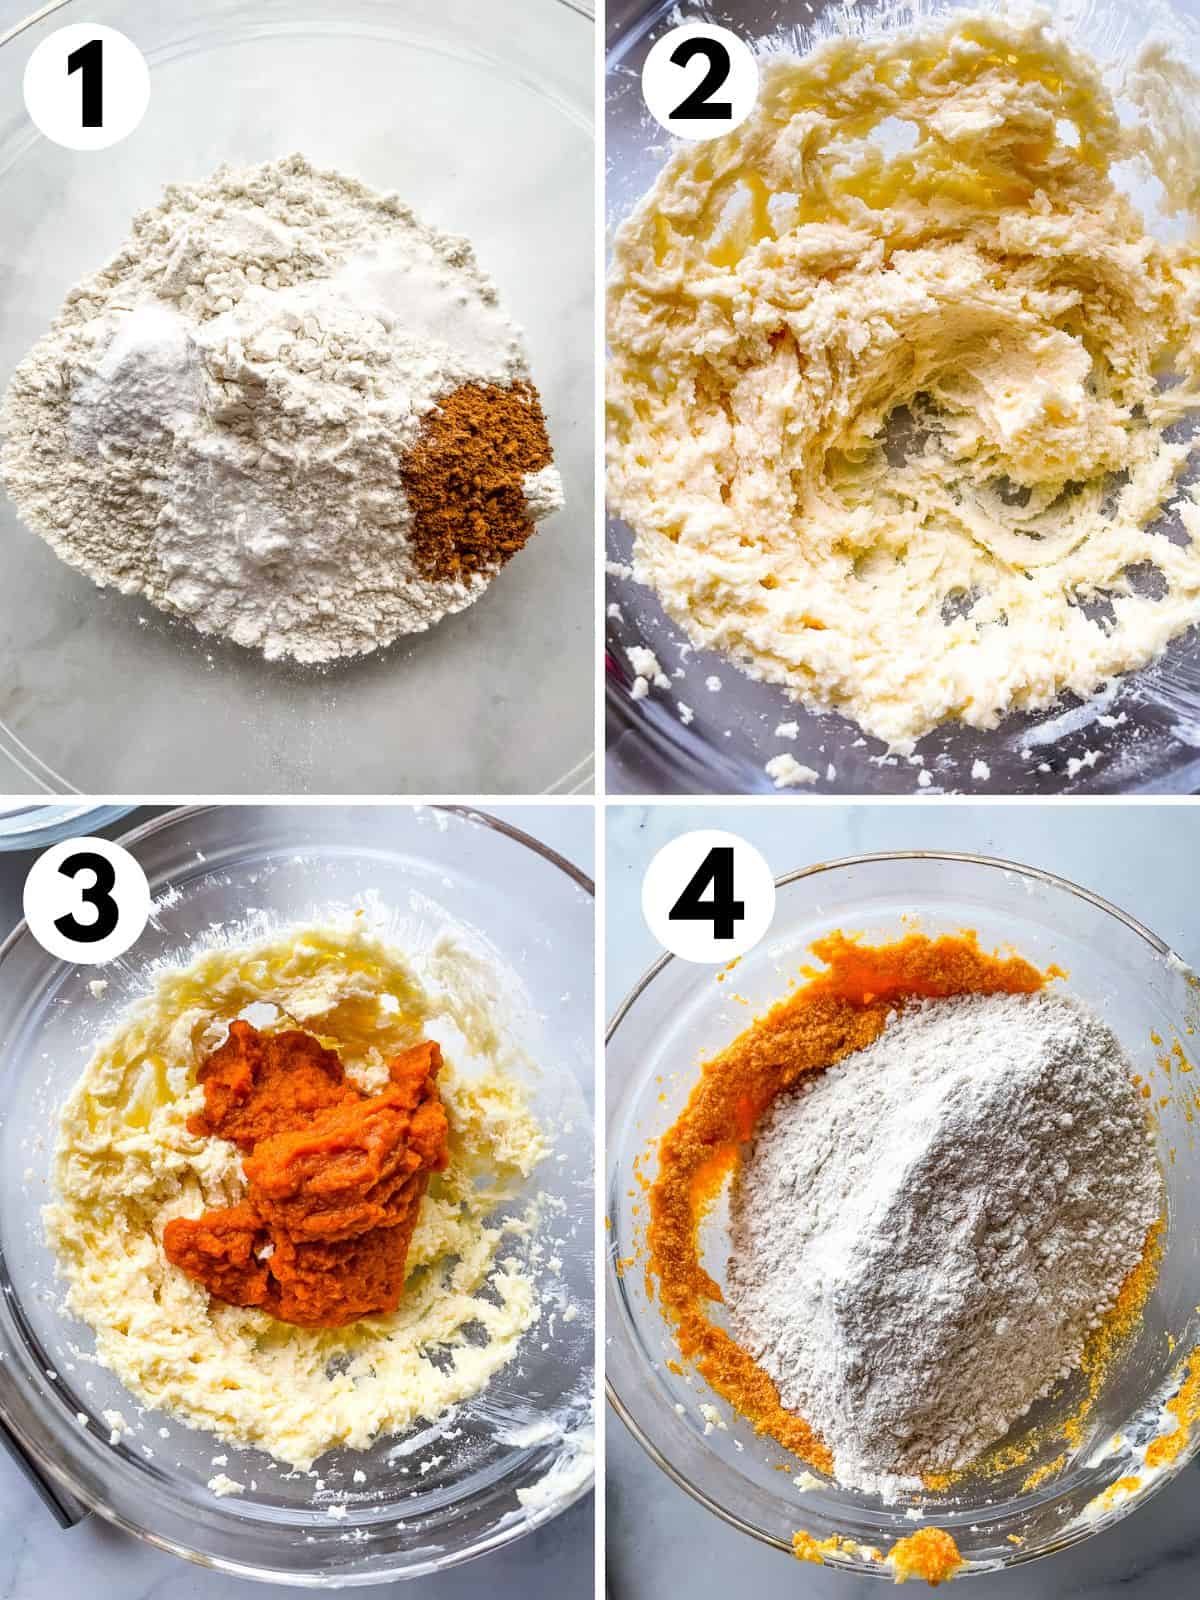
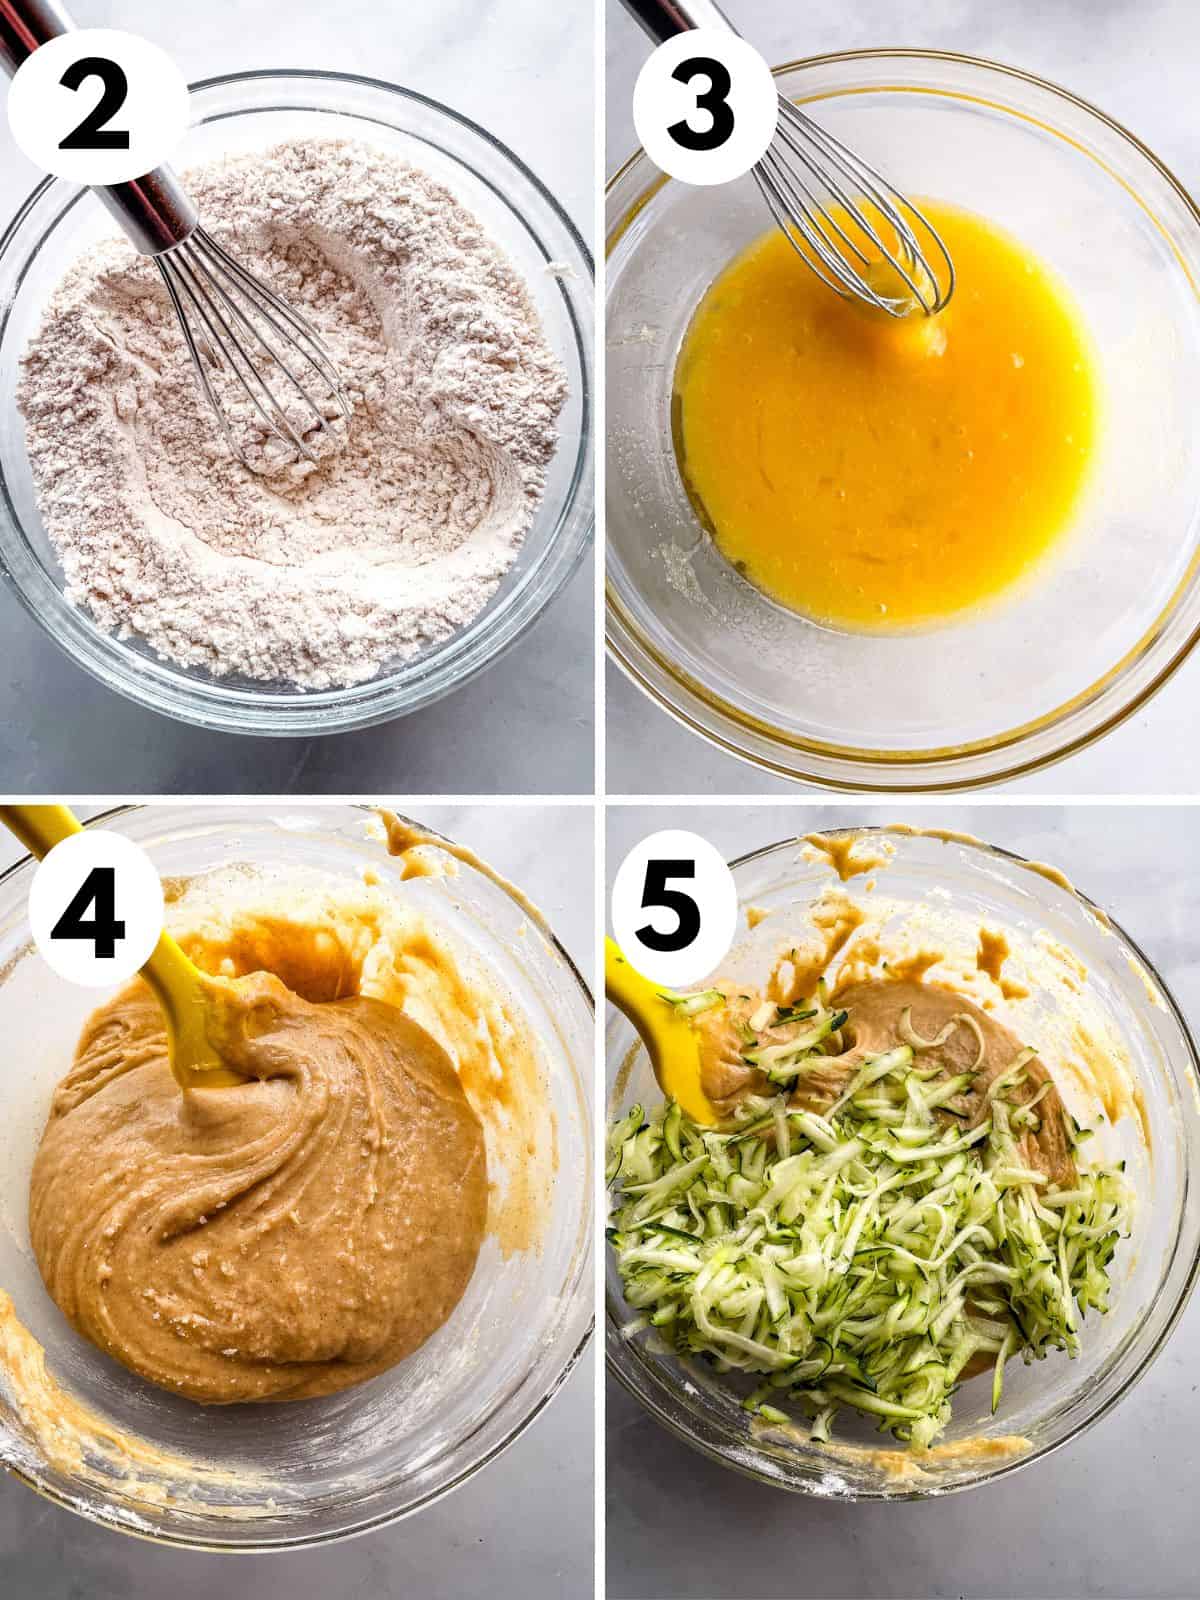
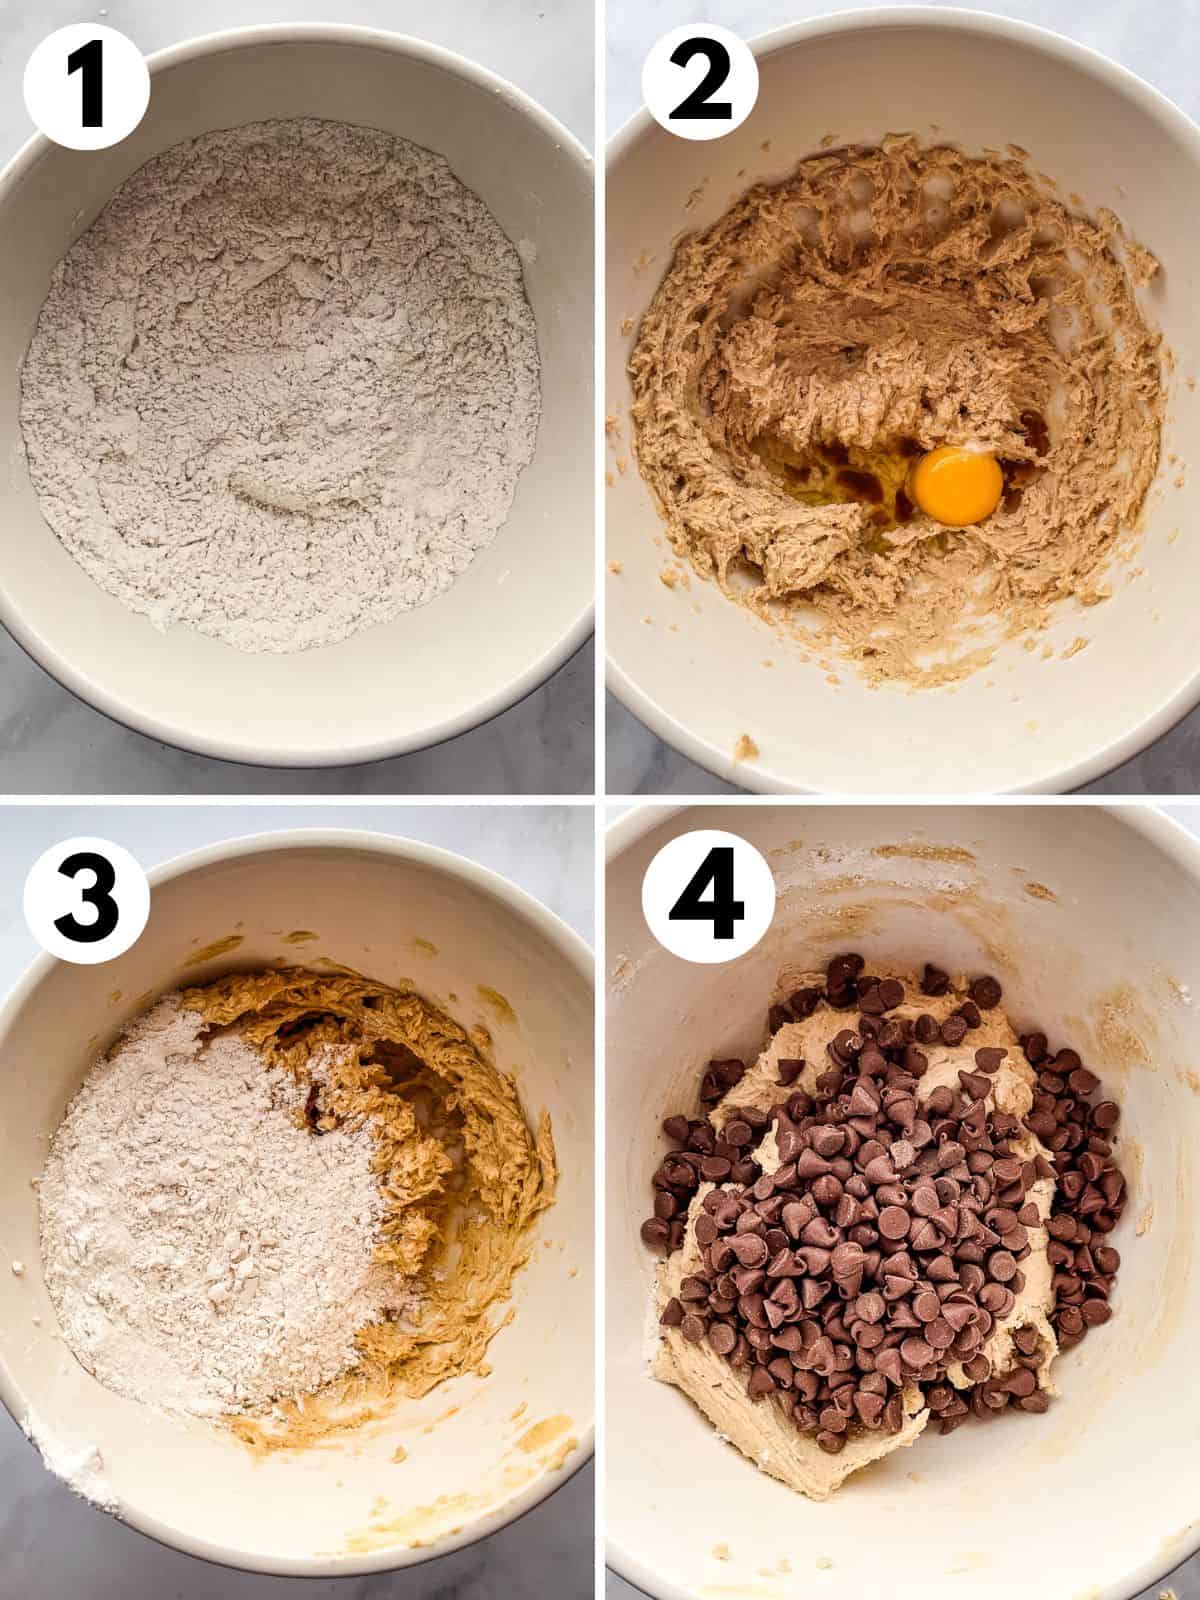
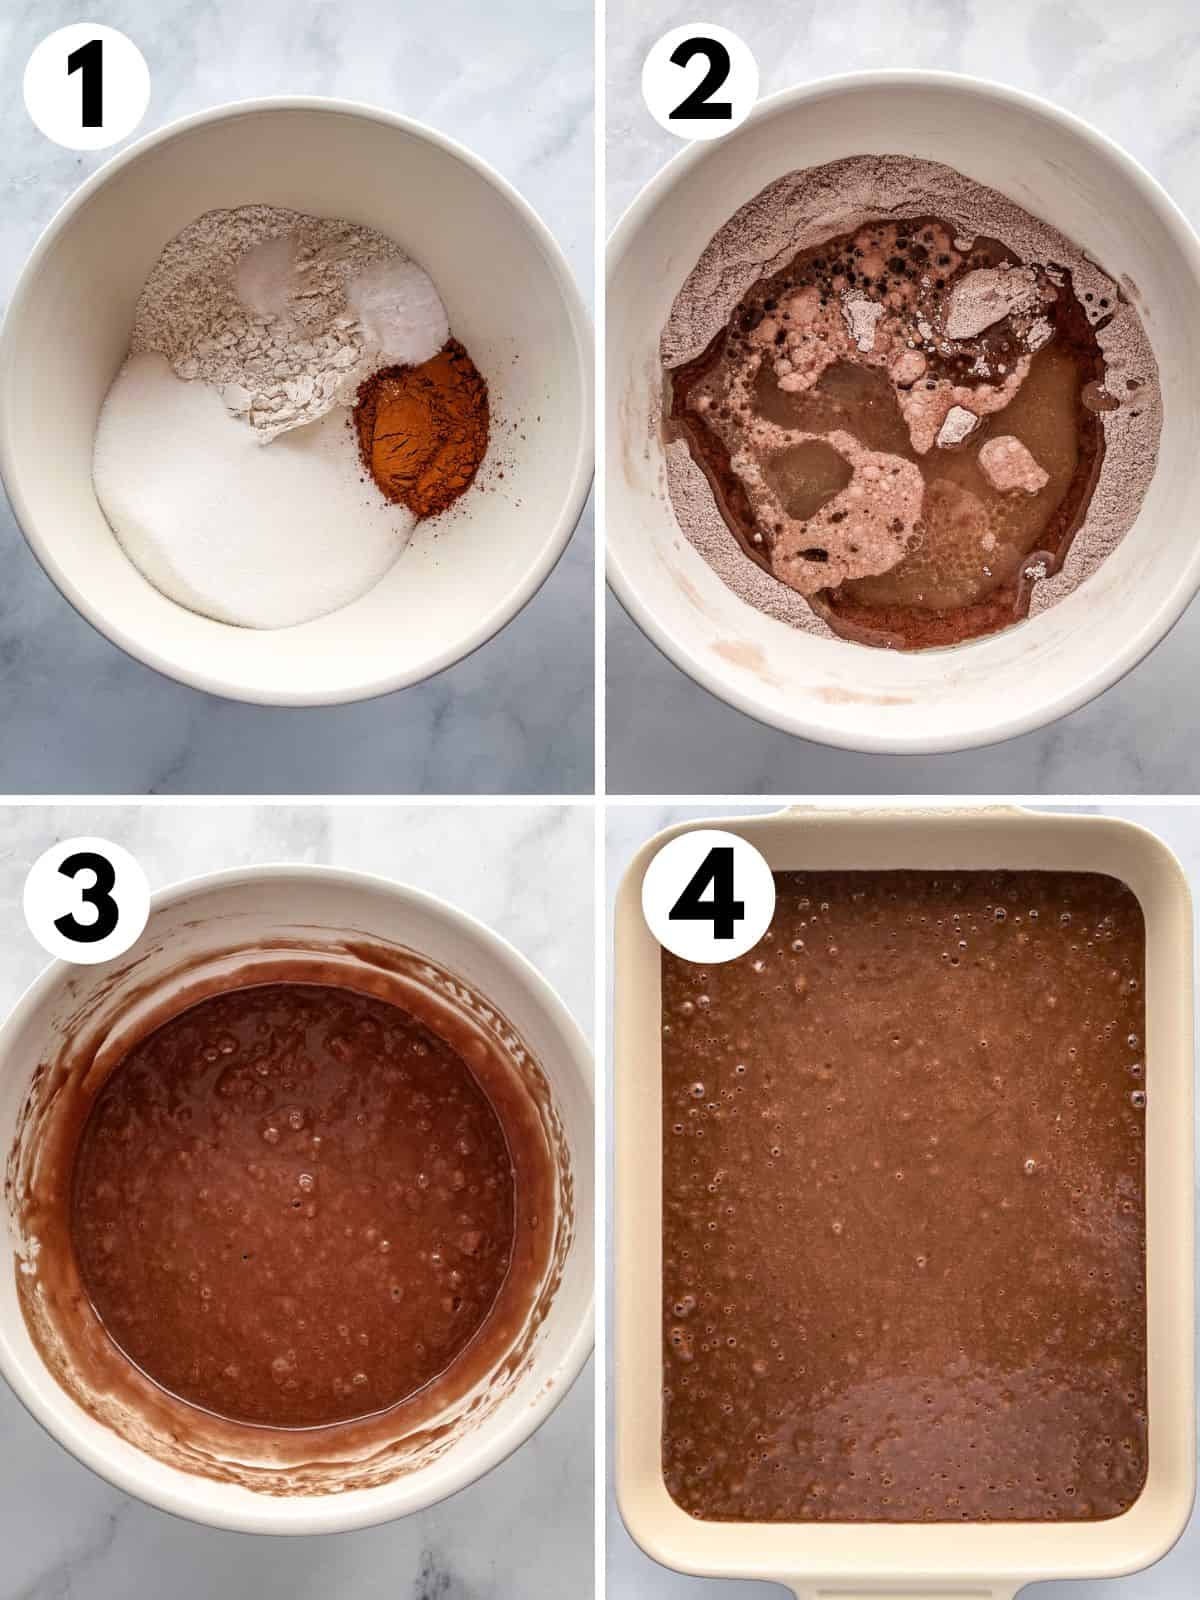
Combine the dry ingredients. Grab a large bowl and whisk together your dry ingredients.
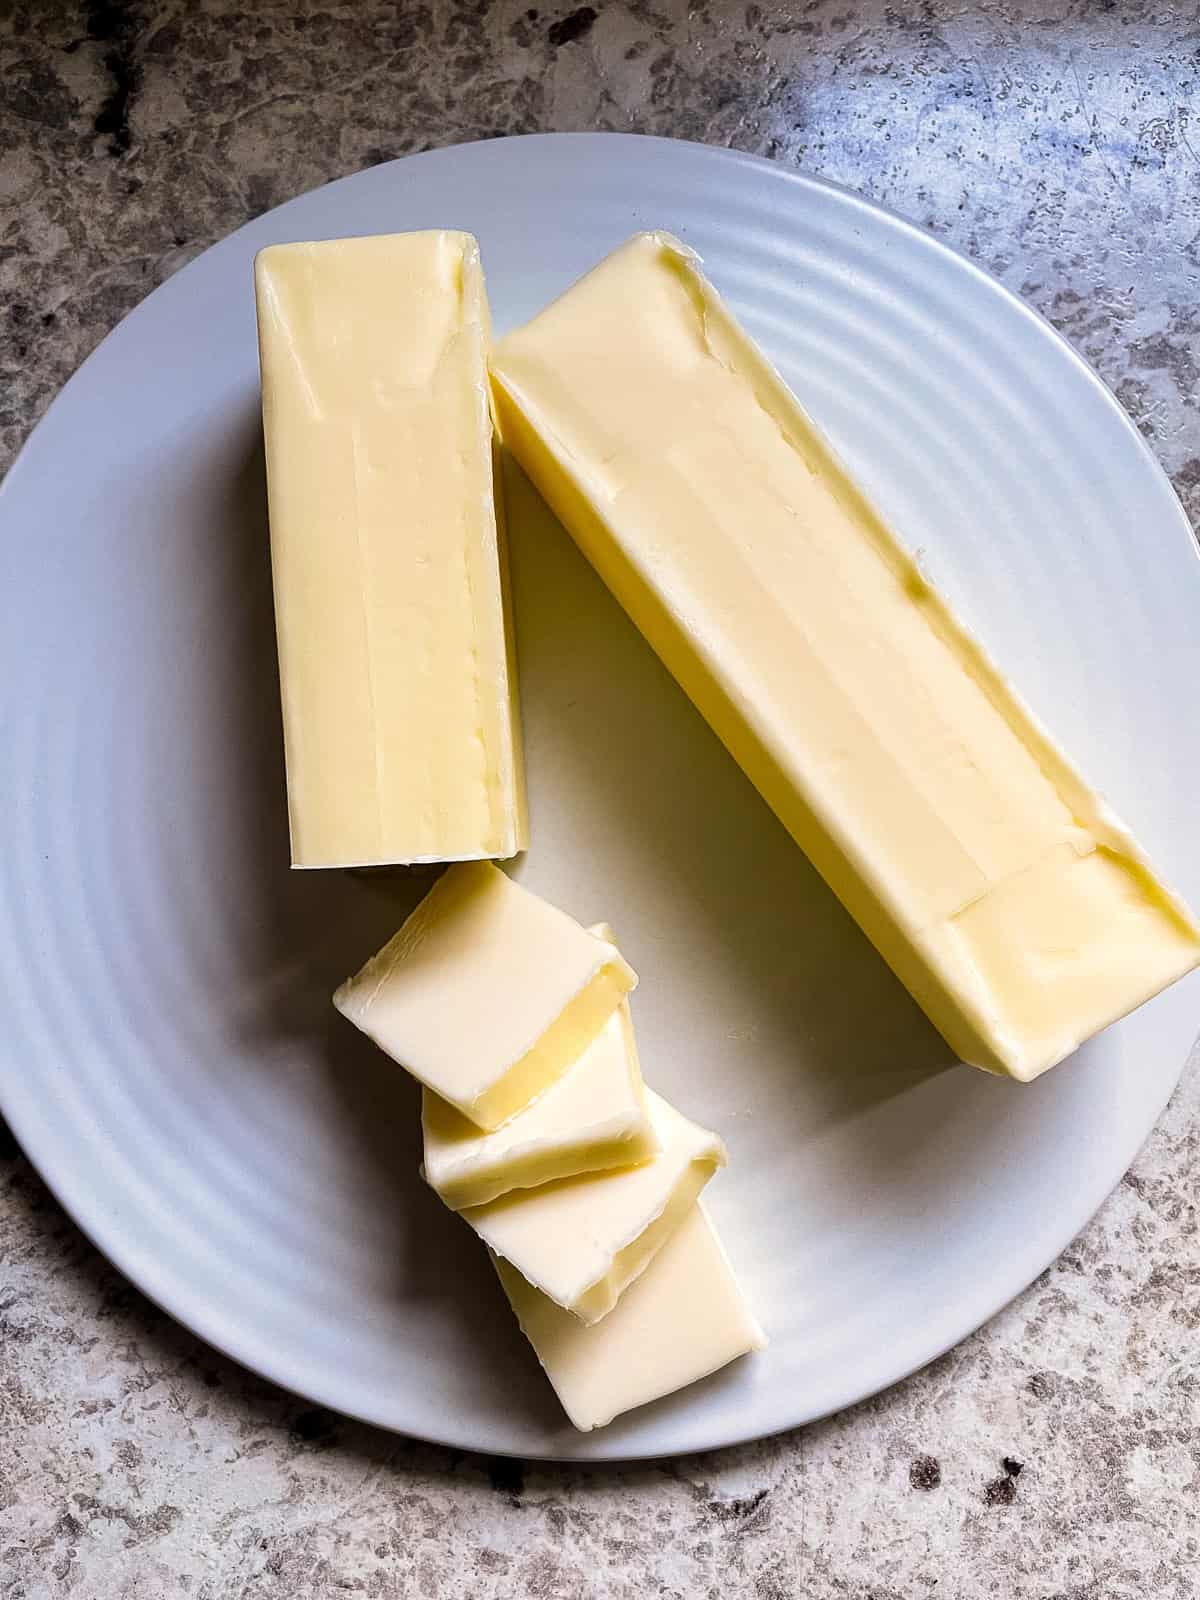
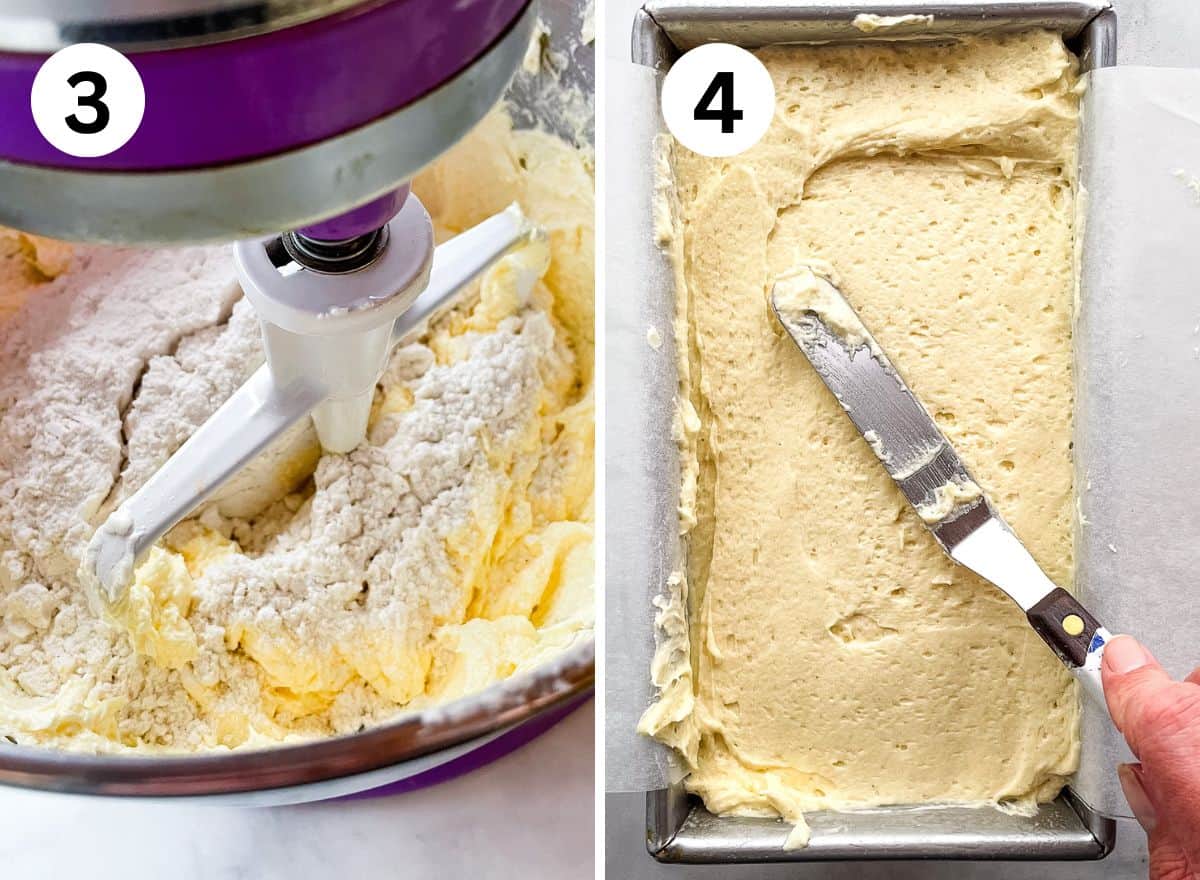
Rub the butter into the gluten-free flour. Do this with either your fingers or a pastry cutter. Work the butter into the flour until no large pieces of butter remain. If you’re using grated butter, this goes quickly.
Baker’s note: The small pieces of butter that remain, about the size of a pea, give off steam during baking. The steam helps the dough to rise.

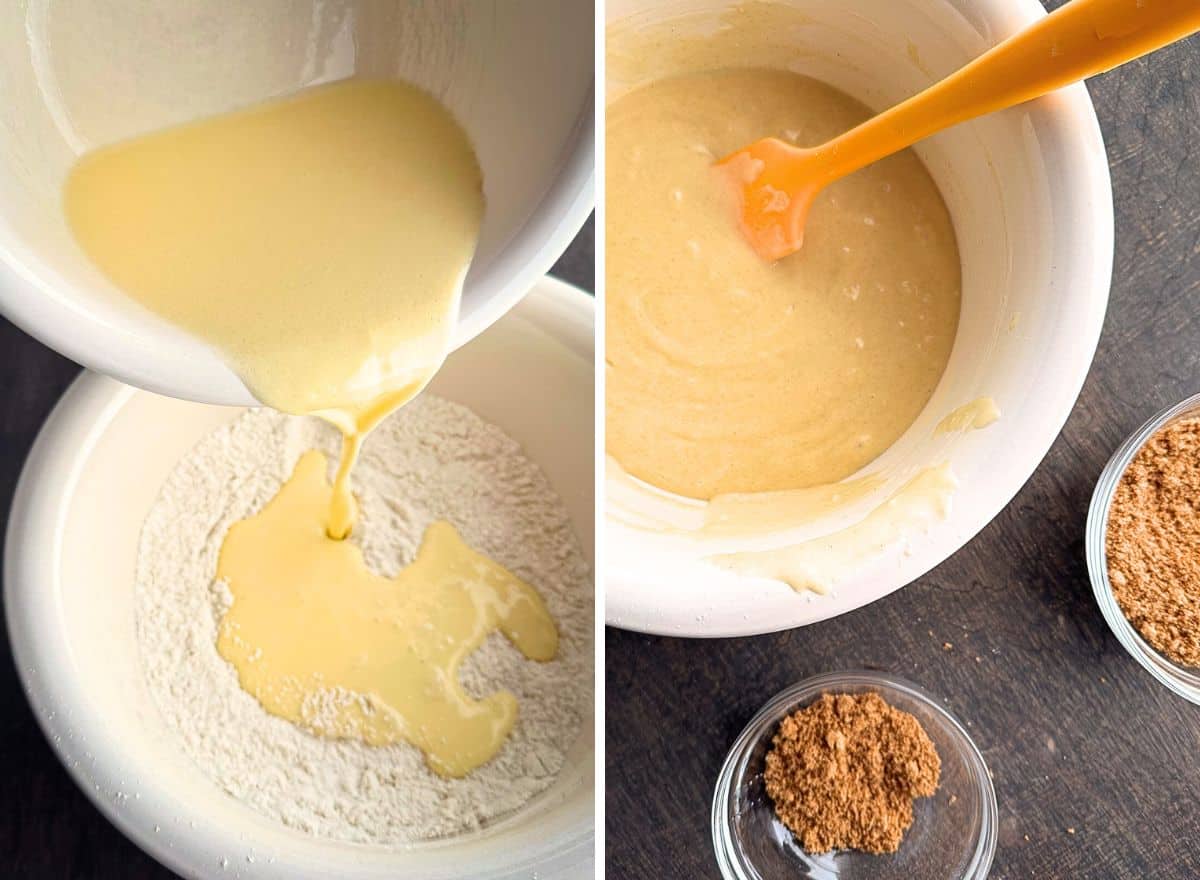
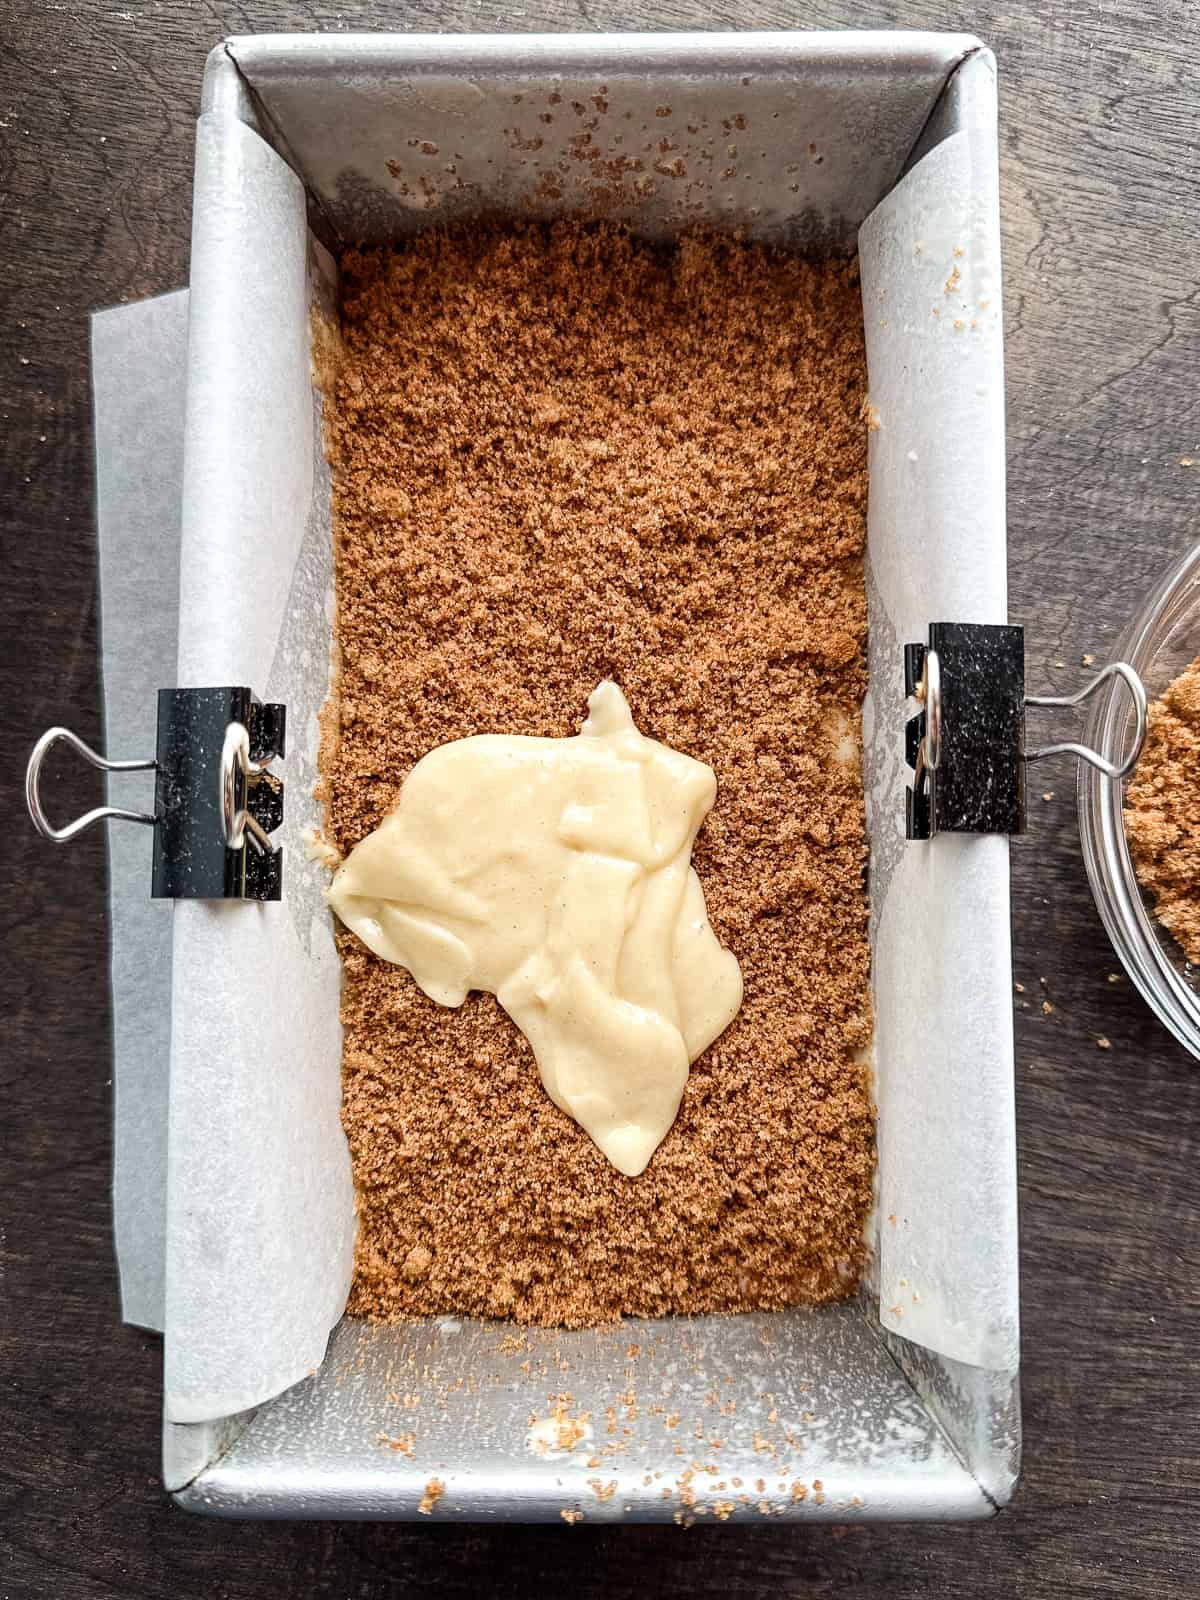
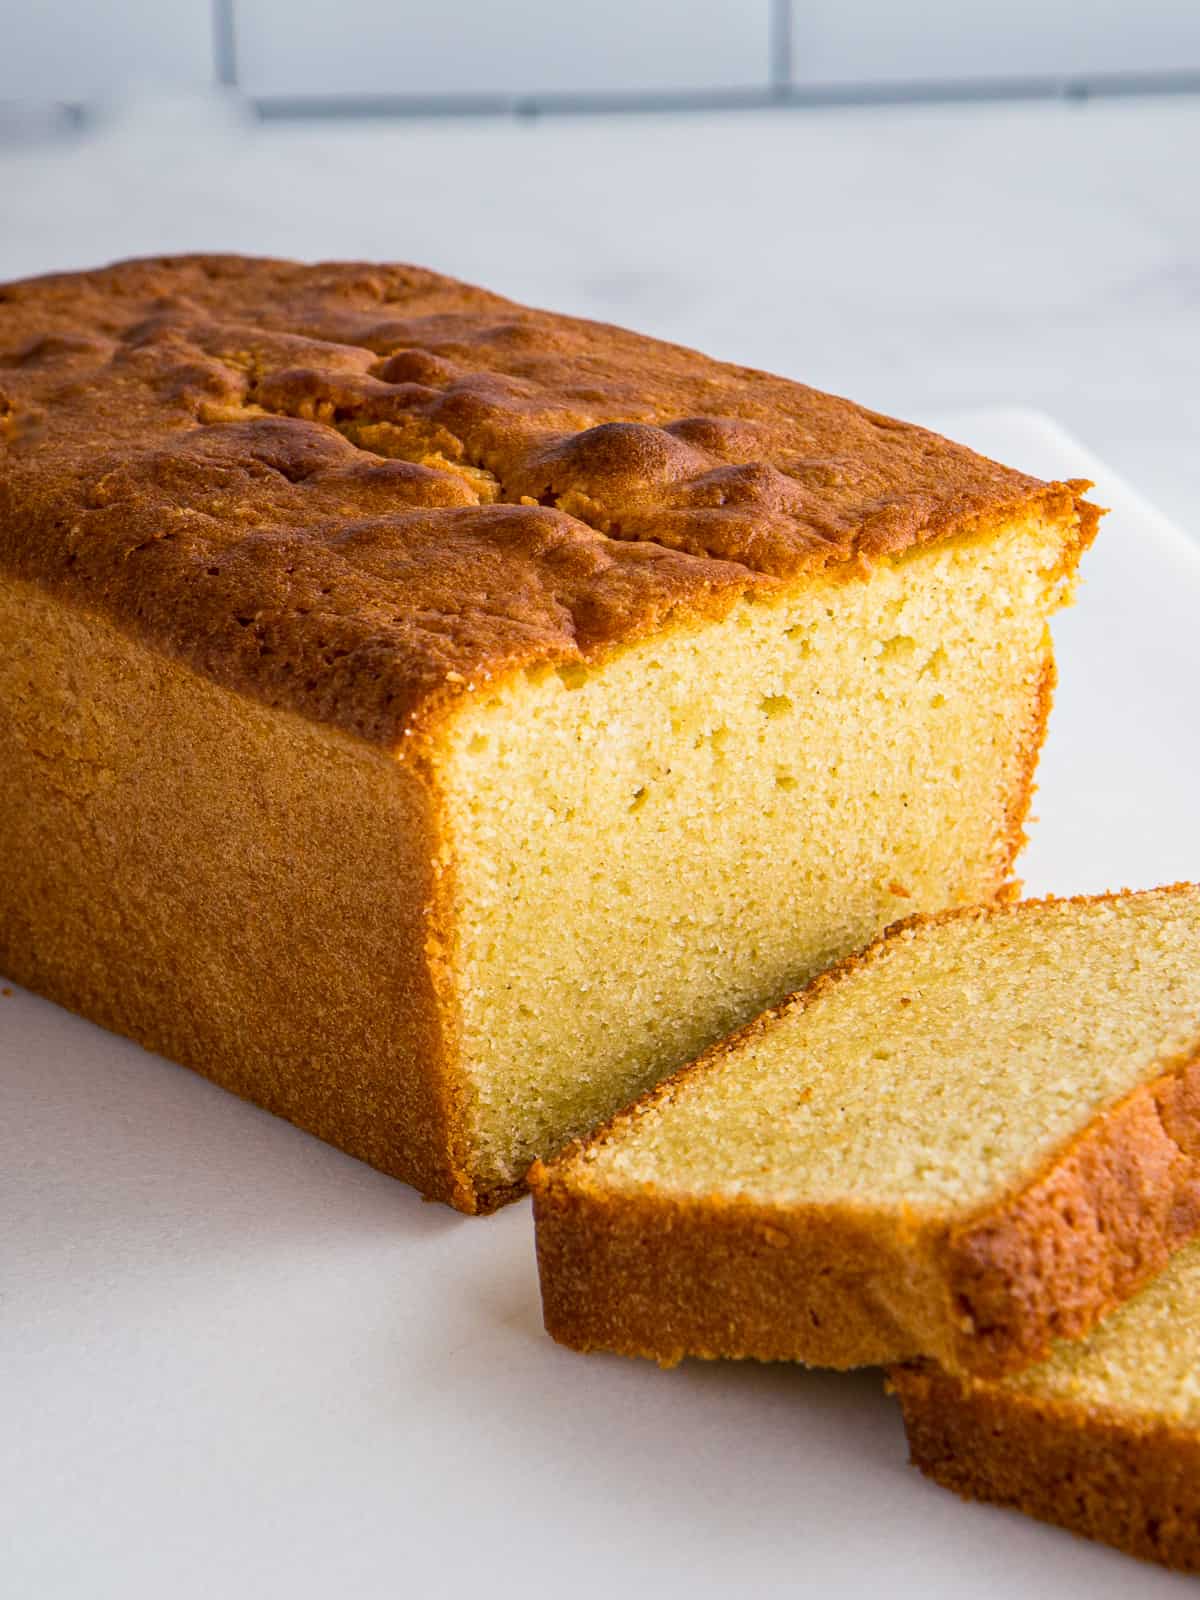
Add the liquid. Once the butter is mixed throughout the dough, add the buttermilk and egg. Stir until a thick dough forms. If the dough seems dry or you notice gluten-free flour in the bottom of the bowl, add a little more buttermilk.
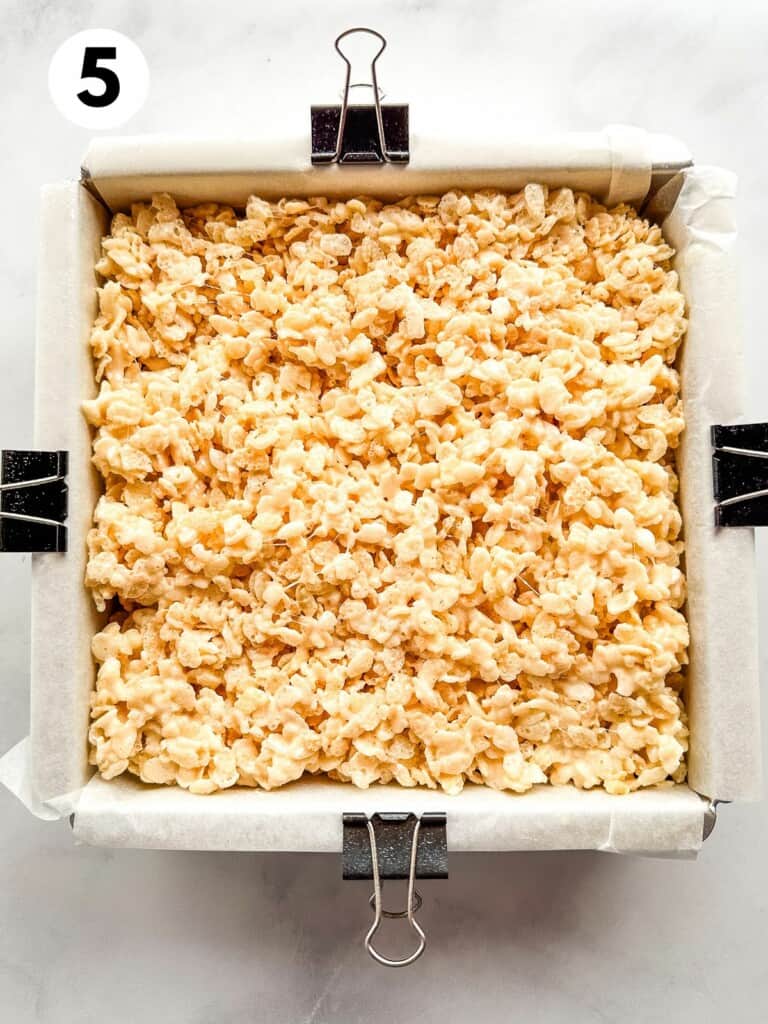
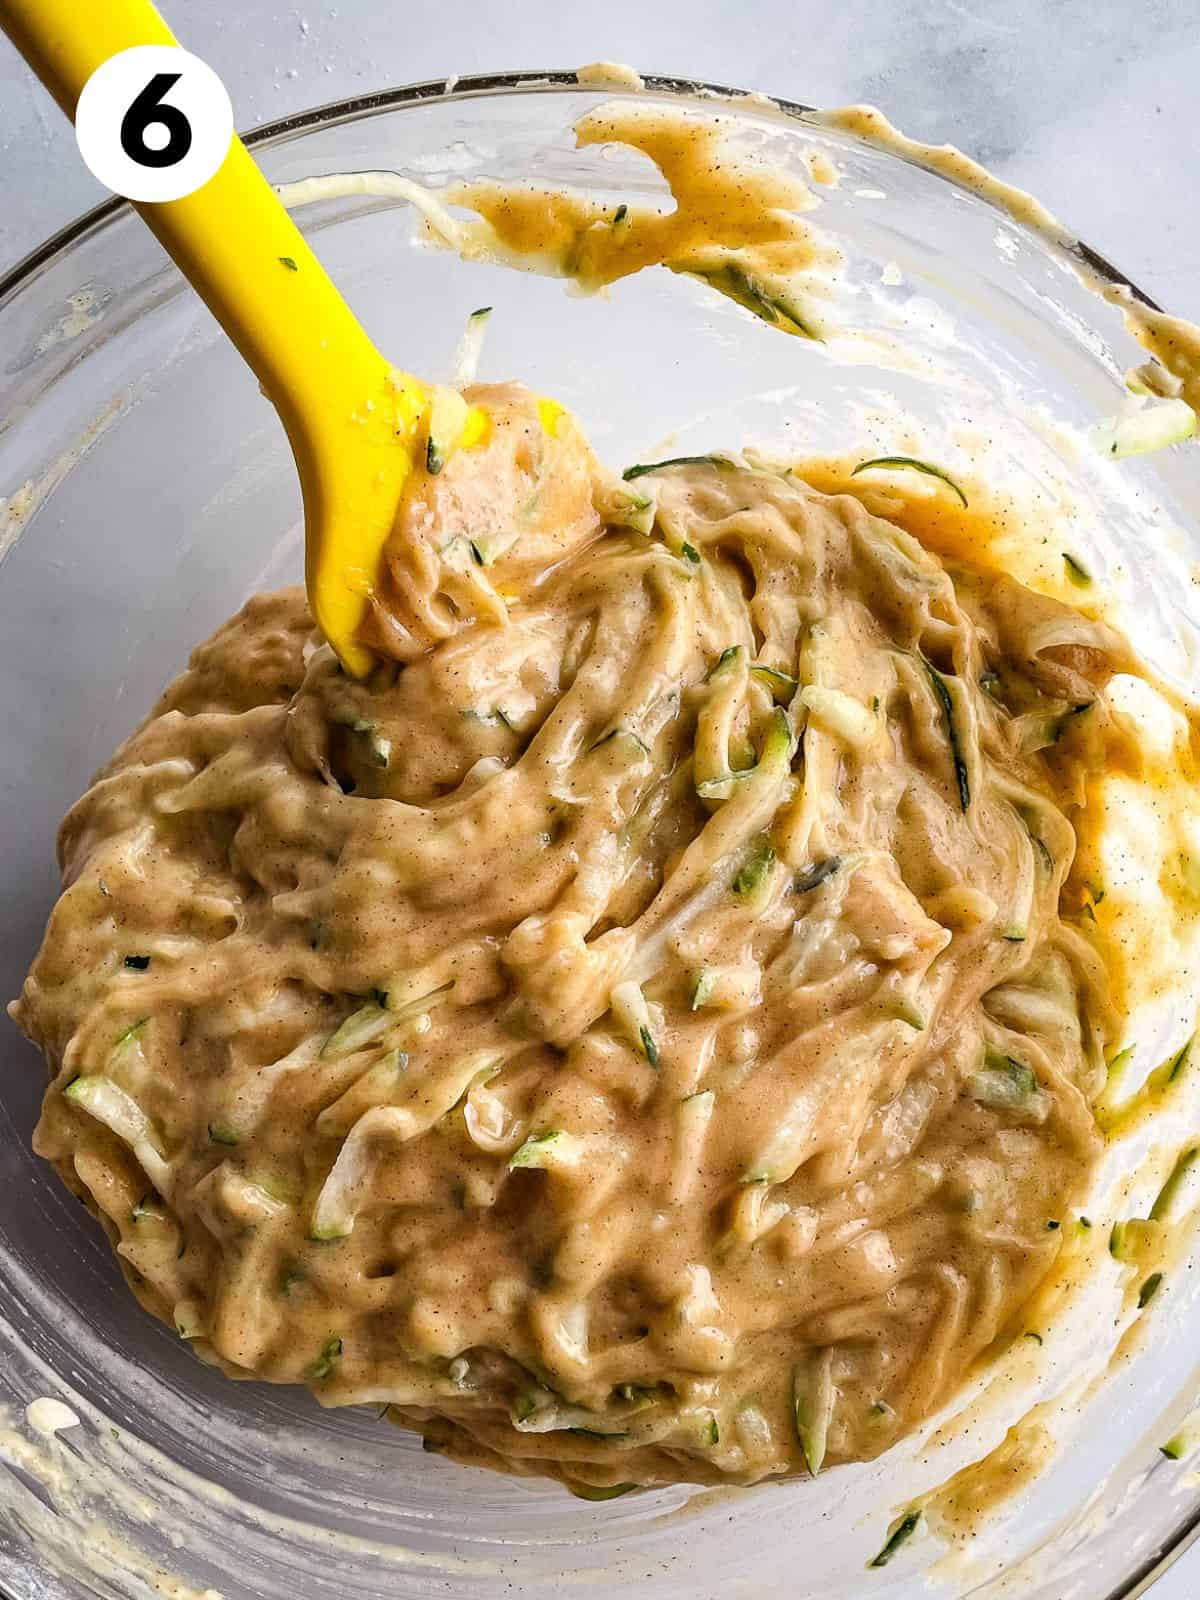
Add the raisins and caraway seeds. (If you aren’t using these ingredients, skip this step.) Stir until they’re incorporated throughout the dough.
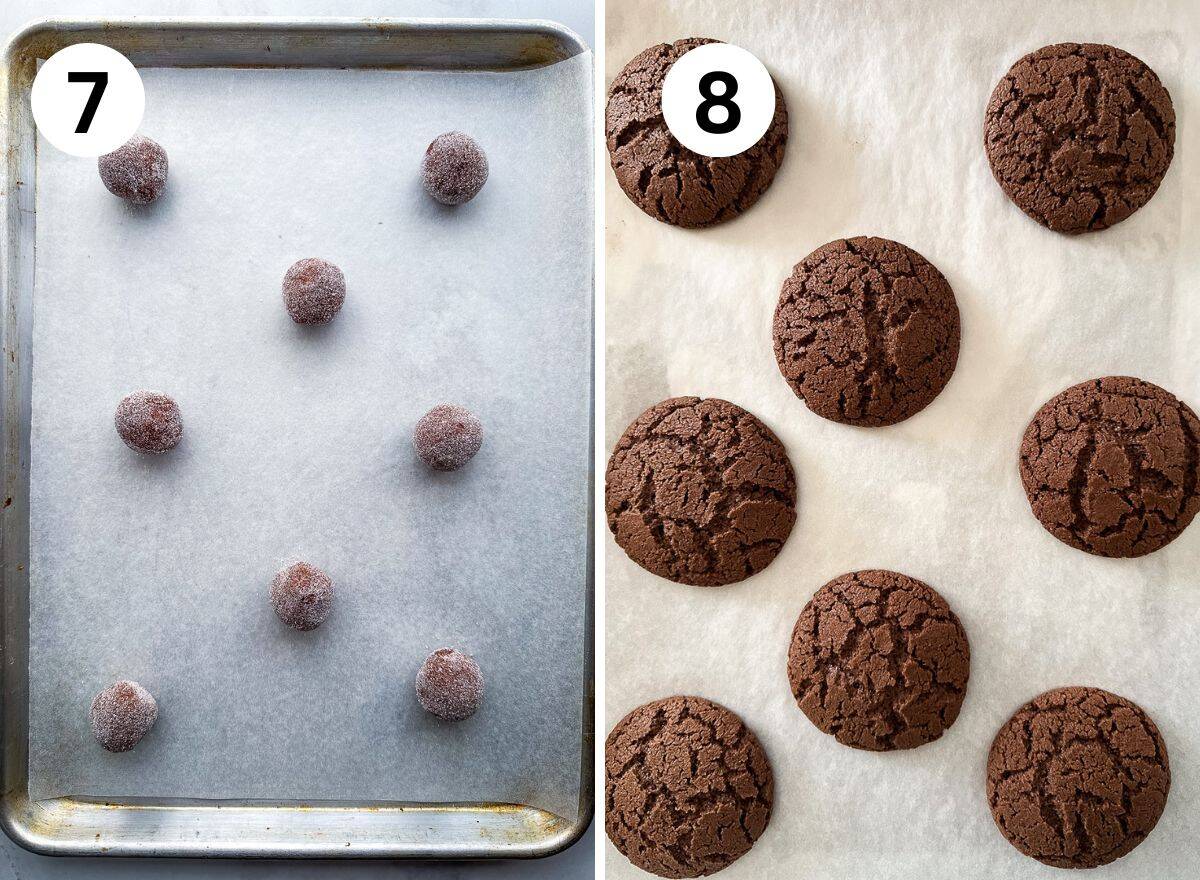
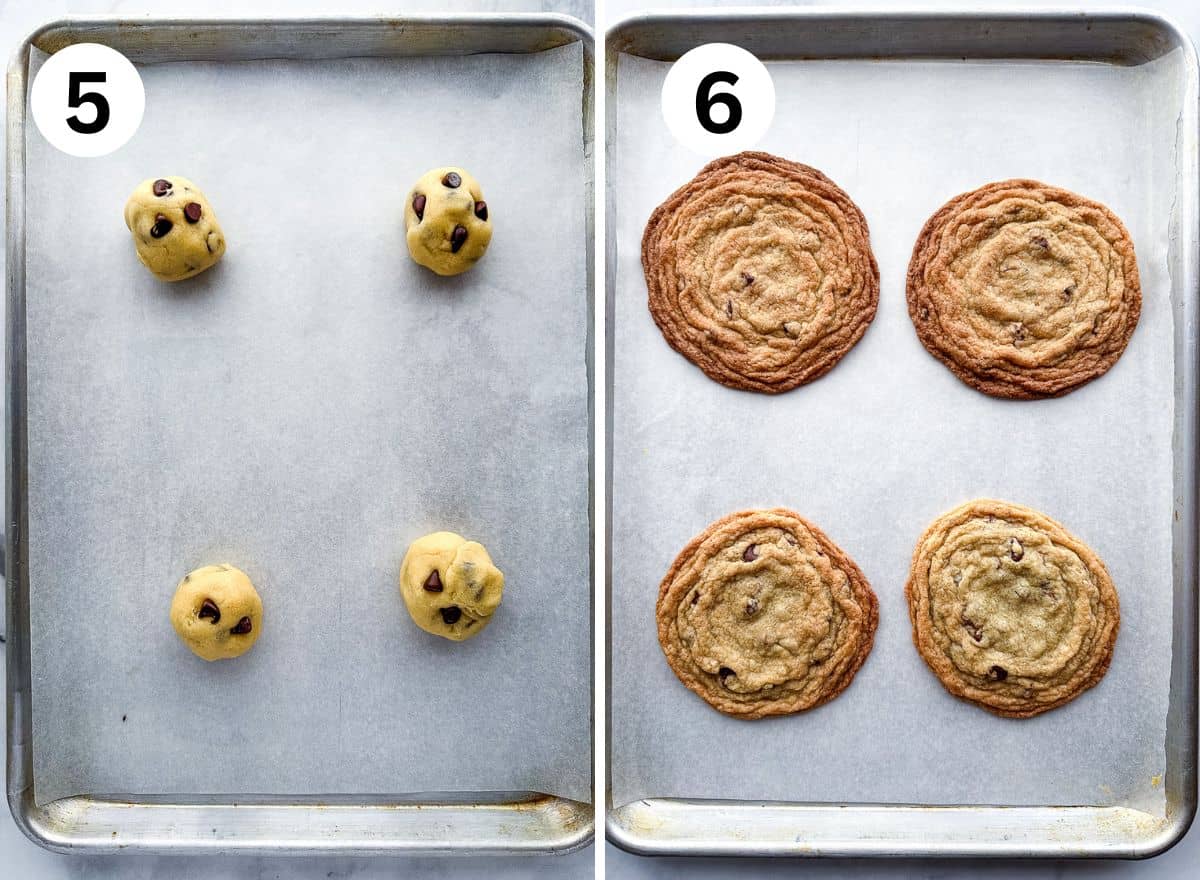
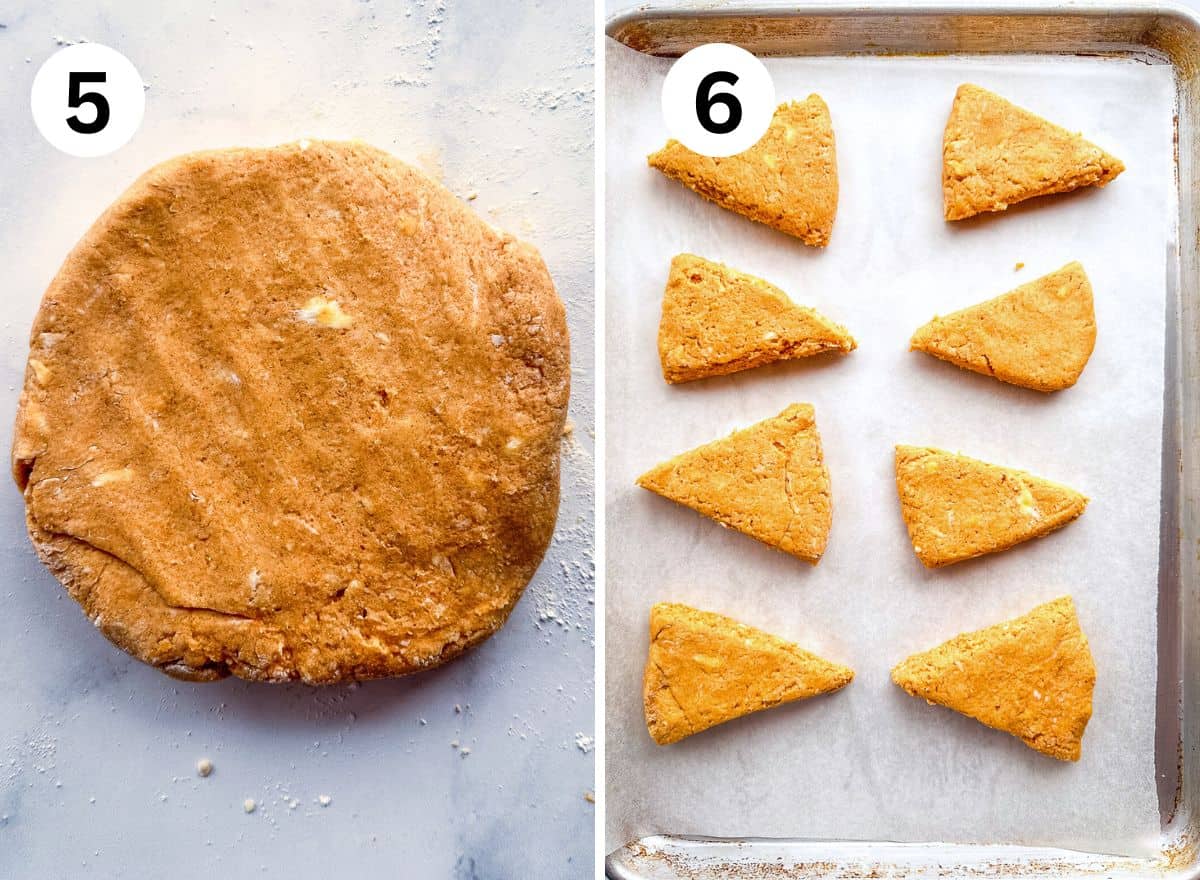
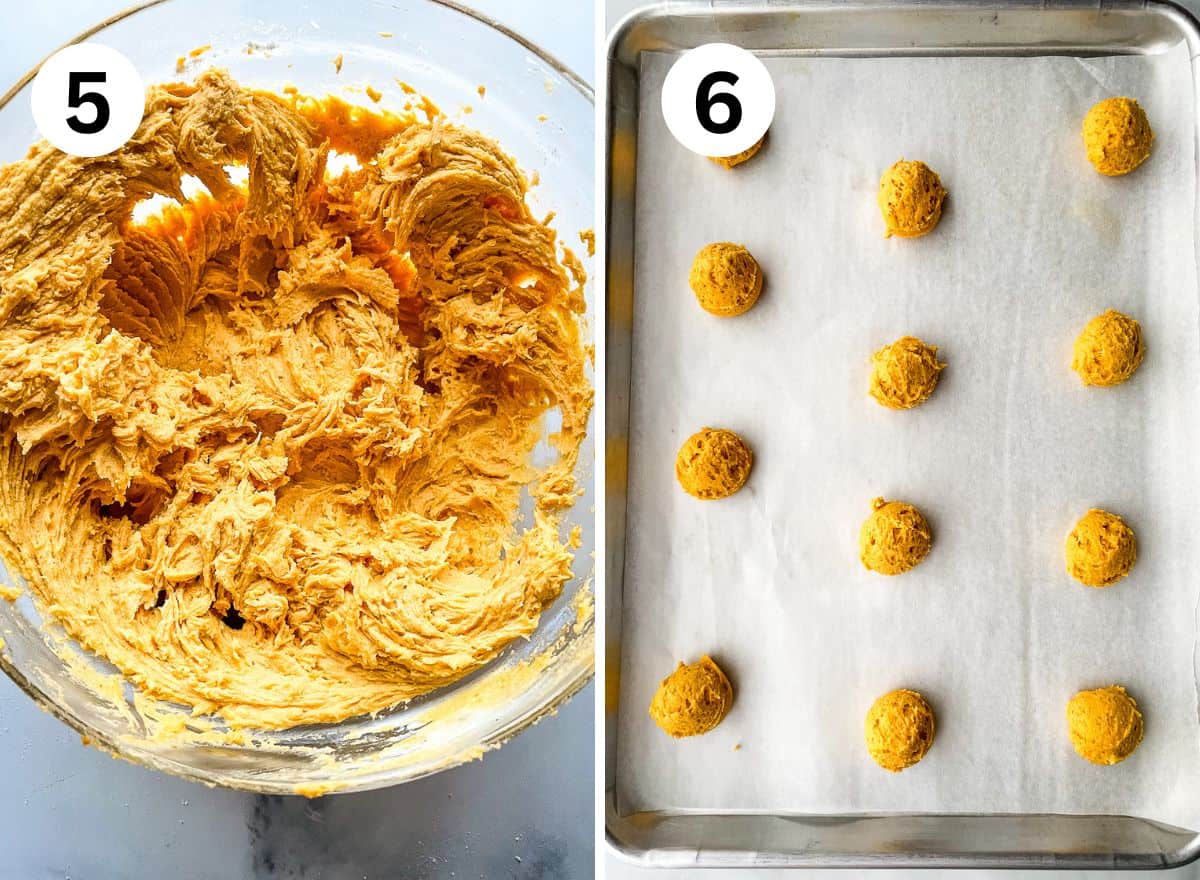
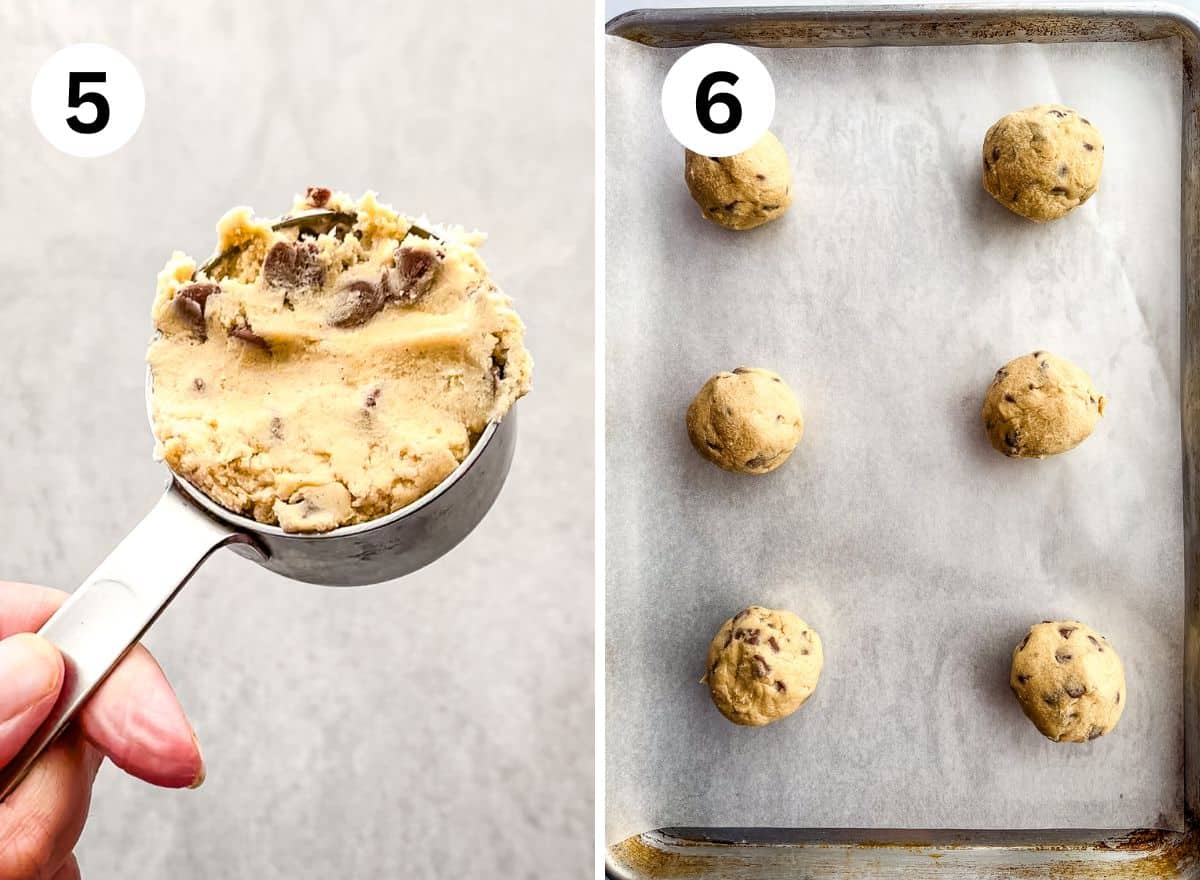
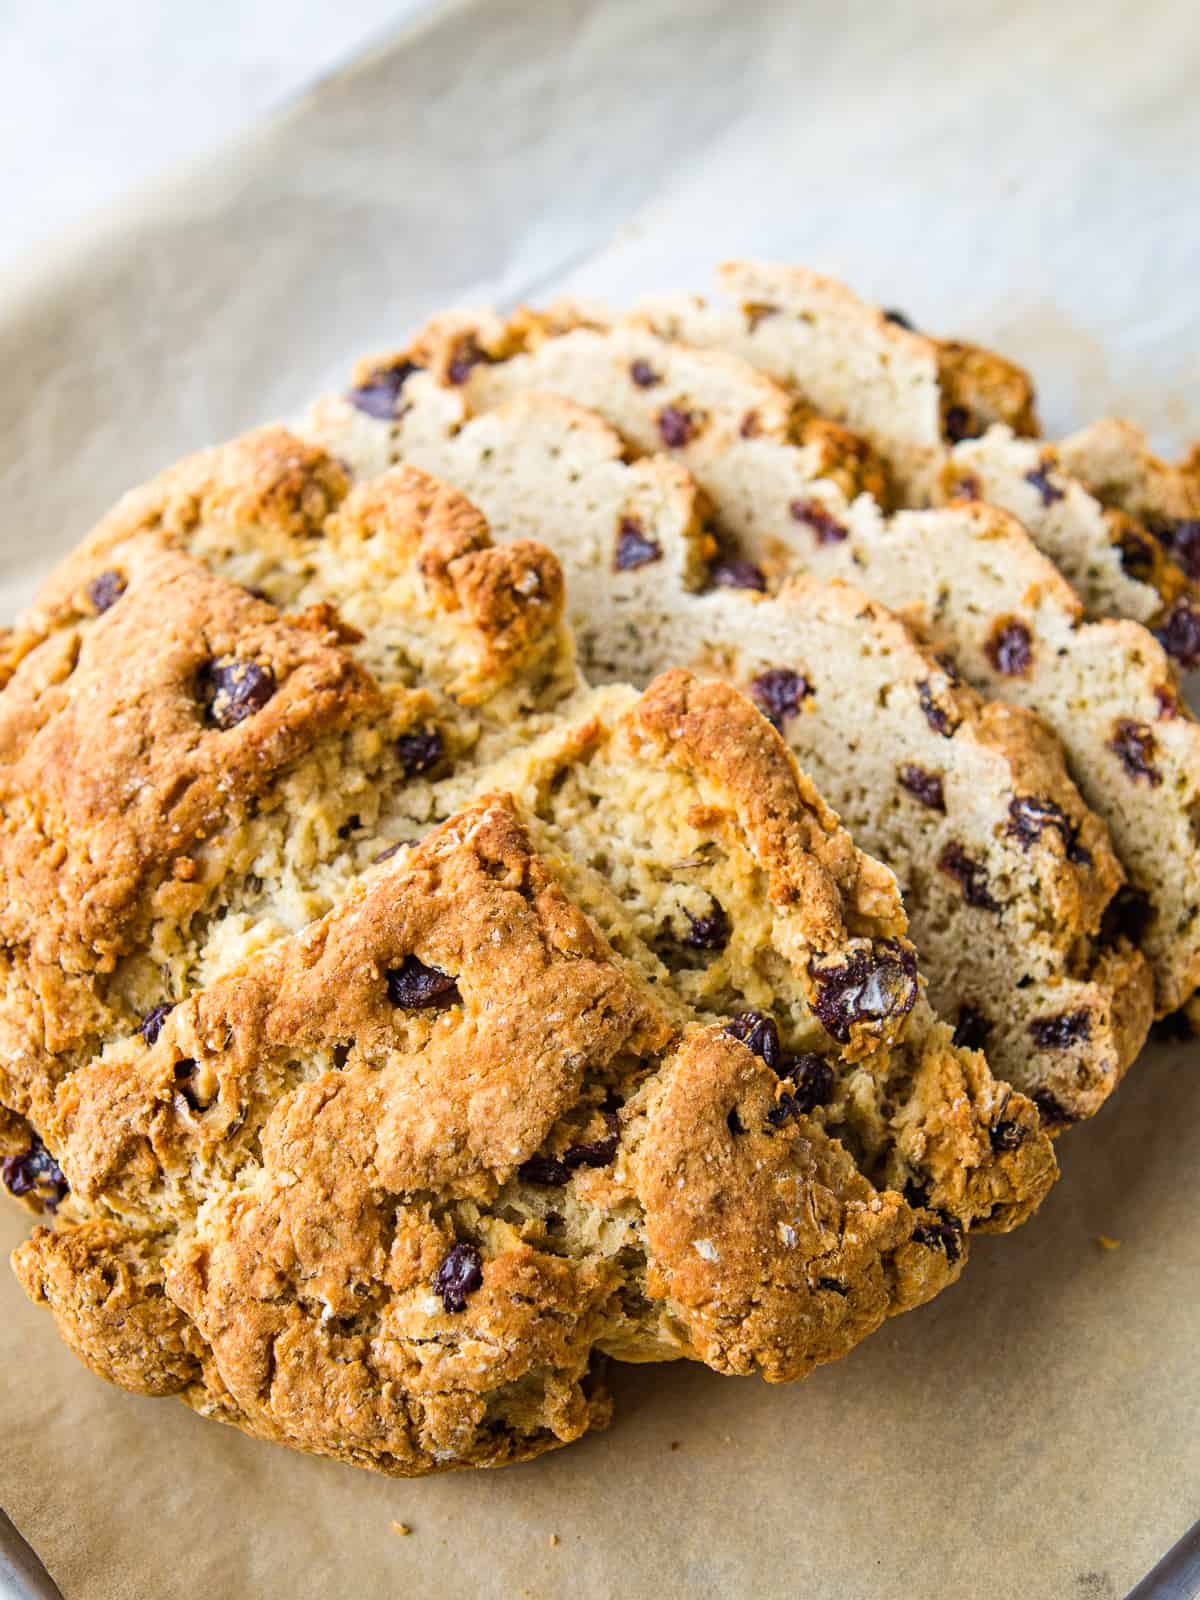
Pat into a disk. Once the dough comes together, dust your counter with gluten-free flour. Knead the dough gently until it holds together. Then pat it into a round.
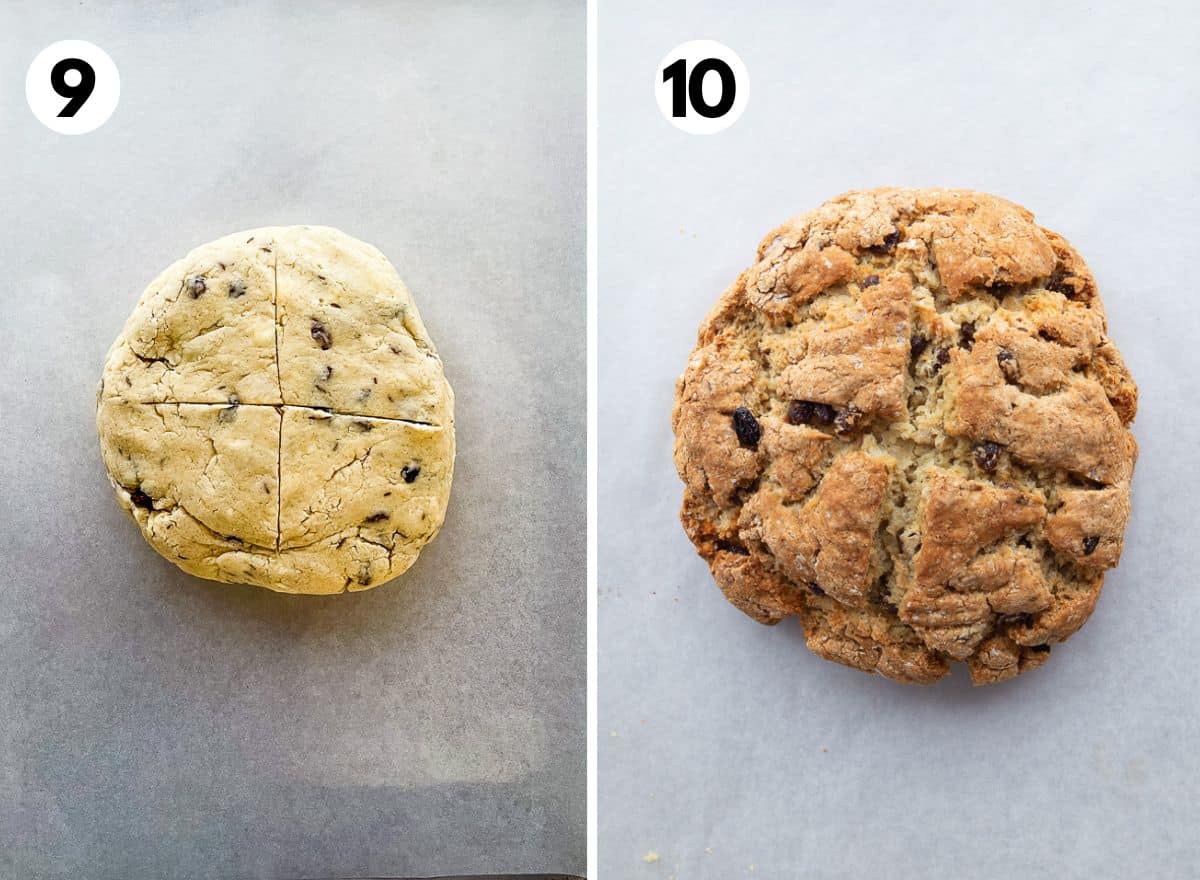
Transfer the loaf to a parchment-lined baking sheet. Cut a cross into the top. Cutting the top of the dough helps it to rise. Use a sharp knife to do this.
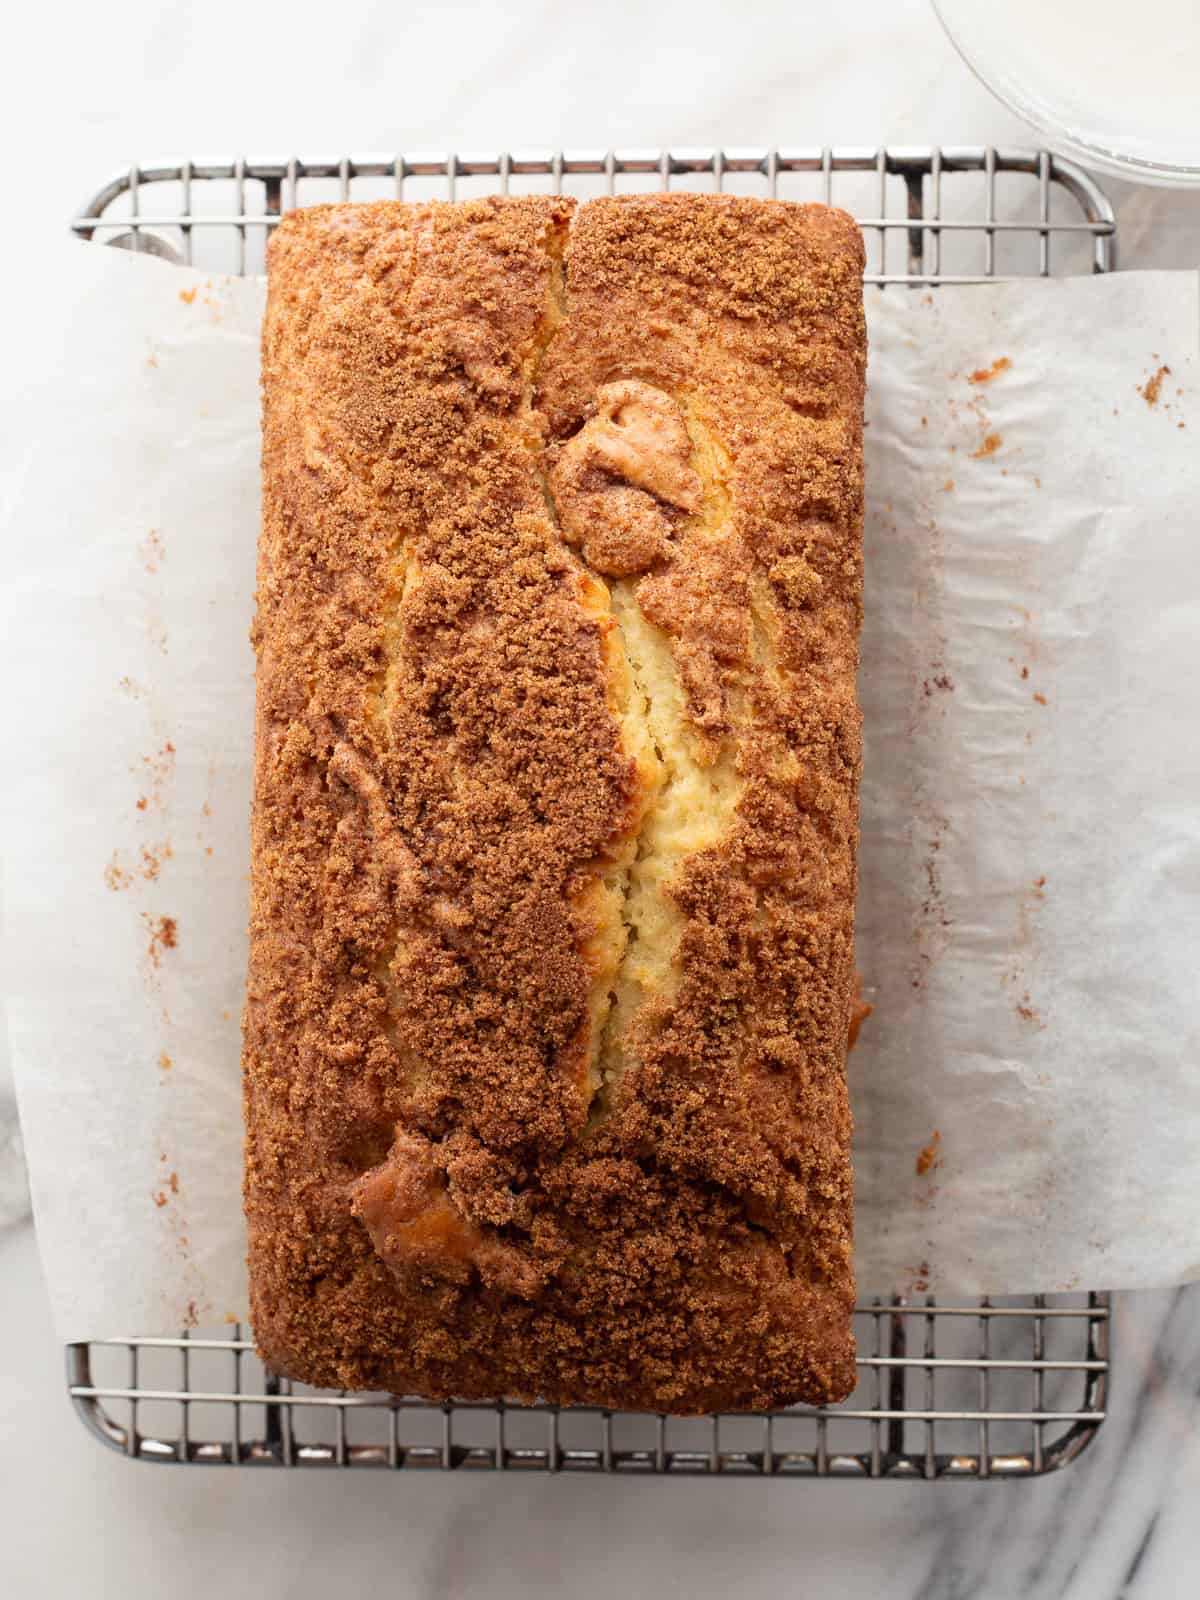
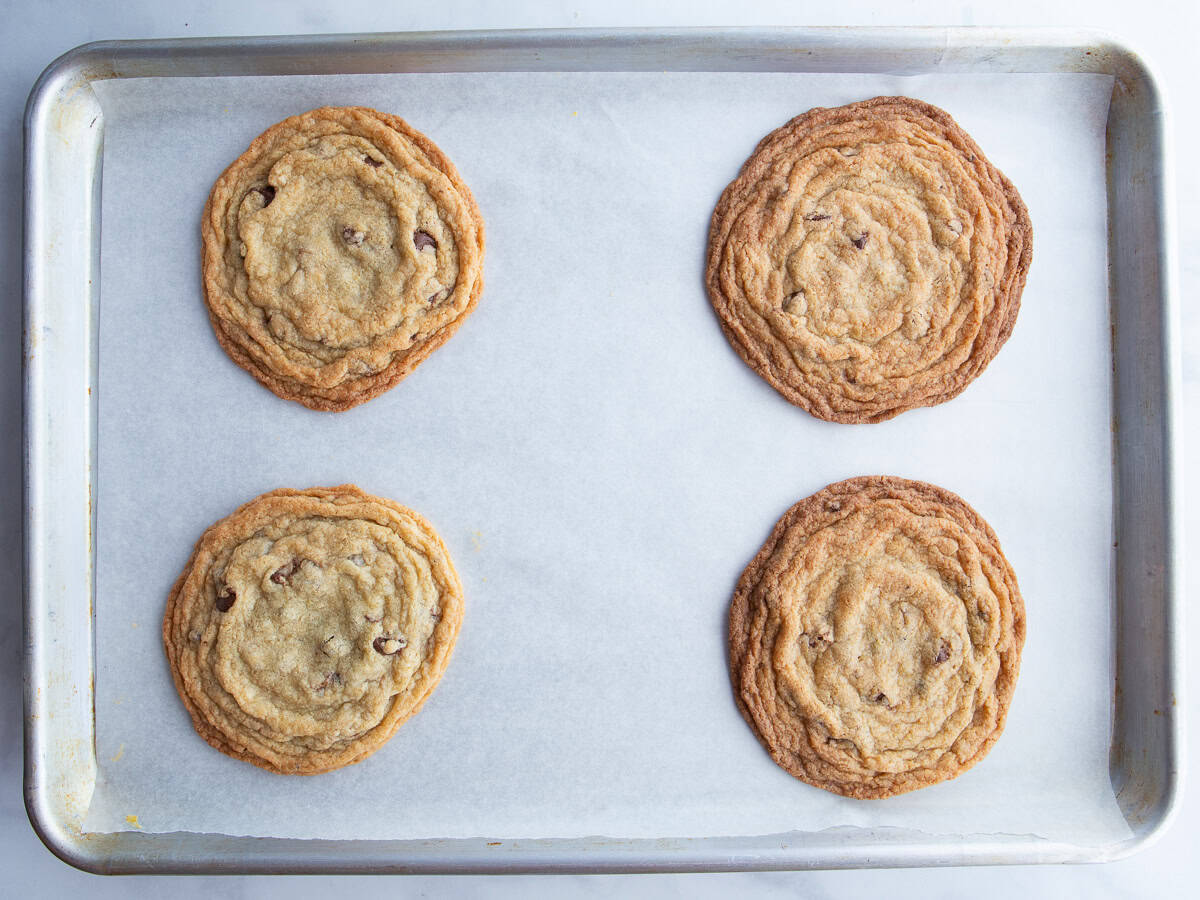
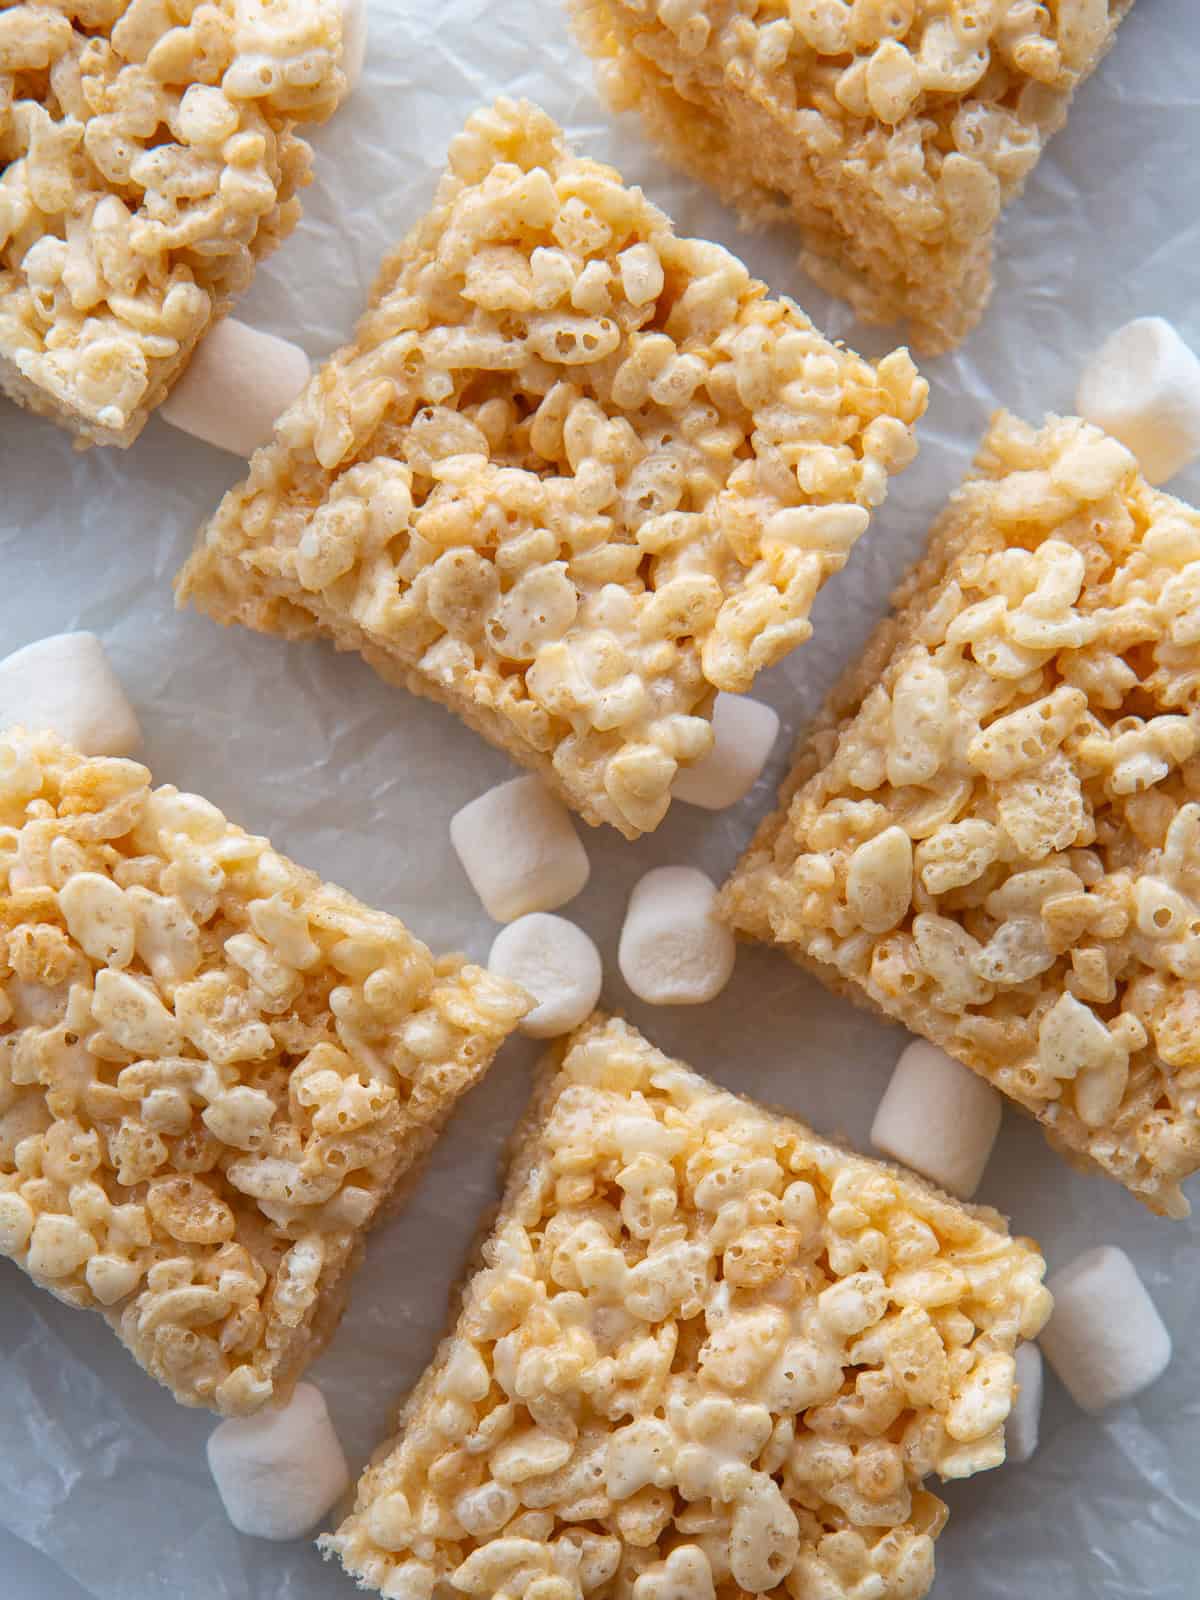
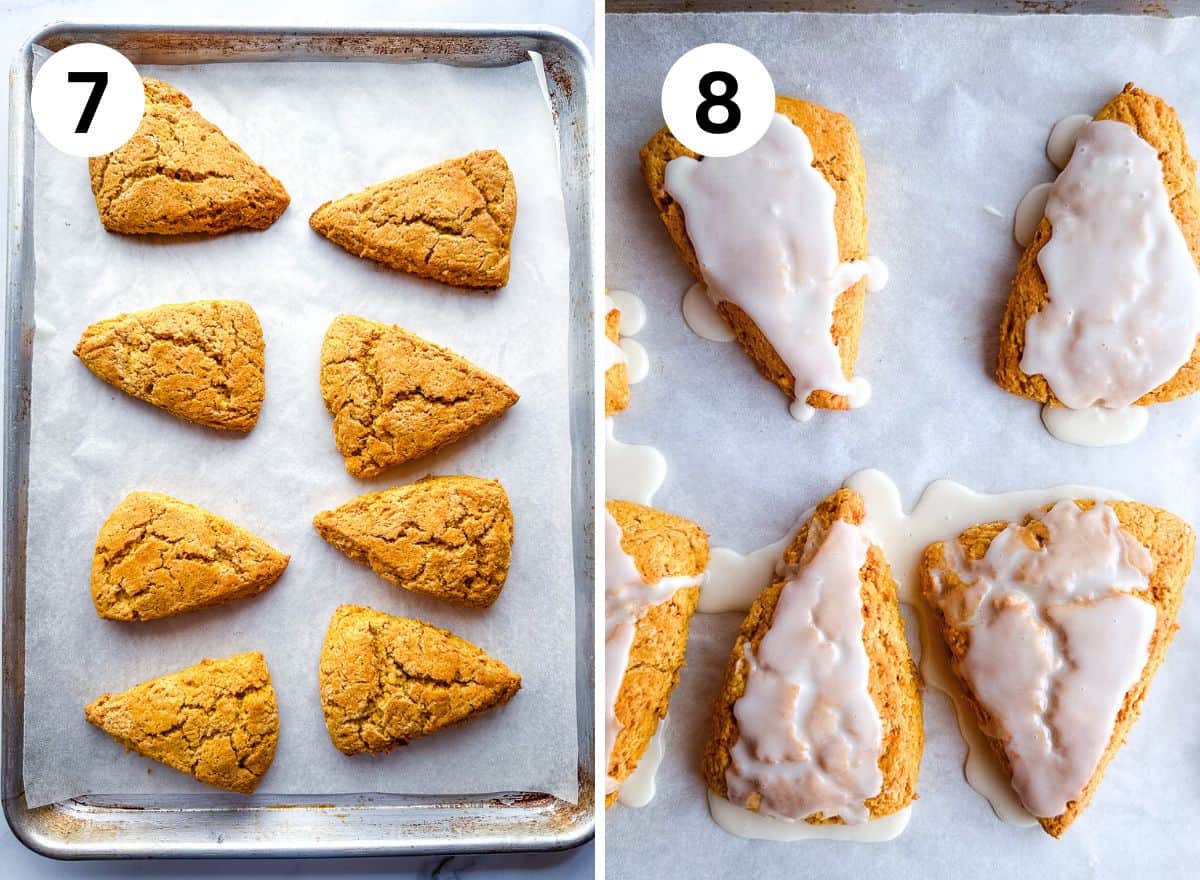
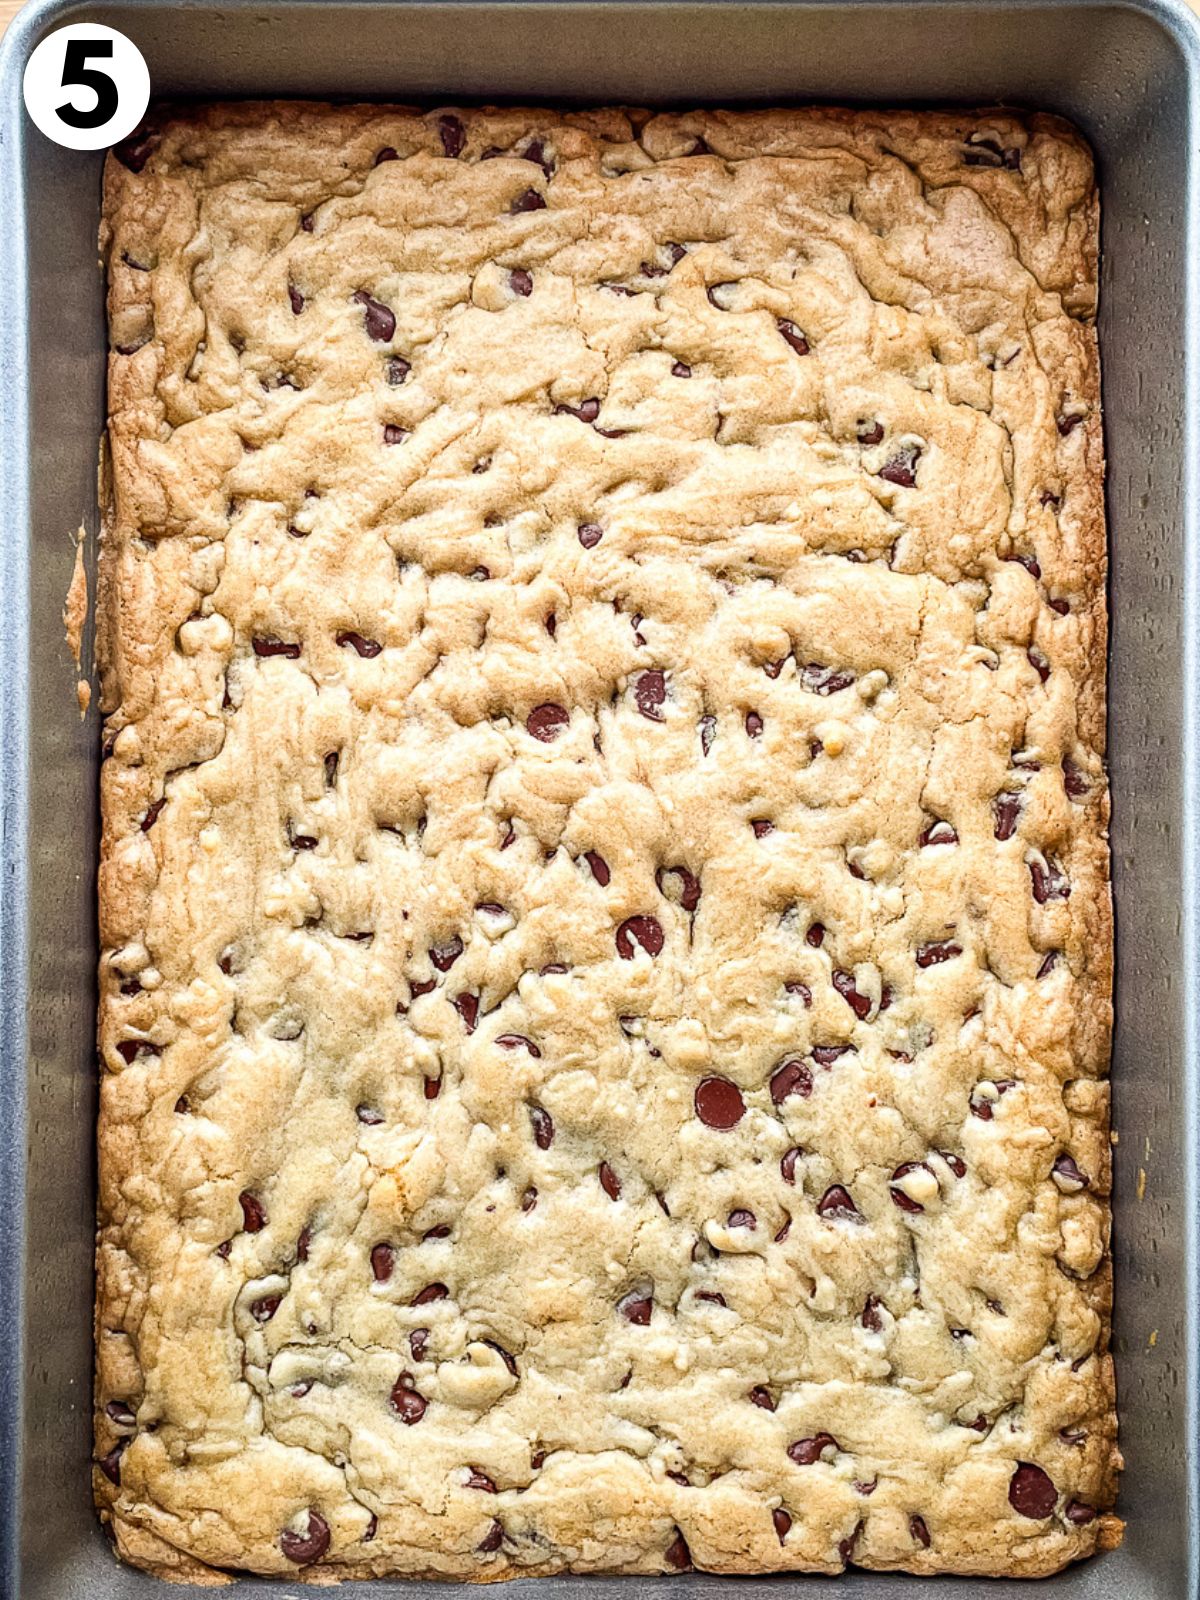
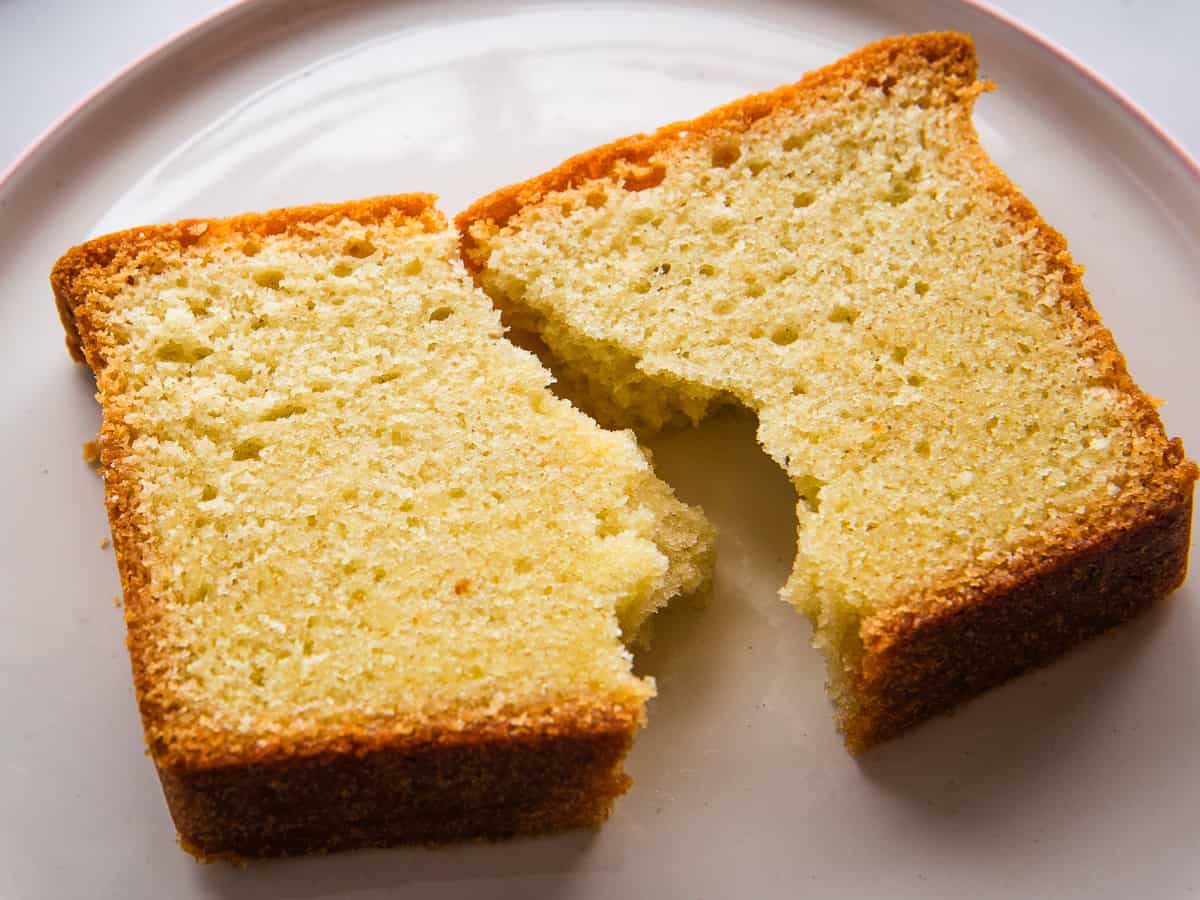
Bake until brown. This loaf takes about an hour to bake. Check it after 45 minutes by gently pressing on the center. It should feel firm, not doughy. A cake tester or toothpick inserted into the center should come out clean.
Baker’s Note: If the top of the loaf browns before the center bakes, cover it with foil.
Storing Leftovers
This bread lasts about three days on the counter. After that, it tends to get dry and crumbly.
Recipe originally shared March 2021. Updated March 2026.
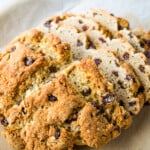
Easy Gluten-Free Irish Soda Bread
Easy Gluten-Free Irish Soda Bread Recipe. Made with gluten-free flour, buttermilk, an egg, and a little sugar. Raisins and caraway seeds optional!
Ingredients
- 3 cups Bob’s Red Mill 1:1 Gluten-Free Flour Blend, (see note) (15 ounces / 425 grams)
- ⅓ cup granulated sugar (2 ½ ounces / 70 grams)
- 2 teaspoons baking soda
- 1 teaspoons baking powder
- ½ teaspoon salt
- 4 tablespoons cold butter, cut into 4 pieces (2 ounces / 56 grams)
- ½ cup raisins
- 2 teaspoons caraway seeds
- 1 cup buttermilk, plus additional as needed (8 ounces / 226 grams)
- 1 large egg, whisked (about 2 ounces / 56 grams out of shell)
Instructions
-
Preheat oven to 375℉. Line a rimmed baking sheet with parchment paper.
-
Whisk gluten-free flour, sugar, baking soda, baking powder, and salt in a large bowl. Mix in cold butter with a pastry cutter or your fingers until no large pieces of butter remain.
-
Add buttermilk and egg. Stir until a dough forms. Stir in raisins and caraway seeds.
If the dough seems dry, add additional buttermilk, one tablespoon at a time until dough holds together.
-
Lightly dust your counter with gluten-free flour. Knead the dough a few times until it holds together. Then pat it into a round. Transfer the dough to the prepared baking sheet. Cut a cross into the top of the loaf with a sharp knife. Doing this helps the loaf to rise.
-
Bake until center is set and loaf is golden brown, about 45 minutes. If loaf gets too dark before the center is baked, cover with foil.
-
Store leftover bread on the counter. Loaf keeps for up to three days but tastes best the day it's baked.
To Freeze: Let bread cool. Cut into slices. Place a piece of parchment paper between each slice. Freeze in a freezer bag or container for up to three months.
Recipe Notes
Gluten-Free Flour
Replacing the gluten-free flour with a different flour can change the texture of the bread. If your mix does not include xanthan gum, add ½ teaspoon to the flour blend and whisk together with the flour before using.
Egg-Free Variation: To make this bread without the egg, simply leave the egg out and add two tablespoons of additional buttermilk. When made without the egg, the bread doesn’t rise quite as high but still tastes great.
Dairy-Free Variation: If you’re dairy-free, you can still make this soda bread. You’ll need to make the following adjustments.
- Replace the cold butter with your favorite dairy-free butter or margarine.
- Buttermilk. You can use dairy-free plain yogurt or combine 1 cup dairy-free milk with 1 tablespoon lemon juice. Stir the dairy-free milk with the lemon juice to combine. Let it sit for five minutes or until it’s slightly thick. If the dough seems dry, add a tablespoon or so of water or additional homemade buttermilk.